Table of Contents
Opening a hard disk drive (HDD) can seem tough, but it’s key for understanding your computer or fixing it. This guide gives you easy steps to open an HDD safely, stressing the need to be careful. By doing this correctly, you keep your device and data safe. Also, before you start, remember backing up your data is crucial to avoid losing any information.
Also, you’ll need the right tools to take apart an HDD. Most hard drives need a Phillips-head screwdriver to open1. Many people watch video tutorials to help them through these steps1. Knowing this lets you start with more confidence and care.
For deeper insight into building a computer, check out this detailed guide.
Key Takeaways
- Safety is crucial; make sure your computer is off before starting.
- It’s vital to backup your data to prevent losing it.
- Get to know the tools needed, like screwdrivers and how to prevent static.
- Understanding your HDD’s layout helps in opening it safely.
- Be careful with cables to avoid any damage.
- Look at your owner’s manual for model-specific instructions.
Understanding the Importance of Data Backup
Our digital world makes a strong data backup strategy very important. The risk of losing data is always present. It makes understanding how to keep your data safe critical. This knowledge lets you handle your digital life with more confidence.
Why Backup is Crucial
Data loss can happen through hardware failures, mistakes by people, or harmful software like viruses and ransomware. Surprisingly, companies can lose $5,600 every minute due to not being prepared2. Even more shocking, only 6% of businesses without a recovery plan last over two years2. It’s not just good to backup data; it’s a necessary step to have the latest copies of important files.
Methods for Backing Up Data
Different backup methods suit different needs. External hard drives can store a lot of data, making them great for large backups. USB flash drives are good for smaller amounts of data and are easy to carry3. They work fast, making it quick to move data around. Cloud services like OneDrive offer secure backups with extra features like encryption3.
Choosing the best backup methods depends on your specific requirements. Think about how much data you have and how often you need to back it up. Keep backups in a secure place to avoid loss from fire, flood, or theft3.
Turning Off and Unplugging Your Computer
Before making any changes to your hardware, it’s key to learn how to safely turn off and disconnect your computer. This helps you avoid electrical problems and protects your device. By disconnecting from the power, you can prevent damage to important parts. Some users have reported issues like damaged hard drives and motherboards when they tried to alter their hardware without turning off their computers4. Also, turning your computer off can save energy, especially if you’re using several machines5.
Safety First: Power Down
Properly shutting down your computer saves power and helps your hardware last longer. A computer that’s turned off doesn’t use electricity. This reduces the chance of damage from power surges5. Unplugging your computer before hardware changes is crucial to avoid electric shocks and damage to parts6.
Grounding Yourself Against Static Shock
It’s important to be safe from static when you work with electronics. Grounding yourself, by touching metal or wearing an anti-static wrist strap, prevents static damage. This keeps the inside of your computer safe while you upgrade or fix it. Many online users recommend this to avoid static harm6.
Remember, always turn off and unplug your computer for your safety and the device’s. For tips on how to do this properly, check out this resource. It has more advice on avoiding data loss465.
How to Open a HDD
Getting into your computer’s hard drive might seem tough, but knowing what to do can help. Getting ready properly makes everything go smoother. Every computer is different, so it’s good to check your computer’s manual.
Preparing to Open the Computer Case
Before you start, make sure you have the right tools. You’ll likely need a screwdriver and maybe a static wrist strap. Turn off your computer and unplug it first to be safe.
Locating Your Hard Drive
Once the case is open, find your hard drive. Look for labels like “SATA,” “HDD,” or “SSD.” For desktops, you might need to take off a side panel. Laptops usually require removing the bottom panel or keyboard. Knowing your computer’s layout helps make finding the HDD easier. Once you find it, understand how it’s connected. This makes disconnecting it simpler7.
Disconnecting and Removing the Hard Drive
When it’s time to swap or update your hard drive, knowing the right steps is crucial. This guide walks you through it all: from identifying and disconnecting cables to removing the hard drive safely. Doing this correctly means your data and hardware are safe.
Identifying and Disconnecting Cables
Identifying cables correctly before removing the hard drive is essential. Most computers use SATA cables, but older ones might have IDE connectors. Gently unplugging these cables is important to avoid damage. Make sure the computer is off and unplugged before you start. Also, backing up your data on an external hard drive or cloud service is a smart move. It keeps your information safe while you work8.
Techniques for Removing the Hard Drive
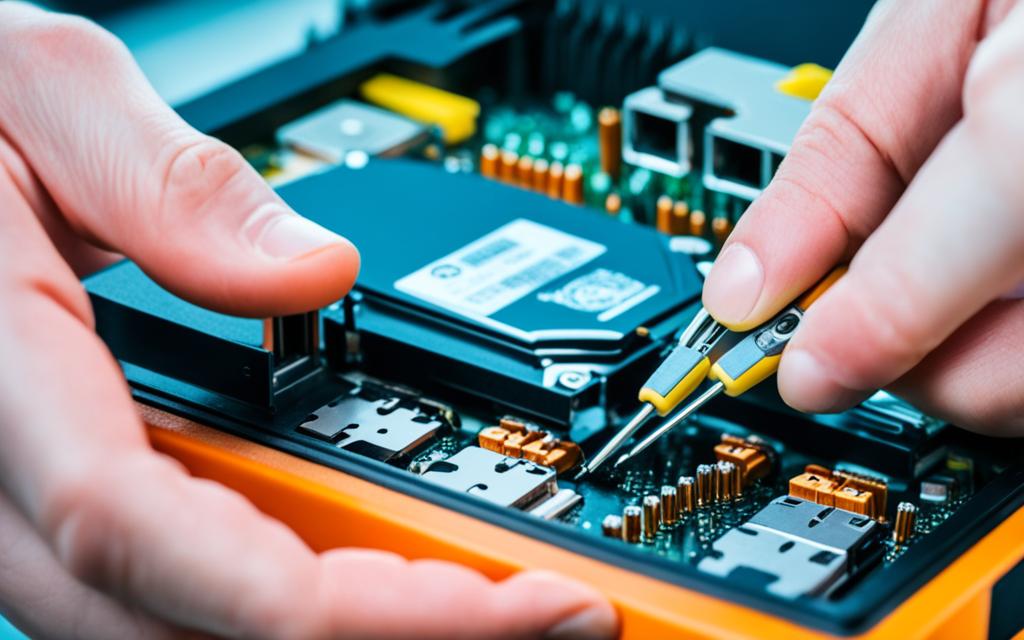
After disconnecting the cables, it’s time to take out the hard drive. Use special tools like a jeweller’s screwdriver for this job. These tools help get a firm grip without harming your device. Remember, working in a clean, static-free area is key to protect sensitive parts8.
Be careful when removing the drive. Ensure your system recognises the new drive and format it before moving data over9.
| Step | Description |
|---|---|
| 1 | Power down the computer. |
| 2 | Disconnect power and data cables. |
| 3 | Locate the screws securing the hard drive. |
| 4 | Loosen the screws and carefully slide out the hard drive. |
| 5 | Package the removed drive for safe disposal or storage. |
Carefully following these steps will help you successfully remove the hard drive. This allows for a smooth upgrade or replacement8.
Conclusion
When opening an HDD, it’s really important to plan, stay safe, and manage data well. First, turn your device off and protect yourself from static. Then, handle the hard drive parts with care. Each step we’ve covered makes sure your HDD opening goes smoothly. Knowing which tools to use, like the Torx screwdriver and needle-nosed pliers, helps a lot10.
You shouldn’t forget about backing up data. Being able to get files back from old hard drives can save really important information. Using things like external enclosures and docking stations makes it easy to access and recover files. This knowledge doesn’t just help with the process; it also gives users the courage to fix hardware issues by themselves11.
Taking apart an HDD isn’t just for fixing or upgrading computers. It also helps users understand more about how technology works inside. By following safety steps and using backup options, anyone can approach this task confidently. It becomes an enriching experience in getting to know your device better.
FAQ
What should I do before opening my HDD?
First, make sure you back up all your important data. This protects it from being lost. Next, turn off your computer and unplug it. This step is to avoid the risk of electric shock.
How can I safely ground myself while working with my HDD?
To keep safe from static damage, touch a piece of metal. Or, you can wear an anti-static wrist strap. This stops static electricity from harming your computer’s internals.
How do I locate the hard drive in my computer?
Finding your HDD depends on what kind of computer you have. On a desktop, you’ll usually remove the side to find it. For laptops, removing the bottom panel or keyboard is typically needed.
What kind of cables should I look for when disconnecting my HDD?
Look for SATA cables and power connectors when disconnecting your HDD. If it’s an IDE connector, handle it carefully to avoid damaging it.
What techniques should I use to remove my hard drive?
When removing your hard drive, search for screws or levers that need loosening. Always be gentle to prevent harm to the drive or its connections.
Source Links
- https://www.wikihow.com/Open-a-Seagate-External-Hard-Drive – Easy Ways to Open a Seagate External Hard Drive – wikiHow
- https://cloudian.com/guides/data-backup/data-backup-in-depth/ – What Is Data Backup? The Complete Guide
- https://www.pitsdatarecovery.com/blog/how-to-back-up-computer/ – How to Back Up a Computer
- https://ubuntuforums.org/archive/index.php/t-1217910.html – what will hapen if i remove the hdd while the computer is turned on? [Archive]
- https://www.recordnations.com/articles/hard-drive-shut-down/ – Hard Drives: Restarting and Shutting Down | Record Nations
- https://community.spiceworks.com/t/unplug-pc-when-working-inside-it-why-bother/162223 – Unplug PC when working inside it? Why bother.
- https://www.seagate.com/support/kb/how-to-use-disk-management-to-set-up-a-hard-drive-188931en/ – How to use Disk Management to set up a Hard Drive. | Support Seagate US
- https://www.salvagedata.com/how-to-securely-remove-a-hard-drive-from-a-computer/ – How To Remove A Hard Drive From A Computer – SalvageData
- https://www.easeus.com/partition-manager-software/remove-hard-drive-from-computer.html – How to Remove Hard Drive from Computer [Full Guide]
- https://www.instructables.com/Computer-Hard-Drive-Dissasembly/ – Computer Hard Drive Dissasembly
- https://recoverit.wondershare.com/harddrive-tips/get-data-off-old-hard-drive.html – How To Get Data off an Old Hard Drive – 9 Proven Ways With Useful Tips


