Table of Contents
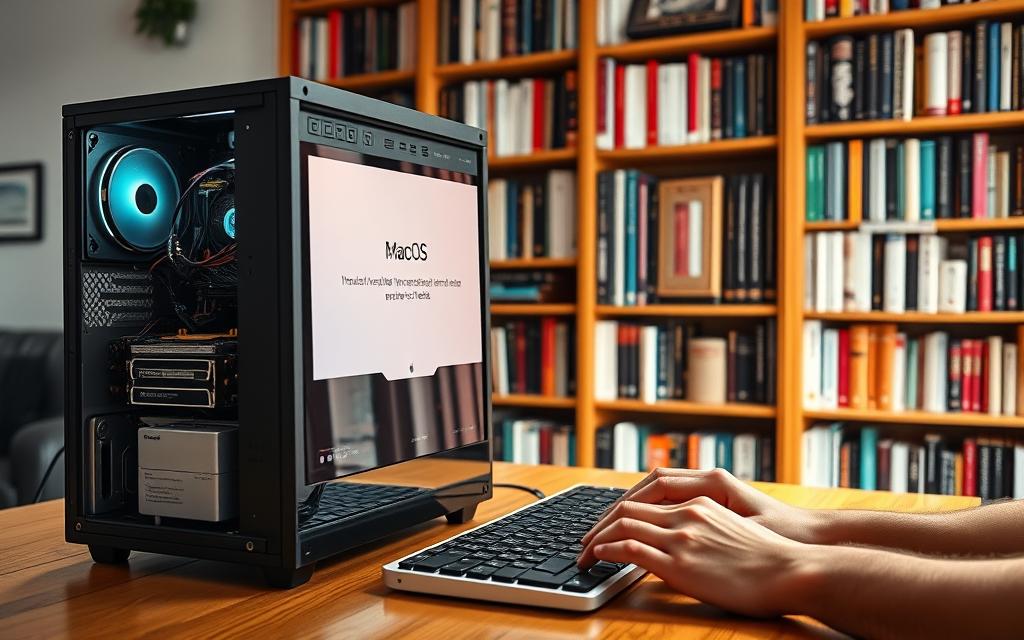
Running macOS on non-Apple hardware, often referred to as a Hackintosh, has become a popular yet complex endeavor. This approach allows users to experience Apple’s operating system on custom-built PCs or laptops. However, it comes with legal and technical challenges that require careful consideration.
Before diving into the process, it’s essential to understand the hardware compatibility requirements. Not all components work seamlessly with macOS, and BIOS configurations often need adjustments. Tools like UniBeast and MultiBeast simplify the setup, but success depends on meticulous preparation.
This guide provides a comprehensive walkthrough, from initial setup to post-installation optimization. Whether you’re exploring cost-effective alternatives or simply curious about the process, this resource covers everything you need to know about installing macOS on Windows-compatible hardware.
What Is a Hackintosh and Why Build One?
A Hackintosh is a custom-built PC designed to run macOS, offering a unique blend of flexibility and performance. This setup allows users to experience Apple’s operating system on non-Apple hardware, bypassing the high costs of official mac hardware.
One of the primary motivations for building a Hackintosh is cost savings. Apple’s premium pricing often deters users, but a Hackintosh can deliver similar performance at a fraction of the cost. Additionally, it offers unparalleled hardware customization, something unavailable in OEM Macs.
However, creating a Hackintosh violates Apple’s End User License Agreement (EULA). While it’s not illegal under US law, it raises ethical questions, especially for developers and commercial users. Apple discourages such builds, which can lead to service limitations and lack of official support.
Technical challenges are another consideration. Hackintosh builds require specific Intel processors (Core i3/i5/i7/i9) and compatible hardware. The process is complex, and users may face issues with security updates and repairs.
Despite these risks, the Hackintosh community has grown significantly over the years. For those seeking an alternative to virtualization tools like VMware, a Hackintosh offers a more integrated experience. If you’re curious about the process, check out this detailed guide.
How to Install Mac OS on PC: Preparation Steps
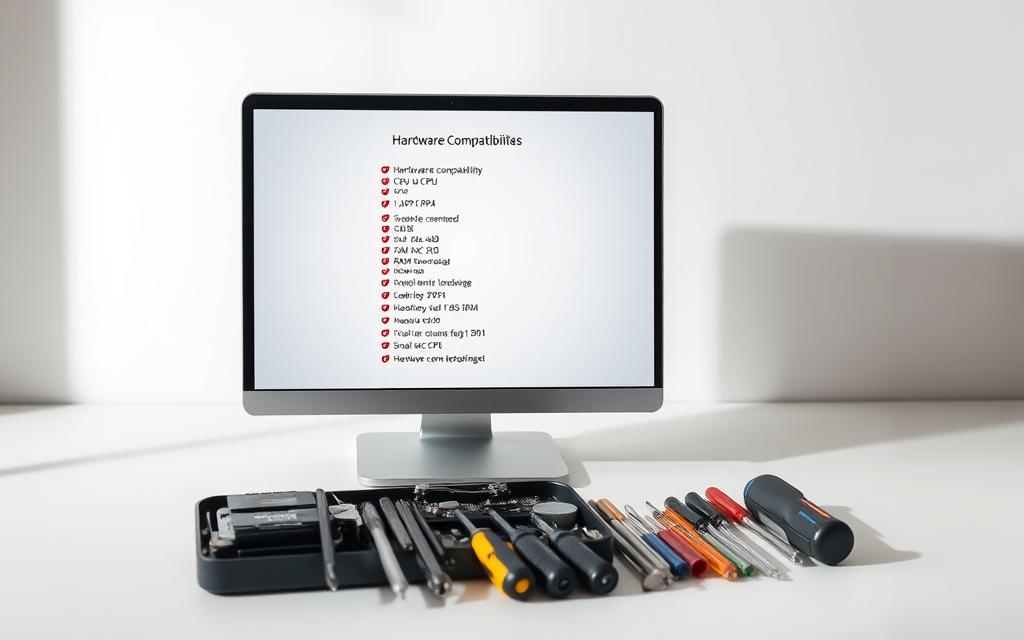
Preparing your system for macOS involves careful planning and compatibility checks. Ensuring your hardware meets the requirements is the foundation of a successful build. Without the right components, the process can become frustrating and time-consuming.
Check Your PC’s Hardware Compatibility
Start by verifying your system’s hardware. An Intel CPU is essential, as macOS is optimized for Intel processors. Your motherboard must support UEFI, a modern firmware interface required for booting macOS.
GPU compatibility is another critical factor. NVIDIA GPUs face limitations in macOS versions post-Catalina, so AMD cards are often preferred. Use resources like Tonymacx86 compatibility lists to confirm your components will work seamlessly.
Ensure your system has at least 4GB of RAM, though 8GB or more is recommended for smoother performance. Storage is equally important; a minimum of 100GB of free space is advised for the installation.
Gather Required Tools and Materials
Once your hardware is confirmed, gather the necessary tools. A 16GB USB 3.0 drive is essential for creating a bootable installer. This drive will host the macOS image and installation files.
Download the macOS image from the App Store and prepare tools like UniBeast and MultiBeast. These utilities simplify the installation process and help configure drivers post-installation.
Backup your existing data before proceeding. This ensures your files are safe in case of unexpected issues. Finally, test peripheral compatibility, such as WiFi and Bluetooth cards, to avoid connectivity problems later.
Creating a Bootable macOS USB Drive
Creating a bootable USB drive is a critical step in setting up macOS on non-Apple hardware. This process involves downloading the macOS installer, formatting the USB drive, and using tools like UniBeast to prepare the installation media. Proper preparation ensures a smooth and error-free experience.
Downloading macOS from the App Store
Start by downloading the macOS installer from the App Store. Open the App Store on a working Mac and search for the desired macOS version, such as Monterey or Big Sur. Click the “Get” or “Download” button to initiate the process.
Once downloaded, the installer will appear in your Applications folder. Verify its presence and ensure you have a stable internet connection. This step is essential for creating a reliable bootable USB drive.
Formatting the USB Drive
Next, format the USB drive to Mac OS Extended (Journaled) using Disk Utility. Open Disk Utility from Applications > Utilities, select your USB drive, and click “Erase.” Choose “Mac OS Extended (Journaled)” as the format and “GUID Partition Map” as the scheme.
This step ensures the USB drive is compatible with macOS installation. Remember to back up any important data before formatting, as this process will erase all existing files.
Using UniBeast to Create the Installer
UniBeast simplifies the creation of a bootable USB drive. Launch UniBeast and select the macOS installer from your Applications folder. Choose between UEFI and Legacy Boot modes based on your system’s firmware.
For modern systems, UEFI Boot Mode is recommended. It offers faster boot times and enhanced security features. Once configured, UniBeast will create the installation media, which typically takes around 30 minutes.
| Step | Details |
|---|---|
| Download macOS | Use the App Store to download the desired version. |
| Format USB Drive | Use Disk Utility to format to Mac OS Extended (Journaled). |
| Configure UniBeast | Select UEFI or Legacy Boot Mode based on your system. |
After completing these steps, your bootable USB drive will be ready for the installation process. Verify the media by checking its contents and ensuring it’s recognized by your system. This preparation minimizes errors and ensures a successful setup.
Configuring Your PC’s BIOS Settings
Configuring your PC’s BIOS settings is a crucial step in ensuring compatibility with macOS. These settings determine how your system interacts with hardware and software, making them essential for a successful installation.
Accessing the BIOS varies by motherboard manufacturer. Common key combinations include F2, Delete, or Esc during startup. Once inside, you’ll need to adjust several critical settings to prepare your system.
Disabling Secure Boot and Fast Boot
Secure Boot is a security feature that prevents unauthorized operating systems from loading. While useful for Windows, it can block macOS installations. Disabling it ensures your system recognizes the bootable USB drive.
Fast Boot, another feature, skips certain hardware checks to speed up startup. However, it can cause compatibility issues. Disabling it allows your system to fully initialize all components, ensuring a smoother installation process.
Enabling UEFI Boot Mode
Modern systems benefit from UEFI Boot Mode, which offers faster boot times and enhanced security. This mode is essential for macOS installations, as it supports the required firmware interface.
To enable UEFI Boot Mode, navigate to the Boot section in your BIOS. Disable Compatibility Support Module (CSM) if present, as it can interfere with UEFI functionality. Ensure your boot order prioritizes the USB drive for installation.
| Setting | Action |
|---|---|
| Secure Boot | Disable to allow macOS installation. |
| Fast Boot | Disable for full hardware initialization. |
| UEFI Boot Mode | Enable for modern firmware support. |
| CSM | Disable to ensure UEFI compatibility. |
After configuring these settings, save and exit the BIOS. Your system is now ready for the next steps in the installation process.
Installing macOS on Your PC
The final phase of setting up macOS on a PC involves executing the installation process. This step requires careful attention to ensure a smooth and error-free experience. Proper preparation, such as configuring BIOS settings and creating a bootable USB drive, lays the groundwork for success.

Booting from the USB Drive
Begin by inserting the bootable USB drive into your PC. Restart the system and access the boot menu using the appropriate key (F8, F11, or F12). Select the USB drive from the list to initiate the boot process.
Ensure your system recognizes the drive and loads the Clover bootloader. This tool provides the necessary interface to proceed with the installation. If the bootloader fails to load, double-check your BIOS settings and USB drive configuration.
Formatting the Target Drive
Once the bootloader is active, open Disk Utility from the macOS installer. Select the target drive and format it using the APFS file system. This format is optimized for modern macOS versions and ensures compatibility.
Name the drive appropriately and confirm the formatting process. This step erases all existing data, so ensure you’ve backed up important files beforehand. A properly formatted drive is essential for a successful installation.
Running the macOS Installer
After formatting, proceed with the macOS installer. Follow the on-screen instructions, selecting the formatted drive as the installation destination. Monitor the progress bar to track the installation status.
During the process, your system may reboot automatically. Allow it to complete without interruption. Once finished, configure language, regional settings, and user accounts. Enable FileVault encryption if desired for added security.
| Step | Details |
|---|---|
| Boot from USB | Access boot menu and select the USB drive. |
| Format Drive | Use Disk Utility to format with APFS. |
| Run Installer | Follow on-screen instructions to complete the installation. |
After completing these steps, your system will be ready for post-installation setup. Verify the installation by checking system functionality and ensuring all hardware components are recognized. This marks the successful completion of the macOS installation process.
Post-Installation Setup
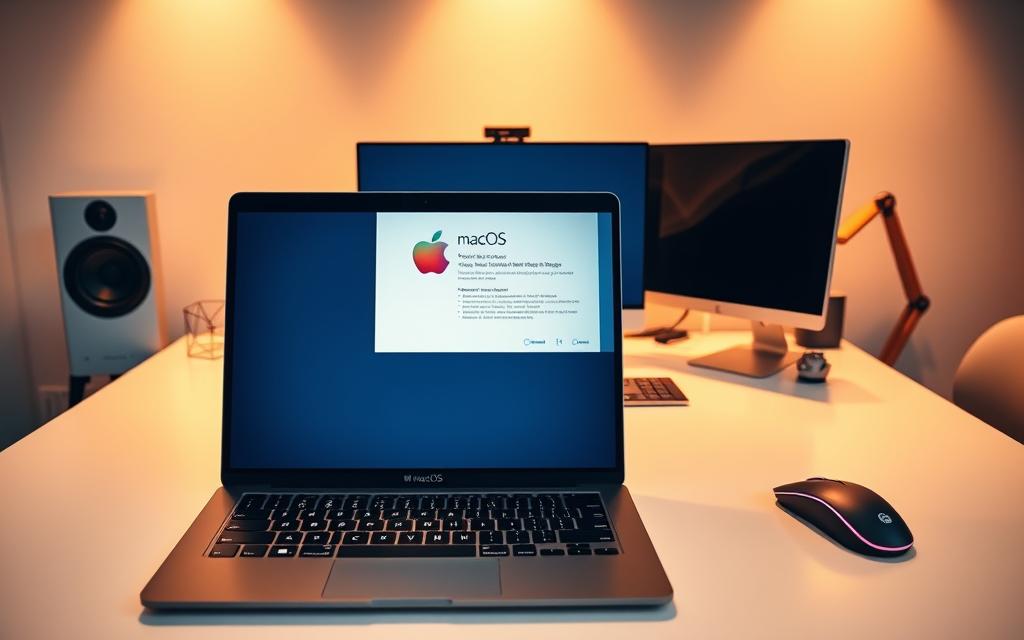
After successfully installing macOS, the next crucial step is optimizing your system for peak performance. This involves installing necessary drivers and configuring essential settings to ensure everything runs smoothly. Proper setup minimizes potential issues and enhances functionality.
Running MultiBeast for Driver Installation
MultiBeast is a powerful tool designed to simplify driver installation. It handles audio, network, and USB drivers, ensuring your hardware works seamlessly with macOS. Launch MultiBeast and select the appropriate options based on your hardware configuration.
For audio, choose the correct ALC layout ID to match your codec. Network adapters may require specific kexts for proper functionality. USB port mapping ensures all ports are recognized and operational. Graphics acceleration and power management settings further enhance performance.
Configuring Essential Settings
Once drivers are installed, focus on fine-tuning your system. Select the appropriate bootloader, such as OpenCore or Clover, based on your preferences. System definition (SMBIOS) ensures compatibility with Apple services, while GenSMBIOS helps activate them.
Optimize system preferences for a personalized experience. Enable Time Machine backups to safeguard your data. These steps ensure your mac setup is both functional and secure.
| Task | Details |
|---|---|
| Driver Installation | Use MultiBeast for audio, network, and USB drivers. |
| Bootloader Selection | Choose between OpenCore and Clover. |
| System Definition | Set SMBIOS for Apple service compatibility. |
| Backup Setup | Enable Time Machine for data protection. |
Troubleshooting Common Issues
Encountering issues during the setup process is common, but understanding how to troubleshoot them can save time and frustration. This section addresses common problems related to graphics, audio, and bootloader errors, providing actionable solutions to ensure a smooth experience.
Graphics and Audio Problems
Graphics and audio issues are frequent challenges when running macOS on non-Apple hardware. For NVIDIA GPUs, compatibility problems often arise post-Mojave. To resolve these, consider patching the VRAM settings using tools like Clover or OpenCore. This ensures proper recognition and functionality of your graphics card.
Audio issues, particularly with HDMI or DisplayPort, can be resolved by verifying the audio output settings in System Preferences. If problems persist, resetting the NVRAM may help. This process clears stored settings and often resolves connectivity issues.
Bootloader Errors
Bootloader errors can prevent your system from starting correctly. Using verbose boot mode (-v) provides detailed logs to identify the root cause. If the system fails to boot, testing boot arguments like -x for safe mode can help isolate the issue.
Kernel panics, indicated by sudden system crashes, can be analyzed through logs in the Console application. Understanding these logs helps pinpoint conflicting drivers or settings. Resetting the NVRAM or verifying BIOS settings often resolves these errors.

| Issue | Solution |
|---|---|
| Graphics Compatibility | Patch VRAM settings using Clover or OpenCore. |
| HDMI/DP Audio | Verify audio settings and reset NVRAM. |
| Bootloader Errors | Use verbose boot mode or safe mode for diagnosis. |
| Kernel Panics | Analyze logs and reset NVRAM or BIOS settings. |
For persistent issues, community forums like tonymacx86 offer valuable resources and support. Engaging with these communities can provide tailored solutions for your specific computer setup.
Legal and Performance Considerations
Building a Hackintosh involves navigating both legal and performance challenges. While it offers flexibility and cost savings, it also raises significant concerns regarding Apple’s license and terms. Understanding these factors is crucial for making informed decisions.
Apple’s End User License Agreement (EULA) explicitly violates apple’s guidelines by prohibiting macOS installations on non-Apple hardware. This can lead to restrictions on services like iMessage and FaceTime. Users must weigh the benefits against potential limitations.
System updates pose another risk. Apple may block updates for unauthorized systems, leaving users vulnerable to security flaws. Testing software compatibility is essential to ensure stability and functionality.
Performance comparisons, such as Geekbench scores, often show Hackintosh systems matching or exceeding official Macs. However, thermal management can be a challenge. Proper cooling solutions are necessary to maintain optimal performance.
In enterprise environments, using a Hackintosh may violate company policies or licensing agreements. Warranty implications also arise, as custom builds are not covered by Apple’s support.
Ethical usage guidelines suggest considering the long-term impact of bypassing Apple’s restrictions. Future-proofing your system involves staying updated on hardware and software developments to ensure continued compatibility.
| Consideration | Details |
|---|---|
| EULA Violation | Apple’s license prohibits macOS on non-Apple hardware. |
| System Updates | Updates may be blocked, leaving systems vulnerable. |
| Performance | Geekbench scores often match or exceed official Macs. |
| Thermal Management | Proper cooling is essential for sustained performance. |
| Enterprise Usage | May violate company policies or licensing agreements. |
By addressing these considerations, users can make informed decisions about building and maintaining a Hackintosh system.
Conclusion
Exploring the world of Hackintosh offers unique benefits and challenges. It provides a cost-effective way to experience macOS on windows-compatible hardware, but it requires ongoing maintenance and technical expertise. Regular updates and driver compatibility are essential for long-term stability.
For those hesitant about a full hackintosh setup, alternatives like virtualization or dual booting can be viable options. These methods allow users to test macOS without fully committing to the process. Community forums and resources are invaluable for troubleshooting and staying updated on compatibility issues.
Legally, running macOS on non-Apple hardware violates Apple’s EULA, which may limit access to certain services. Additionally, the transition to Apple Silicon could impact future compatibility. Always weigh the risks and benefits before proceeding.
For tech enthusiasts, a hackintosh can be a rewarding project. For casual users, sticking with official Apple hardware or exploring alternatives might be more practical. Ultimately, the decision depends on your technical skills and long-term goals.
FAQ
What is a Hackintosh?
A Hackintosh is a PC that runs macOS on non-Apple hardware. It allows users to experience macOS on custom-built or pre-existing computers.
Why would someone build a Hackintosh?
Building a Hackintosh offers flexibility in hardware choices, cost savings compared to Apple devices, and the ability to run macOS on a customized system.
What tools are needed to create a bootable macOS USB drive?
You’ll need a USB drive (16GB or larger), macOS installation files from the App Store, and tools like UniBeast to create the bootable installer.
How do I check if my PC is compatible with macOS?
Verify your hardware, including the CPU, GPU, and motherboard, against macOS compatibility lists. Tools like Hackintool can help assess compatibility.
What BIOS settings are required for installing macOS?
Disable Secure Boot and Fast Boot, then enable UEFI Boot Mode. These settings ensure your PC can boot from the macOS installer.
How do I boot from the USB drive during installation?
Restart your PC, access the BIOS or boot menu, and select the USB drive as the primary boot device.
What should I do if I encounter graphics or audio issues?
Use MultiBeast to install the necessary drivers. Ensure your graphics card is supported and check for updated drivers online.
Is building a Hackintosh legal?
While creating a Hackintosh violates Apple’s End User License Agreement (EULA), it is not illegal. However, it is unsupported by Apple.
Can I update macOS on a Hackintosh?
Updates can be risky. Always back up your data and research compatibility before updating to avoid system instability.
What are the performance considerations for a Hackintosh?
Performance depends on hardware compatibility. Ensure your components, like the CPU and GPU, are optimized for macOS to achieve smooth operation.


