Table of Contents
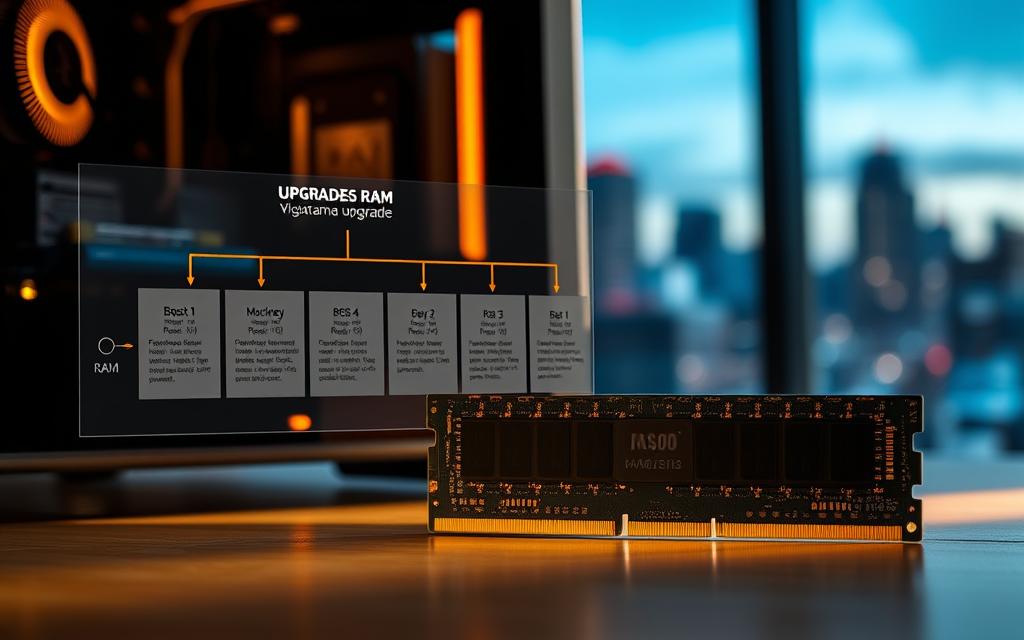
Upgrading your RAM is one of the most effective ways to enhance your system’s performance. Whether you’re multitasking, gaming, or running intensive applications, additional memory ensures smoother operation and faster response times.
With more RAM, your computer can handle multiple tasks simultaneously without slowing down. Applications load quicker, and lag during demanding activities becomes a thing of the past. This upgrade is especially beneficial for gamers and professionals who rely on seamless system functionality.
Before diving into the installation process, it’s crucial to check compatibility. Ensure your motherboard supports the new memory and matches your existing configuration. Additionally, follow safety precautions like using an ESD wrist strap to protect sensitive components.
By taking these steps, you can unlock your PC’s full potential and enjoy a noticeable boost in performance.
Why Upgrading Your RAM Improves PC Performance
A RAM upgrade can transform your computer’s efficiency and speed. Random Access Memory (RAM) acts as temporary storage for active applications, allowing your system to process data quickly. When you have sufficient RAM, multitasking becomes seamless, and your computer responds faster to commands.
RAM’s Role in Multitasking and Speed
RAM ensures your computer can handle multiple tasks at once. For example, streaming, gaming, and chatting simultaneously require significant memory. With 16GB of RAM, you’ll notice smoother performance compared to 8GB, especially in demanding tasks like video editing or AAA gaming.
Kingston’s performance metrics show a 37% increase in FPS in gaming scenarios when upgrading to higher-capacity RAM. This improvement highlights the importance of having enough memory for optimal performance.
Signs Your PC Needs More Memory
If your computer frequently crashes or slows down, it might be time for a RAM upgrade. Here are some common symptoms of insufficient memory:
- Frequent program crashes: Applications close unexpectedly due to lack of RAM.
- Slow file transfers: Limited memory slows down data movement between applications.
- Chrome tab limitations: Running too many browser tabs causes slowdowns or crashes.
Another indicator is overuse of the paging file. When your system relies heavily on virtual memory, the HDD or SSD activity light stays on constantly. This reliance slows down your computer and signals the need for more RAM.
| Task | 8GB RAM Performance | 16GB RAM Performance |
|---|---|---|
| Video Editing (4K) | Long render times | Up to 35% faster |
| AAA Gaming | Lower FPS, unstable gameplay | 25-50% FPS improvement |
| Multitasking | Frequent slowdowns | Smooth operation |
Upgrading your RAM can lead to a 30-50% improvement in overall performance. Whether you’re a gamer, content creator, or multitasker, additional memory ensures your computer runs at its best.
Preparing to Upgrade Your PC’s RAM
Before diving into the installation, preparation is key to a successful RAM upgrade. Ensuring compatibility, selecting the right components, and gathering the necessary tools will make the process smooth and efficient.
Checking Motherboard Compatibility and Available Slots
Start by identifying your motherboard model. Use Command Prompt or PowerShell by entering the command wmic baseboard get product,Manufacturer,version,serialnumber. This will display your motherboard details, including the manufacturer and model.
Next, check the manual for your motherboard to confirm the number of available slots and the maximum supported RAM capacity. Ensure the new memory modules match the existing configuration for optimal performance.
Choosing the Right RAM Type and Capacity
Selecting the correct type of RAM is crucial. DDR4 and DDR5 are the most common options, with DDR5 offering higher speeds (up to 4800MHz) compared to DDR4 (2400MHz). However, DDR5 is not backward compatible with DDR4 motherboards.
Consider your desktop’s usage when choosing capacity. For gaming or video editing, 16GB or 32GB is recommended. Tools like Crucial’s RAM Selector can help you find compatible ram sticks for your system.
Gathering Tools and Safety Precautions
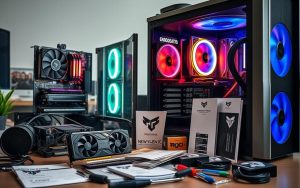
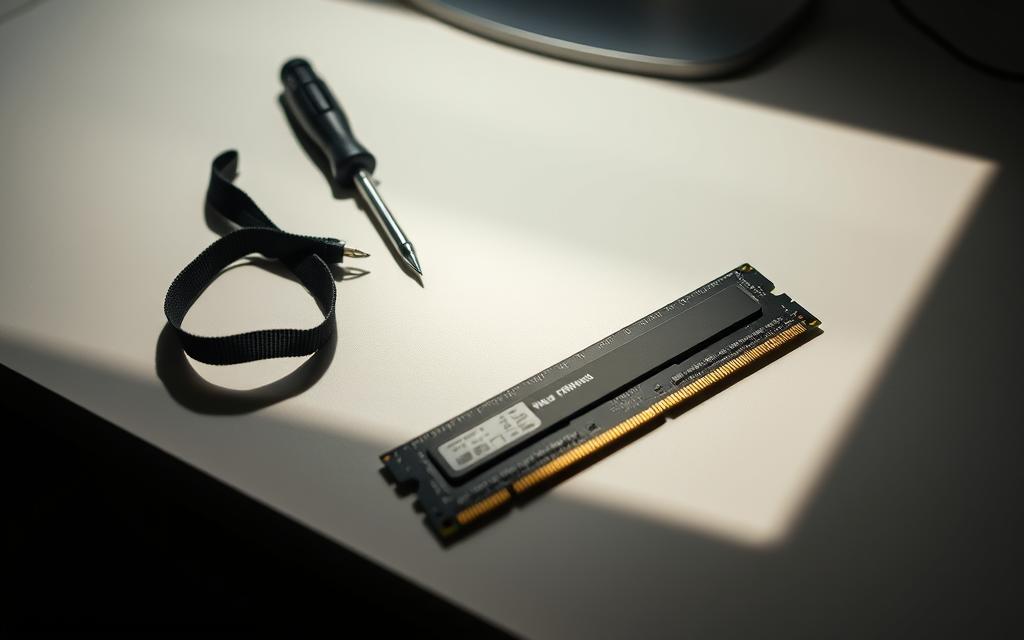
Before starting, ensure you have the right tools. A Phillips screwdriver, flashlight, and anti-static mat are essential. These tools help protect your components and make the installation process easier.
Always power off your computer and unplug it before opening the case. Use an anti-static wrist strap to prevent damage from static electricity. Following these precautions ensures a safe and successful install ram process.
How to Add More Memory to PC: Step-by-Step Installation
Enhancing your desktop’s capabilities starts with a proper RAM installation. This process involves opening your PC case, locating the slots, and seating the ram sticks correctly. Follow these steps to ensure a smooth and successful upgrade.
Opening Your PC Case and Locating RAM Slots
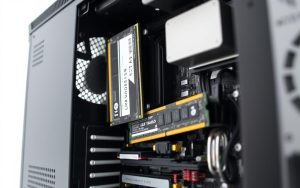
Begin by powering off your computer and unplugging it from the power source. Use a Phillips screwdriver to remove the side panel of your PC case. Inside, you’ll find the memory modules installed on the motherboard. Identify the DIMM slots, which are typically color-coded for dual-channel configurations.
For full ATX cases, the slots are usually labeled A1, A2, B1, and B2. Micro-ATX cases may have fewer slots, so consult your motherboard’s manual for the correct configuration. This ensures optimal performance when installing your new ram sticks.
Seating RAM Sticks Correctly for Optimal Performance
Align the notches on the module with the ridge in the slot. Hold the stick at a 45-degree angle and gently press it into place. Apply firm pressure (about 30lbs) until you hear a click, confirming the module is securely seated.
For dual-channel setups, place the ram sticks in the recommended slots (e.g., A1 and B1). This configuration maximizes bandwidth and improves overall desktop performance. Ensure the retention clips are fully secured to prevent any movement.
| Step | Action | Outcome |
|---|---|---|
| 1 | Open PC case | Access motherboard and RAM slots |
| 2 | Locate DIMM slots | Identify correct placement for RAM sticks |
| 3 | Seat RAM sticks | Ensure secure installation with click sound |
| 4 | Secure retention clips | Prevent module movement and ensure stability |
After installation, manage cables neatly to improve airflow and aesthetics. For detailed guidance, refer to Crucial’s RAM installation guide. This ensures your desktop is ready to handle demanding tasks with ease.
Troubleshooting Common RAM Installation Issues
Sometimes, even after a RAM upgrade, issues can arise that prevent your system from recognizing the new memory. These problems are often easy to fix with the right steps. Below, we’ll guide you through resolving common installation challenges.
What to Do If Your PC Doesn’t Recognize the New RAM
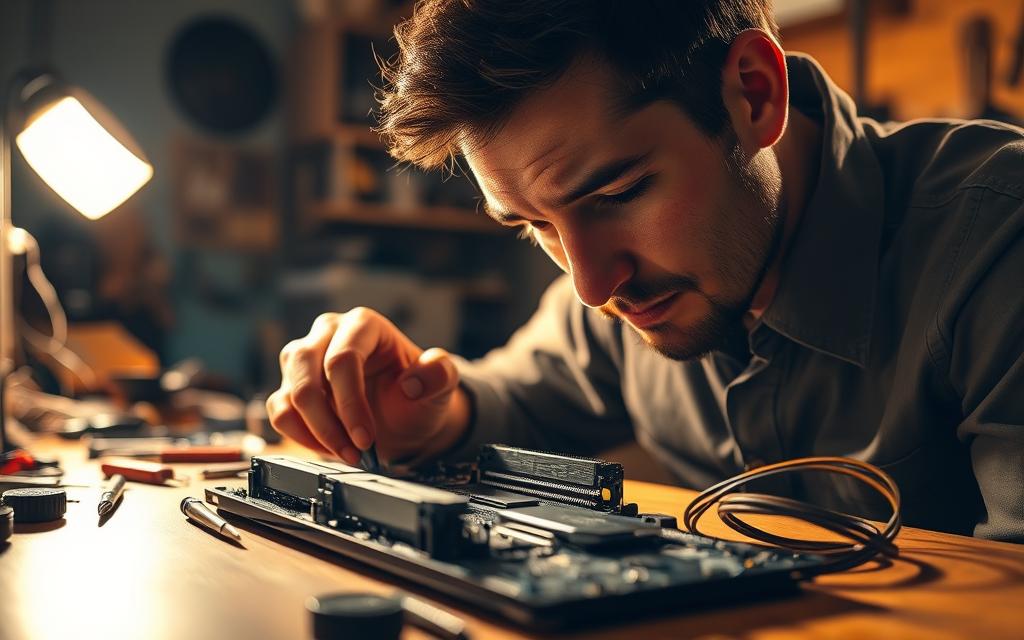
If your ram sticks aren’t detected, start by checking the memory slots. Ensure the modules are seated properly. If they’re loose, reseat them firmly until you hear a click.
Next, consult your motherboard manual to confirm the correct slot population order. For example, many motherboards prioritize A2 and B2 slots for dual-channel configurations. Misplaced ram modules can cause detection issues.
- Reset the CMOS to clear any BIOS errors.
- Run MemTest86 to validate the RAM’s functionality.
- Check for compatibility issues between the new RAM and your motherboard.
Adjusting BIOS Settings for Proper RAM Detection
Access your BIOS by pressing the designated key during startup (often Del or F2). Navigate to the memory settings and enable the XMP profile. This ensures your ram sticks run at their advertised speed.
If you’re using a UEFI BIOS, the process is straightforward. For Legacy BIOS, navigation may differ slightly. Refer to your manual for specific instructions.
Here’s a quick guide to enabling XMP:
- Enter BIOS settings during boot.
- Locate the XMP profile option under memory settings.
- Select the appropriate profile and save changes.
If you encounter error codes or beep patterns, consult your motherboard’s documentation. These signals often indicate specific issues with the ram modules or memory slots.
For defective modules, Kingston’s warranty replacement process is straightforward. Contact their support team for assistance with DOA (Dead on Arrival) products.
Conclusion: Enjoying a Faster, More Responsive PC
Maximizing your PC’s potential starts with strategic upgrades. Real-world benchmarks show significant improvements, such as reduced Photoshop render times post-upgrade. These changes highlight the tangible benefits of enhancing your system’s capabilities.
Regular maintenance is key to sustaining performance. Schedule routine MemTest checks and manage dust to keep your components running smoothly. Pairing a RAM upgrade with an SSD can further boost your system’s speed and efficiency.
For seamless compatibility, use tools like Kingston or Crucial’s configurators. These resources ensure your upgrades align with your hardware. Avoid mixing RAM generations, such as DDR4 and DDR5, to prevent compatibility issues.
By following these steps, you’ll enjoy a faster, more responsive PC. Take action today to unlock your system’s full potential.
FAQ
How does upgrading RAM improve PC performance?
Upgrading RAM enhances multitasking capabilities and speeds up data processing. More memory allows your system to handle multiple applications simultaneously without slowing down.
What are the signs that my PC needs more memory?
Common signs include frequent slowdowns, applications crashing, and the system struggling to handle basic tasks. If your PC freezes or takes longer to load programs, it might need a RAM upgrade.
How do I check if my motherboard supports additional RAM?
Refer to your motherboard manual or manufacturer’s website to verify compatibility. Check the maximum supported RAM capacity, type (DDR4, DDR5, etc.), and available slots.
What tools are needed for installing RAM?
A Phillips-head screwdriver and an anti-static wrist strap are essential. Ensure your PC is powered off and unplugged before starting the installation process.
How do I properly seat RAM sticks in the slots?
Align the notch on the RAM stick with the slot, then press firmly until the clips snap into place. Ensure the module is securely seated to avoid connection issues.
What should I do if my PC doesn’t recognize the new RAM?
Double-check the installation to ensure the RAM is properly seated. If the issue persists, reset the BIOS settings or update the BIOS firmware to ensure compatibility.
Can I mix different RAM brands or speeds?
While possible, mixing brands or speeds can lead to instability. For optimal performance, use identical RAM modules with matching specifications.
How much RAM is sufficient for modern applications?
For most users, 16GB is sufficient for multitasking and running modern applications. Gamers or professionals working with heavy software may benefit from 32GB or more.
Is it necessary to adjust BIOS settings after installing new RAM?
In most cases, the BIOS automatically detects the new RAM. However, you may need to enable XMP profiles for higher performance or manually adjust settings for optimal detection.


