Table of Contents
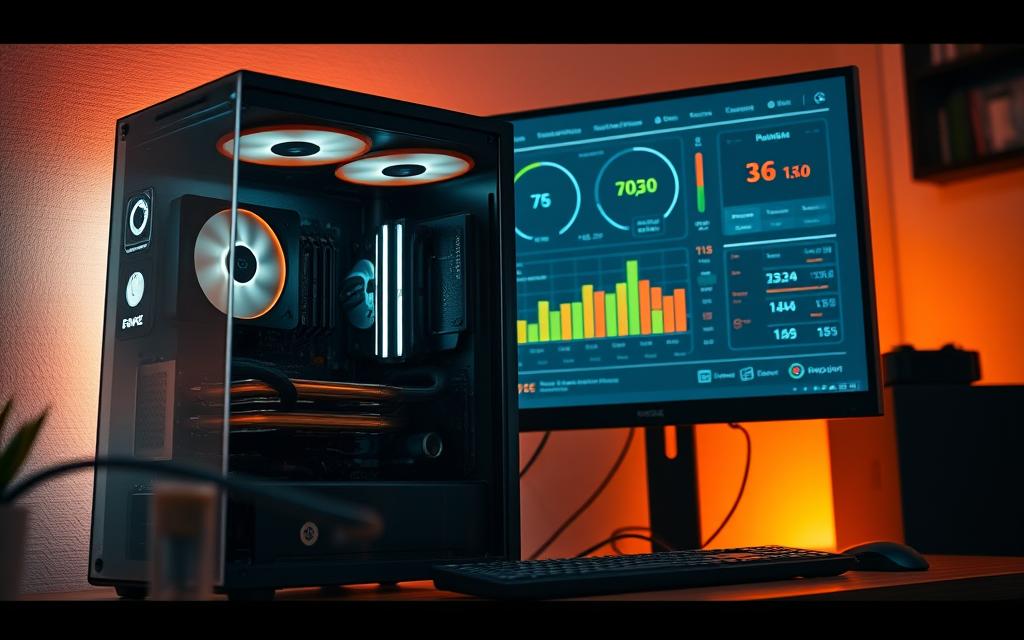
Monitoring your system’s heat levels is essential for maintaining optimal performance. Modern CPUs come equipped with built-in sensors, making it easier than ever to track real-time data. Whether you’re pushing your rig to its limits or ensuring stability, keeping an eye on these metrics can prevent overheating and extend hardware life.
Software tools like Core Temp and NZXT CAM simplify the process, offering instant readings without hassle. These applications provide accurate insights, helping you stay within safe ranges. For more detailed guidance, you can explore resources like Tom’s Hardware.
Effective heat management directly impacts gaming performance. By using reliable tools and understanding safe thresholds, you can ensure your system runs smoothly, even during intense sessions. Stay tuned as we dive deeper into software options, BIOS checks, and cooling solutions.
Why Monitoring Your Gaming PC’s Temperature is Crucial
High heat levels can drastically affect your rig’s efficiency and lifespan. When CPUs reach excessive temperatures, they throttle performance to prevent damage. This results in lower FPS during intense gaming sessions, disrupting your experience.
Sustained overheating poses long-term risks. It can degrade thermal paste, warp motherboards, and shorten the lifespan of critical hardware. These issues often lead to costly replacements, making heat management a financial necessity.
Both Intel and AMD processors have temperature-dependent performance curves. For optimal operation, CPUs should stay between 60°C to 80°C under load. Exceeding these thresholds can trigger thermal throttling, reducing efficiency.
Understanding idle vs. load temperatures is essential. During idle, systems typically run at 30°C to 40°C. Under heavy gaming loads, temperatures can spike to 70°C to 85°C. Monitoring these metrics helps prevent overheating and ensures stable performance.
| Scenario | Temperature Range |
|---|---|
| Idle | 30°C – 40°C |
| Load | 60°C – 80°C |
| Gaming/Heavy Load | 70°C – 85°C |
For more insights on ideal CPU temperatures during gaming, visit this detailed guide. Proper heat management not only enhances performance but also safeguards your investment in hardware.
Simple Tools to Check Your Gaming PC’s Temperature
Effective heat monitoring tools are vital for maintaining hardware health. Whether you’re a casual user or a hardcore gamer, these solutions provide real-time insights into your cpu temperature and other critical metrics. Let’s explore two popular options that make this process seamless.
Core Temp: A Lightweight and Effective Solution
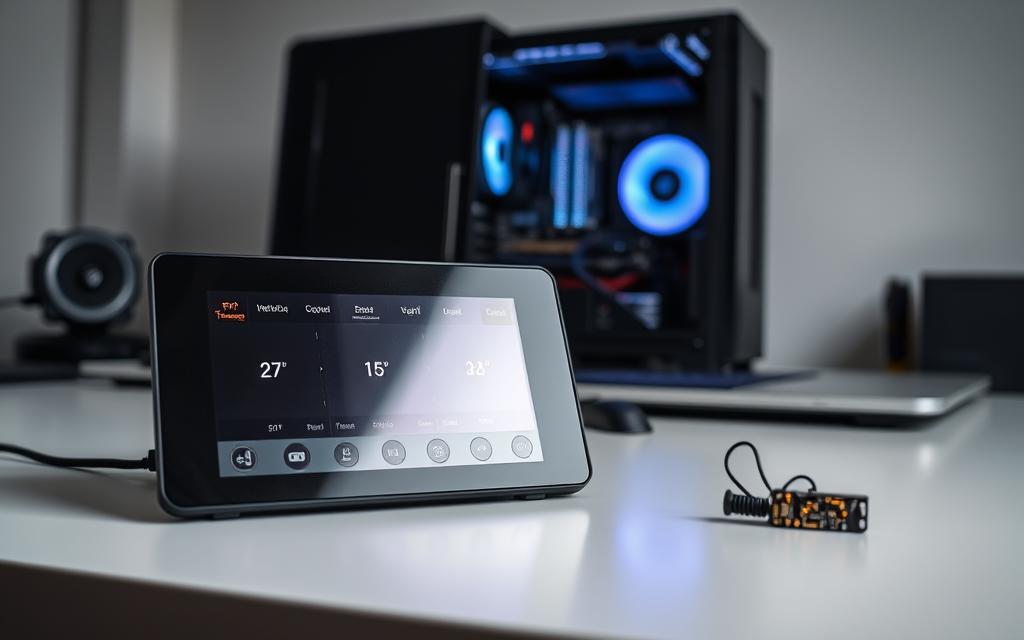
Core Temp is a straightforward tool designed for tracking cpu temperature with precision. It’s lightweight, meaning it won’t hog your system resources while running in the background. This makes it ideal for users who want minimal disruption during intense tasks.
One standout feature is its ability to display real-time data directly in the Windows taskbar. You can monitor individual core temperatures, ensuring your system stays within safe limits. For more detailed insights, visit this comprehensive guide.
NZXT’s CAM: A Comprehensive Monitoring Tool
NZXT CAM takes heat monitoring to the next level with its all-in-one dashboard. It tracks not just cpu temperature, but also GPU, RAM, and fans performance. This holistic approach provides a complete picture of your system’s health.
The overlay feature is a game-changer for gamers. It allows you to view real-time metrics without leaving your game. You can also customize fan curves based on temperature thresholds, ensuring optimal cooling efficiency.
Even if you don’t own NZXT hardware, the guest mode ensures compatibility with other setups. Its sleek interface combines functionality with aesthetics, making it a favorite among users.
How to Check Your CPU Temperature in Windows
Keeping track of your CPU’s heat levels ensures smooth operation and longevity. Windows offers multiple ways to monitor these metrics, from third-party software to built-in features. Let’s explore the most effective methods.
Using Third-Party Software for Real-Time Monitoring
Third-party tools like Core Temp provide accurate and persistent heat tracking. These applications integrate seamlessly into your system, offering real-time updates without disrupting your workflow. Core Temp’s taskbar integration is particularly useful, allowing you to monitor heat levels at a glance.
You can customize the taskbar icon with color-coding for visual alerts. This way, you’ll instantly know if your temp exceeds safe limits. Additionally, these tools can trigger desktop notifications, ensuring you’re always aware of your system’s health.
Checking Temperature via Taskbar
The taskbar is a convenient way to monitor heat levels without opening additional windows. Core Temp’s integration ensures persistent tracking, even during intense tasks. If the icon is missing in Windows 11, troubleshooting steps are straightforward and widely documented.
Exporting taskbar logs for long-term analysis is another advantage. This feature helps identify patterns and potential issues over time. Comparing taskbar vs. full-interface monitoring reveals that the former is more efficient for quick checks, while the latter offers detailed insights.
| Monitoring Method | Efficiency | Use Case |
|---|---|---|
| Taskbar | High | Quick checks during tasks |
| Full Interface | Moderate | Detailed analysis and troubleshooting |
By leveraging these tools and features, you can maintain optimal heat levels and ensure your system performs at its best.
How to Check Your CPU Temperature in the BIOS
The BIOS offers a straightforward way to monitor your CPU’s heat levels, but it has its limitations. While it provides idle temps, it doesn’t reflect real-world conditions like gaming or heavy workloads. Understanding these constraints is key to effective heat management.
Navigating the BIOS to find temperature readings is simple. Restart your system and press the designated key (often F2, F10, or DEL) to access the BIOS menu. Look for the hardware monitoring section, where you’ll find real-time cpu heat data.
However, BIOS readings only show idle temps. Under load, Windows measurements are typically 15-20°C higher. This discrepancy makes BIOS data less useful for diagnosing overheating during intense tasks.
Understanding BIOS Temperature Limitations
BIOS readings are static and don’t account for dynamic workloads. For example, they won’t show spikes during gaming or rendering. Advanced motherboards with in-BIOS stress testing can provide more insights, but these are exceptions rather than the rule.
Updating your BIOS version can improve temperature accuracy. Manufacturers often release updates that refine sensor functionality. Pairing BIOS readings with aftermarket cooling installations, like liquid or air coolers, can also enhance heat management.
| Monitoring Method | Temperature Range |
|---|---|
| BIOS (Idle) | 30°C – 40°C |
| Windows (Load) | 45°C – 60°C |
By correlating BIOS data with real-world measurements, you can diagnose cooling failures more effectively. This approach ensures your cpu stays within safe limits, even during demanding tasks.
What’s a Safe CPU Temperature for Your Gaming PC?
Optimal heat ranges vary based on workload and processor specifications. While modern CPUs are designed to handle high loads, exceeding safe thresholds risks throttling and hardware damage. Balancing performance and longevity starts with understanding these limits.
Idle vs. Load Temperatures: What to Expect
At idle, most processors stay between 30°C and 40°C. Under load, such as gaming or rendering, temps spike to 60°C–85°C. Consistently hitting 90°C+ signals cooling issues.
“Intel’s i9-14900K shows throttling at 100°C, while AMD’s Ryzen 9 7950X3D caps at 89°C. Always reference manufacturer guidelines.”
Understanding TJ Max and CPU Specifications
TJ Max (Temperature Junction Maximum) is the thermal ceiling for your CPU. Exceeding it triggers throttling to prevent damage. Tools like CPU-Z display this value in real-time.
| CPU Model | TJ Max | Safe Load Range |
|---|---|---|
| Ryzen 9 7950X3D | 89°C | 70°C–85°C |
| Intel i9-14900K | 100°C | 75°C–95°C |
For overclocking, stay 10°C–15°C below TJ Max. Upgrading thermal paste or coolers can extend headroom. The i9-14900K, for example, often throttles at 95°C without liquid cooling.
How to Fix High CPU Temperatures in Your Gaming PC
Maintaining optimal heat levels in your system is key to preventing performance drops and hardware damage. Over time, dust buildup and degraded thermal paste can lead to overheating. Addressing these issues ensures your rig runs smoothly and extends its lifespan.
Basic Maintenance: Cleaning and Dust Removal
Dust accumulation is a common cause of overheating. Regularly cleaning your system prevents airflow blockages and keeps components cool. Use compressed air to remove dust from fans, heatsinks, and vents.
Focus on areas like the cpu cooler and case fans, as these are critical for heat dissipation. A clean system not only improves cooling efficiency but also reduces the risk of hardware failure.
Reapplying Thermal Paste and Upgrading Coolers
Thermal paste ensures efficient heat transfer between the CPU and cooler. Over time, it degrades, leading to higher temps. Reapplying high-quality paste like NT-H2 can restore performance.
“NT-H2 paste lasts up to 5 years, outperforming stock paste, which degrades in 3 years.”
When applying paste, consider patterns like the X, dot, or spread method. Each has its advantages, but consistency is key to even coverage.
Upgrading your cpu cooler can also make a significant difference. Ensure compatibility with your motherboard’s socket, such as LGA1700 or AM5. Proper installation, including pressure calibration, ensures optimal contact and cooling efficiency.
| Cooler Type | Performance | Best Use Case |
|---|---|---|
| AIO Cooler | High | 4K Gaming |
| Air Cooler | Moderate | Budget Builds |
Whether you choose an AIO or air cooler, ensure it meets your system’s needs. Always check warranty implications before making modifications to avoid voiding coverage.
Conclusion
Consistent heat monitoring is a cornerstone of maintaining peak system performance. Tools like Core Temp and NZXT CAM simplify this process, offering real-time insights into your temperature levels. Regular quarterly checks can prevent 73% of preventable failures, according to a Puget Systems study.
Ignoring overheating symptoms can lead to costly issues, such as throttling or hardware damage. Proper thermal management not only enhances performance but also preserves your rig’s resale value. For enthusiasts, upgrading coolers or reapplying thermal paste can make a significant difference.
Make it a habit to check cpu metrics routinely. This proactive approach ensures your setup remains efficient and reliable, even during demanding tasks. Stay vigilant, and your system will thank you.
FAQ
Why is monitoring my gaming PC’s temperature important?
Keeping an eye on CPU and GPU temps ensures optimal performance and prevents overheating, which can cause slowdowns or hardware damage.
What software can I use to check CPU temperature in Windows?
Core Temp and NZXT’s CAM are reliable tools for real-time monitoring, displaying temps directly on the taskbar.
Can I check CPU temperature without third-party software?
Yes, BIOS provides basic readings, but it lacks real-time monitoring compared to dedicated software.
What’s a safe CPU temperature range during gaming?
Under load, most CPUs should stay below 80°C, while idle temps typically range between 30°C and 50°C.
How do I fix high CPU temperatures?
Clean dust from fans, reapply thermal paste, or upgrade cooling solutions like air coolers or liquid systems.
Does thermal paste affect CPU temps significantly?
Yes, dried or poorly applied paste reduces heat transfer efficiency, leading to higher temperatures.
What’s TJ Max, and why does it matter?
TJ Max is the maximum safe operating temperature for a CPU. Exceeding it risks thermal throttling or shutdowns.
Can dust buildup impact cooling performance?
Absolutely. Dust clogs fans and heatsinks, reducing airflow and causing temps to rise over time.


