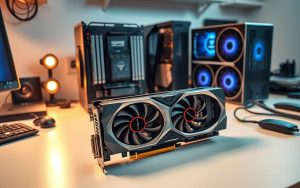
Table of Contents
Assembling a custom system is more accessible than ever. With the right guidance, even beginners can create a powerful setup tailored to their needs. Tools like PCPartPicker simplify the process by ensuring component compatibility, making it as straightforward as assembling IKEA furniture.
Choosing the right motherboard, case, and power supply is crucial. Coordinated kits, such as the Corsair Elite Build Kit, offer a seamless experience for first-timers. These kits include all essential components, saving time and reducing errors.
Cost-effectiveness is another major advantage. Custom builds often save 15-30% compared to prebuilt systems. With updated pricing trends, a high-performance setup featuring an Intel Core i7-13700K and RTX 4070 Ti can cost around $2,000. This guide will walk you through every step, ensuring a smooth and rewarding experience.
Introduction to Building Your Own Gaming PC
Customizing your own system offers unmatched flexibility and performance. The mid-2024 component market is dominated by DDR5 memory, ensuring faster speeds and better efficiency. Brands like Corsair simplify the process with their ecosystem approach, pairing the RM750e power supply with the MP600 SSD for seamless integration.
Choosing the right motherboard and case is critical. For example, the Asus Prime B660-Plus D4 supports 13th Gen Intel CPUs, while the Corsair 4000D Airflow case ensures optimal airflow and compatibility. Matching the motherboard form factor to the case size prevents installation issues.
RAM standards have evolved, with 32GB becoming the new norm for gaming. While 16GB remains the minimum, 32GB ensures smoother multitasking and future-proofing. RGB lighting, like Corsair’s SP120 fans, adds aesthetic appeal without compromising performance.
- Cost Savings: DIY builds save 15-30% compared to prebuilt systems.
- Longevity: Components typically last 5-7 years before needing upgrades.
- Tools: An anti-static mat is recommended to protect sensitive parts.
Whether you’re assembling a high-end rig or a budget-friendly setup, understanding these basics ensures a smooth and rewarding experience. From the graphics card to thermal paste, every detail matters in creating a system tailored to your needs.
Why Build a Gaming PC Instead of Buying One?
Building your own rig provides significant cost savings and upgrade flexibility. For example, the Corsair Elite Build Kit saves $400-600 compared to a comparable Alienware prebuilt system. This upfront saving is just the beginning. Over time, user-replaceable parts reduce long-term costs, making DIY builds a smarter investment.
Performance-per-dollar is another major advantage. Using the RTX 4070 Ti as a benchmark, custom setups deliver better value. Prebuilt systems often cut corners on components like the power supply or motherboard, limiting performance and future upgrades.
Upgrade flexibility is unmatched in DIY builds. Swapping an AM5 motherboard is straightforward, while OEM systems often restrict such changes. This adaptability ensures your system stays relevant for years. Aesthetic customization is another perk. Tempered glass cases showcase your build, while steel options prioritize durability.
- Warranty Advantages: Individual component warranties often outlast full system coverage.
- Educational Value: Troubleshooting and upgrading teach valuable skills.
- Resale Value: Custom builds retain over 40% of their value after three years.
Thermal management is superior in DIY setups. Proper airflow and cooling solutions extend the lifespan of your graphics card and other components. High-end power supplies often last through multiple builds, further enhancing cost-effectiveness.
In summary, building your own system offers unmatched control, savings, and longevity. From the motherboard to the case, every detail is tailored to your needs, ensuring a rewarding experience.
Essential Tools and Equipment You’ll Need
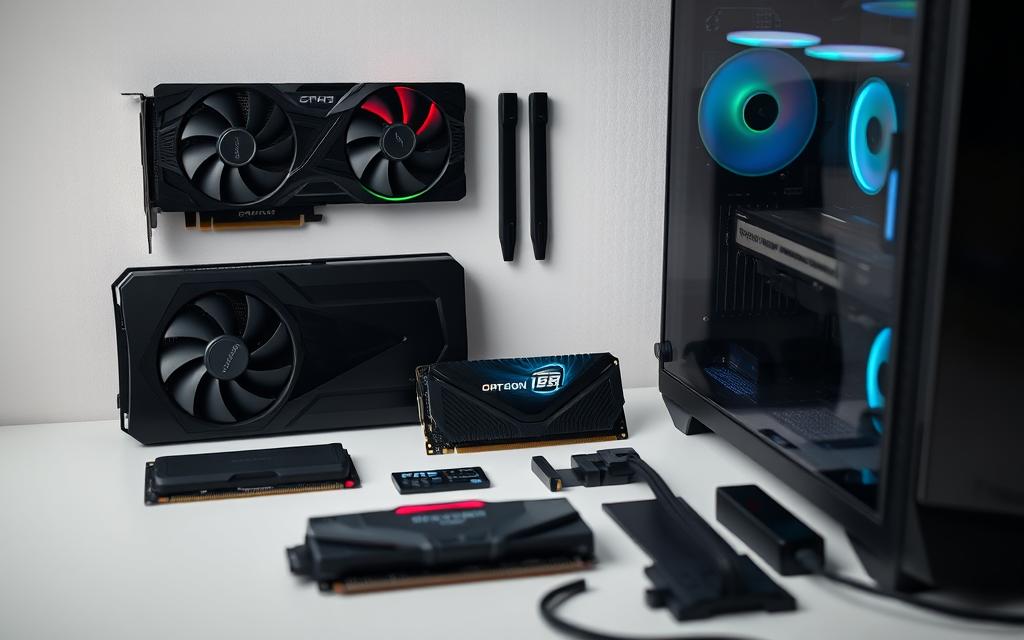
Having the right tools ensures a smooth and efficient assembly process. Whether you’re installing a motherboard or managing cables, proper equipment minimizes errors and saves time. Investing in quality tools simplifies the entire building experience.
Screwdrivers and Magnetic Tips
A reliable screwdriver set is a must-have. The Corsair PC Builder Toolkit ($39) includes a #2 Phillips with a magnetic tip, perfect for securing components like the motherboard and case. Smaller bits, such as #0, are ideal for installing M.2 SSDs.
Magnetic tips prevent screws from falling into tight spaces. For better organization, keep screws in labeled containers or use component boxes. A well-lit workspace with 500+ lumen task lighting ensures precision during assembly.
Anti-Static Wrist Strap
Static electricity can damage sensitive components. An anti-static wrist strap with a resistance value of 1 megohm protects your motherboard and other parts. If a wrist strap isn’t available, a grounded metal surface can serve as an alternative.
Always work on an anti-static mat or a non-conductive surface. This precaution ensures your components remain safe throughout the build process.
Thermal Paste and Cable Ties
Proper application of thermal paste ensures efficient heat transfer between the CPU and cooler. Cooler Master Mastergel Maker is a popular choice. Use the pea-sized method for even distribution.
For cable management, Velcro ties are reusable and flexible, while zip ties offer a more permanent solution. Neatly organized cables improve airflow and make future upgrades easier.
Specialty tools like M.2 standoff installation tweezers can simplify specific tasks. With the right tools and a well-prepared workspace, assembling your system becomes a rewarding experience. For more tips, check out this guide on screwdriver sets.
Understanding the Key Components of a Gaming PC
Each component plays a vital role in creating a high-performance setup. From the motherboard to the case, every part must work together seamlessly. Understanding their functions and interdependencies ensures a smooth and efficient build process.
Motherboard
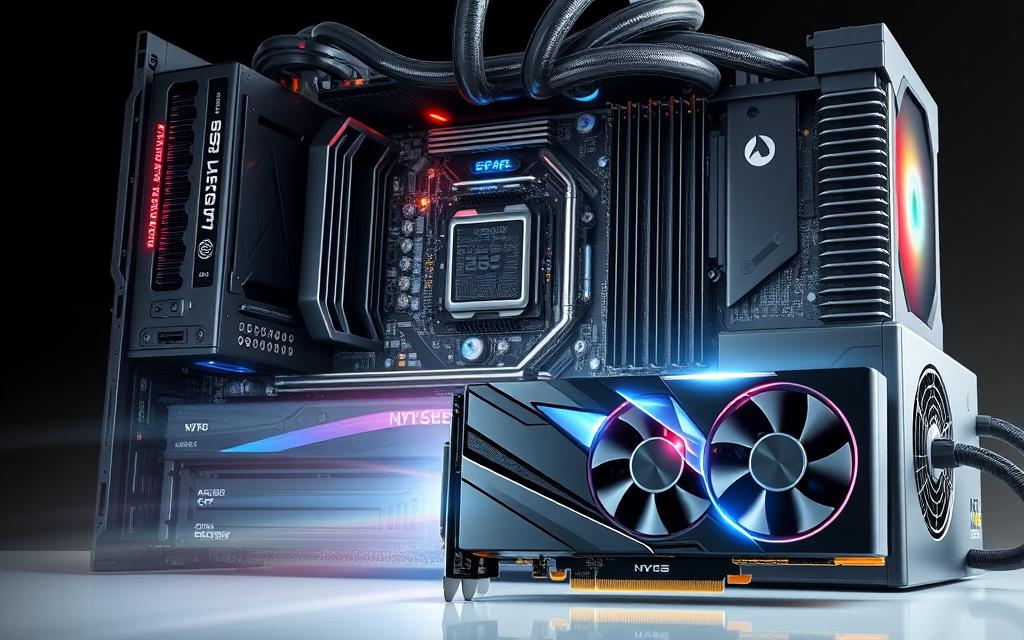
The motherboard is the backbone of your system. It connects all components, from the processor to the graphics card. Models like the Asus Prime B660-Plus D4 support PCIe 4.0, ensuring fast data transfer. Choosing the right chipset, such as Z790 or B760, depends on your performance needs and budget.
Processor (CPU)
The processor handles all computing tasks. Compatibility with the motherboard socket, like LGA1700 or AM5, is crucial. A powerful CPU ensures smooth multitasking and gaming performance. Always check the chipset hierarchy to match your CPU with the right motherboard.
Graphics Card (GPU)
The graphics card is essential for rendering visuals. It connects to the motherboard via a PCIe x16 slot. Ensure the slot matches the card’s physical and electrical requirements. A high-end GPU, like the RTX 4070 Ti, delivers stunning graphics and smooth gameplay.
Memory (RAM)
Memory affects multitasking and system speed. DDR5-6000 CL36 offers a balance between speed and latency. While 16GB is the minimum, 32GB ensures future-proofing and smoother performance. Always verify compatibility with your motherboard.
Storage (SSD/HDD)
Fast storage reduces load times and improves responsiveness. The Corsair MP600 SSD achieves read speeds of 4,950MB/s. Choose between M.2 2280 and 22110 form factors based on your motherboard’s capabilities. SSDs are preferred for gaming due to their speed.
Power Supply (PSU)
The power supply delivers energy to all components. Efficiency ratings like 80 Plus Gold or Titanium indicate reliability. A high-quality PSU ensures stable performance and longevity. Always match the wattage to your system’s needs.
PC Case
The case houses all components and affects airflow. Models like the Corsair 4000D Airflow improve cooling by 32%. Choose a case that matches your motherboard form factor and supports future upgrades. RGB synchronization using Corsair iCUE adds aesthetic appeal.
By understanding these components and their interdependencies, you can create a balanced and efficient system. From the motherboard to the case, every detail matters in achieving optimal performance.
How to Choose the Right Motherboard for Your Build
Selecting the ideal motherboard is a critical step in creating a high-performance system. It connects all components, from the processor to the graphics card, ensuring seamless functionality. A well-matched motherboard enhances both performance and upgrade potential.
When choosing a motherboard, consider the chipset. For example, the Asus Prime B660-Plus D4 supports 128GB DDR4, while the Gigabyte Z790 Gaming X offers 4 M.2 slots. Below is a comparison of popular chipsets:
| Chipset | Key Features |
|---|---|
| B660 | Supports DDR4, budget-friendly |
| Z790 | PCIe 5.0, overclocking support |
| B760 | DDR5 compatibility, mid-range |
VRM quality is essential for overclocking. High-quality VRMs ensure stable power delivery to the CPU. BIOS features also matter. Asus AI Tweaker and MSI Click BIOS offer advanced tuning options for enthusiasts.
PCIe lane distribution is another key factor. Ensure your motherboard has enough slots for your GPU, SSDs, and other expansion cards. USB headers are equally important. If you plan to use an internal hub, verify the ports available.
Memory compatibility is crucial. Always check the QVL list to ensure your RAM is supported. Form factor constraints, such as ATX vs mATX, also play a role. ATX boards offer more slots and ports, while mATX is compact and budget-friendly.
Wi-Fi 6E integration is worth considering for faster wireless connectivity. Finally, allocate 15-20% of your total budget to the motherboard. This ensures a balance between quality and cost.
By focusing on these factors, you can select a motherboard that meets your needs and complements your case and other components. A well-chosen motherboard ensures a smooth and efficient build process.
Selecting the Best Processor (CPU) for Gaming
Choosing the right processor is the cornerstone of any high-performance system. It handles all computing tasks, from gameplay to multitasking. Benchmarks show the Intel Core i7-13700K achieves a 5.4GHz boost, while the AMD Ryzen 7 7800X3D leads in gaming performance.
Core count and clock speed are critical factors. Higher core counts improve multitasking, while faster clock speeds enhance single-threaded performance. Balancing these ensures optimal results for both gaming and productivity workloads.
Thermal design power (TDP) is another key consideration. Lower TDP processors generate less heat, reducing the need for extensive cooling. However, high-performance CPUs often require robust fan systems or liquid cooling solutions.
- Overclocking Headroom: Some CPUs, like the Intel Core i7-13700K, offer significant overclocking potential for enthusiasts.
- iGPU Usefulness: Integrated graphics are invaluable for troubleshooting or running displays without a dedicated GPU.
- Cooler Compatibility: Ensure your CPU cooler supports the LGA1700 bracket for Intel or AM5 for AMD.
Future-proofing is essential. PCIe 5.0 support ensures compatibility with next-gen components, like faster SSDs and GPUs. This technology is becoming standard in modern processors.
Price-to-performance sweet spots lie in the $300-400 range. Models like the AMD Ryzen 7 7800X3D deliver exceptional gaming performance without breaking the bank. Always consider your specific needs when selecting a CPU.
In summary, the right processor balances performance, heat management, and budget. Whether you prioritize gaming or productivity, understanding these factors ensures a smooth and efficient experience.
Picking the Perfect Graphics Card (GPU)
The right graphics card can transform your gaming experience, delivering stunning visuals and smooth performance. Whether you’re playing at 1080p or 4K, the GPU is the heart of your system’s rendering capabilities.
When selecting a graphics card, consider the power requirements. For example, the PNY RTX 4070 Ti requires 285W, while the AMD RX 7900 XTX offers 24GB GDDR6 for high-resolution gaming. Ensure your case has enough clearance, as the Corsair 4000D supports GPUs up to 360mm in length.
Ray tracing performance is another key factor. NVIDIA’s RTX series excels in this area, while AMD’s RX 7000 series offers competitive alternatives. AI upscaling technologies like DLSS 3 and FSR 3 enhance performance without sacrificing image quality.
- VRAM Requirements: For 4K gaming, 12GB or more is recommended to handle high-resolution textures.
- Power Connectors: The 12VHPWR standard is becoming more common, so ensure your PSU supports it.
- Resizable BAR: This feature improves performance by allowing the CPU to access the GPU’s entire memory.
Multi-GPU setups are less common today, but some components still support this configuration. Used market options, like the 30-series, can offer value, but the 40-series provides better future-proofing.
In summary, choosing the right graphics card involves balancing power, compatibility, and performance. Whether you prefer NVIDIA or AMD, understanding these factors ensures a seamless gaming experience.
How Much RAM Do You Need for Gaming?
Understanding the right amount of memory for your system is crucial for optimal performance. Whether you’re multitasking or running demanding games, the amount of RAM directly impacts your experience. Corsair Vengeance RGB RS 32GB DDR4-3200 is a popular choice, but DDR5-6000 offers a 12% average FPS gain, making it a strong contender for future-proofing.
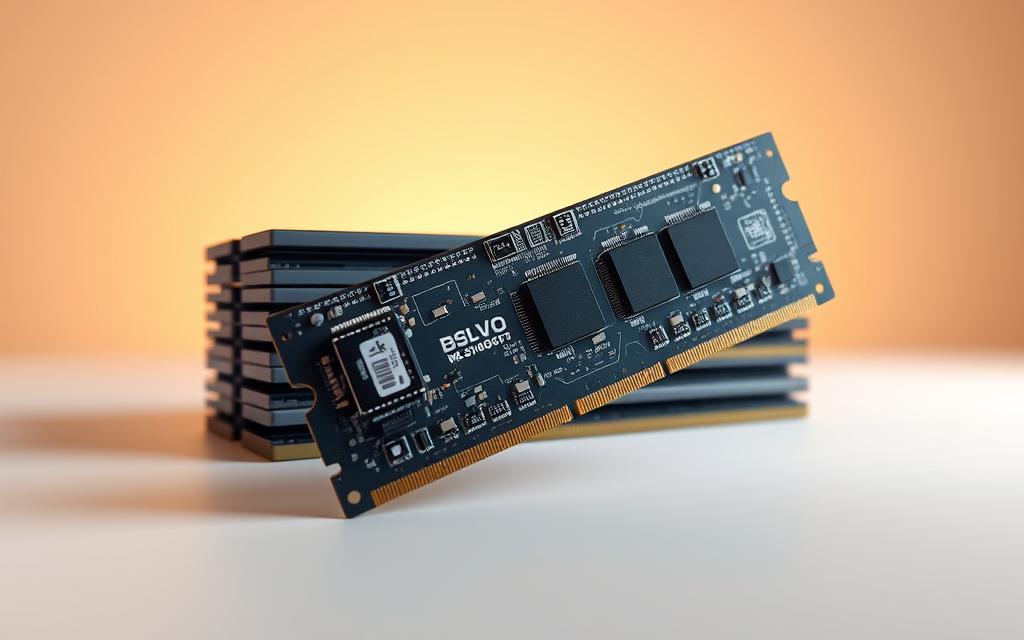
When deciding between DDR4 and DDR5, consider your motherboard compatibility. DDR5 provides faster speeds and better efficiency, but DDR4 remains a cost-effective option for budget builds. Below is a comparison of the two:
| Type | Speed | Latency | Cost |
|---|---|---|---|
| DDR4 | Up to 3200MHz | CL16-CL22 | Budget-friendly |
| DDR5 | Up to 6000MHz | CL36-CL40 | Premium pricing |
Dual-channel configurations are standard for most builds, offering a balance between performance and cost. Quad-channel setups are ideal for high-end systems but require compatible motherboard slots. Activating XMP or EXPO profiles ensures your RAM runs at its advertised speed, maximizing performance.
RGB lighting synchronization can be challenging with mixed kits. Always use matched sets to avoid compatibility issues. Capacity vs speed tradeoffs are another consideration. While 32GB is the sweet spot for gaming, 16GB remains viable for budget builds.
- Mixing Kits: Avoid combining different RAM kits to prevent instability.
- Upgrade Paths: Choose a motherboard with extra slots for future expansions.
- Latency: Lower CL timings improve responsiveness, especially in gaming.
- Budget: Allocate 10-15% of your total budget to memory for a balanced build.
In summary, selecting the right RAM involves balancing speed, capacity, and compatibility with your motherboard. Whether you choose DDR4 or DDR5, understanding these factors ensures a smooth and efficient experience.
Storage Options: SSD vs. HDD for Gaming
The choice between SSD and HDD can significantly impact your system’s performance and load times. For example, the Corsair MP600 SSD loads Cyberpunk 2077 in just 4.2 seconds, while an HDD takes 28 seconds. This stark difference highlights the importance of selecting the right storage solution for your setup.
When it comes to speed, SSDs are unmatched. PCIe 4.0 and 5.0 drives offer lightning-fast read and write speeds, making them ideal for gaming. NVMe M.2 SSDs deliver even better performance, ensuring smoother gameplay and improved graphics. In contrast, HDDs are slower but remain a cost-effective option for bulk storage.
Compatibility with your motherboard and case is crucial. Ensure your motherboard supports the drive’s form factor, whether it’s M.2 or SATA. Heat spreaders are often required for high-performance SSDs to prevent overheating, especially in compact cases with limited airflow.
- DRAM Cache: SSDs with DRAM cache offer better performance and longevity.
- TLC vs QLC: TLC drives provide higher endurance, while QLC drives are more affordable.
- RAID 0: Combining multiple SSDs in RAID 0 can double your read and write speeds.
- DirectStorage API: This technology reduces load times by allowing the GPU to access storage directly.
Cost per GB is another consideration. While SSDs are more expensive, their performance benefits often justify the investment. For those on a budget, a combination of SSD for the operating system and games, paired with an HDD for bulk storage, offers a balanced solution.
In summary, choosing the right storage solution involves balancing speed, compatibility, and cost. Whether you opt for an SSD or HDD, understanding these factors ensures a smooth and efficient gaming experience. For more insights, check out this detailed comparison.
Choosing the Right Power Supply (PSU)
The power supply is the unsung hero of any high-performance system. It ensures all components receive stable energy, preventing crashes and extending their lifespan. A poorly chosen power supply can lead to inefficiency or even damage your setup.
When selecting a power supply, consider efficiency ratings like 80 Plus. The Corsair RM750e, for example, offers 92% efficiency, reducing energy waste and heat output. Use tools like the PCPartPicker calculator to determine your system’s minimum wattage—typically 650W for mid-range builds.
Modular vs non-modular power supplies is another key decision. Modular units allow you to connect only the cables you need, improving airflow and simplifying cable management. Non-modular options are more affordable but can clutter your case.
ATX 3.0 compatibility is essential for modern builds. This standard supports transient power spikes, ensuring stability during intense gaming sessions. Multi-rail designs offer better protection for individual components, while single-rail units provide more flexibility.
| Feature | Modular | Non-Modular |
|---|---|---|
| Cable Management | Easier | |
| Cost | Lower | |
| Airflow | Improved | Standard |
Fan curve optimization is another consideration. High-quality power supplies adjust their fan speed based on load, reducing noise and improving longevity. Warranty length is a strong indicator of reliability—look for units with 7-10 years of coverage.
Future-proofing is crucial. Choose a power supply with extra wattage headroom to accommodate upgrades. A well-selected unit ensures your system remains stable and efficient for years to come.
Selecting a PC Case That Fits Your Style and Needs
Your PC case is more than just a shell; it’s the foundation of your build. It houses all your components, ensures proper airflow, and reflects your personal style. Choosing the right one is essential for both performance and aesthetics.
Thermal performance is a top priority. The Corsair 4000D Airflow, for example, improves cooling by 32% compared to traditional designs. In contrast, the NZXT H510 Elite focuses on sleek aesthetics but may require additional fans for optimal airflow.
Compatibility with your motherboard and other components is crucial. Ensure the case supports your motherboard form factor, whether it’s ATX, mATX, or ITX. Radiator support is another key feature, especially for liquid cooling setups.
- Tool-Free Design: Cases like the Fractal Design Meshify C offer easy installation with tool-free drive bays and panels.
- HDD Mounting Options: Look for versatile mounting systems to accommodate multiple drives.
- Vertical GPU Compatibility: Some cases allow vertical GPU mounting for better airflow and aesthetics.
- Noise Dampening Materials: Cases with soundproofing reduce noise, ideal for quiet environments.
I/O panel comparisons are also important. USB-C ports and audio jacks should be easily accessible. Weight distribution is another consideration, especially for larger builds. Custom panel modifications, like tempered glass or mesh, add a personal touch.
In summary, selecting the right case involves balancing airflow, compatibility, and design. Whether you prioritize performance or aesthetics, understanding these factors ensures a smooth and efficient build process.
Step-by-Step Guide to Assembling Your Gaming PC
Putting together your system requires precision and attention to detail. Each step ensures optimal performance and longevity. Follow this guide to assemble your components seamlessly.
Installing the Motherboard
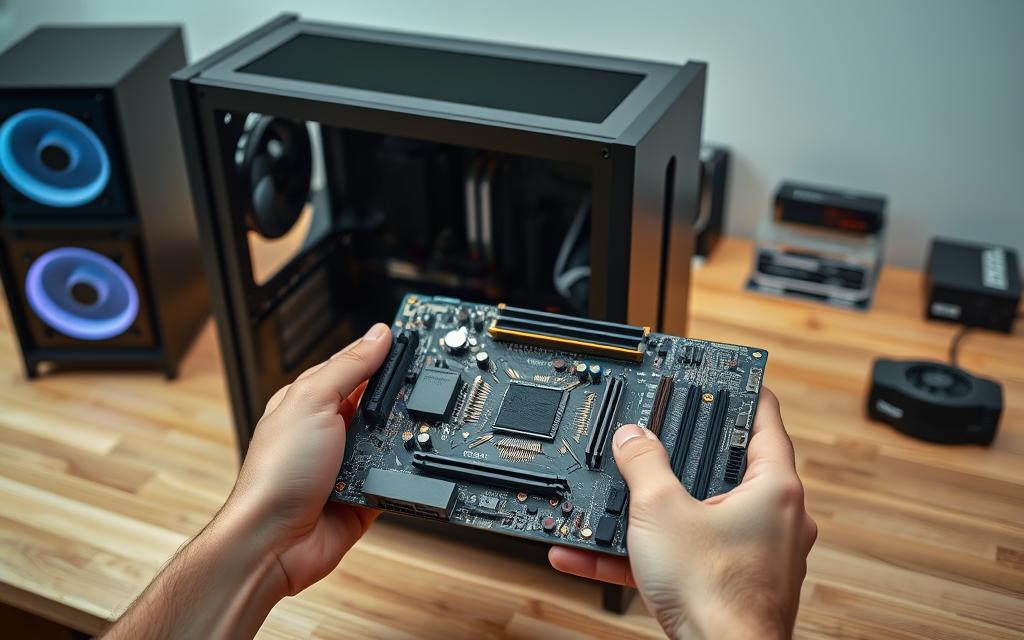
Start by identifying the standoff screws in your case. These prevent the motherboard from touching the metal surface. Align the motherboard with the standoffs and secure it using the provided screws. Apply 3-5 in-lb of torque to avoid over-tightening.
Mounting the CPU and Cooler
Place the CPU into the socket, aligning the markers on the chip and socket. Apply a pea-sized amount of thermal paste to the CPU. Attach the cooler, ensuring even pressure. For Intel LGA1700, use 50-80 in-lb of pressure for proper contact.
Inserting the RAM
Open the DIMM slots on the motherboard. Insert the RAM sticks, starting with the second slot for dual-channel configurations. Press down until the clips snap into place. Ensure the slots are populated in the correct order for optimal performance.
Installing the GPU
Locate the PCIe x16 slot on the motherboard. Remove the corresponding case slot cover. Insert the GPU, ensuring it’s seated firmly. Use a support bracket to prevent GPU sag, especially for heavier cards.
Adding Storage Drives
For M.2 SSDs, secure the drive with the provided screws at 3-5 in-lb torque. For SATA drives, connect the cables to the motherboard and power supply. Daisy-chain SATA power cables for efficient cable management.
Connecting the Power Supply
Position the power supply with the fan facing downward for optimal airflow. Connect the 24-pin and 8-pin cables to the motherboard. Ensure all cables are routed neatly to avoid obstructing airflow.
Cable Management Tips
Use Velcro ties or zip ties to secure cables. Route them behind the case panel for a clean look. Custom cable solutions, like sleeved extensions, can enhance aesthetics while improving airflow.
After assembly, perform a test boot to ensure all components are functioning correctly. This step confirms proper installation and prevents potential issues.
Installing the Operating System and Drivers
Setting up your operating system and drivers is a critical step in optimizing your system’s performance. Proper installation ensures all components work seamlessly together. Begin by configuring your BIOS settings for a smooth setup process.
First, decide between UEFI and Legacy boot modes. UEFI is recommended for modern systems due to its faster boot times and support for larger drives. Enable Secure Boot to enhance security by preventing unauthorized software from loading during startup.
For Windows 11, ensure your motherboard supports TPM 2.0. This requirement enhances security features like BitLocker encryption. If you’re using RAID configurations, inject the necessary drivers during the OS installation process.
Asus Armoury Crate simplifies driver installations by automating the process. It detects and installs the latest drivers for your components, saving time and reducing errors. For GPU drivers, choose between Nvidia Studio and Game Ready versions based on your usage.
- RGB Control Software: Use tools like Corsair iCUE to synchronize lighting across your system.
- BIOS Updates: Regularly update your BIOS to ensure compatibility and stability.
- Driver Rollback: If an update causes issues, revert to a previous version using the Device Manager.
- Backup Image Creation: Create a system image for quick recovery in case of failures.
Properly installing your OS and drivers ensures your system runs efficiently. From BIOS configurations to driver updates, every detail matters in achieving optimal performance.
Testing and Troubleshooting Your New Gaming PC
Ensuring your system runs smoothly requires thorough testing and troubleshooting. Start by pressing the power button to boot up your setup. Listen for any unusual sounds or error codes during the POST (Power-On Self-Test) process. These codes can indicate issues with your components or slots.
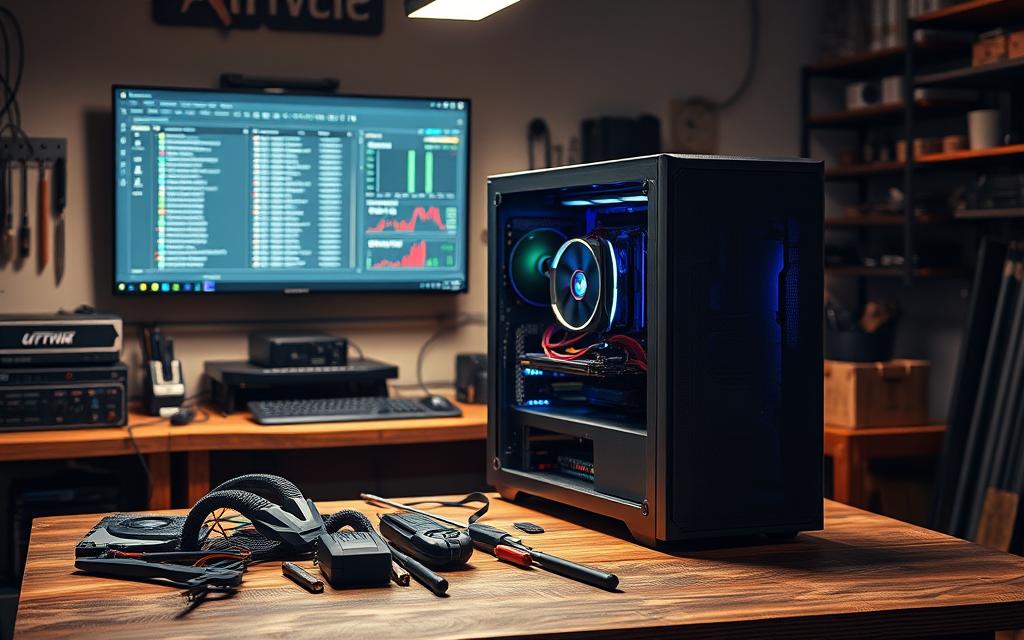
Run diagnostic benchmarks like 3DMark Time Spy to stress-test your GPU and CPU. This tool evaluates performance under heavy loads, ensuring stability. For CPU validation, use Prime95 with small FFTs. This test pushes your processor to its limits, helping identify any heat or stability issues.
Thermal imaging analysis is another effective method. Use tools like FLIR to monitor heat distribution across your components. Overheating can damage your system, so ensure your fan curve is optimized for cooling. Adjust the curve in your BIOS to balance noise and performance.
Undervolting your CPU and GPU can reduce heat and improve efficiency. Tools like Intel XTU or MSI Afterburner simplify this process. BlueScreenView is invaluable for diagnosing crashes. It analyzes minidump files to pinpoint faulty drivers or hardware.
If issues persist, follow a systematic component swapping order. Replace one part at a time to isolate the problem. Keep detailed RMA documentation for warranty claims. This ensures a smooth replacement process if needed.
| Tool | Purpose |
|---|---|
| 3DMark Time Spy | GPU and CPU stress testing |
| Prime95 | CPU validation and stability |
| FLIR | Thermal imaging analysis |
| BlueScreenView | Crash diagnosis |
Proper testing and troubleshooting ensure your system performs at its best. From the power button to the fan curve, every detail matters in achieving optimal performance.
Conclusion: Enjoy Your Custom Gaming PC
Your custom setup is now ready to deliver an exceptional experience. With all components in place, your system is optimized for performance and longevity. This is just the beginning of your journey into the world of personalized computing.
Explore advanced options like overclocking or custom water cooling to push your system further. Syncing peripherals such as your mouse and keyboard enhances usability, while integrating a streaming setup opens new possibilities for content creation.
Engage with communities like PCMag’s Rigged Up forum or Corsair’s Discord channels for support and inspiration. Share your build, learn from others, and stay updated on the latest trends. Regular maintenance and a clear upgrade roadmap will ensure your components remain efficient over time.
By taking these steps, you’re not just building a system—you’re creating a way to enjoy technology tailored to your needs. Enjoy the process and the results of your hard work!
FAQ
What tools are essential for assembling a gaming PC?
Key tools include a Phillips-head screwdriver with magnetic tips, an anti-static wrist strap to prevent damage from static electricity, thermal paste for CPU cooling, and cable ties for efficient cable management.
How do I choose the right motherboard for my build?
Select a motherboard that matches your processor’s socket type, supports your desired RAM speed, and has enough expansion slots for components like the GPU and storage drives. Consider future upgrades when making your choice.
What factors should I consider when selecting a CPU?
Focus on core count, clock speed, and compatibility with your motherboard. For gaming, a mid-range processor like AMD Ryzen 5 or Intel Core i5 often provides excellent performance without breaking the budget.
How much RAM is sufficient for gaming?
Most modern games run smoothly with 16GB of RAM. However, if you multitask heavily or play demanding titles, 32GB may be a better option for future-proofing your system.
Should I choose an SSD or HDD for storage?
An SSD offers faster load times and better performance for your operating system and games. Pair it with an HDD for additional storage capacity if needed, as HDDs are more cost-effective for larger files.
How do I ensure my power supply is adequate?
Calculate the total power consumption of your components and choose a PSU with a wattage rating 20-30% higher than that figure. Look for 80 Plus certification for efficiency and reliability.
What should I look for in a PC case?
Ensure the case supports your motherboard size, has adequate airflow, and enough space for components like the GPU and cooling system. Aesthetics and cable management features are also important considerations.
How do I install the motherboard correctly?
Align the motherboard with the standoffs in the case, secure it with screws, and connect the power button, USB ports, and other front-panel cables according to the manual. Double-check all connections before powering on.
What’s the best way to manage cables inside the case?
Use cable ties to bundle wires neatly, route them behind the motherboard tray if possible, and avoid blocking airflow. Proper cable management improves cooling and makes future upgrades easier.
How do I test my new gaming PC after assembly?
Power on the system, enter the BIOS to check component recognition, and run stress tests using software like Prime95 or FurMark. Monitor temperatures and ensure all parts function correctly before installing the operating system.


