Table of Contents
Managing deleted files on Android devices can feel confusing. Unlike desktop systems, Android uses a fragmented approach. Each app often has its own trash folder for temporary storage.
For example, Google Photos keeps deleted files for 30 days. Samsung devices, especially after the One UI 6.0 update, offer a unique implementation. Understanding these differences is crucial for effective storage management.
App-specific trash folders allow recovery of accidentally deleted content. However, permanent deletion removes files entirely. Knowing how to navigate these options ensures better device performance and prevents data loss.
Understanding the Recycle Bin on Android Phones
Android devices handle deleted files differently compared to desktop systems. Unlike Windows or Mac, Android doesn’t have a universal recycle bin android feature. Instead, each app manages its own trash folder, making it essential to understand these app-specific implementations.
What is the Recycle Bin on Android?
On Android, deleted files aren’t immediately erased. Instead, they remain in their original location but are marked as replaceable. This means the space they occupy can be overwritten by new data. Apps like Google Photos and Gmail retain deleted files android for 30 days, allowing users to recover them if needed.
This app-specific approach contrasts with desktop systems, where a centralized recycle bin stores all deleted files. Android’s method ensures better storage management, especially on devices with limited storage capacities ranging from 8GB to 256GB.
Why is There No Dedicated Recycle Bin on Android?
Android’s lack of a system-wide recycle bin android is primarily due to storage constraints. With varying storage capacities across devices, a universal trash folder could quickly consume valuable space. Additionally, immediate deletion enhances security by reducing the risk of unauthorized access to sensitive data.
Manufacturers like Samsung have introduced their own trash management systems, such as the Gallery app’s recycle bin. These variations highlight the flexibility of Android’s ecosystem while addressing limited storage concerns. Cloud integration further influences deletion patterns, with apps like Google Drive offering temporary storage for deleted files.
Where is the Recycle Bin on My Phone?
Navigating deleted files on Android requires understanding app-specific trash systems. Each app manages its own trash folder, making recovery options unique. This approach ensures flexibility but demands familiarity with individual apps.
Accessing the Trash Folder in Google Photos
Google Photos stores deleted items in its trash folder for 30 days. To access it, open the Photos app, tap the Library tab, and select Trash. This feature allows recovery of accidentally deleted photos or videos within the retention period.
Once the 30-day limit passes, files are permanently erased. This policy balances storage efficiency with user convenience.
Finding the Trash Folder in Gmail
Gmail’s trash folder stores deleted emails temporarily. To locate it, open the app, tap the three horizontal lines (menu), and select Trash. Emails remain here for 30 days before being permanently deleted.
This system ensures accidental deletions can be reversed, provided the email hasn’t been cleared from the folder.
Locating the Trash Folder in Dropbox
Dropbox retains deleted files in its trash folder for 30 days. To access it, open the app, tap the three horizontal lines, and select Deleted files. Users can restore files within this period.
After 30 days, files are permanently removed. This feature is particularly useful for recovering accidentally deleted documents.
| App | Trash Folder Location | Retention Period |
|---|---|---|
| Google Photos | Library > Trash | 30 days |
| Gmail | Menu > Trash | 30 days |
| Dropbox | Menu > Deleted files | 30 days |
“Understanding app-specific trash systems ensures you never lose important files accidentally.”
How to Access the Recycle Bin in Samsung Devices
Samsung devices offer unique ways to manage deleted files. With the One UI 6.0 update, Samsung introduced a unified trash management system. This feature spans across apps like My Files, Gallery, and Voice Recorder, making it easier to handle deleted content.
Using the Gallery App to Find the Recycle Bin
The gallery app on Samsung devices stores deleted photos videos for 30 days. To access it, open the app, tap the menu, and select Recycle Bin. Here, you can restore or permanently delete items. This ensures accidental deletions can be reversed within the retention period.
Files in the gallery app recycle bin are limited to images and videos. Voice recordings and other file types are managed separately. This distinction helps optimize storage and streamline recovery processes.
Accessing the Recycle Bin via Samsung Cloud
For cloud-based recovery, samsung cloud syncs deleted files across devices. To use this feature, ensure your device is connected to the cloud. Open the My Files app, navigate to Recycle Bin, and restore or delete items as needed.
Cloud synchronization requires an active Samsung account and sufficient storage space. Files remain in the cloud recycle bin for 30 days before being permanently erased. This integration enhances data security and accessibility.
“Unified trash management in Samsung devices ensures seamless recovery of deleted files.”
Managing Deleted Files in the Recycle Bin
Deleted files aren’t gone forever—learn how to manage them effectively. Whether you need to recover files or ensure they’re permanently deleted, understanding the process is crucial. This section covers restoration and permanent deletion workflows across apps.
Restoring Files from the Recycle Bin
Restoring deleted files varies by app. For example, Google Photos allows recovery within 30 days. Open the app, navigate to the Trash folder, and select the files you want to restore. This process is similar in Gmail and Dropbox.
Batch restoration is also possible. Select multiple files and restore them simultaneously. This feature saves time and ensures you don’t lose important data.
Permanently Deleting Files from the Recycle Bin
When you’re ready to delete files permanently, most apps offer a straightforward process. In Google Photos, tap the three-dot menu and select Empty Trash. This action removes all items from the recycle bin immediately.
For sensitive data, permanent deletion is essential. Always confirm the action to avoid accidental loss. Once files are permanently deleted, recovery is impossible.
| App | Restoration Process | Permanent Deletion Process |
|---|---|---|
| Google Photos | Library > Trash > Restore | Three-dot menu > Empty Trash |
| Gmail | Menu > Trash > Restore | Three-dot menu > Empty Trash |
| Dropbox | Menu > Deleted files > Restore | Three-dot menu > Delete Permanently |
“Properly managing your recycle bin ensures you never lose important data accidentally.”
How to Recover Permanently Deleted Files Without a Recycle Bin
Accidentally deleting files on Android doesn’t always mean they’re gone for good. Even without a system-wide recycle bin, there are ways to retrieve lost files. Understanding these methods can save you from losing important data permanently.
Using Third-Party Data Recovery Tools
Third-party data recovery tools like UltFone Android Data Recovery and Recoverit SD Card Recovery can help. These tools scan your device or SD card for traces of deleted files. A deep scan digs deeper into the storage, while a quick scan is faster but less thorough.
Success rates depend on factors like time since deletion and whether the storage has been overwritten. Rooting your device may be required for advanced recovery, but it’s not always necessary. Commercial tools often offer higher success rates compared to open-source alternatives.
Steps to Recover Lost Files
If you want recover deleted files, follow these steps. First, stop using the device immediately to prevent overwriting data. Next, download a reliable file recovery tool and connect your device to a computer.
Run a scan to locate deleted files. Once found, select the items you wish to restore and save them to a secure location. For recover photos or other media, ensure the tool supports specific file types. Cloud backups can also serve as an alternative if available.
“Third-party recovery tools can be a lifesaver when you accidentally delete important files.”
Emptying the Recycle Bin to Free Up Space
Freeing up space on your device often starts with emptying the trash folder. Regularly clearing deleted items ensures your device runs smoothly and optimizes storage. Each app handles this process differently, so understanding the steps is key.
How to Empty the Recycle Bin in Google Photos
In Google Photos, deleted files stay in the trash folder for 30 days. To clear them, open the app, go to the Library tab, and select Trash. Tap the three horizontal lines, choose Empty Trash, and confirm. This action permanently removes all items.
Clearing the Recycle Bin in Gmail
Gmail’s trash folder also retains emails for 30 days. To empty it, open the app, tap the menu, and select Trash. Click Empty Trash Now to delete all emails permanently. This step helps free up storage and keeps your inbox organized.
Deleting Files from the Dropbox Recycle Bin
Dropbox stores deleted files in its trash folder for 30 days. To clear it, log in via the web interface, navigate to Deleted files, and select Permanently delete. This process ensures your cloud storage remains efficient.
“Regularly emptying your trash folder is a simple yet effective way to manage device storage.”
For more detailed steps on managing trash folders, check out this guide.
Tips for Managing Storage on Your Android Phone
Optimizing storage on Android devices ensures smoother performance and prevents clutter. With limited space and increasing app sizes, effective management is essential. Here are practical strategies to keep your device running efficiently.
Regularly Clear Cache and Junk Files
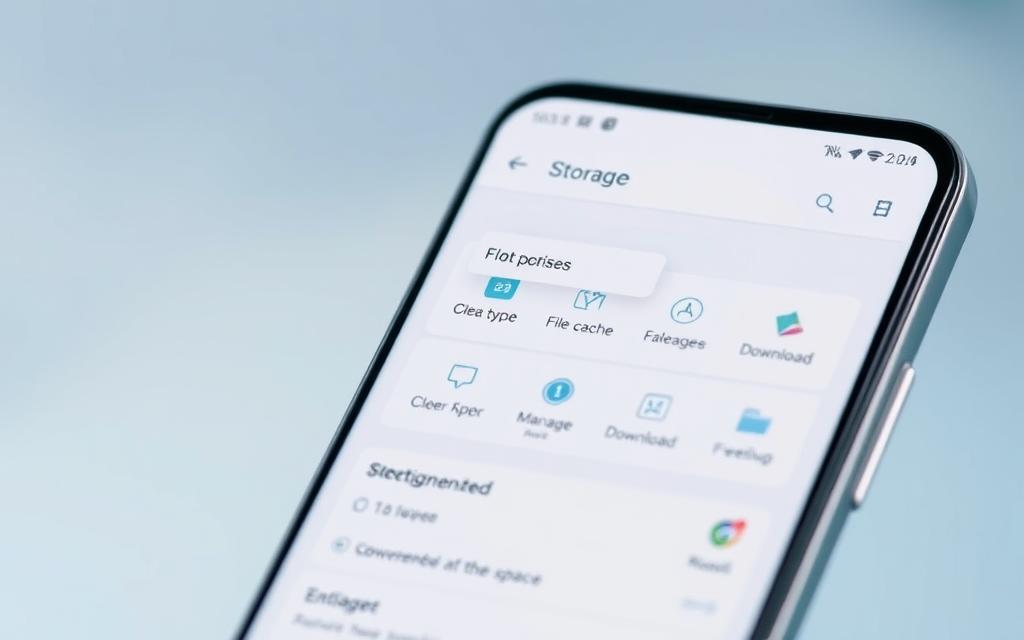
Over time, apps accumulate cache and junk files, consuming valuable storage. Use native tools like Smart Storage in Android 8+ to automate cleanup. Navigate to settings, select Storage, and tap Free Up Space to remove unnecessary data.
Third-party tools like Duplicate File Fixer can also help. These apps identify redundant files, such as duplicate photos videos, and allow bulk deletion. Regular maintenance prevents slowdowns and frees up space for new content.
Use Cloud Storage to Backup Important Files
Cloud services like Google Drive and Samsung Cloud offer secure backups for files. Uploading photos videos and documents ensures they’re safe even if your device is lost or damaged. Compare the features of popular cloud services to choose the best fit.
| Service | Free Storage | Key Features |
|---|---|---|
| Google Drive | 15GB | Integration with Google apps, easy sharing |
| Samsung Cloud | 5GB | Device synchronization, automatic backups |
Monitor and Delete Unnecessary Downloads
The Downloads folder often becomes a dumping ground for unused files. Organize it regularly by deleting outdated documents, media, and installation packages. Enable storage alerts in settings to receive notifications when space is low.
For photos videos, consider offloading them to an SD card or external drive. This strategy keeps your internal storage free for essential apps and system updates.
“Effective storage management ensures your Android device remains fast and clutter-free.”
Conclusion
Effectively managing deleted content on Android requires understanding app-specific systems. Each platform, like Google Photos or Samsung’s Gallery, has its own recycle bin with a 30-day recovery window. This feature ensures you can recover deleted items before they’re permanently erased.
Proactive storage maintenance is essential for keeping your android device running smoothly. Regularly audit your files and clear unnecessary data to free up space. Remember, once items are permanently deleted, they cannot be restored.
As mobile technology evolves, future trends may simplify file recovery. For now, implementing these techniques ensures you stay in control of your data. Start managing your recycle bin today to avoid accidental loss and optimize your device’s performance.
FAQ
What is the Recycle Bin on Android?
The Recycle Bin on Android is a temporary storage location for deleted files, such as photos, videos, and documents. It allows users to recover accidentally deleted items before they are permanently removed from the device.
Why is there no dedicated Recycle Bin on Android?
Android does not have a universal Recycle Bin because it relies on individual apps to manage deleted files. Apps like Google Photos, Gmail, and Dropbox have their own trash folders to store deleted items for a limited time.
How do I access the Recycle Bin in Google Photos?
Open the Google Photos app, tap the three horizontal lines in the top-left corner, and select “Trash” or “Bin.” Here, you can view and restore deleted photos and videos within 30 days.
Where can I find the Recycle Bin in Gmail?
In Gmail, deleted emails are moved to the “Trash” folder. You can access it from the app’s menu. Items in the Trash folder are automatically deleted after 30 days.
How do I locate the Recycle Bin in Dropbox?
In Dropbox, deleted files are stored in the “Deleted Files” section. Open the app, tap “Files,” and select “Deleted Files” to recover or permanently delete items.
How do I restore files from the Recycle Bin?
Open the app where the files were deleted (e.g., Google Photos or Dropbox), navigate to the trash folder, select the items, and tap “Restore” to recover them to their original location.
Can I recover permanently deleted files without a Recycle Bin?
Yes, you can use third-party data recovery tools like DiskDigger or Dr.Fone to recover lost files. These tools scan your device for recoverable data, even if it was permanently deleted.
How do I empty the Recycle Bin in Google Photos?
Open the Google Photos app, go to the “Trash” folder, and tap “Empty Trash” to permanently delete all items stored there and free up storage space.
What are some tips for managing storage on my Android phone?
Regularly clear cache and junk files, use cloud storage for backups, and monitor downloads to delete unnecessary files. These steps help optimize storage and keep your device running smoothly.


