Table of Contents
Ever wondered what determines the clarity of a captured image from your display? The answer lies in resolution and pixels. Every screenshot matches the dimensions of your monitor, meaning higher resolutions produce sharper results.
Standard displays range from 1,280×1,024 (1.3MP) to 1,800×1,440. For example, a 1080p screen captures 2.07MP, while 4K delivers 8.29MP. The total count comes from multiplying width by height—1920×1080 equals ~2.07 million pixels.
Remember, quality isn’t just about megapixels. Pixel density (PPI) also affects sharpness. A smaller screen with identical resolution looks crisper than a larger one.
What Are Megapixels and How Do They Relate to Screenshots?
Pixels form the backbone of every digital image you see on screens. A megapixel equals one million pixels, and this count directly impacts image resolution. Higher megapixels mean more detail, but other factors like pixels per inch (PPI) also play a role.
Defining Megapixels and Image Resolution
Screens use RGB (Red, Green, Blue) pixels to create colors, while printers rely on CMYK (Cyan, Magenta, Yellow, Key/Black) dots. This difference affects how visuals appear:
- PPI: Measures pixel density on screens (e.g., 72 PPI for monitors).
- DPI: Refers to dots per inch in printed materials (e.g., 300 DPI for photos).
“RGB is ideal for digital displays, while CMYK ensures accurate print colors.”
How Screen Resolution Translates to Megapixels
To calculate megapixels, multiply the width and height of your screen resolution, then divide by one million. For example:
| Resolution | Calculation | Megapixels |
|---|---|---|
| 2560×1440 | 2,560 × 1,440 ÷ 1,000,000 | 3.69MP |
Dot pitch (0.25mm–0.31mm) further refines sharpness. Smaller gaps between pixels mean crisper visuals. Remember, a high-resolution screenshot won’t match print quality unless adjusted for dots per inch.
Calculating Megapixels in Your Computer Screenshot
Understanding your screenshot’s clarity starts with resolution math. The total pixels determine detail, and converting these to megapixels is straightforward.
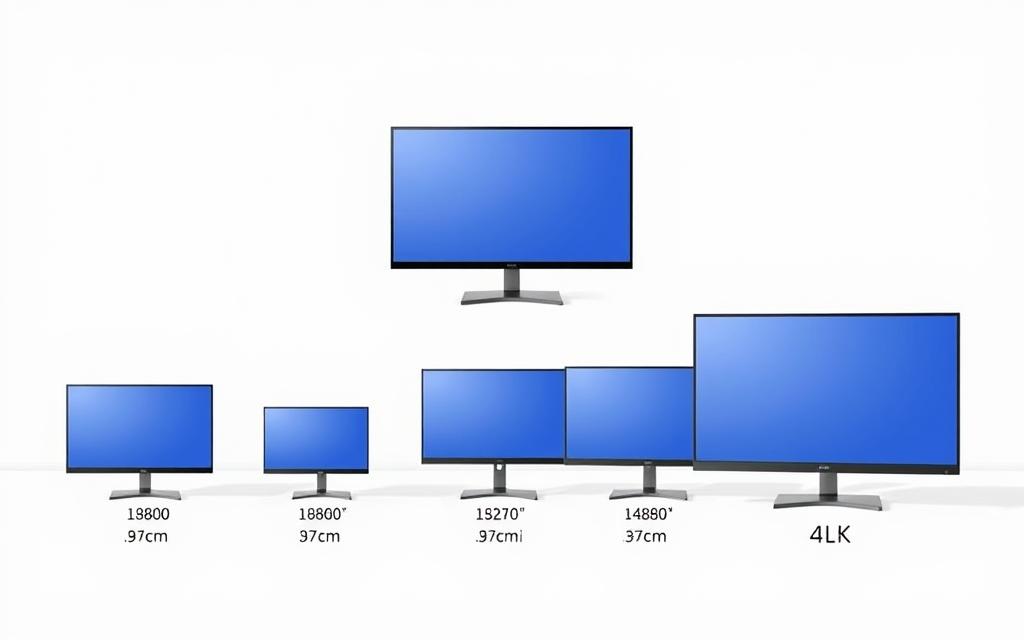
Breaking Down Common Resolutions
Popular display standards like 1080p, 1440p, and 4K directly affect image quality:
- 1080p (1920×1080): Delivers 2.07MP—ideal for everyday use.
- 1440p (2560×1440): Offers 3.69MP, 78% sharper than 1080p.
- 4K (3840×2160): Packs 8.29MP, demanding 4x more storage space.
The Megapixels Formula
Use this to convert resolution to megapixels:
Megapixels = (Width × Height) ÷ 1,000,000
For example, a 1440p screen:
| Resolution | Calculation | Result |
|---|---|---|
| 2560×1440 | (2,560 × 1,440) ÷ 1,000,000 | 3.69MP |
Aspect ratios like 16:9 or 21:9 alter vertical pixels. Wider screens capture more horizontal detail. Note: Scaling settings (e.g., 150% zoom) reduce effective resolution.
For gaming PC setups, higher resolutions enhance visuals but require powerful hardware.
How Screen Resolution Affects Screenshot Quality
Screen clarity and print quality follow different rules. What looks crisp on a monitor may appear blurry on paper due to DPI vs. PPI differences. Understanding these distinctions ensures your captures meet their intended purpose.
DPI vs. PPI: Understanding the Difference
PPI (pixels per inch) measures digital sharpness, while DPI (dots per inch) applies to printers. Screens typically use 72 PPI, but printers demand 300 DPI for photo-quality output.
For example, an 8K screenshot (33MP) wastes space if printed at 8×10 inches. Printers cap at 300 DPI, so excess pixels get discarded. Always match resolution to output needs.
Why Higher Megapixels Don’t Always Mean Better Quality
More pixels increase file size without improving sharpness if pixel density (PPI) remains low. A 6MP image cropped to 25% loses 75% of its detail, emphasizing density over total count.
Compression also affects results. JPEGs introduce artifacts, while PNGs preserve clarity. Choose formats based on usage:
- Web/email: JPEG (smaller size).
- Editing/printing: PNG (lossless).
“Billboards use 72 DPI—proof that context dictates resolution needs.”
Upscaling degrades quality, so capture at the highest native resolution possible. For printers, 300 DPI remains the gold standard.
Practical Tips for High-Quality Screenshots
Capturing crisp screenshots requires more than just pressing a button. Display settings and file format choices directly impact clarity and usability. Follow these steps to ensure professional results.
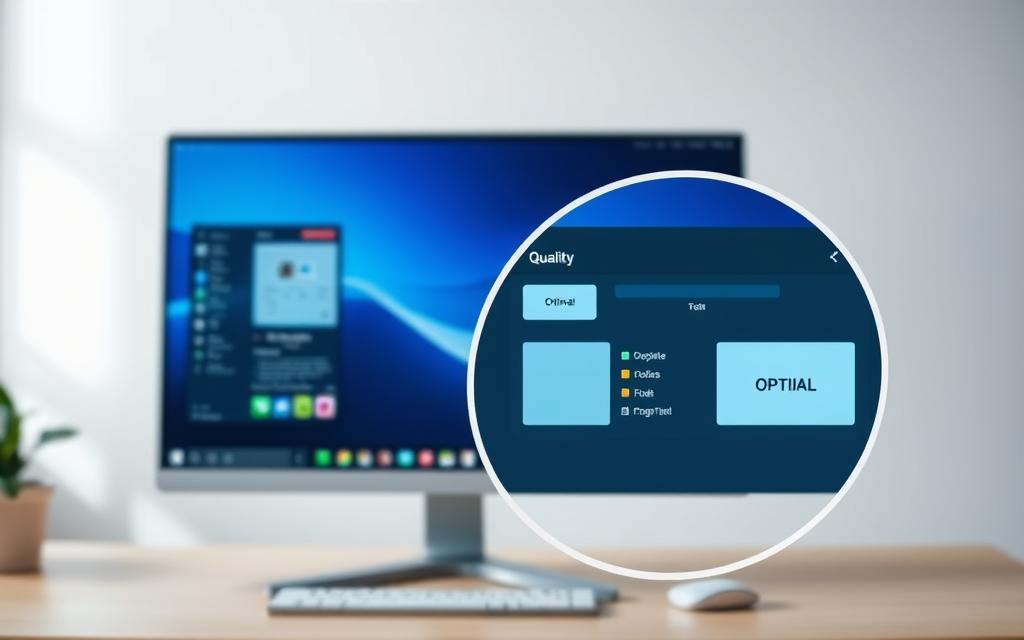
Optimizing Display Settings for Clarity
Set your screen scaling to 100% before capturing. Scaling distorts pixel density, reducing sharpness. Tools like Windows Snipping Tool or macOS Screenshot preserve native resolution.
For Retina displays, like the MacBook Pro, screenshots default to 72dpi but retain full detail. Adjust brightness and contrast to avoid washed-out images.
Choosing the Right File Format
PNG is ideal for text or graphics—it’s lossless and preserves color accuracy. JPEG suits photos but uses compression, which may introduce artifacts.
- For editing or printing, use PNG.
- For web sharing, JPEG balances file size and quality.
“Upscaling screenshots degrades quality—always capture at native resolution.”
Save originals separately to avoid recompression losses. A 1200×1800 JPEG at 300dpi averages 1.5MB, while PNGs are larger but sharper.
Conclusion: Balancing Megapixels and Practical Needs
Getting the best image quality means matching resolution to your purpose. For web use, 2MP works well, while 4K editing benefits from 8MP or higher. Choose file formats wisely—PNG for crisp text, JPEG for smaller file sizes.
Monitors can’t show more detail than their native pixel density. Remember the formulas: Megapixels = (Width × Height) ÷ 1,000,000, and print size = pixels ÷ DPI. For prints viewed from 2+ feet, 200 DPI often suffices.
Professional prints need 300 DPI, but digital sharing works fine at 72 PPI. Pixel density impacts sharpness, so always capture at your screen’s highest resolution.
Balance file size, clarity, and practical needs for the best results.
FAQ
What determines the resolution of a screenshot?
The resolution depends on your display settings. Common resolutions like 1080p (1920×1080) or 4K (3840×2160) define the pixel count captured in the image.
Does a higher screen resolution mean better screenshot quality?
Not always. While more pixels increase detail, factors like color accuracy, compression, and file format (PNG vs. JPEG) also impact overall quality.
How do I calculate megapixels from my screen resolution?
Multiply the width by height in pixels (e.g., 1920×1080 = 2,073,600 pixels) and divide by 1 million. A 1080p screenshot equals roughly 2.1 megapixels.
What’s the difference between DPI and PPI in screenshots?
DPI (dots per inch) refers to printer density, while PPI (pixels per inch) measures screen sharpness. Screenshots use PPI since they’re digital.
Why does my screenshot look blurry when printed?
Printing requires higher DPI (300+). If your screenshot has low resolution (e.g., 72 PPI), enlarging it for print reduces clarity.
Which file format preserves screenshot quality best?
PNG offers lossless compression, ideal for sharp text/graphics. JPEG is smaller but may lose detail due to compression.
Can I improve screenshot quality after taking it?
Editing tools like Photoshop can sharpen or resize, but they can’t add missing pixels. Always capture at the highest native resolution.


