Table of Contents
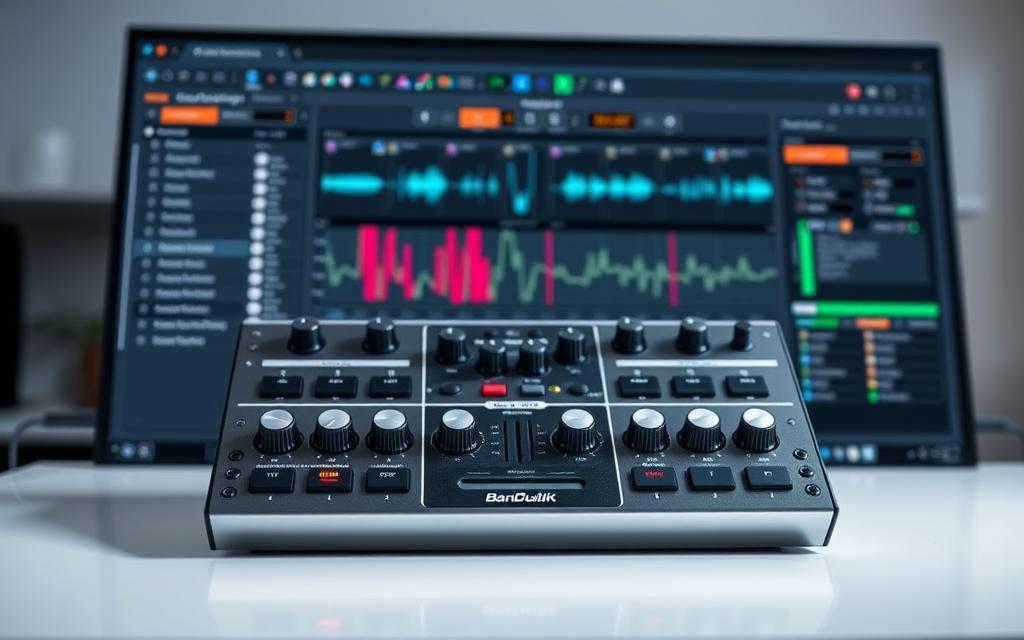
Transforming a standard keyboard into a dynamic MIDI controller unlocks creative possibilities in Cakewalk by BandLab. This approach eliminates the need for expensive hardware, making it ideal for budget-conscious producers.
The software’s touchscreen detection ensures seamless integration, automatically adjusting the Virtual Controller for optimal performance. Features like Sustain and Octave controls enhance flexibility, while Take All Keystrokes mode captures every input.
Whether crafting beats in a home studio or on the go, this method delivers professional-grade results. It’s a game-changer for musicians seeking efficiency without compromising quality.
Introduction to Using Your Keyboard as a Drum Kit
Mapping your typing device to trigger drum sounds opens new creative avenues. MIDI technology assigns each key to specific percussion elements, like snares or hi-hats. This method eliminates hardware dependencies, ideal for quick music sketches.
Activate the *Take All Keystrokes* mode to capture every input. Found in the Virtual Controller (labeled E), this feature ensures no stroke goes unregistered. Sensitivity adjustments refine responsiveness for dynamic performances.
Benefits include:
- Portability: Work anywhere without bulky equipment
- Speed: Test ideas faster than traditional pad controllers
- Adaptability: Seamless integration with Cakewalk’s touchscreen support
Professionals leverage this setup for electronic genres, where rapid iteration is crucial. The workflow mirrors studio-grade tools, democratizing access to high-quality production.
How to Use a Computer Keyboard with Drum Kit on Cakewalk
Producers can bypass hardware limitations by leveraging built-in MIDI mapping tools in Cakewalk BandLab. This section details the three-step process to configure your setup for realistic drum programming.

Step 1: Launch the Virtual Controller
Navigate to Views > Virtual Controllers and select Piano Keyboard (ALT+SHIFT+0) or Computer Keyboard (ALT+0). The panel appears as an overlay, ready for MIDI input.
Step 2: Assign to a MIDI/Instrument Track
Expand the Track Inspector and set the input to Omni mode or a specific channel. For multi-track projects, assign unique channels to avoid conflicts.
- Multi-track strategy: Label channels by percussion type (e.g., Channel 1 for kicks, Channel 2 for snares).
- Input visibility: Ensure the track pane is fully expanded to access all controls.
Step 3: Optimize Octave and Sustain
Adjust the octave range (C0-C9) using LEFT/RIGHT arrow keys or GUI buttons. Activate Sustain via the TAB key or Hold button for extended notes.
Tip: Use lower octaves for bass drums and higher ranges for cymbals to mimic acoustic kit layouts.
Advanced Tips for Optimal Performance
Mastering velocity and modulation transforms basic beats into dynamic compositions. These techniques add depth to digital percussion, making productions sound more organic. Quick shortcuts streamline workflow, letting creators focus on artistry.
Adjusting Velocity and Modulation
Velocity determines how hard a drum sounds when triggered. Press UP/DOWN arrow keys to adjust intensity across 10 levels. Higher values create punchier kicks, while lower settings work for subtle hi-hats.
Modulation alters electronic drum textures. Use numeric keys 1-5 to control effects:
| Key | Modulation Level | Best For |
|---|---|---|
| 1 | OFF | Acoustic drum emulation |
| 3 | Medium | House/Techno grooves |
| 5 | MAX | Experimental EDM effects |
Keyboard Shortcuts for Efficiency
Memorize QWERTY key positions to build muscle memory. Black/white key assignments remain consistent across international layouts. This ensures reliable performance anywhere.
- Polyphonic play: Multi-touch monitors allow simultaneous pad triggers
- Custom binds: Remap functions via Cakewalk’s key binding menu
- Octave jumps: SHIFT+LEFT/RIGHT arrows for rapid range changes
Producers often assign frequently used drums to home row keys for ergonomic access during long sessions.
Conclusion
In wrapping up,trackassignments significantly boost workflow efficiency. Assigning specific keys to percussion elements ensures smooth sessions.Cakewalk by BandLabremains a budget-friendly powerhouse for home studios, offering professional tools without hefty costs.
For enhanced control, pair your setup with a basic MIDI controller. Adjust buffer sizes to minimize latency—lower values improve real-time response. Hybrid setups combining typing devices and pads provide flexibility for diversemusicstyles.
ExploreCakewalk Pro’s advanced MIDI featuresfor deeper customization. Experimentation unlocks unique sounds, making every beat distinct.
Keep refining your approach. The right balance of tools and technique elevates productions from simple sketches to polished tracks.
FAQ
Can I use a standard computer keyboard as a MIDI drum controller in Cakewalk?
Yes, Cakewalk by BandLab allows mapping your QWERTY keyboard to trigger drum sounds via the Virtual Controller. Enable it in the MIDI Devices settings.
How do I assign specific keys to drum pads in Cakewalk?
Open the Virtual Controller (Shift+B), select your MIDI track, and manually map keys to drum sounds by clicking “Learn” and pressing the desired key.
Why aren’t my keyboard inputs triggering drum sounds?
Ensure the track is armed for recording, the correct MIDI input is selected, and the Virtual Controller is properly mapped. Check Preferences > MIDI > Playback and Recording.
Can I adjust drum pad sensitivity when using a keyboard?
Yes. Modify velocity curves in the Virtual Controller or use Cakewalk’s MIDI FX to fine-tune responsiveness for more dynamic performances.
Are there keyboard shortcuts to speed up drum programming?
Absolutely. Customize shortcuts under Preferences > Keyboard Shortcuts for actions like loop recording or switching between drum presets.
Does Cakewalk support sustain pedal emulation for keyboard drums?
Yes. Assign a key to act as a sustain trigger in the Virtual Controller settings, or use MIDI CC messages for extended note holds.


