Table of Contents
Capturing high-quality sound directly from a system has become essential for creators, podcasters, and archivists. Whether preserving vintage media or producing modern content, reliable methods make all the difference.
Two primary approaches exist: digital software solutions and physical hardware connections. Cable-based techniques offer distinct benefits, including consistent performance across different operating systems and minimal software interference.
This guide explores professional-grade setups using tools like Audacity and OBS while focusing on Windows 10/11 compatibility. Discover how to achieve CD-quality results through proper configuration and troubleshooting common issues.
For those seeking hardware reliability, 3.5mm cable connections provide a straightforward solution. Always consider copyright regulations when capturing protected material.
Software-Based Methods to Record Computer Audio
Software solutions unlock high-fidelity system audio recording without extra hardware. Each method balances quality, compatibility, and ease of use.
Using Stereo Mix or “What U Hear”
Stereo Mix captures analog output directly from Windows sound settings. Enable it via:
- Right-click the speaker icon > Sounds > Recording tab
- Enable “Stereo Mix” (disabled by default)
- Set as default input in recording software
Note: Driver updates may restore missing options. Analog conversion slightly reduces clarity.
Recording with Audacity’s WASAPI Loopback
Audacity’s WASAPI mode bypasses analog conversion for digital precision:
- Select “Windows WASAPI” in audio host settings
- Choose loopback output matching default speakers
- Adjust sample rate (44.1kHz recommended)
Multi-channel setups require manual configuration in Edit > Preferences > Devices.
Capturing Audio via Open Broadcast Software (OBS)
OBS offers real-time mixing for streams or local recordings:
| Setting | Value | Purpose |
|---|---|---|
| Audio Source | Desktop Audio | System-wide capture |
| Format | MP4/MKV | Balances quality & size |
| Bitrate | 192 kbps | CD-quality output |
Convert files to MP3 using VLC if needed. Isolate applications via audio mixer filters.
Performance Tip: WASAPI uses 5% less CPU than Stereo Mix in benchmarks. OBS adds ~10% overhead during encoding.
How to Record Audio from a Computer with a Cable
Physical connections eliminate software dependency for reliable recordings. Unlike digital methods, cables ensure consistent signal transfer regardless of system updates or driver issues.
Required Equipment: Cables and Adapters
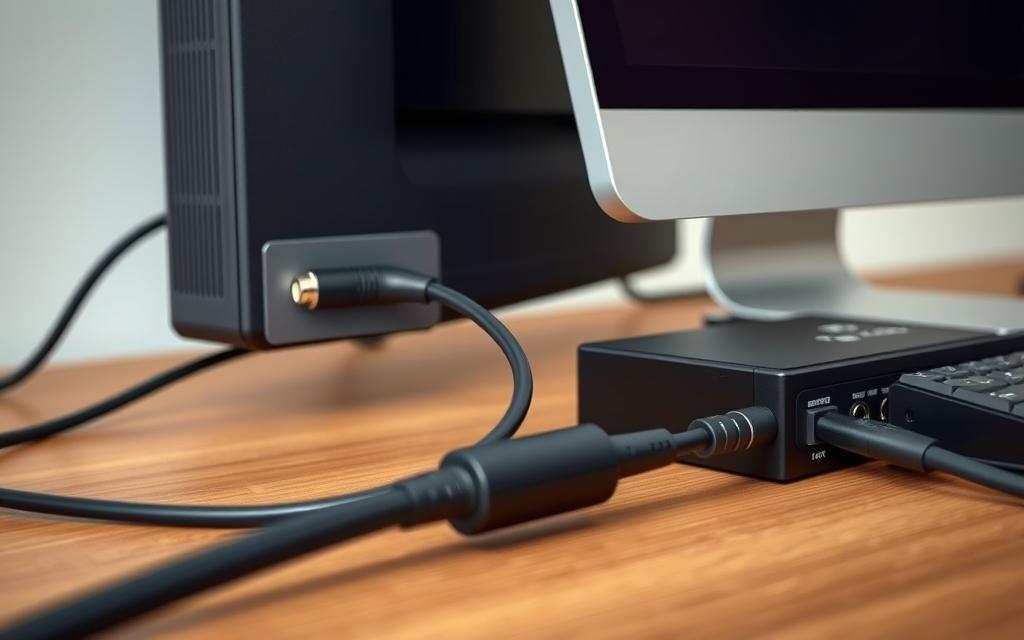
A 3.5mm male-to-male cable is essential for most setups. TRRS connectors work with combo jacks, while shielded cables reduce interference. Modern devices may need adapters:
- USB-C to 3.5mm: For laptops without dedicated audio ports
- Gold-plated connectors: Enhance durability and signal clarity
- Ground loop isolators: Prevent humming from electrical interference
Connecting the Cable to Your Computer
Identify color-coded jacks: blue for line-in, pink for microphone. For hardware loopback:
- Plug one end into the headphone output
- Connect the other to the line-in input
- Use a splitter if monitoring through speakers
Configuring Audio Input Settings
Adjust Windows sound settings to enable line-in monitoring:
| Setting | Value | Effect |
|---|---|---|
| Recording Device | Line-In | Sets input source |
| Levels | 70-80% | Prevents distortion |
| Listen | Disabled | Avoids feedback loops |
Test latency with Audacity’s recording monitor. Analog setups typically add 5-10ms delay versus software solutions.
Step-by-Step Recording Process
Professional audio capture demands precise software configuration for flawless results. Follow these stages to ensure optimal quality from setup to final export.
Setting Up Your Recording Software
Begin by launching Audacity or your preferred DAW. Navigate to Edit > Preferences > Devices to select the correct input (e.g., “Line-In” for cables). Set the sample rate to 24-bit/96kHz for archival-quality WAV files.
Enable real-time monitoring to detect latency issues early. For MP3 exports, install the LAME encoder separately. Save these configurations as a project template for future sessions.
Starting and Stopping the Recording
Assign hotkeys like Shift+Space to start/stop recordings swiftly. Monitor input levels to avoid clipping—keep peaks below -6dB. Use punch-in/punch-out editing for error correction without restarting.
For long sessions, enable auto-save and backup to cloud storage. Split tracks into logical segments using markers for easier post-production.
Saving and Exporting Your Audio File
Choose formats based on purpose: WAV for editing, MP3 for distribution. Embed metadata like track titles and ISRC codes for organization. Apply loudness normalization to -16 LUFS for broadcast standards.
| Format | Bit Depth | Use Case |
|---|---|---|
| WAV | 24-bit | Mastering/archival |
| MP3 | 192 kbps | Streaming/email |
| FLAC | 16-bit | Lossless compression |
Verify file integrity with checksums before archiving. Batch-process multiple recordings using FFmpeg for efficiency.
Conclusion
Achieving professional-grade audio capture requires understanding both technical and legal aspects. Always comply with DMCA regulations and fair use policies when recording copyrighted material.
For optimal results, the Audacity + WASAPI method delivers high-quality output with minimal latency. Explore communities like the Audio Engineering Society for continuous learning.
Final Checklist:
– Verify input/output levels
– Use 24-bit WAV for mastering
– Test ground loops in hardware setups
Share your experiences or questions below. For advanced techniques like multitrack recording, stay tuned for future guides.
FAQ
What software can I use to record system sound?
Popular options include Audacity, OBS Studio, and Voicemeeter. Audacity supports WASAPI loopback, while OBS provides advanced streaming and recording features.
Do I need special cables to capture audio from a PC?
A standard 3.5mm aux cable or USB audio interface works for most setups. Some systems may require an adapter if using line-in connections.
Why isn’t my microphone input detected?
Check Windows Sound Settings to ensure the correct input source is selected. Verify cable connections and driver updates if issues persist.
How do I enable Stereo Mix in Windows?
Right-click the speaker icon, select Sounds > Recording tab, then enable Stereo Mix if available. Note: Some manufacturers disable this feature.
Can I record both system output and microphone simultaneously?
Yes. Tools like OBS Studio allow multi-track recording. Configure separate audio sources in the software’s settings panel.
What file formats support high-quality recordings?
A: WAV offers uncompressed quality, while MP3 provides smaller file sizes. Audacity and OBS support both formats during export.
How do I prevent audio lag during recording?
Reduce buffer size in your software settings and close background applications. USB audio interfaces typically offer lower latency than onboard sound cards.
Where are my recordings saved by default?
Most programs save to the Documents or Music folder. Check the software’s preferences to customize the save location.


