Table of Contents
Setting up a Brother printer with your computer ensures smooth printing for work or personal use. Whether using a wired or wireless connection, the process is straightforward with the right guidance.
This guide covers essential steps, from driver installation to troubleshooting. Popular models like the RJ-3150Ai and PJ-773 are included for reference. Proper preparation prevents common setup issues.
Compatibility with Windows and macOS systems is addressed. The instructions differentiate between temporary USB connections and permanent wireless configurations. Official Brother software tools simplify the process.
Prerequisites for Adding Your Brother Printer
Proper preparation is key to successfully linking your printer with your system. Verify compatibility, power needs, and tools before starting. This reduces errors and speeds up the process.
Check Printer Compatibility
Confirm your model works with your OS. For example, the RJ-3150Ai supports Windows 10/11 and macOS 12+. Visit Brother’s website for the latest drivers.
Wireless models need an AC adapter or Li-ion battery. Alkaline batteries won’t suffice. Locate the serial number on the back or inside the battery cavity.
Gather Necessary Tools and Information
Prepare these items:
- A USB cable for temporary connections
- Router SSID and password for Wi-Fi setups
- Last 4–5 digits of the serial number (used in SSID)
| Model | Minimum OS | Power Source |
|---|---|---|
| PJ-773 | Windows 8+ | AC adapter only |
| RJ-3150Ai | macOS 10.15+ | Li-ion battery |
Ensure your computer meets system requirements. Check USB ports or Wi-Fi capabilities for your chosen connection type.
How to Add Brother Printer to Computer via USB Cable
A USB connection provides the fastest way to link your device for printing tasks. This method is ideal for initial setups or troubleshooting wireless issues. Follow these steps for seamless integration.
Step 1: Establish the Physical Link
Power on your printer and remove protective tapes. Use a high-quality USB cable to connect it to your computer. Ensure both ends are securely inserted.
Most systems detect the device automatically. If not, check cable integrity or try another port. Avoid using hubs for stable communication.
Step 2: Install Required Software
Download the latest printer driver from Brother’s official site. Run the installer and follow prompts for automatic configuration.
For advanced users, manual installation offers customization. Select options like default paper size or print quality during setup.
Step 3: Verify and Finalize
Navigate to Settings > Devices on Windows or System Preferences on macOS. Confirm your printer appears in the list.
Print a test page to validate the connection. Save network preferences if transitioning to wireless later.
“USB setups minimize interference, ensuring reliable first-time installations.”
- Restart both devices if the connection fails.
- Update drivers periodically for optimal performance.
- Use P-touch Editor for label-specific configurations.
Setting Up a Wireless Connection Using WPS (Wi-Fi Protected Setup™)
The RJ-3150 series supports one-touch WPS connectivity for hassle-free setups. This feature bypasses manual SSID entry, creating secure links between your printer and access point in minutes. Exclusive to RJ-3150/3150Ai models, WPS requires specific router compatibility.
Confirm WPS Support on Your Router
Locate the WPS button on your router—typically marked with the two-arrow symbol. Common placements include:
| Router Brand | Button Location |
|---|---|
| Netgear | Front panel, near LEDs |
| TP-Link | Side or back panel |
| Linksys | Top edge, beside ports |
If unavailable, check your router’s manual or admin settings for WPS activation. Older models may lack this feature.
Enable WPS on Your Printer
Power on the RJ-3150 and navigate to Settings > Network. Select WPS Push Button. A blinking blue light confirms readiness. You’ll have 2 minutes to complete pairing—keep devices within 3 feet.
“WPS prioritizes convenience but disable it post-setup to prevent unauthorized access.”
Establish the Connection
Press the router’s WPS button within the 2-minute window. The printer’s LED turns solid blue upon success. Verify via:
- Printing a network configuration page
- Checking computer > Control Panel > Devices
If pairing fails, restart both devices or switch to manual network setup. Ensure firmware is updated for optimal performance.
Connecting via Infrastructure Mode
Enterprise and home networks rely on infrastructure mode for reliable communication. This method links your device to an existing access point, ensuring stable printing. Unlike ad-hoc setups, it supports multiple devices simultaneously.
Step 1: Confirm SSID and Password
Locate your network name (SSID) and password on the router or admin panel. For enterprise setups, contact IT for credentials. Hidden SSIDs require manual entry in the Printer Setting Tool.
Step 2: Configure Printer Settings
Open the Printer Setting Tool on your computer. Select Infrastructure Mode and enter the SSID. Choose the security protocol (WPA2/WPA3) and input the password.
| Network Type | Authentication | Notes |
|---|---|---|
| Home | WPA2-Personal | Default for most routers |
| Enterprise | WPA3-Enterprise | Requires RADIUS server |
Step 3: Connect Printer to Your Network
Save settings and restart the printer. Verify connection via:
- Printed network configuration page
- Signal strength tests (optimal: >70%)
“For mesh networks, assign static IPs to avoid DHCP conflicts.”
Adjust channels if interference occurs. MAC filtering adds extra security but requires admin approval. Guest networks may limit functionality—check compatibility first.
Using Wireless Direct for Printer Setup
Wireless Direct offers a convenient way to establish a direct link between devices without a complex setup. This feature creates a temporary network between your printer and mobile device or computer, ideal for quick printing tasks.
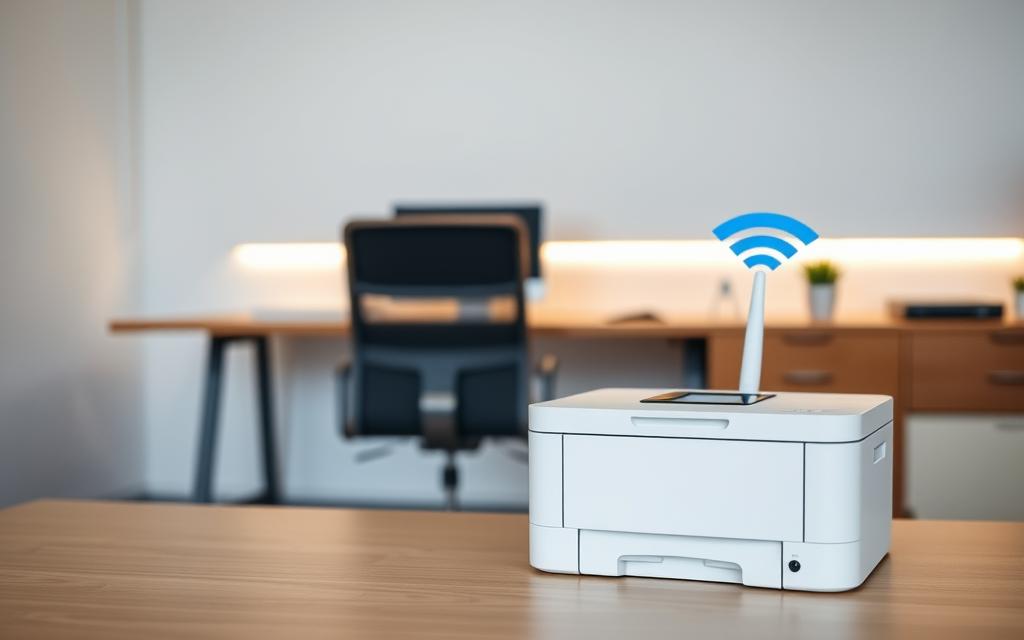
Enable Wireless Direct on Your Printer
Access your printer’s settings menu and select Wireless Direct. The default SSID appears as DIRECT-brRJ-XXXX (last digits vary by model). Note the factory password—usually found on the back panel or in the manual.
Security tip: Change default credentials immediately. This prevents unauthorized access since the network has no internet protection.
| Connection Type | Max Devices | Range |
|---|---|---|
| Wireless Direct | 5 | 30 feet |
| USB + Wireless | 1 wired + 3 wireless | Varies by model |
Connect Your Computer or Mobile Device
On your mobile device, enable Wi-Fi and select the printer’s SSID. Enter the password when prompted. For computers, use the same method or the Brother iPrint&Scan app for automatic detection.
“Wireless Direct consumes 40% more battery than standard Wi-Fi—a consideration for portable printers.”
Key limitations to remember:
- No internet access during use
- Signal weakens beyond 25 feet
- Only one device can print at a time
To switch back to regular Wi-Fi, disable Wireless Direct in your printer’s network settings. Reset credentials if multiple users need temporary access.
Setting Up via Ad-hoc Mode
Ad-hoc mode creates a direct peer-to-peer link between devices for specialized printing scenarios. This method is ideal for temporary setups or environments without routers. Note that iOS 14+ devices are incompatible due to security restrictions.
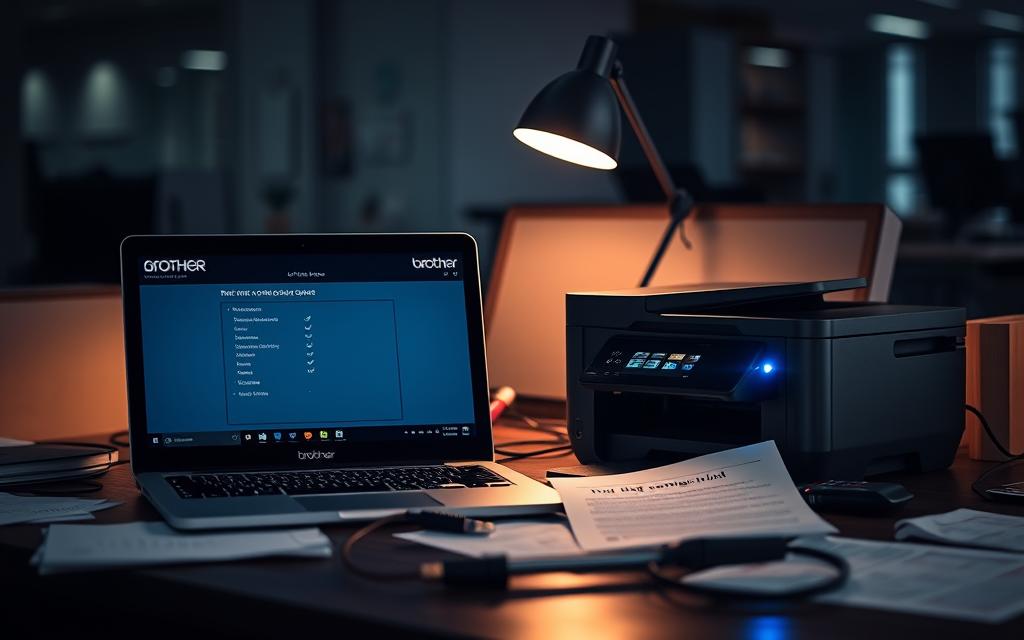
Step 1: Enable Ad-hoc Mode on Your Printer
Navigate to settings > Network and select Ad-hoc Mode. Your printer will act as a wireless access point. Manual IP configuration is required—avoid DHCP for stability.
Key considerations:
- Assign a static IP (e.g., 192.168.0.1) to prevent conflicts
- Disable firewalls temporarily during setup
- Windows 7–10 supports ad-hoc; macOS requires legacy drivers
Step 2: Connect Your Computer Directly
On your computer, search for the printer’s SSID (e.g., BrotherAdHocXXXX). Enter the password from the printer’s label. For Windows, manually create a network profile under Control Panel > Network and Sharing Center.
“Ad-hoc connections lack encryption by default—always enable WPA2 security post-setup.”
Common use cases include:
- Fieldwork with limited infrastructure
- Diagnosing network issues
- Legacy system support (e.g., Windows XP)
For modern devices, consider Wireless Direct or USB as alternatives. Signal range is typically limited to 15–20 feet in ad-hoc mode.
Installing the Printer Driver and Software
Driver installation ensures seamless communication between your device and printer. Proper configuration prevents errors and optimizes performance. Brother’s official website offers OS-specific downloads, including utilities for advanced tasks.
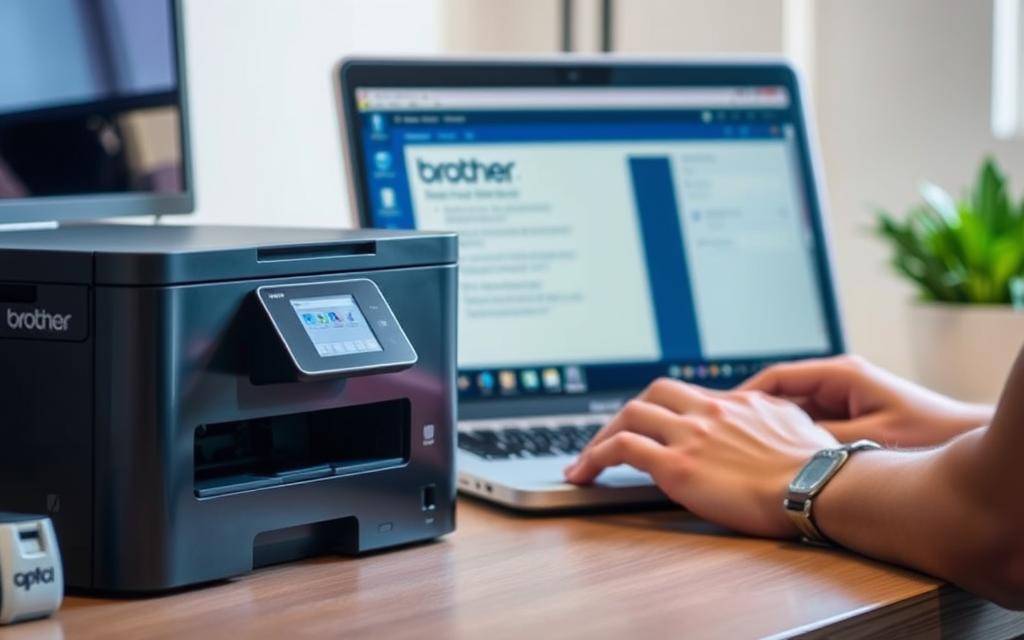
Downloading the Correct Driver
Select the printer driver matching your model and OS. For Windows, verify architecture (32-bit or 64-bit) under System Information. macOS 11+ users must manually approve unsigned drivers in Security & Privacy.
Key considerations:
- Digital signatures guarantee authenticity.
- Enterprise deployments support silent installations.
- Diagnostic tools auto-include with full software packages.
Running the Installation Wizard
Choose Express for automatic settings or Custom to configure:
- Firewall ports for network access.
- Language packs and update schedules.
- Antivirus exceptions to avoid conflicts.
“Rollback procedures safeguard against failed updates—essential for mission-critical environments.”
Post-installation, verify via Control Panel > Devices. For multiple printers, assign unique identifiers in the management console.
Adding the Printer to Your Computer’s Device List
Finalizing your setup requires registering the hardware in your system’s recognized devices. This ensures seamless printing across applications and avoids compatibility errors.
Step 1: Access Devices and Printers
On Windows, navigate to Control Panel > Devices and Printers. For macOS, use System Preferences > Printers & Scanners. Enable network discovery if your printer uses Wi-Fi or Ethernet.
Pro Tip: For TCP/IP setups, note the printer’s IP address or hostname. Static IPs prevent connection drops.
Step 2: Add a New Printer
Click Add a Printer and select your connection type. The system auto-detects most models. For manual entry:
- Enter the IP address for network setups
- Choose USB for direct links
- Verify driver auto-selection matches your model
“Hostname resolution simplifies enterprise deployments—replace IPs with DNS names for scalability.”
Step 3: Select Your Brother Printer
From the list, pick your model and confirm the driver version. Assign a unique name (e.g., “Office_RJ-3150”) for shared environments. Test the connection with a trial print.
Advanced settings allow:
- Port configuration (default: 9100)
- Queue prioritization for busy networks
- Sharing permissions for multi-user access
Troubleshooting Common Connection Issues
Resolving technical hiccups ensures uninterrupted printing workflows. Even with proper setup, occasional glitches may arise. This section addresses frequent challenges and their solutions.
Printer Not Detected
If your system fails to recognize the hardware, start with these steps:
- Power cycle both the printer and computer. Wait 30 seconds before restarting.
- Check USB cables or Wi-Fi signals. Replace damaged cables or move closer to the router.
- Verify the Wireless Mode button is enabled (solid blue LED indicates active connection).
For persistent issues, access Device Manager (Windows) or System Report (macOS) to confirm driver status.
Wi-Fi Connection Drops
Intermittent disconnections often stem from:
| Cause | Solution |
|---|---|
| Signal interference | Switch router channels or relocate the printer |
| Outdated firmware | Update via Brother’s support site |
“Router compatibility checks prevent 80% of dropouts—prioritize dual-band networks for crowded environments.”
Driver Installation Errors
Failed installations typically require:
- Running the installer in Safe Mode (Windows) or disabling Gatekeeper (macOS).
- Deleting old driver remnants via settings > Apps & Features.
- Using Brother’s Driver Removal Tool for clean reinstalls.
For advanced diagnostics, analyze error codes in Event Viewer (Windows) or Console (macOS).
Optimizing Your Brother Printer’s Performance
Maximizing efficiency requires fine-tuning your device for peak operation. Regular updates and calibrated settings maintain professional-grade output while reducing operational costs.
Keeping Firmware Current
The Printer Setting Tool delivers critical performance patches. Navigate to Maintenance > Update Firmware for automatic checks. Enterprise environments benefit from scheduled after-hours updates.
- Security vulnerabilities in network protocols
- Compatibility with new operating systems like Windows 11
- Memory allocation for complex print jobs
Precision Configuration Adjustments
Energy Star modes cut power usage by 30% during idle periods. Access Eco-Settings to enable:
| Feature | Benefit | Recommended Setting |
|---|---|---|
| Sleep Timer | Reduces standby power | 15 minutes |
| Toner Save | Extends cartridge life | Enabled for drafts |
| Duplex Default | Paper conservation | Long documents |
“Energy Star-certified configurations save $50 annually per device while maintaining print quality.”
For specialized media:
- Run monthly print head cleaning cycles
- Calibrate color profiles for photo paper
- Adjust tray settings for label stock
Cloud printing integrations streamline mobile workflows. Set access permissions in the admin console to maintain security. Legacy systems may require manual driver adjustments for optimal performance.
Conclusion
Getting your printer working with your computer is simple when following the right steps. Whether using USB, Wi-Fi, or direct connections, each method offers unique benefits for different needs.
Regular maintenance keeps your device running smoothly. Clean print heads, update firmware, and use genuine supplies for best results. Check Brother’s support site for troubleshooting guides and driver updates.
Secure your connection by changing default passwords and enabling encryption. For shared setups, assign user permissions to control access. Always verify network stability before important print jobs.
Keep warranty details handy and follow manufacturer guidelines. Proper care extends your printer’s lifespan while reducing environmental impact. For future upgrades, check compatibility with newer operating systems.
FAQ
What do I need before setting up my Brother printer?
Ensure your printer is compatible with your operating system. Have the USB cable, network name (SSID), and password ready if connecting wirelessly. Download the latest printer driver from Brother’s official website.
How do I connect using a USB cable?
Plug the USB cable into your computer and printer. Install the driver from the Brother website or installation disc. Follow the on-screen prompts to complete the setup.
Can I use Wi-Fi Protected Setup™ (WPS)?
Yes, if your router supports WPS, press the WPS button on both the router and printer. The connection will establish automatically without entering a password.
What if my printer isn’t detected during setup?
Verify the USB cable is secure or ensure the printer and computer are on the same network. Restart both devices and reinstall the driver if needed.
How do I set up a wireless connection manually?
Select Infrastructure Mode in the printer’s settings. Enter your SSID and password to connect to the network. Confirm the connection via the printer’s display panel.
What’s the difference between Infrastructure and Ad-hoc modes?
Infrastructure Mode connects via a router, while Ad-hoc Mode links the printer directly to a computer without a network. Ad-hoc is useful for temporary setups.
Where can I find the latest printer driver?
Visit Brother’s support website, enter your printer model, and download the correct driver for your operating system. Run the installer and follow the prompts.
How do I add the printer to my Windows device list?
Open Settings > Devices > Printers & Scanners. Click Add a printer and select your Brother printer from the detected list. Complete the installation.
Why does my Wi-Fi connection keep dropping?
Check for interference, update the printer’s firmware, or move the printer closer to the router. Re-entering the network password may also resolve the issue.
Can I connect my mobile device to the printer?
Yes, use Wireless Direct or Brother’s mobile app. Enable Wireless Direct on the printer, then connect your device via Wi-Fi settings.


