Table of Contents
Setting up a Brother printer is simple with the right guidance. Whether you need a wired or wireless network connection, this guide covers all options. Follow clear steps for seamless installation.
Modern models like the PT-P750W and RJ-3150 series support multiple setup methods. From USB to Wi-Fi Direct, each approach is straightforward. Compatibility with Windows and macOS ensures broad usability.
Understanding LED indicators helps troubleshoot issues quickly. Power requirements vary, so check if your model needs an AC adapter. This ensures smooth operation without interruptions.
Home users and office networks will find tailored solutions here. Detailed instructions eliminate guesswork. Get your printer ready in minutes.
Prerequisites for Connecting Your Brother Printer
Proper preparation ensures effortless configuration of your printing device. Verify all components and network details to avoid interruptions during installation.
Required Hardware and Software
Use the supplied AC adapter or Li-ion battery for stable power. Alkaline batteries won’t support wireless lan functionality. Download the Printer Setting Tool from Brother’s official website.
Essential items include:
- A USB cable for initial setup
- Admin access to your router
- Latest drivers compatible with your OS (Windows 10+/macOS 11+)
Network Information You’ll Need
Locate your network name (SSID) and security key on the router label or admin panel. For manual setups, note the password and ensure the access point is within range.
Reset the device to factory defaults if it’s a used unit. Always follow electrical safety guidelines when handling power cords.
How to Connect Brother Printer to Computer via Wi-Fi
Wireless printing eliminates cable clutter while maintaining professional output quality. Follow these steps to link your device to a network effortlessly.
Preparing Devices for Installation
Ensure your router and printing hardware are powered on. For macOS 11+, manual setup is required since drivers aren’t preloaded. Windows users may need temporary firewall adjustments.
Installing the Printer Driver
Download the latest printer driver from Brother’s support portal. Run the installer and follow on-screen instructions. Key considerations:
- USB-assisted installation skips manual network entry.
- Enterprise networks may require admin credentials.
- Dual-band routers: Connect to 2.4GHz for compatibility.
Configuring Wireless Settings
Access the device’s network menu via its control panel. Enter your SSID and network key when prompted. The Wi-Fi LED turns solid once connected. For WPS-enabled routers, press the button within 2 minutes of powering the unit.
Tip: Place the printer within 10 feet of the router during setup to avoid signal drops.
Using a USB Cable for Temporary Setup
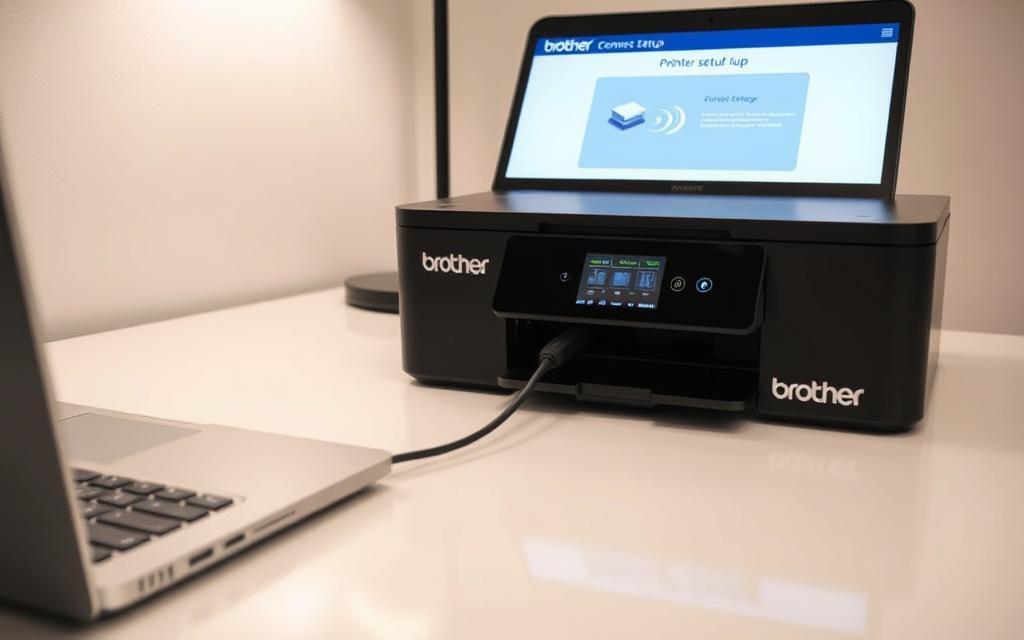
USB setups provide reliability when configuring new devices. A physical link ensures stable communication during driver installation. This method is ideal for environments with unstable wireless network signals.
Step-by-Step USB Connection Guide
Start by verifying the usb cable compatibility. Brother devices typically require USB 2.0 or higher. Connect one end to the device and the other to your computer’s active port.
For Windows 11 users, disable driver enforcement temporarily if installation fails. Navigate to Settings > Update & Security > Recovery. Select “Restart now” under Advanced startup, then choose “Disable driver signature enforcement.”
“Editor Lite LED must be off for P-touch models during setup. Check the display panel before proceeding.”
Switching to Wireless After Installation
Once drivers are installed, transition to a wireless network. Open the Printer Setting Tool and select “Network Configuration.” Backup settings before disconnecting the usb cable.
- Ensure firmware is updated to avoid compatibility issues.
- For batch setups, use the same tool to clone configurations.
- Securely remove the USB connection to prevent data corruption.
Connecting via WPS (Wi-Fi Protected Setup™)
WPS simplifies wireless configuration with just a button press. This method skips manual network entry, ideal for quick setups. Ensure your router and device support WPS before proceeding.
Enable WPS on Your Device
Locate the button labeled “WPS” on your printer—often near the control panel. Press and hold it for 5 seconds until the Wi-Fi LED flashes blue. A 2-minute window begins for syncing.
For extended attempts, press the button again within this period. The LED solidifies once linked. Refer to the WPS setup guide for model-specific variations.
Syncing with Your Router
Activate WPS on your router simultaneously. Most models have a physical button or virtual option in the admin panel. Key considerations:
- Place devices within 10 feet for signal strength.
- Avoid overlapping 2.4GHz/5GHz networks during setup.
- Enterprise networks may disable WPS for security.
| Router Compatibility | WPS Support |
|---|---|
| Dual-band (2.4GHz) | Yes |
| Tri-band (5GHz) | Limited |
| Older models (pre-2015) | No |
“WPS reduces setup time but disable it post-installation to prevent unauthorized access.”
If the handshake fails, update your router firmware or switch to manual entry. WPS prioritizes convenience over advanced customization.
Wireless Direct: Printer as an Access Point
Skip the router—Wireless Direct enables direct printing from phones and laptops. This mode transforms your device into an access point, ideal for environments without traditional networks. Default SSIDs like DIRECT-_PJ-773 simplify initial setup.
Configuring Wireless Direct Mode
Activate the feature via the printer’s control panel. The factory password (e.g., 773) ensures secure connections. Customize these credentials post-setup for enhanced security.
- Mobile printing: Pair Android/iOS devices via Wi-Fi settings.
- Simultaneous connections: Most models support up to 5 devices.
- Range: Maintain within 30 feet for optimal signal strength.
Connecting Devices Without a Router
This method bypasses internet dependency, perfect for remote work or travel. Note that web access is disabled while using Wireless Direct.
“Change default credentials immediately to prevent unauthorized access to your ad-hoc network.”
For enterprise use, assign static IPs to manage multiple devices. Monitor battery life closely—this mode consumes more power than standard Wi-Fi.
Infrastructure Mode: Joining an Existing Network
Infrastructure mode offers seamless integration with existing office or home networks. This method leverages your router’s SSID for centralized device management. Stable communication ensures reliable printing across all connected devices.
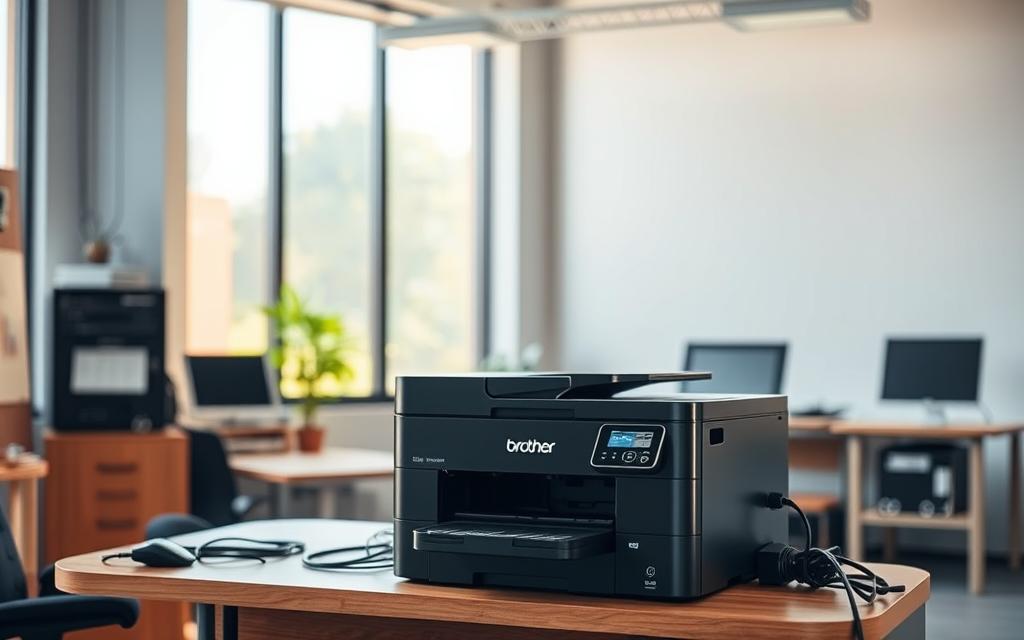
Entering SSID and Password Manually
Access the printer’s control panel and navigate to the network menu. Input your SSID and password precisely—case sensitivity matters. Hidden networks require manual entry of all details.
For initial setup, a temporary USB connection may be necessary. Reset the network settings by holding the Power and Feed buttons simultaneously for 5 seconds. This clears conflicting configurations.
Using the Printer Setting Tool
Download the Printer Setting Tool from Brother’s support site. This utility automates network assignments and firmware updates. Key features include:
- Enterprise integration: Assign static IPs for large deployments.
- WPA3 support: Enhance security for sensitive data environments.
- Signal strength monitoring to optimize device placement.
“Always verify router compatibility—older models may lack WPA3 or dual-band support.”
For multi-printer networks, clone configurations using the Printer Setting Tool. Regular firmware updates prevent communication drops during high-volume tasks.
Alternative Method: Ad-hoc Mode (Advanced)
Ad-hoc mode bypasses traditional networks for specialized setups. This peer-to-peer connection method links devices directly without routers. It’s useful when standard options aren’t available or practical.
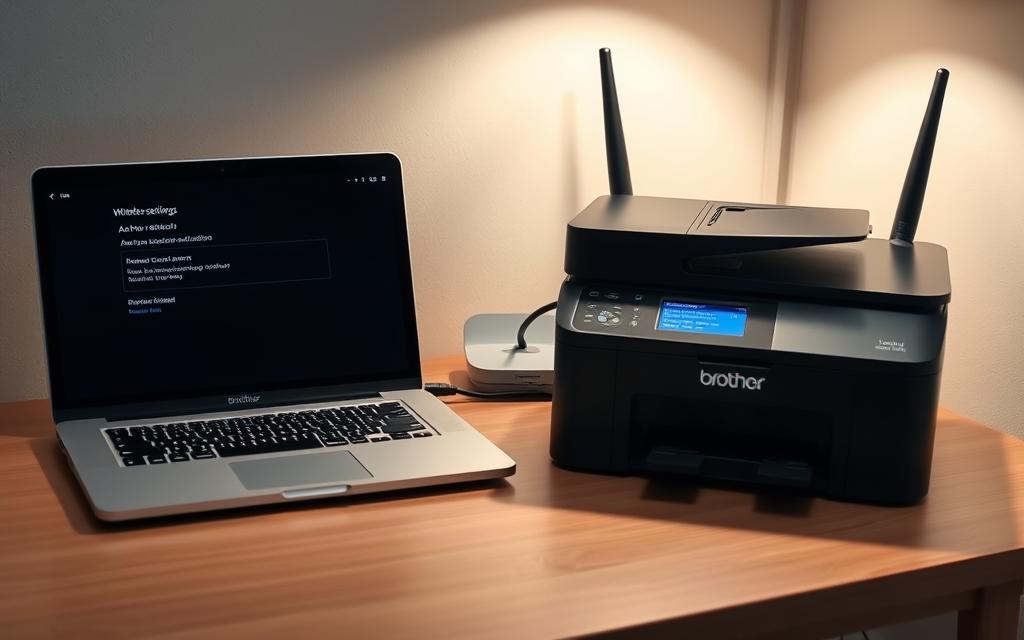
When to Use Ad-hoc Mode
Choose this method for temporary work environments or legacy systems. Field technicians often use it for on-site diagnostics. The setup works well with older mobile devices that lack modern protocols.
Key scenarios include:
- Emergency printing during network outages
- Testing devices before enterprise deployment
- Connecting to specialized equipment with limited networking
Limitations and Compatibility Notes
Apple removed ad-hoc mode support starting with iOS 14 and iPadOS 14. Modern Windows versions may require driver signature overrides. Compared to wireless direct, throughput drops by 30-40%.
| Feature | Ad-hoc Mode | Infrastructure Mode |
|---|---|---|
| Maximum Range | 50 feet | 300 feet |
| Device Limit | 5 | 250+ |
| Security Protocol | WEP (weak) | WPA3 (strong) |
“Ad-hoc networks expose devices to potential intrusions—always disable them after temporary use.”
For permanent solutions, Brother recommends infrastructure mode or USB connections. These offer better security and reliability for daily operations.
Troubleshooting Common Connection Issues
Even with proper preparation, occasional technical glitches may occur. Understanding quick fixes saves time and frustration. This section covers solutions for frequent network and software issues.
Network Detection Failures
When your device won’t recognize available networks, start with LED diagnostics. The Wi-Fi indicator provides immediate feedback:
| LED Status | Meaning | Solution |
|---|---|---|
| Solid blue | Connected | Check computer settings |
| Blinking blue | Connecting | Wait 2 minutes |
| Orange | Error | Restart device |
| Off | Disabled | Enable wireless mode |
For persistent issues, try these steps:
- Reboot your router and printing device
- Move closer to the access point
- Check for network configuration reports
Driver Installation Challenges
Failed software installations often stem from security conflicts. Windows Defender and third-party antivirus programs may block necessary files.
Create firewall exceptions before installing:
- Open Windows Security
- Select “Virus & threat protection”
- Click “Manage settings” under Exclusions
- Add the Brother installer folder
“Always download drivers directly from Brother’s support site to avoid compatibility issues.”
For manual IP assignments:
- Access your device’s network menu
- Select “Manual configuration”
- Enter valid IP range matching your subnet
- Save settings and restart
Channel interference can disrupt wireless connections. Use network analyzer tools to identify crowded frequencies. Switching to less congested channels often resolves intermittent drops.
Conclusion
Efficient printing starts with the right setup method for your needs. Whether using Wi-Fi, USB, or Wireless Direct, each connection type offers unique advantages. Match your choice to workspace demands for seamless performance.
Refer to Brother’s official support portal for driver updates and troubleshooting tips. Schedule monthly maintenance—clean print heads and check firmware. Enable automatic security updates to protect against vulnerabilities.
For offices with multiple devices, assign static IPs to streamline management. Review warranty terms before altering network settings. Future-proof your setup by exploring smart office integrations like cloud printing.
FAQ
What hardware is needed for a wireless connection?
Ensure your Brother printer supports wireless LAN, and have your router’s SSID and network key ready. A stable Wi-Fi connection is essential.
Can I use a USB cable for initial setup?
Yes. Temporarily connect the printer to your computer via USB cable for driver installation before switching to wireless.
How does WPS simplify the process?
Press the WPS button on your router and printer within 2 minutes. This automatically syncs them without entering a password.
What is Wireless Direct mode?
It lets the printer act as an access point, allowing devices to connect directly without a router. Enable it in the printer settings.
How do I manually join a network?
Navigate to wireless settings on the printer, select your SSID, and enter the network key. Use the printer setting tool if needed.
When should I use ad-hoc mode?
Only for direct computer-to-printer links in environments without a router. Note: It lacks internet access and has limited compatibility.
Why isn’t my printer detecting the network?
Check router proximity, restart both devices, and verify the SSID and password. Update the printer driver if issues persist.
Where can I find the printer setting tool?
Download it from Brother’s support website during driver installation. It helps configure wireless or USB connections.


