Table of Contents
In today’s world, knowing how to set up an HDD can really boost your computing experience. This guide aims to lead you through the crucial steps of getting your hard disk drive ready. It’s all about enabling your computer to perform at its best, no matter how much you know about technology.
We’ll give you clear, easy-to-follow instructions on how to activate hard drives. Whether you’re a beginner or more experienced, these steps will not only boost your system’s efficiency. They’ll also let you manage your device’s storage better.
Key Takeaways
- Learn how to enable HDD efficiently for effective hard disk drive setup.
- Understand the different types of drives and their specifications.
- Discover tools and preparations needed for installation.
- Connect your HDD seamlessly with proper data and power cables.
- Navigating BIOS is crucial to ensure your drive is recognised.
- Partitioning and formatting are essential steps for drive usability.
Understanding the Basics of Hard Disk Drives
The hard disk drive (HDD) is key to keeping data safe. It uses magnets to save and get back digital info. It’s vital in gadgets like computers. The HDD definition tells us they store a lot of data cheaply. They’re the go-to for operating systems, software, and personal stuff1.
What is an HDD?
HDDs hold tons of data. They have spinning disks coated with magnets for holding data. Now, HDDs can store up to 40 TB. They come in 2.5-inch and 3.5-inch sizes2. Their build helps keep lots of info at a low cost. This makes them a top choice for personal and business use. Parts called actuators read and write data2.
Types of Hard Drives: PATA vs SATA
The difference between PATA and SATA hard drives is important. PATA is older and mostly replaced by SATA. SATA brings faster data speeds and better efficiency2. It’s used in the latest storage devices. PATA is now rare, showing SATA’s edge for our data needs today.
How to Enable HDD: A Comprehensive Guide
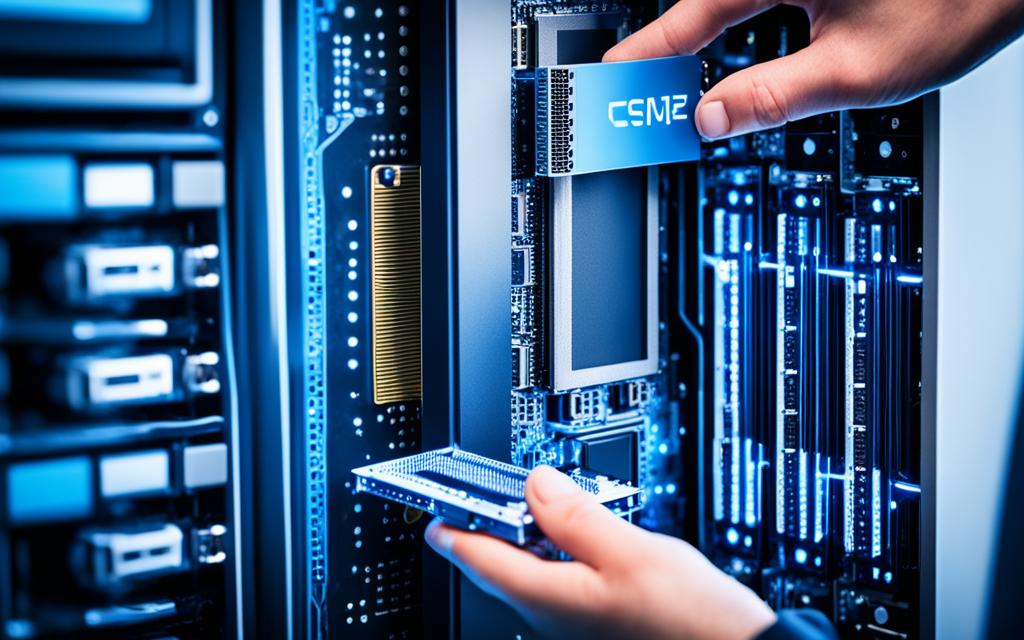
Getting ready for an HDD installation is crucial for a smooth process. It saves time and cuts down on frustration. Making sure you’re prepared ensures everything goes well before you even open up your computer.
Preparing Your System for Installation
First, turn off and unplug your computer to avoid any electrical risks. This protects you and your machine. Also, make sure the inside of your computer is clean and dust-free. This helps prevent overheating and keeps your computer running well.
Gathering the Required Tools
Having the right tools ready makes the HDD installation easier. You’ll need:
- A quality screwdriver set designed for computer hardware.
- An anti-static wristband to prevent electrostatic discharge.
- The necessary cables for your new HDD.
These items are important for setting up and ensuring a smooth HDD installation. With the right tools and mindset, a hassle-free install is within reach.
For more help on installation, detailed instructions are available for setting up new partitions or logical drives on a basic disk3. There’s also info on creating primary partitions, extended partitions, and logical drives4.
Installing Your New Hard Drive
Setting up a new hard drive is a step-by-step process that ensures it works well. We will discuss how to properly mount the hard drive and connect it. These steps are essential for a great setup.
Physical Mounting of the HDD
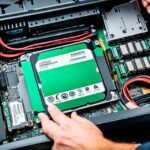
First, place the HDD in the drive bay or cage. This is done for internal 3.5-inch hard disk drives. It helps keep the drive stable and supported while running5. It’s crucial to position the HDD correctly for good airflow and easy access.
To keep the HDD secure, attach two screws on each side6. The screws keep the drive from moving or vibrating, which could cause problems. Make sure the screws are tight, but don’t overdo it as it could harm the drive.
Connecting the Data and Power Cables
Now, connect the data and power cables. For most computers today, SATA cables are used, especially for 3.5-inch SATA drives6. Make sure the SATA cable connection is firm to avoid boot-up issues.
SATA power connectors from your power supply should go into your HDD6. Double-check all connections to prevent data loss or damage. Grounding yourself beforehand is important to avoid electrostatic harm6.
Configuring the HDD in BIOS
For your hard drive to perform at its best, setting it up in the BIOS is crucial. Getting it right makes sure your system recognises your new HDD. You start this by heading into the BIOS setup to check if your hard drive shows up.
Accessing the BIOS Setup
To get into the BIOS setup, you need to reboot your computer. While it’s starting up, press the key that opens BIOS. This key could be Del, F2, or Esc, depending on who made your computer. Inside the BIOS, use your keyboard to find the menu for hard drive recognition. This is usually under “Storage” or “Boot”. Make sure your hard drive is listed and activated.
Ensuring Proper Detection of the Drive
If your hard drive isn’t showing up, a few things could be wrong. It might not be turned on in the BIOS settings, or the SATA drivers might not be installed right. Make sure the cable connecting your hard drive isn’t loose or damaged. Check if your hard drive powers up when you turn on your computer. If it doesn’t, you might need to check the connections and how the jumpers are set. If you’re stuck, looking at a detection troubleshooting guide can help. Remember, some motherboards might turn off ports that aren’t being used78.
| Issue | Possible Solutions |
|---|---|
| Drive Not Enabled | Access BIOS and enable the drive. |
| Faulty or Unplugged Data Cable | Inspect and reconnect the data cable. |
| Drive Not Spinning | Check power supply and connections. |
| Incorrect Jumper Settings | Set jumper according to drive specifications. |
| Faulty Hard Drive | Consider using diagnostic tools like SeaTools for testing. |
Partitioning and Formatting the Drive
Understanding how to partition and format your new hard drive is key. Windows Disk Management makes these tasks easier. It lets users create and manage drive configurations well.
Using Windows Disk Management
Windows Disk Management is a handy tool built into the OS. It helps with partitioning drives according to what you need. Users can look at existing partitions, make new ones, and set their sizes. For example, you might see a Disk 0 with two partitions: a 24 GB NTFS partition labelled C: and an 87 GB NTFS partition labelled E:. There’s also a single partition D: on Disk 1 with 26 GB left unallocated for new partitions9. When you’re making partitions, picking the size is easy; here, 26.43 GB can be used. It’s good to know the difference between primary and extended partitions to set things up best.
Choosing the Right Formatting Options
The formatting process gets your partitions ready for use. NTFS is often recommended for hard drives because it brings better performance and security. FAT32 is another choice, mostly for old systems like DOS or Windows 95/98/ME9. Formatting can take a while, sometimes hours10, but it’s a crucial step for installing Windows anew. This includes wiping old partitions, making new ones, and formatting them before installation. For drives over 2TB, choose GPT for initialization. MBR is best for smaller drives10.
Conclusion
Making an HDD work well needs careful planning and attention. Picking the right tools and putting in the drive correctly are key first steps. Then, setting up the BIOS and splitting the drive into parts are also crucial. Each part of this process greatly affects how your computer works. Making sure your hard drive is set up right can make your computer better. It can prevent problems like the drive not appearing in Windows. These issues might happen for various reasons, like connection troubles or old drivers11.
The final point on HDD setup is that good planning leads to better data handling and computer performance. It’s important to do regular checks and maintenance to prevent hard drive problems12. Using tools like AVG TuneUp or CHKDSK can help keep your hard drive running smoothly. This keeps your setup reliable and lets you use more storage.
Adding a new HDD can make a big difference in handling your digital activities. With more storage and quicker file access, it can change how you use your computer. By carefully following setup advice, you make your computer use better and more fun. In the end, the time you spend setting up your HDD is worth it for better performance and safety of your data.
FAQ
What steps do I need to follow to enable my HDD?
First, turn off your computer. Collect all the tools you’ll need. Next, place the HDD inside your computer. Connect the data and power cables. Then, go into BIOS to set up the drive. Finally, use Windows Disk Management to format the HDD.
What is the difference between PATA and SATA hard drives?
PATA (Parallel ATA) is older and slower, with complicated cables. SATA (Serial ATA) is newer, faster, more efficient, and easier to connect.
How can I prepare my computer for HDD installation?
Switch off and unplug your computer first. Then, gather your screwdriver set, an anti-static wristband, and the cables you need. Keep everything clean for the best setup.
Are there specific tools I need for installing an HDD?
Yes, you’ll need a screwdriver set to fix the HDD in place, an anti-static wristband to prevent damage, and the right cables for connection.
What should I know about physically mounting the HDD?
Securely fix the HDD in its slot. Use screws or mounts that need no tools. Make sure it’s well placed for good airflow and easy access.
How do I connect the data and power cables to my HDD?
Attach the SATA data cable from the HDD to your motherboard. Then, connect the power cable from the supply to the HDD. Check that everything is firmly connected and don’t force the cables.
How do I access the BIOS to configure my HDD?
Restart your computer and press the key shown on screen (like F2, DEL, or ESC) to get into BIOS. Look for the storage settings.
What steps should I take to ensure my HDD is detected in BIOS?
In the BIOS, find the storage devices section. If your HDD isn’t there, check your connections and try restarting. If issues persist, look up how to troubleshoot.
How do I partition and format my new HDD using Windows Disk Management?
Go to Windows Disk Management in the Control Panel. Right-click the unallocated space to create partitions. Assign drive letters and pick a format like NTFS or FAT32, based on your requirement.
What formatting options should I consider for my HDD?
Consider NTFS for large files and security. FAT32 works with many devices but can’t handle files over 4GB. Pick based on your needs and device compatibility.
Source Links
- https://www.crucial.com/articles/pc-builders/what-is-a-hard-drive – What is a Hard Disk Drive? | HDDs Explained
- https://www.red-gate.com/simple-talk/databases/sql-server/database-administration-sql-server/storage-101-understanding-the-hard-disk-drive/ – Storage 101: Understanding the Hard-Disk Drive – Simple Talk
- https://www.seagate.com/support/kb/how-to-use-disk-management-to-set-up-a-hard-drive-188931en/ – How to use Disk Management to set up a Hard Drive. | Support Seagate US
- https://www.easeus.com/resource/hard-drive-not-showing-up-or-recognized.html – Hard Drive Not Showing Up or Detected in Windows? Learn How to Fix
- https://www.pcworld.com/article/535852/how-to-install-a-new-hard-drive-in-your-desktop-pc.html – How to install a hard drive in your computer
- https://www.wikihow.com/Install-a-Hard-Drive – 3 Easy Ways to Install a Hard Drive: Guide (With Pictures)
- https://www.seagate.com/support/kb/the-bios-does-not-detect-or-recognize-the-ata-sata-hard-drive-168595en/ – The BIOS does not detect or recognize the ATA / SATA hard drive | Support Seagate US
- https://forums.tomshardware.com/threads/configuring-multiple-drives-in-the-bios.1353539/ – Configuring multiple drives in the bios?
- https://www.bleepingcomputer.com/tutorials/partition-and-format-a-disk-in-windows/ – How to partition and format a hard disk in Windows
- https://www.pcworld.com/article/474025/how-to-partition-and-format-your-hard-drive-in-windows.html – How to partition and format your hard drive in Windows
- https://www.diskgenius.com/how-to/hard-drive-not-showing-up.php – Hard drive not showing up or detected? Here are 7 solutions
- https://www.avg.com/en/signal/hard-drive-failure-signs-and-test – How to Check If Your Hard Drive Is Failing


