Table of Contents
Assembling a gaming PC can vary significantly in time, depending on the complexity of the setup and the builder’s experience. For beginners, the process might take anywhere from 1.5 to 2.5 hours for standard builds. More advanced systems, like those with custom cooling solutions, can extend this to 3+ hours.
Several factors influence the duration, including part compatibility, thermal management, and the choice of components. For instance, installing high-end GPUs like the Nvidia 3090ti often presents unique challenges, such as thermal pad adjustments, which can add to the overall timeline.
Industry benchmarks from Apex PC specialists and hardware journalists highlight that experienced builders typically complete standard builds in 1-1.5 hours. However, intricate setups, such as custom loops, can take 3-4 hours even for experts. Understanding these variables helps set realistic expectations for anyone diving into the world of gaming PC assembly.
Introduction to Building a Gaming PC
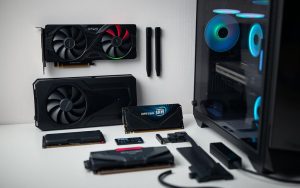
Starting the journey of assembling a custom system requires understanding its core components. The process involves selecting the right hardware, such as the power supply, GPU, and CPU cooler. These parts form the backbone of any high-performance setup.
For beginners, common pitfalls include confusion between LGA and PGA sockets or incorrect RAM orientation. Ensuring proper alignment and installation is essential to avoid damage. Additionally, anti-static practices, like using a wrist strap, protect sensitive components from static electricity.
Workspace preparation is equally important. A clean, organized area with proper lighting reduces errors and speeds up the system assembly. According to Newegg and B&H statistics, most components arrive within 3-7 days, so planning ahead is key.
Before final assembly, POST testing and breadboarding help identify potential issues. These steps ensure all components function correctly before they’re installed in the case. Taking these precautions minimizes delays and ensures a smooth building experience.
Step-by-Step Timeline for Building a Gaming PC
Breaking down the assembly process into clear steps helps manage expectations. Each phase, from unboxing to benchmarking, plays a crucial role in ensuring a smooth and efficient setup. Here’s a detailed guide to help you navigate the process.
Unboxing and Prep Work
Begin by unboxing all components carefully. Experts typically complete this in under 10 minutes, while beginners may take 15-30 minutes. Organize parts on a clean, static-free workspace to avoid confusion. Double-check the inventory to ensure all motherboard, CPU, and RAM components are present.
Motherboard Setup
Install the CPU and cooler onto the motherboard first. For NVME storage, insert it at a 45° angle and secure it with retention screws. This step usually takes less than 2 minutes for experienced builders but may take longer for novices.
Case Assembly
Place the motherboard into the case, ensuring proper alignment with standoffs. For ITX or MATX boards, this can be tricky. Secure the PSU and install the GPU in the designated slot. Proper alignment prevents damage and ensures stability.
Wire Management
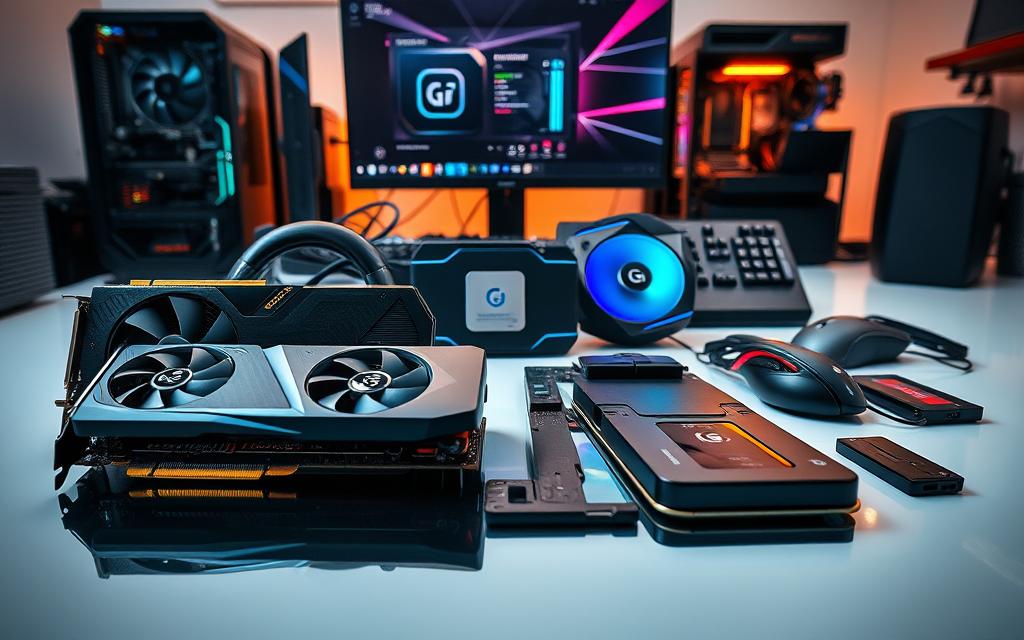
Effective cable management is essential for airflow and aesthetics. Experts often complete this in 20 minutes using Velcro® straps, while beginners may take up to 40 minutes. RGB cables can be managed with strimmer extensions for a cleaner look.
Operating System and Driver Installation
Install the operating system, such as Windows 10 Home, which typically takes 20-30 minutes. Afterward, download and install the latest drivers for the GPU and other components to ensure optimal performance.
Benchmarking and Troubleshooting
Run benchmark tests using tools like 3DMark or Unigine Superposition to evaluate system performance. If issues arise, use troubleshooting techniques to identify and resolve them. This final step ensures your setup is ready for action.
How Long It Takes to Build a Gaming PC: Key Factors
The duration of setting up a custom rig depends on multiple critical factors. From cooling solutions to part compatibility, each element plays a role in determining the overall timeline.
Liquid cooling systems, for instance, add 2-3 hours to the process compared to air cooling, which typically takes 10-15 minutes. This is due to the complexity of installing radiators, pumps, and tubing. Proper thermal paste application also affects CPU temperatures, adding a few extra minutes to ensure optimal performance.
Another significant factor is the RMA (Return Merchandise Authorization) process. According to Newegg statistics, returns or replacements can extend builds by 2-4 weeks. This highlights the importance of verifying part functionality before final assembly.
PSU wattage and case clearance relationships also impact the process. ATX power supplies may require more space than SFX units, affecting installation time. Additionally, BIOS version conflicts with new-gen hardware can cause delays, especially for builders with less experience.
“Proper part orientation is crucial for airflow and thermals. Misaligned components can lead to overheating and reduced performance.”
Multi-zone RGB lighting integration is another time-consuming aspect. Managing cables and syncing lighting effects can add up to an hour, depending on the system’s complexity.
| Factor | Time Impact |
|---|---|
| Liquid Cooling | 2-3 hours |
| Air Cooling | 10-15 minutes |
| RMA Process | 2-4 weeks |
| RGB Lighting | Up to 1 hour |
Understanding these variables helps streamline the assembly process. By planning ahead and addressing potential challenges, builders can minimize delays and ensure a smooth setup.
Beginner vs. Experienced Builder: Time Comparison
Skill level dramatically impacts the duration of putting together a custom setup. For instance, builders with expertise install a motherboard in 10 minutes, while novices may take 45 minutes. This gap stems from familiarity with component alignment and tool usage.
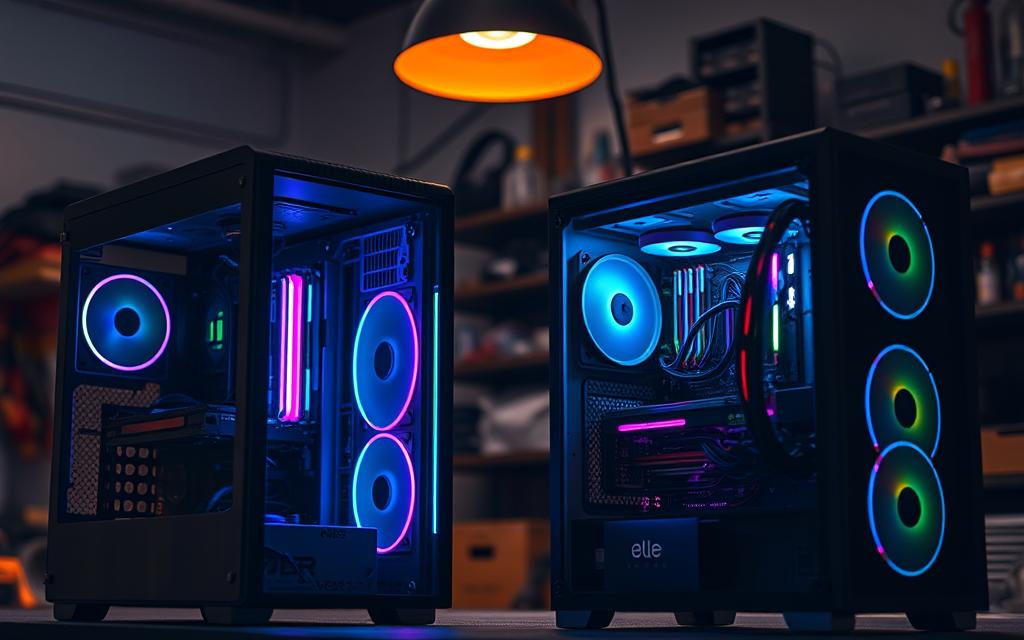
Cumulative build time reveals a wider disparity. Veterans complete standard assemblies in 1–1.5 hours, whereas beginners often need 2+ hours. Muscle memory from repeated rebuilds accelerates workflows, as noted in Crucial’s guide to efficient PC assembly.
Diagnostics showcase another divide. Experts resolve POST errors in minutes by recognizing beep codes or LED patterns. Newcomers might spend 20+ minutes troubleshooting manuals. Similarly, cable routing becomes intuitive with experience, reducing clutter-related delays.
| Task | Expert Time | Beginner Time |
|---|---|---|
| Motherboard Install | 10min | 45min |
| Driver Setup | 15min | 30min |
| Cable Management | 20min | 50min |
Benchmark interpretation also separates skill levels. While pros analyze results instantly, beginners may cross-reference forums. These nuances highlight why practice is key to reducing assembly timelines.
Factors That Can Increase Build Time
Several elements can significantly increase the time required for a successful setup. From compatibility issues to logistics, understanding these factors helps streamline the process.
Research and Compatibility
One of the most common delays stems from hardware incompatibility. For example, 23% of builders face issues with incompatible RAM, according to PC Part Picker stats. Misaligned PCIe lanes with multiple NVME drives can also cause confusion.
Another challenge is RGB software conflicts, such as iCUE vs. Aura Sync. These issues often require troubleshooting, adding extra hours to the build. Double-checking components before purchase minimizes such delays.
Part Delivery and Procurement
International shipping delays for rare parts can extend the timeline by weeks. This is especially true for limited-edition GPUs or custom cooling solutions. Planning ahead and ordering components early is essential.
Unexpected driver conflicts with older motherboards can also cause delays. Ensuring BIOS compatibility before assembly prevents last-minute issues.
Cooling Systems and Custom Mods
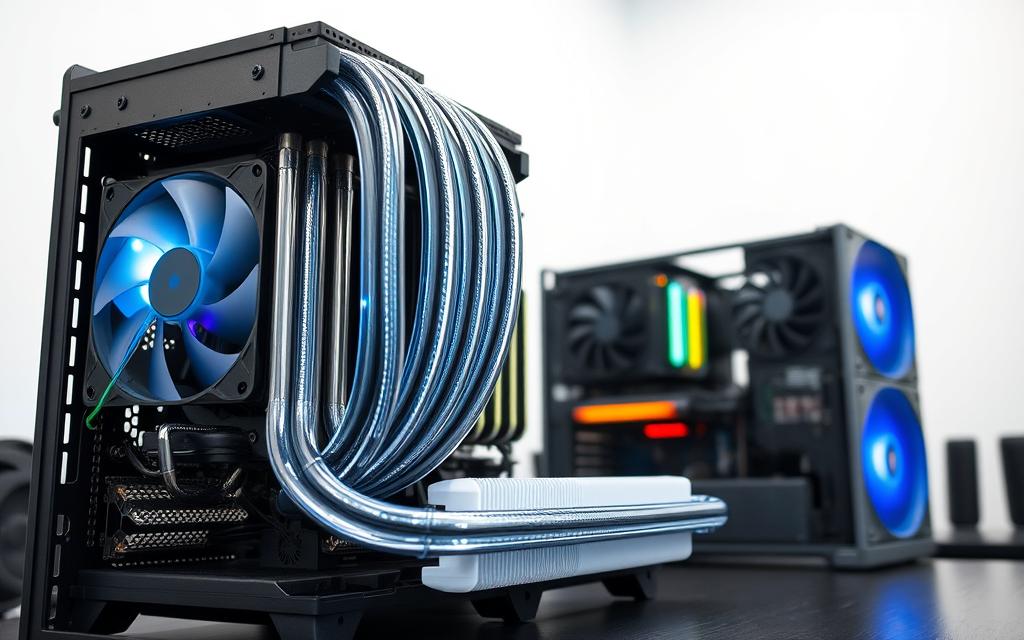
Custom cooling loops add significant time to the build. First-timers often spend 5-7 hours planning and installing these systems. Hardline tubing measurement errors may require reworks, further extending the timeline.
Proper thermal paste application and radiator placement are critical for optimal performance. These steps ensure efficient cooling and prevent overheating.
“Planning and preparation are key to avoiding delays. Always verify compatibility and order parts well in advance.”
By addressing these factors, builders can reduce unexpected delays and ensure a smooth assembly experience.
Why Beginners Should Consider Prebuilt PCs
For those new to PC assembly, prebuilt systems offer a hassle-free alternative. These setups come fully configured, eliminating the need for component selection and installation. This is especially beneficial for beginners who may find the process overwhelming.
One major advantage of prebuilt pcs is the warranty coverage. OEM systems often include comprehensive warranties, covering both hardware and software. In contrast, custom builds may require separate warranties for individual components, adding complexity.
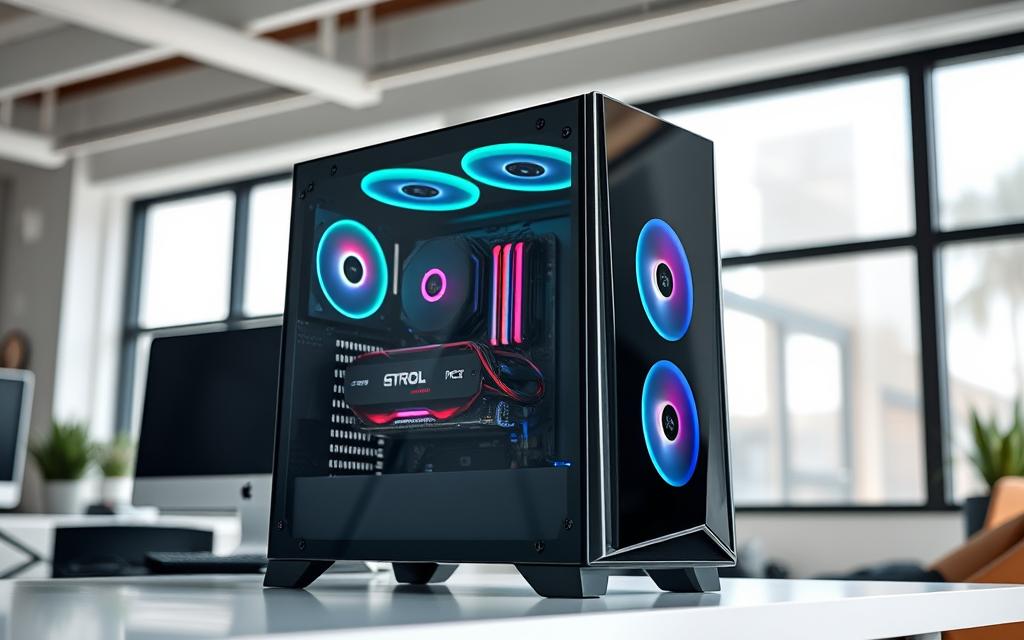
Prebuilt systems also reduce troubleshooting time. According to industry data, preconfigured setups experience 68% fewer issues compared to custom builds. This is due to rigorous quality control processes, such as stress testing, which ensure stability and performance.
For those interested in learning, demo units provide hands-on modification practice. These systems allow beginners to explore upgrades without the risks associated with custom builds. Additionally, prebuilt pcs often come with pre-installed operating systems, saving time and effort.
Cost is another factor to consider. While custom builds can be cheaper, scalper pricing on GPUs and other parts often drives costs up. Prebuilt systems, like Dell Alienware, offer competitive pricing with reliable performance.
| Feature | Custom Build | Prebuilt PC |
|---|---|---|
| Warranty | Component-specific | Comprehensive |
| Troubleshooting Time | High | Low |
| Cost | Variable | Stable |
“Prebuilt PCs are an excellent choice for beginners, offering reliability and ease of use without compromising performance.”
By choosing a prebuilt system, newcomers can enjoy a seamless experience while gaining confidence for future upgrades or custom builds.
Conclusion
Mastering PC assembly improves speed with each project. Most enthusiasts reach intermediate efficiency after three builds. Equip your workspace with anti-static mats and magnetic trays to streamline the process.
Join communities like Linus Tech Tips forums or Discord groups for real-time advice. Liquid-cooled systems need bi-annual maintenance to prevent leaks and ensure performance over time.
Plan upgrades by prioritizing components like GPUs or storage. This guide helps balance cost and future-proofing. Whether tweaking a gaming rig or starting fresh, patience and practice yield the best results.
FAQ
What is the average time required to assemble a gaming PC?
On average, assembling a gaming PC takes between 2 to 4 hours for beginners and 1 to 2 hours for experienced builders. This includes unboxing, component installation, and initial setup.
What tools are essential for building a gaming PC?
Essential tools include a Phillips-head screwdriver, anti-static wrist strap, and cable ties. Having a clean workspace and a user manual for each component also helps streamline the process.
How does part compatibility affect the build process?
Ensuring compatibility between the motherboard, CPU, RAM, and GPU is crucial. Incompatible parts can lead to delays, additional research, or even the need to return and replace components.
What role does cable management play in the build?
Proper cable management improves airflow, reduces clutter, and makes troubleshooting easier. It can add 15 to 30 minutes to the build but enhances system performance and aesthetics.
How long does it take to install the operating system and drivers?
Installing the operating system and drivers typically takes 30 to 60 minutes, depending on the speed of your storage device and internet connection for driver downloads.
What are common issues beginners face during the build?
Beginners often struggle with component installation, cable connections, and troubleshooting if the system doesn’t boot. Patience and following a detailed guide can help overcome these challenges.
Should beginners consider prebuilt PCs?
Prebuilt PCs are a great option for beginners who want to avoid the complexities of assembly. They save time and ensure compatibility, though they may cost more than building your own.
How do cooling systems impact build time?
Installing air coolers is straightforward, but liquid cooling systems or custom mods can add 1 to 2 hours due to their complexity and the need for precise installation.
What is the importance of benchmarking after the build?
Benchmarking tests system performance and stability. It helps identify potential issues with CPU, GPU, or RAM, ensuring your gaming PC runs optimally.


