Table of Contents
Creating a functional gaming setup on a tight budget is a challenge many face. With rising living costs, the demand for affordable solutions continues to grow. Fortunately, it’s possible to enjoy popular games like Apex Legends and Baldur’s Gate without breaking the bank.
Balancing performance and cost requires careful planning. Component compatibility is crucial, and strategic compromises can make a significant difference. Refurbished parts and secondhand GPUs are excellent ways to save money while maintaining quality.
Prioritizing essential components ensures the system runs smoothly. By focusing on affordability and performance, a budget gaming setup becomes an achievable goal. This guide will walk you through the process step-by-step.
Planning Your Budget Gaming PC Build
Crafting a cost-effective gaming rig requires strategic planning and smart choices. Balancing performance and affordability is essential to ensure a smooth experience. Understanding the trade-offs between resolution and refresh rate is a great starting point.
Understanding Performance Trade-Offs
For budget builds, aiming for 1080p resolution with a 60-144Hz refresh rate is ideal. This balance ensures crisp visuals and smooth gameplay without straining your wallet. Pairing components like a GTX 1650 GPU with an Intel i3 CPU avoids bottlenecks, maximizing performance.
Focus on graphics and memory to enhance frame rates. A mismatched setup can lead to lower fps, impacting your gaming experience. Always prioritize compatibility between the motherboard and other parts.
Essential Tools and Workspace Setup
Before assembling, gather the right tools. A Philips screwdriver with a magnetic tip, pliers, and a well-lit workspace are must-haves. A non-carpeted area minimizes static risks, protecting sensitive components.
Anti-static wristbands or mats are highly recommended. Static damage can ruin your power supply or storage devices. Safety precautions ensure your build lasts for years.
Here’s a pro tip: Test components outside the case first. This step helps identify issues early, saving time and effort. Planning and preparation are the most important thing in any budget project.
Selecting the Right Components for Under $200
Choosing components for a budget-friendly setup demands careful consideration. Prioritizing refurbished or secondhand parts can significantly reduce costs while maintaining performance. Focus on compatibility and balance to ensure a smooth gaming experience.
Affordable CPU and GPU Combos
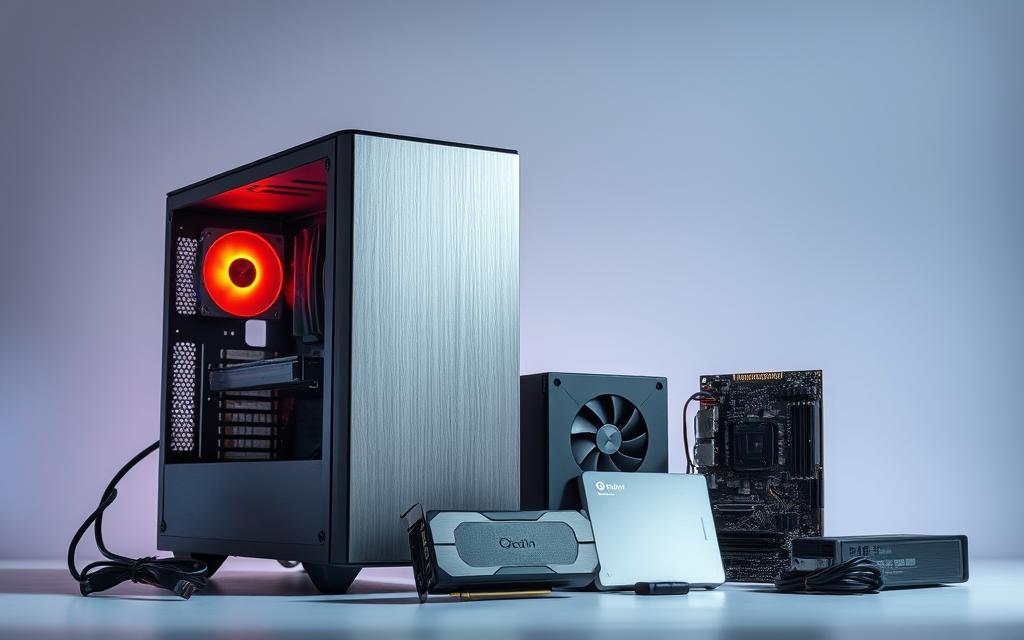
For budget builds, the Intel i3-13100 and AMD Ryzen 5 5600X are excellent cpu choices. Pair these with a used GTX 1650 or RTX 3050 for solid 1080p performance at medium settings. This combination ensures smooth fps without exceeding your price limit.
Budget Motherboard and Memory Options
Selecting the right motherboard is crucial. The Asus TUF B550-F (AMD) and MSI B760 (Intel) are affordable and reliable. Pair these with at least 16GB of memory, such as Team T-Force Vulcan Z, to handle modern games efficiently.
Storage: SSDs vs. HDDs on a Tight Budget
When it comes to storage, SSDs like the Crucial P3 offer faster load times compared to traditional HDDs. However, if capacity is a priority, a 7200 RPM HDD provides more space for less money. Choose based on your needs and budget.
| Component | Recommendation | Approx. Price |
|---|---|---|
| CPU | Intel i3-13100 | $120 |
| GPU | GTX 1650 (Used) | $100 |
| Motherboard | MSI B760 | $80 |
| Memory | Team T-Force Vulcan Z 16GB | $35 |
| Storage | Crucial P3 1TB SSD | $35 |
For more detailed advice on component compatibility, check out this forum discussion. It’s a great resource for finding the best part combinations within your budget.
Step-by-Step Assembly Guide
Assembling a low-cost system requires precision and attention to detail. Each component must be installed correctly to avoid performance issues. Follow these steps to ensure a smooth and efficient process.
Installing the CPU and Motherboard Safely
Begin by placing the CPU onto the motherboard outside the case. Align the pins carefully to avoid bending them. Secure the CPU cooler firmly, but avoid overtightening the screws.
Next, mount the motherboard into the case using standoffs. This prevents electrical shorts and ensures stability. Double-check all connections before proceeding.
Connecting Power Supply and Storage
A modular power supply, like the Be Quiet! Pure Power 12M, simplifies cable management. Connect the 24-pin motherboard cable and the 8-pin CPU power first.
For storage, attach SATA cables to the SSD or HDD. Ensure the drive is securely fastened to avoid vibrations during operation.
| PSU Connection | Purpose |
|---|---|
| 24-pin cable | Main motherboard power |
| 8-pin cable | CPU power |
| PCIe cables | GPU power |
Securing the GPU and Final Wiring
Insert the GPU into the PCIe slot until it clicks. Secure it with screws to prevent sagging. Route cables neatly to improve airflow and aesthetics.
Finally, connect case fans and front-panel headers. Test the system outside the case first to identify any issues early.
Testing and Troubleshooting Your Build
Ensuring your system runs smoothly after assembly is a critical step in the process. Testing helps identify potential issues early, saving time and frustration. Start with a preliminary test outside the case to confirm basic functionality.

Booting Up Outside the Case (Preliminary Test)
Perform a “breadboard test” by connecting only the CPU, memory, and GPU to the motherboard. Power on the system to check if it boots. This step isolates potential problems with these core components.
If the system fails to boot, double-check connections. Ensure the power supply switch is on and all cables are securely plugged in. Reseat the RAM and GPU to rule out loose connections.
Common Issues and Quick Fixes
Failed boots often result from simple oversights. Loose RAM, unplugged CPU power, or outdated BIOS firmware are frequent culprits. Here’s a checklist to address these issues:
| Issue | Solution |
|---|---|
| System doesn’t power on | Check power supply switch and connections |
| No display | Reseat GPU and ensure monitor is connected |
| BIOS doesn’t recognize CPU | Update motherboard firmware |
| Random crashes | Clear CMOS and check memory compatibility |
For GPU detection problems, try using integrated graphics to isolate the issue. If the system boots with integrated graphics, the GPU may need reseating or updating drivers.
“Testing outside the case first can save hours of troubleshooting later.”
Finally, ensure all components are compatible using tools like PC Part Picker. This step prevents conflicts and ensures optimal performance for your games.
Conclusion: Maximizing Value on a $200 Budget
Maximizing value on a tight budget is both rewarding and achievable with the right approach. By focusing on refurbished GPUs, budget CPUs, and prioritizing SSD storage, users can enjoy a functional setup without overspending. These strategies ensure a solid foundation for future upgrades, such as adding more memory or upgrading the GPU.
Communities like Reddit’s r/BuildAPC are invaluable for troubleshooting and finding deals on parts. Whether you’re a beginner or a seasoned master, engaging with these forums can provide support and inspiration. Sharing your budget build or asking questions fosters a collaborative environment.
For more insights on cost-effective builds, check out this in-depth analysis. With careful planning and resourcefulness, creating a reliable system within your case and budget is entirely possible.
FAQ
Can I really build a gaming PC for under 0?
Yes, it’s possible by carefully selecting budget-friendly components like used or refurbished parts. Focus on balancing performance and cost to stay within your limit.
What’s the most important part to prioritize in a 0 build?
The GPU is crucial for gaming performance. Look for affordable options like older AMD or NVIDIA cards that still deliver decent FPS in modern games.
Is an SSD necessary for a budget gaming PC?
While an SSD improves load times, a 7200 RPM hard drive is more cost-effective for storage. You can always upgrade to an SSD later.
What type of case should I use for this build?
An ATX mid tower case is ideal. It’s affordable, widely compatible, and provides enough space for your components.
How do I ensure my power supply is sufficient?
Choose a reliable power supply with at least 400W. Brands like EVGA or Corsair offer budget options that ensure stability and safety.
Can I upgrade this PC in the future?
Absolutely. Start with a solid motherboard that supports future upgrades. Adding more memory or a better graphics card can extend its lifespan.
What games can I play on a 0 PC?
You can run older AAA titles and indie games at medium settings. Games like CS:GO, Minecraft, and Fortnite should perform well with the right configuration.
Do I need any special tools for assembly?
A Phillips-head screwdriver is essential. Anti-static wristbands are recommended but not mandatory if you handle components carefully.
How do I test my PC before final assembly?
Perform a preliminary test by booting up outside the case. This helps identify issues with the CPU, GPU, or power supply early on.
What if my PC doesn’t turn on after assembly?
Check all connections, especially the power supply and motherboard cables. Ensure the GPU and memory are seated properly. Resetting the BIOS can also help.


