Table of Contents
If you use BlueStacks, a top Android emulator, you might face some hurdles. This is particularly true for those on Windows 10. Hyper-V, Microsoft’s hardware virtualisation tech, often causes problems. When it’s turned on, it can stop BlueStacks from working well. This leads to a common error message.
To get the most out of BlueStacks, it’s important to disable Hyper-V. Doing so makes gaming and using apps much smoother. This step helps in making BlueStacks more efficient.
Understanding Hyper-V and Its Impact on BlueStacks
Exploring how Hyper-V and BlueStacks interact is key for users looking to improve their Android app experience on Windows. Hyper-V, a virtualisation technology from Microsoft, lets different operating systems run on one computer. This efficient use of hardware means you can do more at once.
What is Hyper-V?
Hyper-V comes with many versions of Windows and helps run virtual machines well. It’s great for devs or users needing separate spaces for software. However, apps like BlueStacks that need direct hardware access may find it a challenge.
Why Disable Hyper-V for BlueStacks?
Turning off Hyper-V is often suggested for BlueStacks users. Without Hyper-V, BlueStacks gets full access to the computer’s hardware for better speed and smoother running of Android apps. Otherwise, users might hit roadblocks with errors that say virtualisation can’t work, which stops BlueStacks from running right.
Common Errors Associated with Hyper-V
With Hyper-V on, users may see errors about BlueStacks and virtualisation. Issues can persist even if you’ve turned off things like Windows Sandbox, if Hyper-V is still on somehow. Also, tools using virtualisation like WSL2 or Windows Sandbox can add to these problems, making it important to check all virtualisation settings carefully.
| Error Message | Possible Cause | Resolution Steps |
|---|---|---|
| Hardware Virtualisation Not Available | Hyper-V is enabled | Disable Hyper-V through Windows Features |
| BlueStacks Crashes on Startup | Conflicts with Windows Sandbox | Turn off Windows Sandbox and Hyper-V |
| Performance Issues with BlueStacks | Restrictions from Hyper-V | Optimise settings or disable Hyper-V entirely |
Methods to Disable Hyper-V in Windows 10 for BlueStacks
Turning off Hyper-V can boost performance for apps like BlueStacks. There are different ways to do this, suited for all skill levels. This ensures anyone can efficiently disable Hyper-V.
Disabling via Windows Features
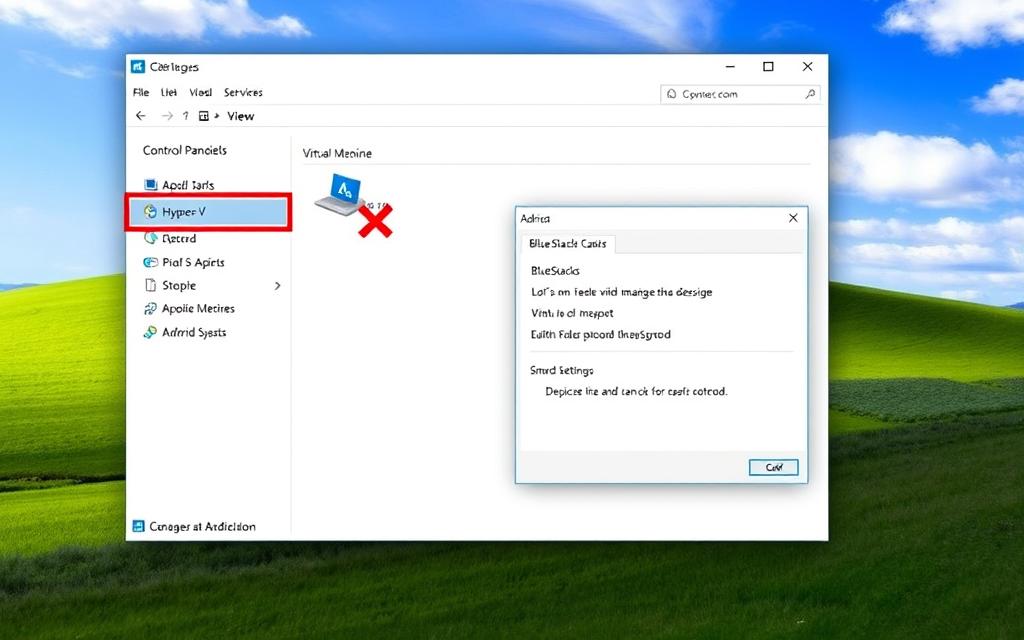
One easy way to disable Hyper-V is through the Windows Features menu. Begin by opening the Control Panel and selecting Programs. Next, click on Turn Windows features on or off. Uncheck Hyper-V and related features, then click OK. This method is quite straightforward. Remember to restart your computer to make sure the changes are set.
Using Command Prompt to Disable Hyper-V
If you’re okay with command lines, here’s another method. Right-click the Start menu and choose Command Prompt (Admin). Type in bcdedit /set hypervisorlaunchtype off and press enter. This turns off Hyper-V right away. It’s meant for those who know their way around a command prompt. Don’t forget to restart your computer afterwards.
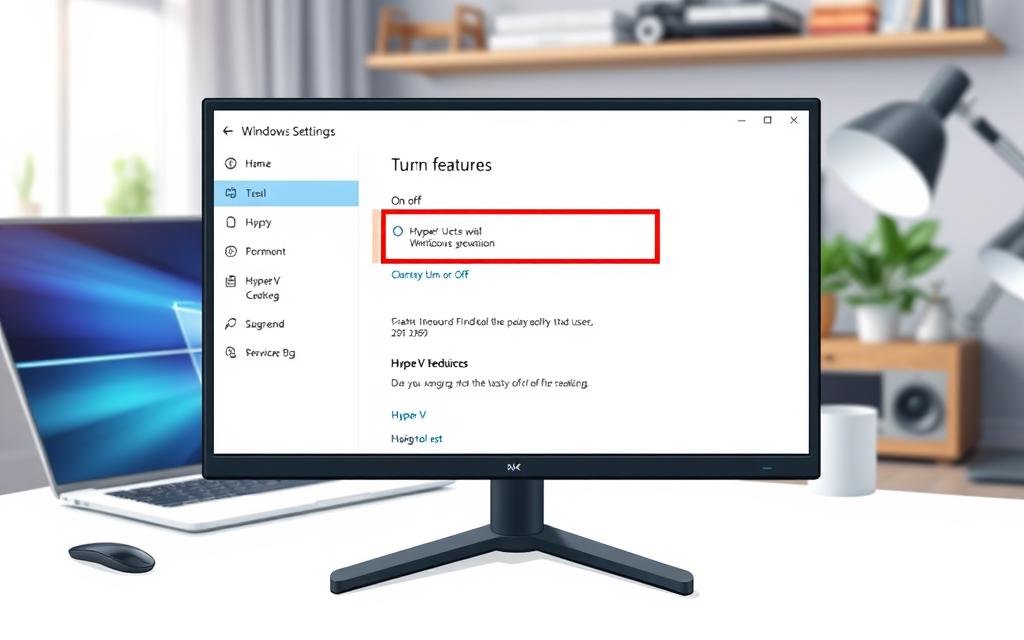
If you’re looking for more in-depth info on turning off Hyper-V, check this helpful guide. Knowing different approaches helps you ensure BlueStacks runs smoothly, improving your experience.
Additional Virtualisation Settings to Consider
When setting up BlueStacks, it’s important to look at both software and hardware settings. This prevents any conflicts from incorrect virtualisation options. Ensuring these settings are right guarantees the best performance.
Checking BIOS Settings for Virtualisation
To get virtualisation right, starting with the BIOS settings is key. Users need to make sure features like Intel VT or AMD-V are on. If these are off, apps like BlueStacks could struggle even if Hyper-V is not used. It’s crucial to check BIOS settings to avoid issues that affect how virtual machines work.
Impact of Other Windows Features on Hyper-V
Windows features also play a big role in how Hyper-V works. Options such as Windows Sandbox and the Windows Subsystem for Linux (WSL2) may turn virtualisation on without you knowing. This can mess with BlueStacks. Turning off these virtualisation features, including Hyper-V, can help. Even with these off, Hyper-V errors might pop up, which shows why a detailed check is necessary.
Conclusion
Turning off Hyper-V is key for those wanting to make BlueStacks run better. Understanding Hyper-V and using different methods will boost your app’s speed. Make changes in BIOS and switch off Windows features that clash to get a smooth running of virtual programs.
To help with BlueStacks crashing on Windows 10, we’ve listed four helpful tips. They include updating your graphics driver, tweaking BlueStacks settings, and removing anti-virus software issues. Remember, turning off Hyper-V is a must to keep BlueStacks stable.
If you want more details on handling Hyper-V in Windows 11, check out this guide. Carefully follow the steps and think about how your system’s setup affects performance. This way, you’ll enjoy a smoother BlueStacks experience.
FAQ
What is Hyper-V and how does it affect BlueStacks?
Hyper-V is a virtualisation technology by Microsoft. It lets users make and handle virtual machines. When on, Hyper-V may limit BlueStacks’ access to computer resources. This can cause performance issues and errors like “BlueStacks cannot use hardware-assisted virtualisation.”
Why do I need to disable Hyper-V for BlueStacks?
Turning off Hyper-V boosts BlueStacks’ performance. With Hyper-V on, BlueStacks might struggle to use hardware-assisted virtualisation well. This could lead to errors and lower app performance.
What common errors might I encounter when Hyper-V is enabled?
With Hyper-V on, you might see errors about unavailable hardware-assisted virtualisation. You could also find BlueStacks not working right or crashing, even with Windows Sandbox and Windows Hypervisor Platform off.
How do I disable Hyper-V via Windows Features?
To turn off Hyper-V through Windows Features, go to the Control Panel. Choose “Programs,” then “Turn Windows features on or off.” Unselect Hyper-V and related features, and restart your computer to apply these changes.
Can I disable Hyper-V using Command Prompt?
Yes, Command Prompt can turn off Hyper-V. Run it as an administrator and type `bcdedit /set hypervisorlaunchtype off`. Then, reboot your computer to make the changes take effect.
What should I check in my BIOS settings for virtualisation?
Check your BIOS settings to ensure features like Intel VT or AMD-V are on. These are vital for BlueStacks to work well, even with Hyper-V off.
How do other Windows features impact Hyper-V?
Features like Windows Sandbox, WSL2, Device Guard, and Credential Guard also use virtualisation. They might clash with BlueStacks. It’s best to turn them off with Hyper-V for a better experience.


