Table of Contents
Preserving epic in-game moments is easier than ever. Whether you’re using Windows tools or third-party software, capturing a screenshot takes just seconds. Modern solutions let you save victories, glitches, or stunning visuals without interrupting gameplay.
Built-in features like the Windows 10 Game Bar (activated with Windows + G) provide seamless recording. Steam users can press F12, while Nvidia and AMD offer dedicated hotkeys. These methods ensure quick access during intense sessions.
Each platform automatically saves files in designated folders. Notifications confirm successful captures, so you never lose a memorable moment. Choose native tools or specialized apps based on your preferences and hardware.
Introduction to Taking Screenshots on a Gaming PC
Capturing in-game moments has transformed with modern technology. Gone are the days of using external cameras to save gameplay highlights. Today, built-in features in gaming platforms make it effortless to capture stunning visuals in real-time.
The evolution from physical camera shots to instant digital capture has been remarkable. Developers have designed tools that let you save moments with just a few keystrokes. This eliminates the need for external devices and ensures seamless integration with your computer.
Built-in features in platforms like Steam, Windows Game Bar, and Nvidia GeForce Experience offer diverse options. Whether you prefer software-based methods or hardware-assisted tools, there’s a solution for every gamer. These tools ensure high-quality images and support various formats for easy sharing.
“Modern screenshot tools have made it possible to save and share gameplay moments without interrupting the experience.”
Key considerations when choosing a method include image quality, format support, and sharing capabilities. For instance, Nvidia Ansel offers high-resolution and 360-degree captures, while Steam allows direct sharing to social media platforms.
Default storage locations vary across systems:
- Windows Game Bar saves files in the Captures/Videos folder.
- Steam stores screenshots in the library or under the “View Screenshots” option.
- Nvidia GeForce Experience saves captures in the Gallery or Videos folder.
For more detailed insights, check out this guide on advanced screenshot techniques.
Using the Print Screen Key
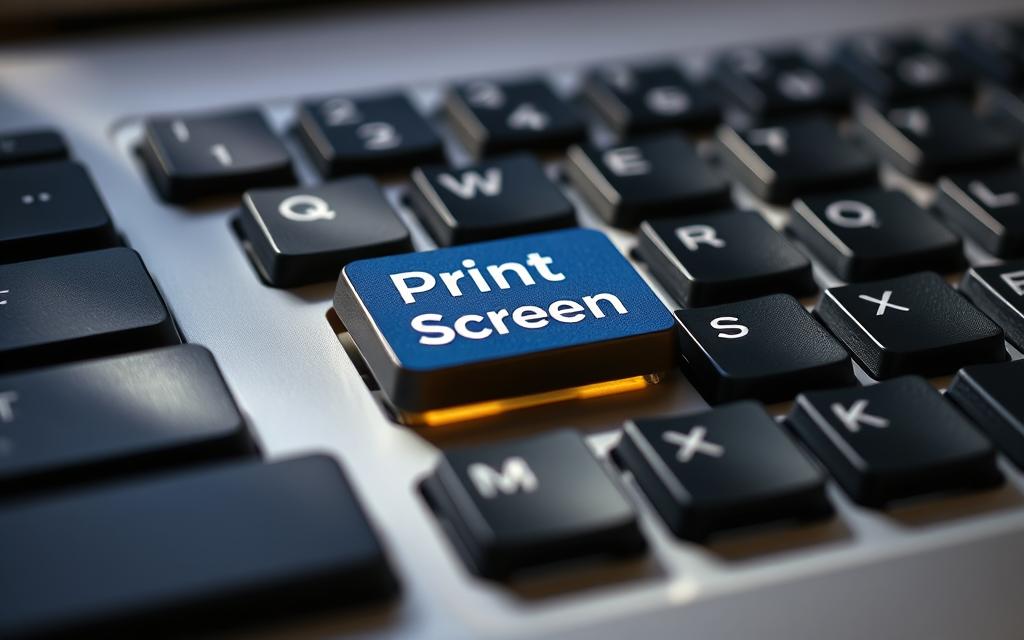
The Print Screen key remains a timeless tool for capturing your screen. Whether you’re saving gameplay highlights or documenting system errors, this keyboard feature is both simple and effective. Across Windows versions, its functionality has evolved, offering more flexibility for users.
How to Use the Print Screen Key
By default, pressing the Print Screen key captures your entire screen. In older Windows versions, this copies the image to your clipboard. Modern systems like Windows 11 save the screenshot directly to the screenshots folder under Pictures. For active window captures, use Alt + PrtScn.
Game-specific implementations also exist. For example, Overwatch saves screenshots in its dedicated directory. This ensures organized storage and easy access to your captures.
Customizing the Print Screen Key
Windows 11 allows customization through Accessibility settings. You can assign the Print Screen key to open the Snipping Tool for more advanced options. Third-party tools like Lightshot or Greenshot offer additional features, such as annotation and direct sharing.
These tools enhance the default functionality, making the keyboard shortcut even more versatile. With a simple notification, you’ll know your screenshot was successfully saved.
How to Screen Shot on Gaming PC with Game Bar
The Windows Game Bar is a powerful tool for capturing in-game moments effortlessly. Designed for gamers, it integrates seamlessly with your system, offering quick access to recording and sharing features. Whether you’re saving victories or documenting glitches, the Game Bar ensures high-quality captures without interrupting your gameplay.
Opening the Game Bar
To activate the Game Bar, press the Windows key + G. This shortcut opens the overlay, providing access to various tools. Before using it, ensure the feature is enabled in your Windows Gaming settings. Navigate to Settings > Gaming > Xbox Game Bar and toggle it on.
For multi-monitor setups, the Game Bar supports capturing across all displays. This makes it ideal for gamers using extended setups. Customize the overlay’s position to avoid obstructing critical gameplay elements.
Capturing Screenshots with Game Bar
Once the Game Bar is active, use the Win + Alt + PrtScn shortcut to take a screenshot. A notification confirms the capture, ensuring you never miss a moment. By default, files are saved in the Captures/Videos folder under your user directory.
Customize hotkeys to suit your preferences. Go to Settings > Gaming > Xbox Game Bar > Shortcuts to assign new keys. This flexibility enhances your workflow, especially during intense gaming sessions.
The Game Bar also integrates with Xbox Live, allowing you to share captures directly with friends. Batch management is simple through the interface, letting you organize and delete files efficiently.
- Enable the Game Bar through Windows Gaming settings.
- Capture across multiple monitors with ease.
- Customize hotkeys and overlay positions for convenience.
- Manage files in batches using the Xbox Game Bar interface.
- Share captures seamlessly with Xbox Live integration.
Taking Screenshots with Steam
Steam offers a streamlined way to capture and manage your gameplay moments. Its built-in tools ensure high-quality images without interrupting your gaming experience. Whether you’re saving victories or documenting glitches, Steam makes it simple to preserve your highlights.
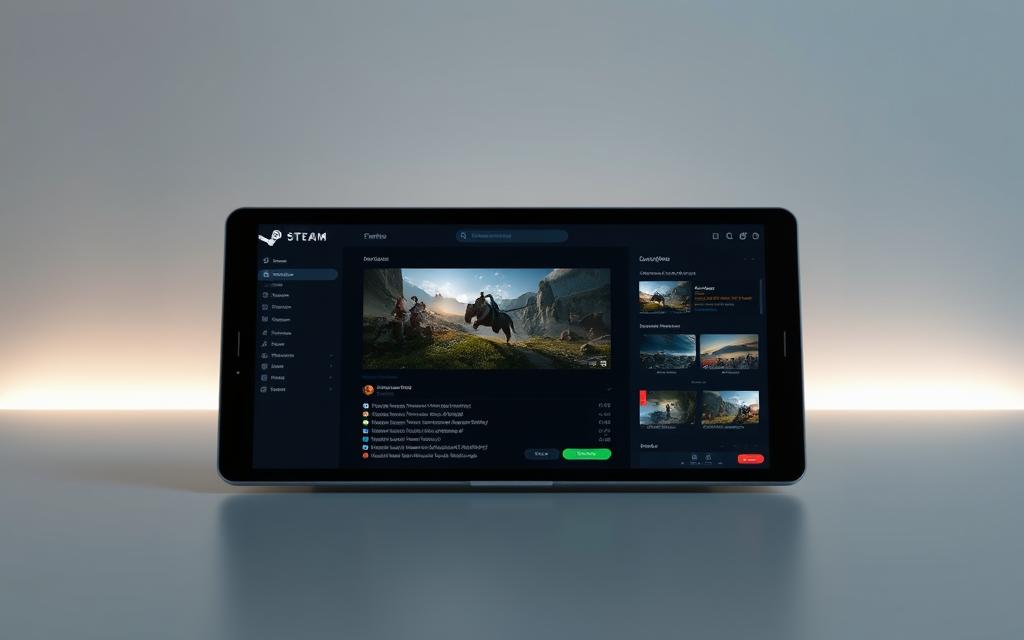
One of the standout features is the F12 key, which serves as the default shortcut for taking screenshots. Pressing it instantly saves the image, and a notification confirms the capture. This method works across all games on the platform, ensuring consistency.
Using the F12 Key
The F12 key is the go-to option for Steam users. It’s quick, reliable, and doesn’t require additional setup. After capturing, screenshots are automatically saved to your Steam library, making them easy to access later.
For those who prefer customization, Steam allows you to change the default shortcut. This flexibility ensures you can adapt the tool to your preferences, especially during intense gaming sessions.
Customizing Screenshot Shortcuts in Steam
To customize the shortcut, open Steam’s settings and navigate to the In-Game tab. Here, you can assign a new key combination for taking screenshots. This feature is particularly useful if the default F12 key conflicts with other game controls.
Steam also offers additional tools for managing your captures. You can edit screenshots directly within the Steam Overlay, add annotations, or share them on platforms like Facebook. These features enhance the overall experience, making it easy to showcase your gaming achievements.
- Platform-specific advantages for Steam game captures.
- Configuring cloud storage and automatic uploads.
- Post-capture editing tools within Steam Overlay.
- Direct social media sharing integrations.
- Managing screenshot collections across multiple games.
For more tips on optimizing your gaming experience, check out this guide on safely downloading PC games.
Capturing Screenshots with Nvidia GeForce Experience
Nvidia GeForce Experience elevates screenshot capabilities beyond basic captures. This premium toolset combines instant keyboard shortcuts with professional editing features. Designed for RTX and GTX users, it delivers studio-quality results with minimal effort.
Using Alt + F1 Shortcut
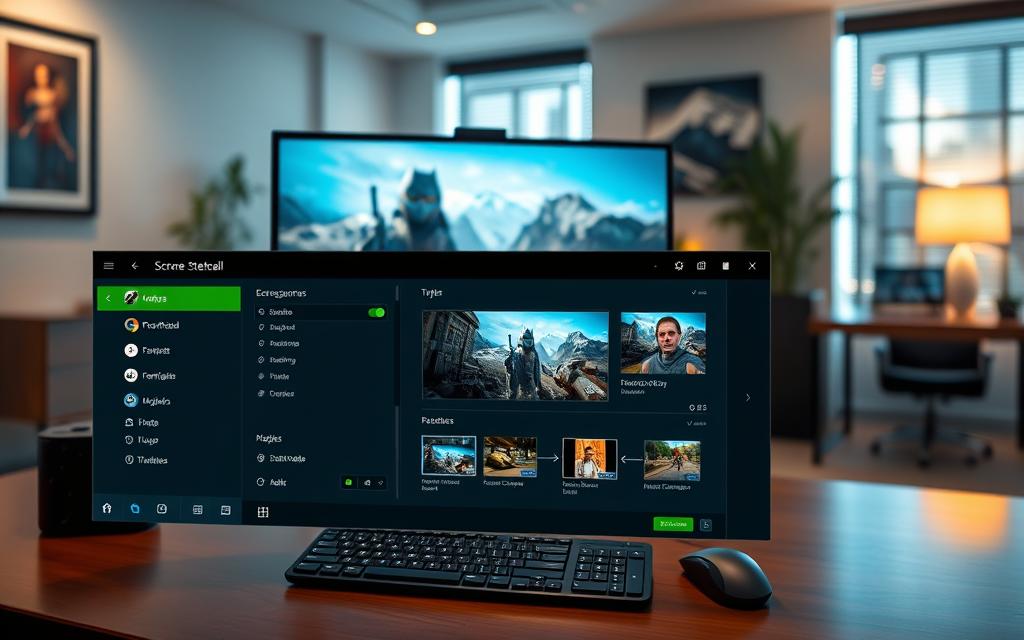
Press Alt + F1 during gameplay for instant full-screen captures. The software automatically saves images in PNG format for lossless quality. Customize this shortcut in the GeForce Experience settings for personalized workflows.
Advanced users benefit from ShadowPlay integration. This allows simultaneous screenshot and video recording without performance drops. Notifications confirm successful captures while keeping gameplay uninterrupted.
Viewing and Managing Screenshots
Access your gallery through the GeForce Experience overlay (Alt+Z). The interface supports batch exporting, social sharing, and basic edits. Files organize automatically by game and date in the Videos/Captures folder.
For creative control, Ansel offers specialized tools in supported titles:
- 360-degree captures for VR content
- 8K super-resolution shots
- Depth-of-field and filter adjustments
- Automatic game detection creates optimized profiles
- Direct uploads to Google Photos or Imgur
“GeForce Experience transforms screenshots into artistic compositions with its Ansel technology.”
System requirements vary by feature. Basic captures work on all Nvidia cards, while Ansel needs RTX 20-series or newer. Always update drivers for optimal performance.
Using AMD ReLive for Screenshots
AMD ReLive brings advanced screenshot capabilities to Radeon users. Designed for the Graphics Core Next architecture, this tool integrates seamlessly with Radeon Software. It’s perfect for gamers who want high-quality captures without interrupting their gameplay.
Compatible with Radeon RX series and newer, AMD ReLive offers more than just screenshots. It includes simultaneous screen recording, performance monitoring, and customizable overlays. These features make it a versatile choice for both casual and professional gamers.
Enabling ReLive Feature
To activate AMD ReLive, open Radeon Software from the Start Menu. Navigate to the General settings and toggle the ReLive feature on. This process ensures the tool is ready for use during gameplay.
Customization options include overlay positioning and hotkey assignments. These settings let you tailor the tool to your preferences. For detailed steps, check out this AMD ReLive guide.
Taking Screenshots with ReLive
Press Ctrl + Shift + E to capture a screenshot instantly. The image is saved in the videos folder under your user directory. A notification confirms the capture, ensuring you never miss a moment.
ReLive also supports advanced features like instant replay and GIF creation. These tools enhance your ability to share and showcase gameplay highlights. Performance impact is minimal, even during intense sessions.
- Compatible with Radeon RX series and newer GPUs.
- Simultaneous screen recording and screenshot capabilities.
- Customizable overlay positioning for convenience.
- Integration with Radeon Software metrics for performance tracking.
- Files saved in the videos folder for easy access.
Conclusion
Exploring different methods to take screenshots enhances your gaming experience. Each tool offers unique advantages, from the simplicity of the Print Screen key to the advanced features of Nvidia GeForce Experience. Casual gamers may prefer built-in options like the Windows Game Bar, while competitive players might opt for specialized tools like AMD ReLive.
Post-capture editing is essential for creating polished images. Tools like Photoshop or Lightroom allow you to edit and refine your captures. Cloud storage solutions ensure your files are safe and accessible across devices, making it easy to share your achievements with others.
As technology evolves, expect more creative ways to capture and interact with your gameplay. Experiment with different methods to find the one that best suits your needs. Whether you’re documenting victories or creating art, the right tools make all the difference.
FAQ
What’s the easiest way to capture a screenshot on a gaming PC?
Press the Print Screen (PrtScn) key to copy the entire screen to the clipboard. Alternatively, use Windows + PrtScn to save it directly to the Screenshots folder.
Can I take a screenshot of just the active window?
Yes. Press Alt + PrtScn to capture only the active window. The image is copied to the clipboard for pasting into an editor.
How do I use the Game Bar for screenshots?
Press Windows + G to open the Game Bar, then click the camera icon or use Windows + Alt + PrtScn for instant captures.
Where are my screenshots saved by default?
Screenshots taken with Windows + PrtScn go to Pictures > Screenshots. Game Bar captures are stored in Videos > Captures.
Can I customize screenshot shortcuts in Steam?
Yes. Open Steam’s Settings > In-Game and change the default F12 key to any preferred shortcut.
Does Nvidia GeForce Experience offer screenshot features?
Yes. Press Alt + F1 to take a screenshot. Images save to the GeForce Experience gallery under the Photos tab.
How do I enable AMD ReLive for screenshots?
Open AMD Radeon Software, go to Settings > ReLive, and toggle it on. Use Ctrl + Shift + E to capture screenshots.
Can I capture screenshots in fullscreen games?
Yes. Tools like Game Bar, Steam, or GeForce Experience work in fullscreen mode, unlike basic PrtScn in some cases.


