Table of Contents
Many need to transfer analog audio to digital formats. Free tools like Audacity make this process simple. This open-source software handles professional-grade recordings with ease.
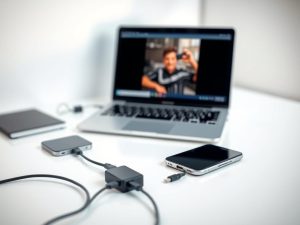
The right cable connections ensure high quality transfers. Devices like turntables or cassette players connect directly to a PC. Proper setup reduces static and preserves clarity.
For MP3 exports, the LAME encoder is essential. Audacity requires this plugin due to format restrictions. The workflow involves installation, configuration, and file export.
This method works for music, podcasts, or archiving old recordings. It’s more affordable than professional services. Learn more about audio recording setups for optimal results.
Essential Equipment for Recording from a Computer with a Cable
Proper hardware selection ensures high-quality audio transfers. Whether digitizing vinyl or capturing live sound, the right tools minimize noise and maximize clarity.
Choosing the Right Cable and Adapters
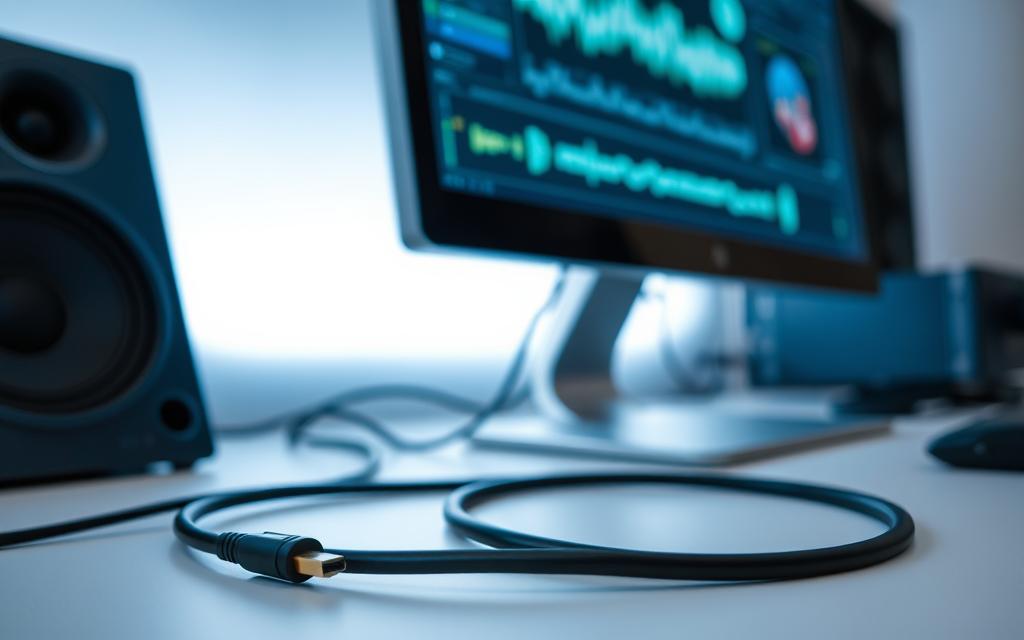
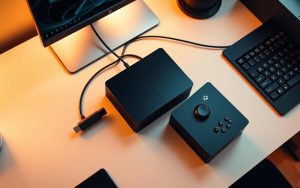
A standard 1/8″ male-to-male cable connects most devices to a computer. For turntables or tape decks, a 1/4″ to 1/8″ adapter is essential.
- TS vs. TRS connectors: TS (mono) suits simple instruments; TRS (stereo) handles balanced signals.
- Adapter compatibility: Vintage gear may need RCA-to-3.5mm converters.
- Keep cables under 6 feet to prevent signal degradation.
Identifying Audio Ports on Your PC
Most computer ports are color-coded: red for microphone/line-in, green for speakers. Laptops often combine these into a single jack.
Safety note: Only connect output sources at headphone levels. Speaker-level signals can damage sound cards.
- Desktop PCs: Line-in jacks are typically blue.
- USB interfaces: Ideal for multi-device setups.
- Troubleshoot unrecognized inputs in Windows Sound Settings.
Setting Up Recording Software
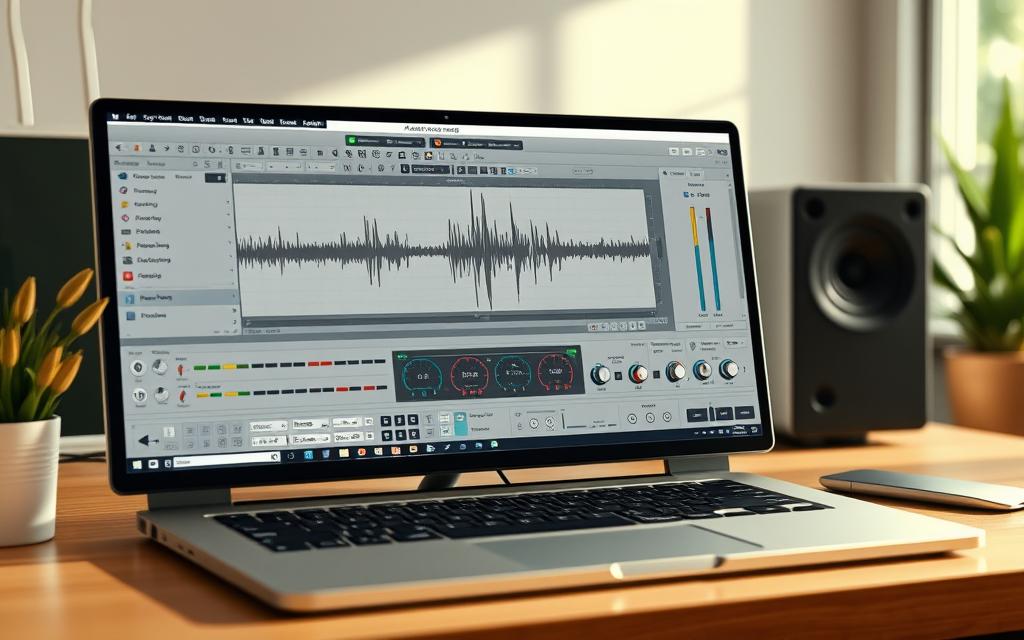
Optimizing audio recording starts with the right software setup. Free tools like Audacity simplify analog-to-digital conversion while offering professional features. Proper configuration minimizes glitches and maximizes clarity.
Installing Audacity and LAME
Download Audacity from its official site—admin privileges are required for installation. For MP3 exports, the LAME encoder is essential. Save it to C:\Program Files\Lame to ensure Audacity recognizes it.
- Silent installation: Run LAME as administrator to avoid errors.
- Buffer optimization: Adjust settings to 512 samples for minimal latency.
- Enable ASIO drivers in the menu for low-latency monitoring.
Configuring Audio Input Settings
Open Audacity and select your input device under the audio preferences. Critical settings include:
- Stereo input for balanced recordings.
- Sample rate of 44.1kHz (CD quality).
- Enable VU meters to monitor levels.
Check the box for “overdub” if layering tracks. For multi-track recording, set default projects to WAV format. Save custom profiles for frequent setups.
Pro tip: Name files clearly before recording (e.g., “Podcast_Ep1_Raw”). This avoids confusion during editing.
How to Record from a Computer with a Cable
Converting analog audio to digital requires precise execution. Proper cable connections and software settings ensure high-fidelity results. Below, we outline the critical phases from setup to final export.
Connecting Your Audio Source to the PC
First, verify cable integrity and input ports. For turntables, match the speed (33⅓ or 45 RPM) to the source material. Use a 1/8″ stereo cable for most devices, or adapters for RCA outputs.
Check input levels in your software’s VU meters. *Calibration* prevents clipping. For tape decks, note side durations (30–60 minutes) to plan storage space.
Starting and Stopping the Recording
Sync the analog source with the digital record function. Press play on the device, then immediately start recording in Audacity. Pause between tracks to simplify editing later.
Monitor the output for distortion. Use a 2–3 second silent sample for noise removal. This step is vital for cleaning up vintage recordings.
Exporting Your Recording to MP3
Select file > Export in Audacity. Choose MP3 format and adjust bitrate (128–320 kbps). Higher values preserve quality but increase file size.
- Batch processing: Split multi-side albums using silence detection.
- Metadata: Tag tracks with artist and album details for organization.
- Archival: Store masters in FLAC; use MP3 for sharing.
Finally, review the output for clipping. Save presets for platforms like Spotify or YouTube to streamline future projects.
Conclusion
High-quality digitization requires careful noise management. Apply reduction tools incrementally to preserve audio clarity. Always use the undo function in software to safeguard original recordings.
Finalize projects as MP3 files for portability. For archival files, consider FLAC to retain quality. Upgrade to professional ADCs if your computer’s sound card struggles with fidelity.
Respect copyright laws when transferring protected media. Cloud backups and format migrations future-proof your work. Explore forums like Audacity’s community for advanced tips.
FAQ
What cables work best for recording audio from a PC?
3.5mm aux cables or USB audio interfaces provide reliable connections. For high-quality output, consider shielded cables to reduce interference.
How do I locate the correct audio input port on my computer?
Most PCs label the microphone or line-in port in pink. Laptops may combine ports—check your device’s manual or audio settings for confirmation.
Is Audacity the only software for recording?
No. While Audacity is popular, alternatives like OBS Studio (for video) or Adobe Audition offer advanced features for different needs.
Why is my recording distorted or noisy?
Adjust input levels in your software settings. Ensure cables are fully inserted and avoid using damaged adapters. Background apps can also interfere—close unnecessary programs.
Can I record video and audio simultaneously?
Yes. Tools like OBS Studio or Camtasia capture both. Connect your video source via HDMI or USB while routing audio through the designated input.
How do I save recordings in MP3 format?
In Audacity, install the LAME encoder, then export via File > Export > Save as MP3. Other software like GarageBand or Reaper have similar export options.


