Table of Contents
The idea of removing a hard drive from a Dell laptop might seem scary to some. Yet, this key step is often needed to boost performance or swap out a faulty hard drive. In this guide, we’ll cover the necessary steps for a smooth hard drive replacement. You’ll gain the confidence to do it yourself. It’s key to remember that you should back up your data first. The process can lead to data loss if you’re not careful1.
This guide aims to explain why you might need to change your hard drive and how to reinstall your operating system after. We’ve made sure every step is clear so you can follow along easily. Also, it’s important to use the right tools, like a Phillips head screwdriver, for precise work during the removal phase1.
Key Takeaways
- Ensure you have backed up all essential data before starting the hard drive replacement process.
- Gather all necessary tools, especially a small Phillips head screwdriver for the job.
- Follow meticulous steps to safely power down and remove the existing hard drive.
- Pay attention to securing the new hard drive with brackets and screws.
- Install the operating system methodically after the hard drive has been replaced.
- Follow the recommended order to install drivers effectively to ensure optimal laptop performance.
- Keep all product keys handy for software reinstallation to manage your applications smoothly.
Overview of Hard Drive Replacement
A hard drive replacement might be needed for many reasons, often due to performance issues. Users might see signs of a possible hard drive failure. These include slow responses and odd noises from their computer. Such signals may push them to replace the hard drive to boost speed or add more storage. Knowing the tools for hard drive removal is key to a smooth and effective upgrade.
Understanding Why You Might Need to Replace Your Hard Drive
Knowing when to replace your hard drive is vital for keeping your computer running well. Over time, hard drives get worn out, which might lead to a hardriv failure. Dell suggests backing up important data before replacing your hard drive. They won’t be responsible for any lost data, programs, or software. Common signs of a failing hard drive are:
- Slower application loading speeds
- Weird clicking or grinding sounds
- Regular computer crashes or blue screens
Identifying the Tools Required for the Process
Finding the right tools is crucial for a successful hard drive change. For Dell laptops, you’ll mainly need a small Phillips head screwdriver (PH.1 size)1. Here are the steps for removing the hard drive:
- Make sure all cables are unplugged and the computer is off before starting.
- Use the screwdriver to take out screws holding the access panel and the drive.
- If needed, gently remove the hard drive brackets to take the drive out.
Following these steps will help make switching to a new hard drive smooth. This will lead to better performance and reliability in your device.
Before You Begin the Removal Process
Getting your Dell laptop’s hard drive out safely takes some preparation. It’s important to follow the right steps to keep your data safe and make the process smoother. First, back up all your data, gather the software and documents you’ll need, and don’t forget about safety measures.
Backing Up Your Data
Before you touch the hardware, back up your data. Dell won’t cover any data you lose, so it’s up to you to ensure your files are safe. This guide highlights how crucial backing up. Getting ready for a data backup means you won’t lose anything important12.
Gathering All Necessary Software and Documentation
Next, make sure you have all the software needed for a smooth installation. You’ll need the Dell Operating System Installation Disc or a USB drive. Having the right tools and documentation for your Dell model makes the software reinstallation easier. It helps everything go faster and smoother.
Ensuring Proper Safety Procedures
Safety first when removing the hard drive. Ground yourself to avoid electrostatic discharge, which can damage the laptop. You can use a wrist strap or touch an unpainted metal part of the computer12.
Also, unplug all cables, especially the power cable, before you start. Press the power button for five seconds to make sure there’s no power left in the system. These steps protect both you and your laptop during the hard drive removal2.
How to Remove Hard Drive from Laptop Dell
When you need to replace your hard drive, it’s crucial to be methodical. First, make sure you power down the laptop completely. Unplug any external devices, then hold the power button for a few seconds to release any leftover energy. This step ensures your safety while removing the hard drive.
Powering Down and Unplugging Your Laptop
Before you start working on your Dell laptop, ensure it is fully powered down. Unplug the AC adapter and any other devices connected. Hold the power button down for a few seconds to remove any residual power from the laptop.
Locating and Removing the Hard Drive Access Panel
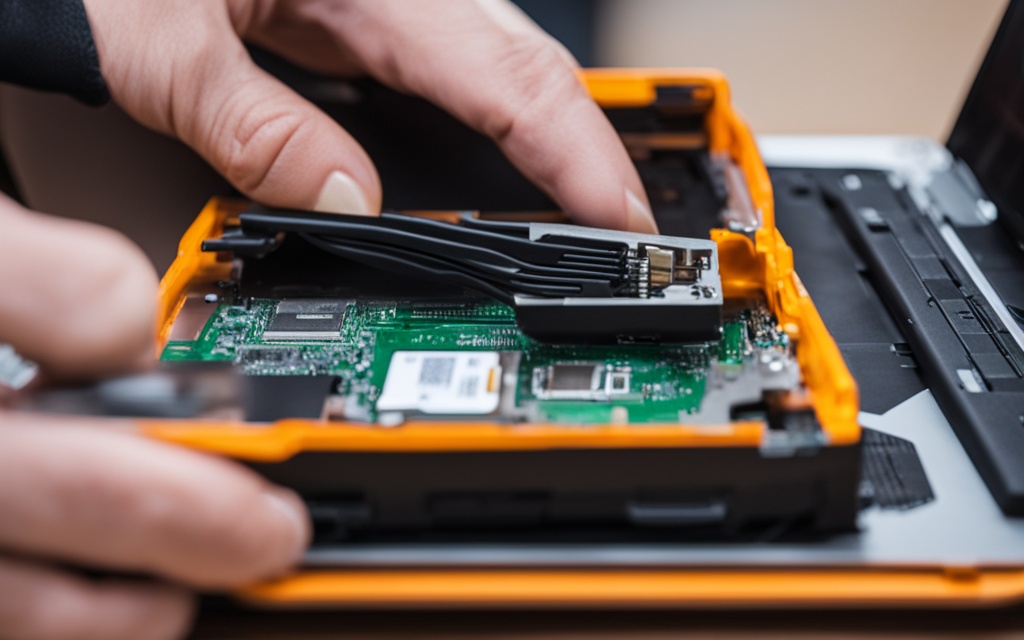
To get to the hard drive, you must remove the access panel at the laptop’s bottom. This location might change depending on the laptop model, so check your manual if necessary. Unscrew the panel to reveal the hard drive area.
Steps to Unscrew and Remove the Hard Drive
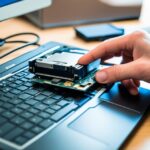
Look for the screws keeping the hard drive in place. Use a small Phillips head screwdriver (PH.1 size) to unscrew the hard drive. Remember to take off any brackets securing it. Then, gently pull out the hard drive, taking care not to harm any cables. These steps ensure a hassle-free hard drive removal and replacement12.
For visual instructions, check out the guide on Dell’s official website. It offers extra tips and information.
Installing the Replacement Hard Drive
After you remove the old hard drive, it’s time to put in the new one. This will make your laptop work better. It’s very important to handle the hard drive brackets correctly to make sure the new drive fits well and works properly.
Attaching Brackets and Securing the New Drive
First, attach the needed brackets to your new hard drive. This step is key because it helps the drive fit securely in your laptop. After attaching the brackets, carefully slide the new hard drive into its slot. Push it in firmly to ensure it connects well. Finally, screw the drive in place to fully secure it.
Reassembling the Laptop
Now that the new hard drive is in, you need to put your laptop back together. Begin with the access panel, making sure all screws are tight so nothing moves around. Remember to reconnect the battery and AC adapter. These parts are crucial for your laptop to work.
After putting everything back, turn on your laptop. This is to check that it recognises the new hard drive. Installing the hard drive should take about half an hour3. You will probably need a small Phillips head screwdriver for the access panel and the drive1.
Installing the Operating System and Drivers
After you have replaced the hard drive, the next key step is to install the operating system. This is essential to get your Dell laptop up and running well. Start by getting your installation media ready, like a USB drive or a CD.
Setting Up the Operating System
To begin, insert the installation media into your laptop. Then, restart it and access the BIOS or Boot menu by pressing F12 or F2. You should change the boot order to prioritize your installation media. This allows the operating system to start loading.
During installation, you’ll choose settings such as language and time. You’ll also decide on the partitions. Doing this ensures a smooth installation process, setting a good basis for your new system.
Downloading and Installing Drivers from Dell
After putting in the operating system, the next important step is to get the right Dell drivers. Installing these drivers in the right order is vital for a stable and well-performing system. Dell’s support website helps you find the exact drivers you need by entering your laptop’s service tag. Starting with key drivers like chipset, graphics, and network is advisable.
Download each driver and follow the instructions to install them. This careful installation of Dell drivers can solve a lot of hardware problems. It also boosts your laptop’s overall workability.
| Driver Type | Importance | Installation Order |
|---|---|---|
| Chipset Driver | Critical for system communication | 1 |
| Graphics Driver | Enhances visual performance | 2 |
| Network Driver | Essential for internet connectivity | 3 |
| Audio Driver | Improves sound quality | 4 |
| Peripheral Drivers | Supports additional devices | 5 |
Correctly updating the BIOS and drivers fixes about 75% of software problems on Dell devices4. By carefully following these instructions, you ensure that your laptop is ready for any task.
“The systematic approach to operating system installation and drivers is a cornerstone of effective device performance.”
Conclusion
Removing and replacing the hard drive in your Dell laptop can boost its performance and efficiency significantly. The key steps include backing up your data and installing the operating system. Using tools like AOMEI Partition Assistant Professional for cloning6 helps users upgrade without reinstalling Windows and apps.
Most people can finish this job in about 30 minutes if they have some technical skills3. Switching to a speedy SSD improves your laptop’s speed. Adding more storage space helps if you’re running out of room6. If you follow the instructions carefully, you can make your laptop last longer and work better.
If you need more help, there are lots of resources and tools out there7. Learning how to upgrade your laptop is rewarding. It ensures your computing experience is top-notch.
FAQ
Why would I need to replace the hard drive in my Dell laptop?
You might need a new hard drive for more storage or better speed. Sometimes, a failing drive can cause noises and make your laptop slow.
What tools do I need to replace the hard drive?
You’ll need a small Phillips head screwdriver, size PH.1, for this job. A soft, anti-static surface is also good to have.
How do I back up my data before replacing the hard drive?
Use USB drives or external hard disks to back up your files. You can also use online cloud services. Dell has software to help with backups.
What should I do to prepare my laptop for hard drive removal?
Make sure your laptop is off and all devices are unplugged. Press the power button once more to make sure all power is gone.
What are the steps to physically remove the hard drive?
Open the bottom access panel of your Dell laptop. Unscrew and remove the panel.
Next, unscrew the hard drive, then gently take it out. Handle it carefully to avoid damage.
How do I install the new hard drive?
Attach any needed brackets to your new hard drive. Place it in the laptop’s compartment. Secure it with screws before putting your laptop back together.
How do I set up the operating system after installing the new hard drive?
Use the Dell OS Installation Disc or USB to boot your laptop. Follow the on-screen instructions to install the operating system. Adjust the settings as you like.
What is the importance of installing drivers after setting up the operating system?
Installing drivers the right way is key. They make sure your laptop and its parts work well together, improving both performance and functionality.
Source Links
- https://www.dell.com/support/kbdoc/en-us/000122450/replacing-the-hard-drive-on-a-dell-portable-system – How to Replace a Dell Laptop Hard Drive: Step-by-Step Guide
- https://www.dell.com/support/contents/en-us/videos/videoplayer/how-to-replace-the-hard-disk-drive-in-your-dell-desktop/6079786692001 – How to Replace the Hard Disk Drive in your Dell Desktop
- https://www.easeus.com/partition-master/replace-hard-drive-dell-laptop.html – How to Replace Hard Drive in Dell Laptop [Step-by-Step]
- https://www.dell.com/support/kbdoc/en-us/000132300/how-to-troubleshoot-hard-drive-or-solid-state-drive-issues-on-a-dell-computer – How to Troubleshoot Hard Drive or Solid-State Drive Issues on a Dell Computer
- https://www.dell.com/support/kbdoc/en-us/000132963/how-to-install-your-operating-system-when-you-don-t-have-a-cd-or-dvd-drive-in-your-dell-pc – How to install your Operating System when you don’t have a CD or DVD drive in your Dell Computer.
- https://www.diskpart.com/windows-10/replacing-hard-drive-windows-10-4125.html – 2 Methods of Replacing Hard Drive on Windows 10 without Reinstalling Windows
- https://www.diskpart.com/articles/how-to-replace-a-hard-drive-in-a-dell-laptop-0310.html – How to Replace a Hard Drive in Dell Laptop without Reinstalling?

