Table of Contents
Moving photos from your Ricoh GR IIIx to a computer is essential for editing and storage. Whether you shoot professionally or casually, a smooth transfer process saves time and keeps your workflow efficient.
This guide explores the best ways to move your photos from camera to desktop. Wired and wireless options offer flexibility, depending on your needs. Each method has unique benefits for speed and convenience.
Photographers value quick access to their shots. The right transfer technique ensures your images stay organized and ready for post-processing. We’ll compare USB connections and wireless solutions to help you choose.
By the end, you’ll know how to seamlessly integrate your GR IIIx into your editing setup. Let’s dive into the simplest ways to manage your photography workflow.
Introduction to Transferring Ricoh GR IIIx Images
Dual transfer capabilities make the Ricoh III a flexible tool for creatives. Wireless and USB options cater to different workflows, whether you’re on-the-go or in a studio.
The camera supports DNG and JPEG formats, ensuring high-quality images. Choose DNG for raw editing or JPEG for quick sharing. Both retain detail during transfer.
Essential accessories include a USB-C cable (USB-PD type) or an SD card reader. These tools streamline file movement without compromising speed.
Ricoh’s Image Sync app bridges mobile and desktop workflows. Sync photos to your phone first, then send them to your computer for editing.
| Method | Speed | Best For |
|---|---|---|
| USB Cable | Fast | Bulk transfers, large files |
| Wireless (Image Sync) | Moderate | On-location shoots |
Data security matters when handling personal or professional work. Encrypt files or use trusted networks to prevent unauthorized access.
Preparing Your Ricoh GR IIIx for Transfer
Efficient photo management starts with proper camera preparation. Verify settings and hardware to avoid delays. A few quick checks save time and prevent errors during file movement.
Camera and Computer Compatibility
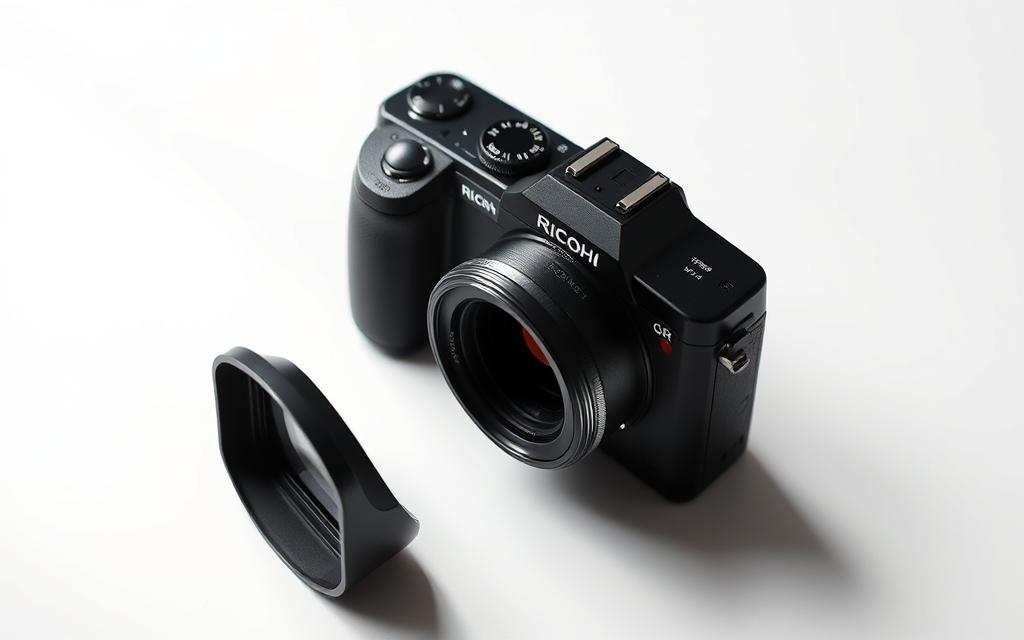
Ensure your operating system recognizes the device. The GR IIIx supports USB-C connections for fast data transfers. Update camera firmware to match your computer’s requirements.
Enable Auto Image Transfer for background syncing. This feature maintains workflow continuity by sending new shots automatically.
Battery and Memory Optimization
Wireless transfers drain power quickly. Keep battery levels above 50% for sustained performance. Use the Transfer reservation function to queue files during charging.
- Memory cards: Format regularly to prevent corruption. Monitor write speeds for large file batches.
- Adjust auto-sleep settings to avoid mid-transfer interruptions.
- Organize images into folders beforehand for easier sorting.
“Proper prep turns chaotic transfers into smooth workflows.”
These steps ensure your data moves securely and efficiently. Test connections beforehand to confirm seamless compatibility.
How to Get Ricoh GR IIIx Images to Computer Wirelessly via Image Sync
Wireless transfers provide flexibility for photographers on the move. The Image Sync app connects your camera to mobile devices, preserving EXIF data like location tags. This method suits quick edits or cloud backups.
Downloading and Setting Up Image Sync
Install the app from official stores (iOS/Android). Enable Wi-Fi on your camera and pair it via the QR code displayed on the screen. Grant permissions for seamless data access.
Connecting Camera to Mobile Device
Navigate to the app’s device menu. Select your GR IIIx and confirm pairing. Use Auto Transfer Reservation to queue files during shoots. This avoids manual selection later.
- Cloud integration: Sync directly to Google Drive or Dropbox.
- Batch transfers: Select up to 100 images per session.
- Verify checksums to ensure data integrity post-transfer.
Transferring Photos to Computer from Mobile
Upload files from your phone to desktop apps like Lightroom. Alternatively, use cloud services for automatic syncing. Maintain the original folder structure for easy organization.
“Wireless workflows empower creatives to edit anywhere—without cables.”
| Feature | Benefit |
|---|---|
| Auto Transfer | No missed shots |
| EXIF Preservation | Full information retention |
| Cloud Sync | Instant backup |
Transferring Photos Using a USB Cable
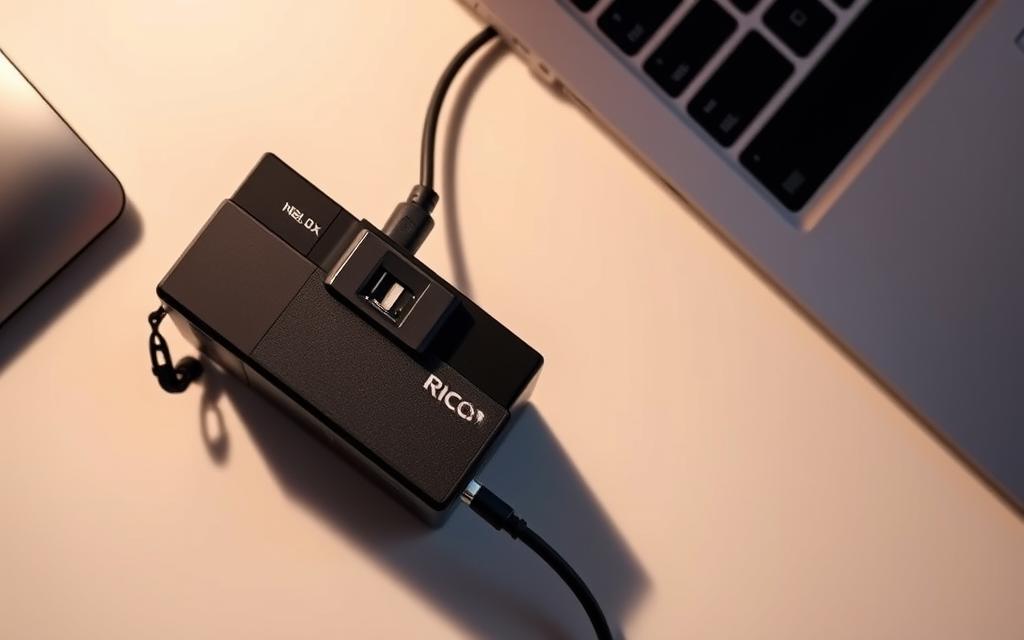
USB transfers offer the fastest way to move high-resolution shots from camera to desktop. Wired connections excel for large batches, ensuring no quality loss during data movement. This method is ideal for photographers prioritizing speed and reliability.
Connecting the Camera to Your Computer
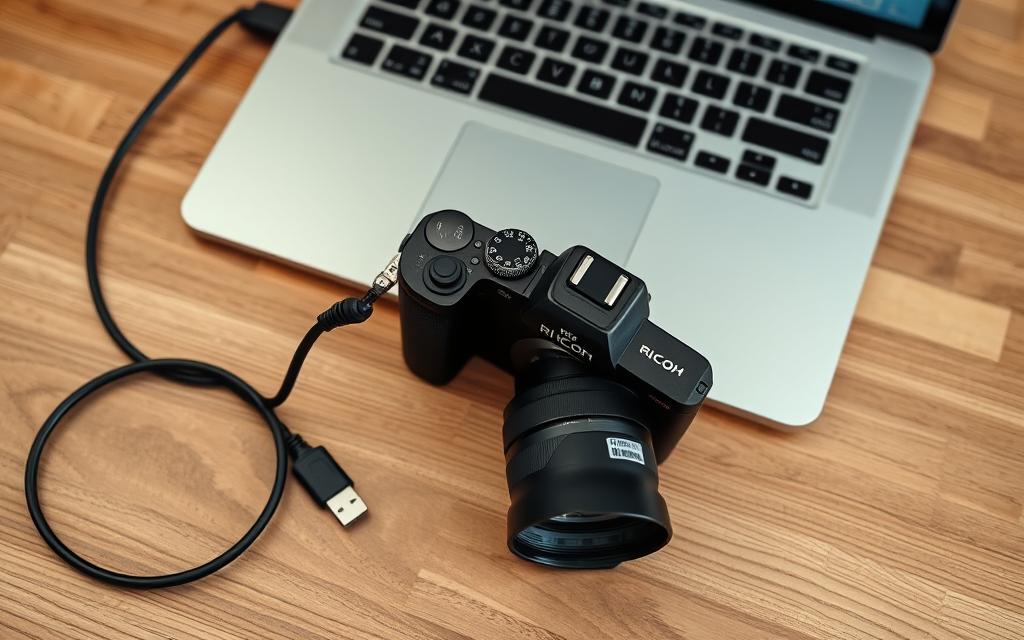
Use a USB-PD compliant cable for stable power and data flow. The GR IIIx’s USB-C port supports plug-and-play functionality on most systems. For RAW file support, install Ricoh’s drivers if your OS doesn’t recognize the format.
Navigate the camera’s settings to enable Mass Storage Mode. This allows your computer to detect the device as an external drive. Avoid disconnecting mid-transfer to prevent file corruption.
Accessing and Copying Image Files
Once connected, open the camera’s memory folder via File Explorer (Windows) or Finder (Mac). Sort images by date or format for efficient selection. Drag-and-drop preserves metadata like EXIF and lens details.
- File management: Create dated folders on your computer before copying.
- DAM software: Lightroom or Capture One can import directly from the camera.
- Backup: Use a second drive or cloud service for redundancy.
“A wired transfer safeguards every pixel—critical for commercial work.”
| Feature | USB Cable | Wireless |
|---|---|---|
| Speed | Up to 10 Gbps | Varies by network |
| Best For | RAW files, bulk transfers | Quick shares, mobile edits |
For optimal results, format your memory card periodically. This reduces errors and maintains write speeds. Check the camera’s screen for transfer progress before unplugging.
Troubleshooting Common Transfer Issues
Technical glitches shouldn’t derail your creative process—let’s troubleshoot them. Even minor hiccups in *transfer* workflows can disrupt productivity. These fixes restore seamless file movement.
Resolving Connectivity Problems
Failed connections often stem from incorrect *mode* settings. Ensure your camera’s Wi-Fi or USB *function* matches your transfer method. Restart both devices if the computer doesn’t detect the camera.
For Android users, enable background location services. This grants *Image Sync* necessary permissions for wireless transfers. Disable battery optimization for the app to prevent interruptions.
- Clear app cache: Fixes performance lag in *Image Sync*.
- Check firmware: Mismatched versions cause compatibility errors.
- Time zone conflicts: Sync your camera and phone clocks to avoid *data* mismatches.
Fixing Image Sync Errors
*Transfer Reservation* conflicts arise when queued files exceed storage. Free up space or split batches into smaller groups. Reinstall the app if errors persist—back up settings first to retain preferences.
Decode common error codes:
| Code | Solution |
|---|---|
| E-42 | Update *Image Sync* or camera firmware |
| E-55 | Reset network settings on both devices |
“Proactive troubleshooting keeps your workflow fluid—address errors before they cascade.”
For stubborn issues, roll back firmware via Ricoh’s official site. Test each *function* post-update to confirm stability. Always use original cables or certified SD cards to prevent *data* corruption.
Conclusion
Streamlining your photography workflow starts with reliable file transfers. Choose wired for speed or wireless for flexibility—both ensure your photos reach editing tools intact.
Future-proof your process by updating camera firmware regularly. Integrate cloud backups or DAM software to sync images across devices seamlessly.
Always verify file integrity with checksums. For unresolved issues, use Ricoh’s official forums or support channels. A disciplined approach keeps your creative output flowing.
FAQ
What’s the easiest way to transfer Ricoh GR IIIx photos to a computer?
The fastest method is using a USB cable. Connect the camera to your computer, then access the memory card like an external drive to copy files.
Can I transfer Ricoh GR IIIx images wirelessly?
Yes, use the Image Sync app. Install it on your mobile device, pair with the camera, then transfer photos to your computer via cloud services or a direct connection.
Why won’t my computer recognize the Ricoh GR IIIx?
Ensure the camera is in USB Mass Storage Mode. Check cable functionality, update drivers, or try a different USB port.
Does Image Sync work with all Ricoh GR IIIx models?
Yes, but confirm your camera’s firmware is updated. Older versions may require compatibility adjustments.
How do I troubleshoot failed wireless transfers?
Restart both devices, verify Wi-Fi settings, and ensure the mobile app is the latest version. Weak signals can also disrupt transfers.
Can I edit Ricoh GR IIIx photos directly from the memory card?
Not recommended. Copy files to your computer first to avoid corruption. Editing directly may slow performance or damage data.


