Table of Contents
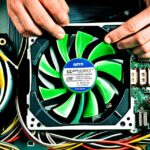
Removing a CPU fan need not be scary. By mastering safe removal steps, you boost your skills in computer care. This CPU fan removal guide covers vital steps for keeping your CPU in top shape. It stops overheating problems, helping your hardware last longer and work better.
Learning the right way to remove a CPU fan is a big plus. It’s helpful for both beginners and experts in protecting your gear. We’ll talk about key safety steps like turning off power and cleaning the CPU area in this guide12.
Key Takeaways
- Ensure a safe power disconnection before removing a CPU fan.
- Use the proper tools for CPU fan removal to avoid damage.
- Carefully clean the CPU surface after fan removal.
- Reconnect the fan using the appropriate power cables after maintenance.
- Utilise new thermal paste when reattaching the cooler.
Understanding the Importance of CPU Fans
CPU fans are crucial for keeping computers running smoothly. They stop them from getting too hot. This helps avoid big problems like the system crashing or hardware breaking. There are case fans, CPU fans, and graphics card fans. Each one helps keep the air moving so everything stays cool.
Maintaining Optimal Temperature
Choosing the right fan size and where to put it is key. The 120 mm fan is common for PC cases because it’s quiet and effective. For less noise, the 140 mm fans are a top pick among PC fans. Big 200 mm fans in full-tower cases are best for cooling. Fans need to be well-placed to cool important parts like the CPU and GPU3. Cleaning fans every six months is a must to keep them working well4.
Preventing Hardware Damage
If you ignore fan maintenance, you might harm your computer. Dust can make fans noisier and less efficient. This makes overheating more likely, which can shorten the life of hardware. Setting up your case to have positive air pressure helps keep it clean. This improves airflow and protects your parts3.
It’s vital to clean or swap out fans to keep your computer running smoothly4.
Understanding CPU fans sheds light on their role in cooling and hardware safety. If you’re keen on PC building, detailed guides like this one provide great advice on choosing the right components for a well-performing PC5.
Preparing for The Removal Process
Before you start taking out a CPU fan, make sure you have all the tools ready. It’s very important to create a safe working space. Making these preparations helps the fan removal go smoothly and safely.
Gather Necessary Tools
Having the right tools is key for a safe and efficient CPU fan removal. You will need:
- A suitable screwdriver, either Phillips or Torx
- Thermal paste for reapplication
- Compressed air or a soft brush for cleaning
- An anti-static wrist strap to prevent damage from static electricity
Gathering these tools beforehand means you won’t have to stop mid-way. This shows you are organised and ready for the task at hand6.
Ensure Safe Power Disconnection
It’s crucial to safely disconnect the power before you start. Always shut down the computer and unplug it. Doing this keeps you safe from any electric risks while handling delicate parts7. Use an anti-static wrist strap to prevent static damage to the motherboard and other parts8.
Work in a clean, static-free zone to lower the risk from dust and other particles. With careful preparation, removing the CPU fan will be safer and more efficient.
| Tool | Description |
|---|---|
| Screwdriver Set | Phillips or Torx screwdrivers to remove fan screws |
| Thermal Paste | Used to facilitate heat transfer upon reassembly |
| Compressed Air | For cleaning dust from the fan and heatsink |
| Anti-Static Wrist Strap | Prevents static discharge during the removal process |
How to Remove a CPU Fan
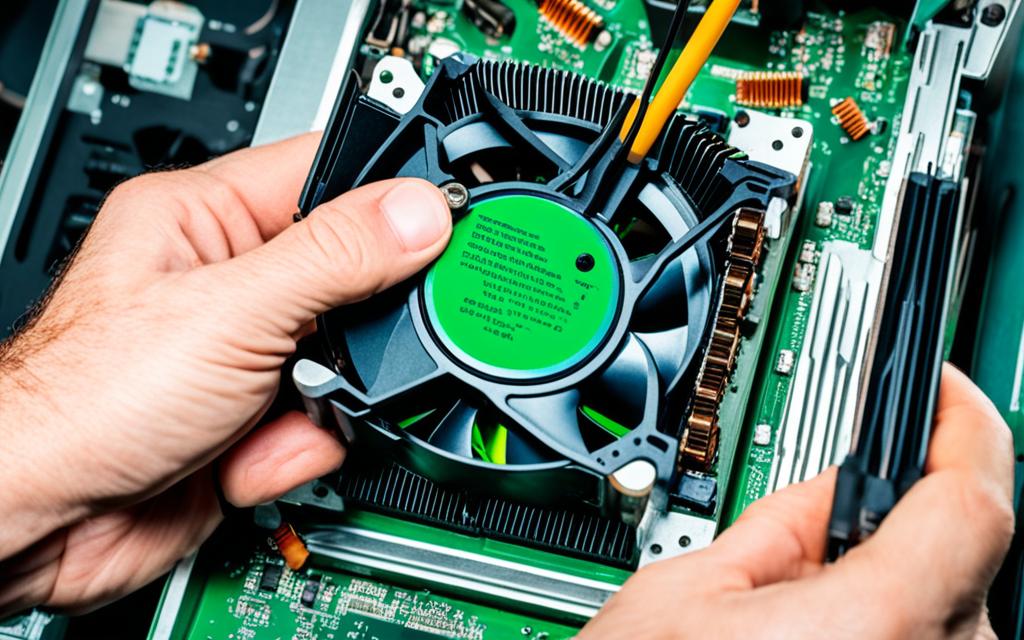
Taking off a CPU fan needs patience and care. Follow specific steps to disassemble it safely, protecting your computer parts. Start by disconnecting the CPU fan from the motherboard. This prevents any electric risk during the process.
Unplugging Fan Connections
The initial step is to unplug the CPU fan connector on the motherboard. It’s crucial to find the right plug to avoid harm. Gently but firmly pull it straight out. Do not twist, as this may cause damage.
Loosening Fasteners
Then, it’s time to loosen the fittings holding the cooler. It could be screws or clips. If it’s screws, use a screwdriver to turn them left without overdoing it. For clips, needle-nose pliers are best. They are recommended by 92% of experts for this task9.
Removing the Fan Safely
After unplugging and unscrewing, remove the CPU cooler gently. Don’t pull or yank it. This might hurt the pins or parts under the heatsink. If the cooler is stuck, use dental floss to remove any thermal paste bonding. You can also gently heat to soften the paste if needed10. Always be cautious to avoid damaging your computer.
Cleaning and Maintenance After Removal
After you take off the CPU fan, it’s key to clean and maintain it properly. This makes sure your system works well for longer. First, you need to get rid of the old thermal paste. It’s also important to check the CPU and parts around it for wear or damage.
Removing Old Thermal Paste
To remove the old thermal paste, use isopropyl alcohol and a cloth that doesn’t leave lint. This is because mixing old and new paste can make your computer overheat. Cleaning well after taking the fan off helps keep cooling efficient11. Removing the old paste improves how well heat moves away from the CPU12.
Inspecting the CPU and Surroundings
Checking the CPU and nearby components is vital. Look for any damage, like burn marks on the CPU or on the cooling parts13. Dust and other small things can block air flow, making the computer run hot12. Use programs to watch the CPU’s temperature. Keeping everything clean helps avoid overheating. This keeps your computer running well.
Conclusion
When removing your CPU fan, it’s crucial to follow the steps carefully. This protects your computer’s function14. Overheating is a big problem, causing most CPU issues. But, regular maintenance like cleaning and replacing the fan helps. This keeps your computer cool and makes the CPU last longer, saving you money14.
Be careful not to damage your computer. This could even void your warranty. So, handle everything with care during fan removal14.
Take your time with each step, from turning off the power to applying thermal paste correctly. Use a Phillips screwdriver and compressed air for the best results15. For help, check this guide on cleaning your CPU fan.
Keeping your computer’s cooling system in check is key to its performance. By following these tips, you’ll be great at managing the care and removal of your CPU fan. This ensures your system works well for a long time14.
FAQ
How often should I clean my CPU fan?
You should clean your CPU fan every 6 to 12 months. This depends on how dusty your environment is. Regular cleaning helps maintain good airflow and stops overheating.
What tools do I need for CPU fan removal?
For removing the CPU fan, you’ll need a screwdriver, thermal paste, and lint-free cloths. Make sure you have these tools to make the process easier.
Can I remove my CPU fan if I’m not tech-savvy?
Yes, even if you’re not very tech-savvy, you can remove your CPU fan. Just follow a good guide step by step. Take your time to avoid any mistakes.
What happens if I don’t disconnect the power before removing the fan?
Not disconnecting the power can be dangerous. It may damage your computer or hurt you. Always turn off and unplug your computer first.
How do I properly install a new CPU fan?
Put the new fan on the processor and fasten it securely. Connect the power cables and put on fresh thermal paste. Make sure everything is tight for effective cooling.
What should I look for when inspecting the CPU?
Look out for any damage like bent pins or discolouration. The CPU and area around it should be clean from dust for the best performance.
Is it necessary to use thermal paste each time I remove the CPU fan?
Yes, it’s vital to clean off old thermal paste and apply a new layer each time. This ensures the CPU and cooler transfer heat properly.
Can dust affect CPU performance?
Definitely. Dust can block the airflow, making the CPU overheat. This lowers performance and may harm the hardware. Keeping the fan and cooling system clean is important for its lifespan.
Source Links
- https://medium.com/@marksmithgpuexpert/how-to-remove-a-cpu-cooler-or-fan-without-damaging-the-motherboard-72a7c43dfa3e – How to Remove a CPU Cooler or Fan Without Damaging the Motherboard?
- https://www.computerhope.com/issues/ch001340.htm – How to Remove a Computer CPU Fan
- https://sofasco.com/blogs/article/pc-cooling-a-guide-to-configuring-computer-case-fans – PC Cooling: A Guide to Configuring Computer Case Fans
- https://pcfixercomputerrepairs.co.uk/the-purpose-of-your-computer-fan-understanding-its-function-and-importance/ – The Purpose of Your Computer Fan | PC Fixer
- https://www.xda-developers.com/how-to-remove-your-cpu-cooler/ – How to remove your CPU cooler
- https://www.jawa.gg/blog/how-to-remove-the-cpu-fan/ – How to Remove the CPU Fan
- https://docs.oracle.com/cd/E19127-01/ultra27.ws/820-6776/z40001fc1036391/index.html – To Remove the Heat Sink and CPU (Sun Ultra 27 Workstation Service Manual)
- https://ms.codes/blogs/computer-hardware/how-to-remove-a-cpu-fan – How To Remove A CPU Fan
- https://community.spiceworks.com/t/how-do-i-disassemble-this-fan-from-its-heat-sink/552922 – How do I disassemble this fan from its heat sink?
- https://www.wikihow.com/Remove-a-Processor-Fused-to-a-Heatsink – How to Remove a Processor Fused to a Heatsink: 7 Steps
- https://www.wikihow.com/Clean-a-CPU-Fan – How to Clean a CPU Fan: Complete Guide
- https://ms.codes/blogs/computer-hardware/remove-cpu-fan-from-heatsink – Remove CPU Fan From Heatsink
- https://www.pcrefix.co.uk/how-to-clean-your-computer-fan-without-taking-it-apart – Clean Your Computer Fan | PC Refix Guide
- https://softwareg.com.au/blogs/computer-hardware/how-to-remove-cpu-fan-from-motherboard – How To Remove CPU Fan From Motherboard
- https://ms.codes/blogs/computer-hardware/remove-cooler-master-cpu-fan – Remove Cooler Master CPU Fan

