Table of Contents
Many users prefer a clean and organized desktop for better productivity. Removing the recycle bin icon can help reduce clutter and create a more streamlined workspace. This is especially useful for those who rarely use the feature or prefer alternative methods for managing deleted files.
This guide is compatible with various Windows versions, including 11, 10, 8, and 7. It covers three primary methods: using Settings, the Registry Editor, and Group Policy. Advanced methods, like Registry Editor, require caution to avoid system issues.
Accidentally deleting files is a common concern. Always ensure you have a backup or a reliable data recovery solution in place before making changes. This ensures your important files remain safe while achieving a cleaner desktop.
Introduction to Removing the Recycle Bin Icon
The Recycle Bin is a default feature in Windows, designed for temporary file storage. It acts as a safety net, allowing users to recover accidentally deleted files. While useful, some prefer a minimalist desktop without this icon.
Windows provides customization options for default desktop icons. Users can choose to hide or remove the Recycle Bin based on their preferences. This is particularly useful in corporate environments or for those who rarely use the feature.
It’s important to note that removing the icon doesn’t delete its functionality. The Recycle Bin remains accessible through other methods, ensuring file recovery is still possible. Below is a comparison of hiding versus removing the icon:
| Action | Effect |
|---|---|
| Hiding the Icon | The icon disappears from the desktop but remains functional. |
| Removing the Icon | The icon is no longer visible, but file recovery is still possible. |
Whether you’re aiming for a cleaner workspace or streamlining your Windows system, understanding these options ensures you make informed decisions. Always consider your workflow before making changes to default settings.
How to Get Rid of Recycling Bin on Desktop Using Settings
Customizing your workspace can enhance productivity and reduce distractions. One way to achieve this is by adjusting your desktop icon settings. This section provides a step-by-step guide to removing the recycle bin icon using the settings app.
![]()
Step 1: Open Personalization Settings
Begin by right-clicking on your desktop and selecting Personalize. This opens the settings app, where you can customize various aspects of your desktop. Navigate to the Themes section in the left panel.
Step 2: Access Desktop Icon Settings
Under Related Settings, click on desktop icon settings. This opens a window where you can manage which icons appear on your desktop. Here, you’ll find options for the recycle bin, Computer, and other default icons.
Step 3: Uncheck the Recycle Bin Option
To remove the recycle bin icon, simply uncheck the corresponding box. Click Apply to save your changes. Note that some themes may override these settings if the “Allow themes to change desktop icons” option is enabled.
If you frequently use specific apps, consider creating desktop shortcuts for easy access. This alternative method ensures your workspace remains organized without relying on the recycle bin icon.
| Action | Effect |
|---|---|
| Uncheck Recycle Bin | Removes the icon from the desktop |
| Enable Theme Override | Allows themes to change desktop icons |
For more detailed instructions, refer to this step-by-step guide. Additionally, if you’re experiencing high HDD usage on Windows 11, check out this helpful resource.
Removing the Recycle Bin Icon via Registry Editor
Advanced users often turn to the Registry Editor for deeper system customization. This method allows precise control over Windows settings, including the removal of the Recycle Bin icon. However, editing the registry requires caution to avoid unintended system issues.
Before proceeding, it’s crucial to back up your registry. This ensures you can restore your system if something goes wrong. The process involves navigating to the desktop namespace key and deleting a specific registry entry.
Step 1: Open the Registry Editor
Press Win + R to open the Run dialog. Type Regedit and press Enter. This launches the Registry Editor, where you can make system-level changes.
Step 2: Navigate to the Desktop NameSpace Key
In the Registry Editor, follow this path:
HKEY_LOCAL_MACHINE\SOFTWARE\Microsoft\Windows\CurrentVersion\Explorer\Desktop\NameSpace.
This folder contains entries for all default desktop icons.
Step 3: Delete the Recycle Bin Registry Key
Locate the key with the CLSID 645FF040-5081-101B-9F08-00AA002F954E. Right-click it and select Delete. Restart your computer to apply the changes. The Recycle Bin icon will no longer appear on your desktop.
If you need to restore the icon, simply recreate the deleted key or restore your registry backup. For more detailed instructions, refer to this step-by-step guide.
| Action | Effect |
|---|---|
| Delete Registry Key | Removes Recycle Bin icon from desktop |
| Restart System | Applies changes immediately |
Using the Registry Editor is an effective way to customize your Windows desktop. Always proceed with caution and ensure you have a backup before making changes.
Hiding the Recycle Bin with Local Group Policy Editor
For users seeking advanced customization, the Local Group Policy Editor offers a powerful solution. This tool is available in Windows Pro and Enterprise editions, providing system-wide control over desktop settings. It’s ideal for administrators or users who prefer enforcing policies rather than temporary changes.
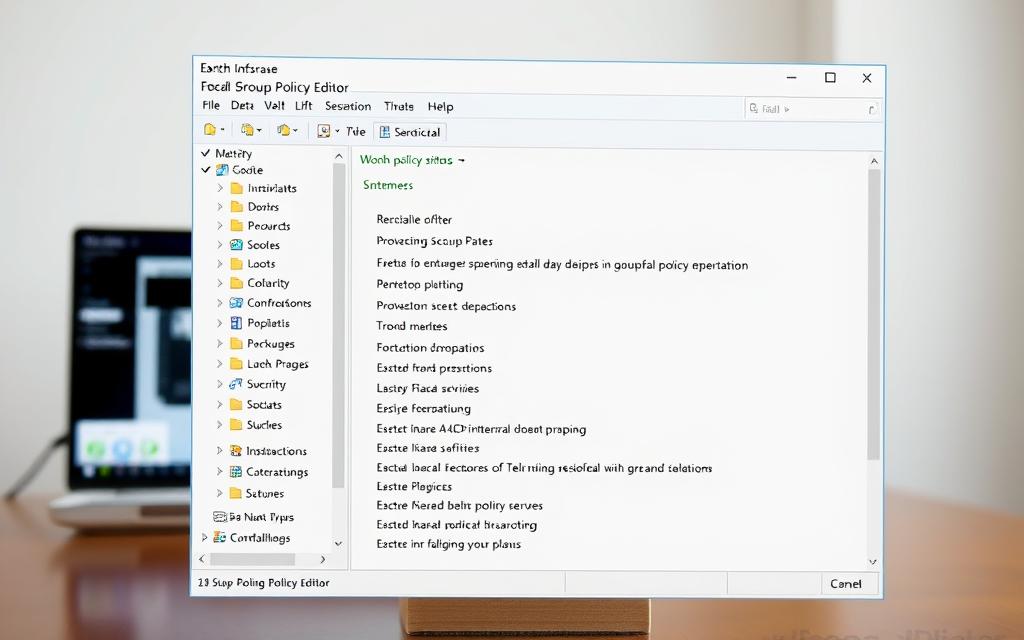
Using the Local Group Policy Editor, you can permanently remove the Recycle Bin icon from the desktop. This method ensures the icon remains hidden across all user sessions, unlike temporary hiding through settings. Below is a step-by-step guide to achieve this:
Step 1: Open the Local Group Policy Editor
Press Win + R to open the Run dialog. Type gpedit.msc and press Enter. This launches the Local Group Policy Editor, where you can configure system policies.
Step 2: Navigate to the Desktop Settings
In the editor, follow this path: User Configuration > Administrative Templates > Desktop. This section contains policies related to desktop icons and appearance.
Step 3: Enable the Remove Recycle Bin Icon Policy
Locate the policy named Remove Recycle Bin icon from desktop. Double-click it, select Enabled, and click Apply. Restart your computer to see the changes. The Recycle Bin icon will no longer appear on the desktop or in File Explorer dialog boxes.
To reverse this change, simply disable the policy or set it to Not Configured. This flexibility makes the Local Group Policy Editor a reliable tool for system customization.
| Action | Effect |
|---|---|
| Enable Policy | Removes Recycle Bin icon system-wide |
| Disable Policy | Restores the Recycle Bin icon |
“The Local Group Policy Editor provides unparalleled control over Windows settings, making it a favorite among advanced users and administrators.”
Whether you’re managing a corporate environment or personalizing your Windows Pro system, this method ensures a clean and consistent desktop experience. Always proceed with caution and ensure you understand the implications of policy changes.
How to Access the Recycle Bin After Removal
Accessing the Recycle Bin after its removal is straightforward with multiple methods available. Even if the icon is no longer visible on your desktop, the functionality remains intact. This ensures you can still recover deleted files when needed.
One of the simplest ways is using the search bar. Type “Recycle Bin” in the Windows search field, and it will appear in the results. Clicking on it opens the folder, allowing you to manage your deleted items.
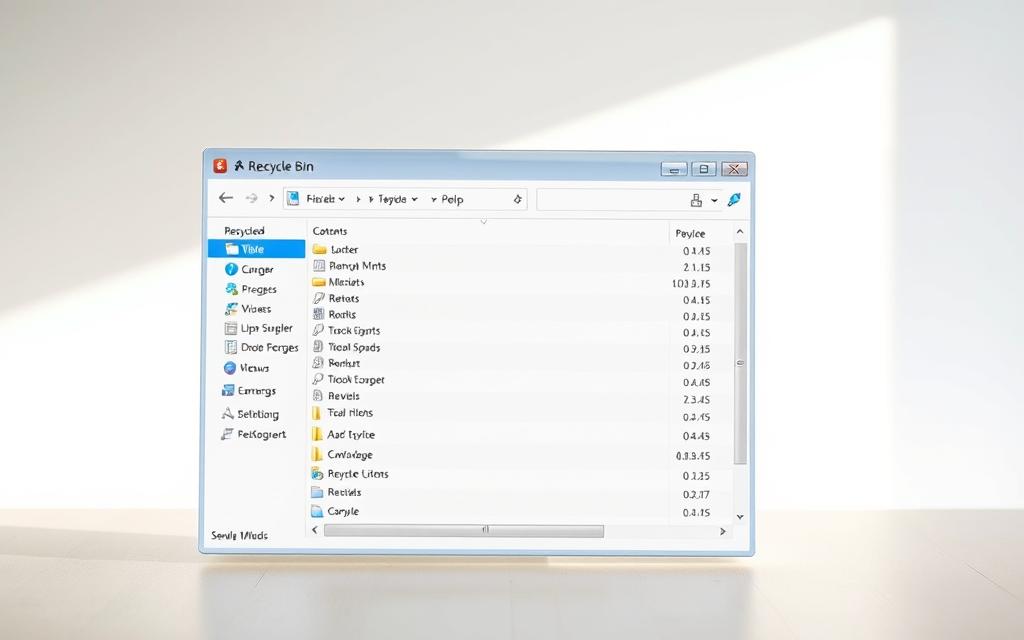
Another method involves the File Explorer. Open the Explorer and paste this command in the address bar: ::{645FF040-5081-101B-9F08-00AA002F954E}. Press Enter, and the Recycle Bin will open directly.
For quick access, consider creating a desktop shortcut. Right-click on your desktop, select New > Shortcut, and enter the same command. This provides a convenient way to access the Recycle Bin without restoring the icon.
If you accidentally remove the icon, it’s easy to recover. Navigate to Settings > Personalization > Themes > Desktop Icon Settings. Check the Recycle Bin option, and it will reappear on your desktop.
For those integrating cloud storage, remember that deleted files from cloud services often bypass the Recycle Bin. Always check your cloud provider’s trash or recovery options for such files.
These methods ensure the Recycle Bin remains accessible, even when the icon is removed. Whether through the search bar, File Explorer, or a shortcut, managing your deleted items is always within reach.
Conclusion
Streamlining your workspace can boost efficiency and reduce visual clutter. Removing the recycle bin icon from your Windows desktop is achievable through three methods: Settings, Registry Editor, and Local Group Policy Editor. Each method varies in complexity, catering to both casual users and advanced administrators.
Before making changes, always back up your data to avoid losing permanently deleted files. Tools like EaseUS Data Recovery Wizard can recover files with a 99.7% success rate, ensuring peace of mind during system adjustments.
For casual users, the Settings method is the simplest and safest. Advanced users may prefer the Registry Editor or Group Policy Editor for deeper customization. Regardless of your choice, remember that the recycle bin remains a critical system feature, even when hidden.
By following these steps, you can maintain a clean desktop while ensuring your data stays protected. Always proceed with caution and use reliable recovery tools for emergencies.
FAQ
Can I remove the Recycle Bin icon from my desktop without deleting it permanently?
Yes, you can hide the Recycle Bin icon using the Personalization settings or Local Group Policy Editor without permanently deleting it. This keeps the Recycle Bin functional but removes it from the desktop view.
How do I access the Recycle Bin after removing its icon from the desktop?
You can access the Recycle Bin through File Explorer or by typing “Recycle Bin” in the Start menu search bar. It remains accessible even if the desktop icon is hidden or removed.
Is it safe to use the Registry Editor to remove the Recycle Bin icon?
Using the Registry Editor requires caution. Deleting the wrong keys can affect your system. Always back up the registry before making changes and follow the steps precisely to avoid issues.
Can I restore the Recycle Bin icon after hiding it?
Yes, you can restore the icon by revisiting the Desktop Icon Settings in the Personalization menu or disabling the policy in the Local Group Policy Editor if you used that method.
Does removing the Recycle Bin icon delete my files?
No, removing or hiding the icon does not delete any files. The Recycle Bin continues to store deleted files, and you can access it through other methods like File Explorer.
What is the easiest way to hide the Recycle Bin icon?
The simplest method is through the Personalization settings. Open the Settings app, navigate to Themes, and adjust the Desktop Icon Settings to uncheck the Recycle Bin option.


