Table of Contents
Deleting a Facebook page is a significant decision, especially for businesses and public figures. Understanding the process and implications is crucial before taking the plunge.
The process involves more than just clicking a button; it requires knowledge of the differences between deactivating and permanently deleting a page, as well as the 30-day grace period Facebook provides.
This guide will walk you through the steps to delete your Facebook page, covering both mobile and desktop platforms, and address common concerns about admin access and page content after deletion.
Understanding Facebook Page Deletion
Before you delete your Facebook Page, it’s crucial to comprehend the process and its consequences. Deleting a Facebook Page is a significant decision that can have lasting impacts on your online presence.
Difference Between Deactivation and Deletion
Facebook offers two distinct options for managing your page’s visibility: deactivation and deletion. Deactivation temporarily hides your page from the public while preserving all content and settings, allowing for future reactivation. On the other hand, deletion is a permanent action that completely removes your page and its content from Facebook after a grace period.
The key difference lies in the permanence of the action and the data retention. Deactivation is reversible, whereas deletion is not, once the grace period expires.
| Action | Reversibility | Data Retention |
|---|---|---|
| Deactivation | Yes | Preserves all content and settings |
| Deletion | No, after 30 days | Permanently removes all content and data |
The 30-Day Grace Period
After initiating the deletion process, Facebook provides a 30-day grace period during which you can cancel the deletion if you change your mind. During this time, your page remains unpublished and deactivated, giving you a safety net to reconsider your decision.
This grace period is crucial as it prevents accidental deletions. Understanding this process is vital for page owners to make informed decisions about their Facebook presence.
Before You Delete Your Facebook Page
To ensure a smooth deletion process, it’s essential to prepare your Facebook page in advance. Deleting a Facebook page is a permanent action that can’t be undone, so it’s crucial to take the necessary steps before initiating the process.
Ensuring You Have Admin Access
You’ll need to be the admin of a Page to delete it. Verify that you have admin access to the Facebook page you wish to delete by checking your role in the page settings. If you’ve lost admin access, you may need to contact other page admins or go through Facebook’s account recovery process.
Backing Up Your Page Content
Downloading a complete backup of your page content is strongly recommended before deletion to preserve important information. The backup should include photos, videos, posts, and engagement metrics that might be valuable for future reference.
Informing Your Audience
Consider informing your audience about your decision to delete the page with sufficient notice, especially if it’s a business page with active followers. For business pages, provide alternative contact information or direct followers to your website or other social media platforms.

How Do I Delete a Facebook Page on Mobile?
The Facebook mobile app allows you to manage your pages, including deleting them, with ease. This process is straightforward and can be completed directly from your smartphone or tablet.
Accessing Your Page Settings on the Facebook App
To start, open the Facebook app and tap the menu icon (☰) located in the upper-right corner on Android or the lower-right corner on iPhone. This will display your profile menu. Tap the down arrow next to your name to view a list of the pages you manage. Select the page you want to delete to switch your profile to that page.
Navigating to Deactivation and Deletion Options
Once on the page, tap the menu icon again and scroll down to find the “Settings & privacy” option near the bottom of the menu. Within Settings & privacy, select “Settings” and then scroll to locate “Access and control” under the “Your information” section. Tap “Deactivation and deletion” to view your options for removing the page from Facebook.
Confirming Page Deletion on Mobile
You’ll be presented with two choices: temporarily deactivating your page or permanently deleting it. If you choose deletion, you’ll need to confirm your decision and may be asked to enter your Facebook password for security verification. After confirming, Facebook will inform you about the 30-day grace period during which you can still cancel the deletion if you change your mind.
By following these steps, you can easily delete a Facebook Page using the Facebook mobile app. Ensure you have considered the implications of deletion before confirming, as this action is permanent after the grace period.
Deleting a Facebook Page on Desktop
The desktop version of Facebook provides a more detailed interface for managing and deleting Facebook pages. This makes it easier for users to navigate through the process and ensure that they complete the necessary steps.
Finding Your Page in Facebook’s Interface
To start, log in to your Facebook account and locate the “Pages” option in the left sidebar of your Facebook feed. It’s marked with an orange flag icon. If you don’t see this option, click “See More” to expand the sidebar menu. Once you’ve accessed the Pages section, you’ll see a list of all the pages you manage. To switch to the page you want to delete, click the three horizontal dots next to the page name and select “Switch Now.”
Accessing Page Settings and Control Options
After switching to the page, locate and click “Settings” in the left sidebar of the page interface. Within Settings, scroll down to find “Access and control” under the “Your information” header. Click on “Access and control” and then select “Deactivation and deletion” to view your options.
Completing the Deletion Process on Desktop
Choose between temporarily deactivating your page or permanently deleting it based on your needs. If you select deletion, you’ll need to confirm your choice and may be prompted to download your page information before proceeding with the final deletion request. Once you’ve completed these steps, your Facebook page will be scheduled for deletion.
By following these steps, you can easily delete your Facebook page on desktop. Remember to consider your decision carefully, as deleting a page is a permanent action that cannot be undone.
How to Unpublish Instead of Delete Your Facebook Page
Instead of deleting your Facebook page, you can choose to unpublish it, preserving your content and follower connections. This approach is particularly useful for businesses or individuals who may need to temporarily hide their presence on Facebook.
Benefits of Unpublishing vs. Deleting
Unpublishing your Facebook page offers several benefits over deletion. It provides a reversible alternative that preserves all your content and follower connections. When you unpublish a page, it becomes immediately invisible to the public, including your existing followers, but remains fully accessible to page administrators. This option is ideal for businesses undergoing rebranding, seasonal operations, or those who need a temporary hiatus from social media management.
Steps to Temporarily Unpublish Your Page
To unpublish your Facebook page, you can follow these steps:
- On mobile, navigate to your page settings through the menu icon, then find “Page visibility” under General settings.
- On desktop, access your page, click Settings in the left sidebar, then locate “Page visibility” under General settings.
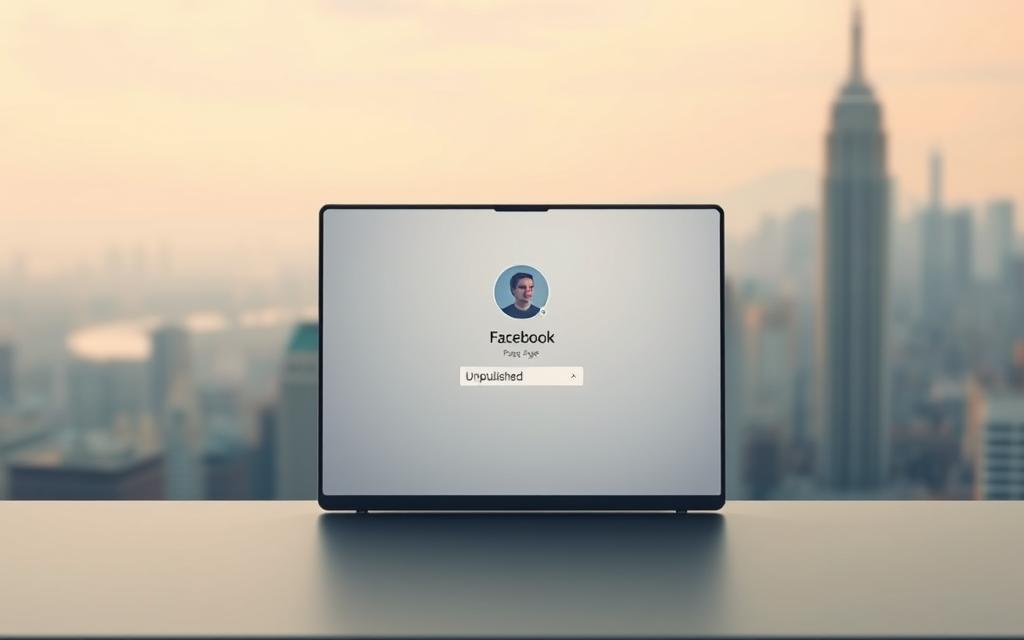
- Toggle the switch to “Page unpublished” and select a reason for unpublishing when prompted by Facebook.
For more detailed instructions, you can visit this guide on unpublishing a Facebook.
| Action | Platform | Steps |
|---|---|---|
| Unpublish Page | Mobile | Menu icon > Page settings > Page visibility |
| Unpublish Page | Desktop | Page > Settings > Page visibility |
Canceling a Facebook Page Deletion
If you’ve decided to delete your Facebook Page but have second thoughts, you can easily cancel the deletion process. Facebook provides a grace period during which you can change your mind and reactivate your Page.
How to Reactivate Within the 30-Day Window
To cancel the deletion of your Facebook Page within the 30-day grace period, follow these steps:
- On mobile devices, tap the ☰ menu from your main Facebook profile, then navigate to “Settings & privacy” > “Settings.” Tap “Access and control” and select “Reactivation” to reactivate your Page.
- On desktop, log into your main Facebook profile, click your profile button in the top right corner, and navigate to “Settings & privacy” > “Settings” > “Your information” > “Reactivate a Page.” Select the Page you wish to recover and click “Reactivate.”
Once reactivated, your Page will become visible again, and all content, followers, and Page history will be preserved.
What Happens After the Grace Period Expires
It’s crucial to understand that after the 30-day grace period expires, the deletion becomes permanent and irreversible. Facebook will permanently remove all Page content, including posts, photos, videos, and follower connections. If you’re uncertain about permanent deletion, consider unpublishing your Page as a safer alternative that allows for future reactivation without time constraints.

Conclusion
Deleting a Facebook page can be done in a few steps, but it’s essential to understand the implications. Whether you’re rebranding, consolidating multiple pages, or simply moving away from the platform, this guide provides all the necessary information to manage your Facebook page effectively.
Before proceeding with deletion, ensure you have admin access and consider downloading a backup of your page content. Facebook provides a 30-day grace period that serves as a safety net for reconsidering your decision. If you change your mind during this period, you can easily cancel the deletion through your Facebook settings and privacy options.
Ultimately, deleting your Facebook page affects all associated content, including posts, photos, and engagement history. By understanding the process and implications, you can make an informed decision that suits your needs.
FAQ
What is the difference between deactivating and deleting a Facebook Page?
Deactivating a Facebook Page temporarily suspends its activity, while deleting a Facebook Page permanently removes it from the platform.
Can I cancel a Facebook Page deletion after I’ve initiated it?
Yes, you can cancel a Facebook Page deletion within the 30-day grace period by logging into your account and navigating to the Page.
Do I need admin access to delete a Facebook Page?
Yes, you need to have admin access to the Facebook Page to delete it, ensuring that only authorized users can make significant changes.
What happens to my Facebook Page content after I delete it?
Once a Facebook Page is deleted, its content is permanently removed and cannot be recovered, so it’s essential to back up any valuable information beforehand.
Can I delete a Facebook Page on both mobile and desktop devices?
Yes, you can delete a Facebook Page using the Facebook app on mobile devices or through the Facebook website on desktop devices.
Is there a way to temporarily hide my Facebook Page instead of deleting it?
Yes, you can unpublish your Facebook Page, making it invisible to the public while still retaining its content and settings.
What are the benefits of unpublishing a Facebook Page instead of deleting it?
Unpublishing a Facebook Page allows you to temporarily hide it without losing its content, settings, or audience engagement history.
How do I access the deletion options for my Facebook Page on the Facebook app?
To access deletion options on the Facebook app, navigate to your Page, tap the menu, and select “Settings” to find the deactivation and deletion options.


