Table of Contents
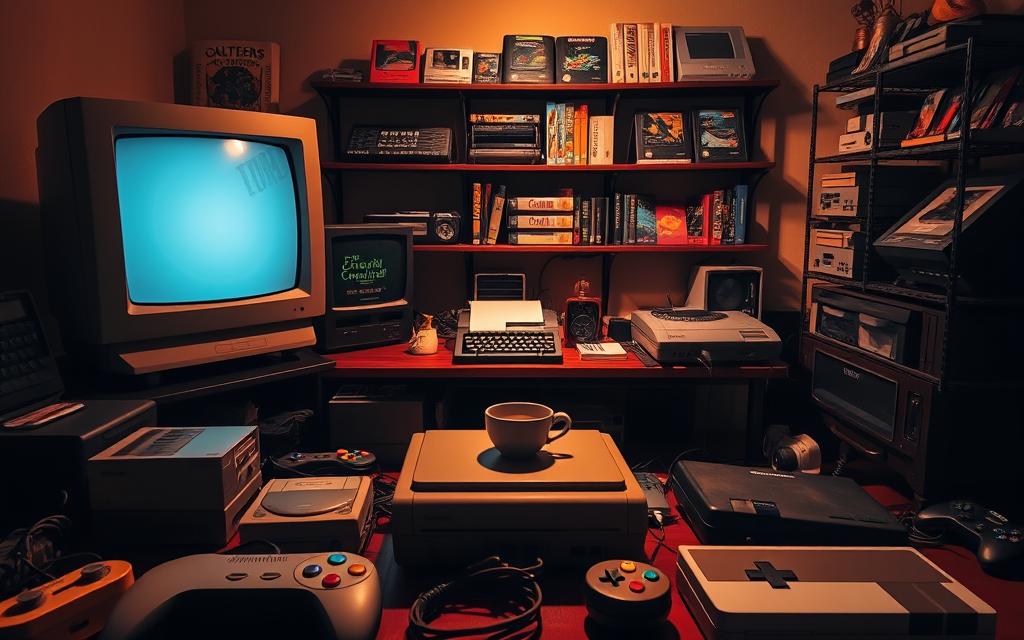
Creating a system that blends vintage components with modern upgrades offers a unique way to enjoy classic games. By combining original 1990s hardware like the Pentium MMX CPU and Sound Blaster 16 with contemporary parts, you can achieve an authentic experience.
Using a PCI graphics card ensures compatibility with older titles, while modern additions like the Fractal Design Define R5 case and Corsair CX450M PSU enhance reliability. This approach avoids the limitations of emulation, providing true native DOS operation.
Understanding legacy PC architecture not only enhances your gaming experience but also offers valuable insights into computing history. Whether you’re a seasoned enthusiast or a curious beginner, this project is both rewarding and educational.
Introduction to Retro Gaming PCs
Exploring the world of classic gaming through authentic hardware offers a nostalgic journey. While emulators like DOSBox are convenient, they often miss hardware-specific features. For example, MIDI daughterboards on a Sound Blaster card provide real-time synthesizer audio, which emulators cannot replicate.
Booting native DOS on a Pentium MMX CPU brings tactile satisfaction. This period-accurate hardware ensures compatibility with DOS games, offering an authentic experience. Modern components like the Fractal Design case improve reliability and safety, contrasting with yellowed 1990s cases.
Why Build a Retro Gaming PC?
Original hardware from the era ensures compatibility with classic titles. Emulators may struggle with PCI graphics cards or specific sound card features. Native operation on old hardware provides a seamless experience for both Windows and DOS games.
Mixing Old and New Components
Hybrid storage solutions, like CompactFlash adapters paired with IDE CD-ROM drives, balance reliability and authenticity. Modern power supplies and cases enhance safety, while vintage CPUs and sound cards maintain the classic feel.
| Component | Vintage Option | Modern Alternative |
|---|---|---|
| Case | Yellowed 1990s Case | Fractal Design Define R5 |
| Storage | IDE Hard Drive | CompactFlash Adapter |
| Power Supply | Original PSU | Corsair CX450M |
Cost-effectiveness is another advantage. Vintage CPUs like the Pentium MMX are affordable, often priced around $15. Modern IDE adapters cost as little as $5.99, making this project accessible for enthusiasts.
Understanding the Basics of Retro Gaming Hardware
Diving into the world of vintage gaming hardware reveals a fascinating blend of technology and nostalgia. Classic systems rely on specific components to deliver an authentic experience. These parts include ISA/PCI motherboards, period-accurate CPUs, and VGA graphics cards.
ISA slots are crucial for authentic audio synthesis, especially with Sound Blaster 16 cards. These sound cards outperform PCI alternatives for DOS games, providing real-time MIDI audio that emulators cannot replicate. Without ISA slots, gameplay mechanics for MIDI-dependent titles are lost.
Key Components of a Retro Gaming PC
Every classic gaming setup depends on a few essential parts. The motherboard must have ISA or PCI slots to support legacy hardware. Period-accurate CPUs, like the Pentium MMX, ensure compatibility with older titles. VGA graphics cards are ideal for rendering classic visuals.
Cyrix CPUs, while affordable, often struggle with demanding games like Quake. Intel and AMD alternatives offer better performance and reliability. Vintage motherboards may have soldered CMOS batteries, which can complicate maintenance over time.
The Importance of Original Hardware
Original hardware preserves the authenticity of classic games. MIDI-dependent titles, for example, rely on specific sound card features that emulators cannot replicate. Using period-accurate components ensures compatibility and a seamless experience.
“Original hardware offers a tactile connection to the past, preserving the nuances of classic gameplay.”
| Component | Vintage Option | Modern Alternative |
|---|---|---|
| Motherboard | ISA/PCI Slot | Modern ATX (Limited Compatibility) |
| CPU | Pentium MMX | Modern Low-Power CPU |
| Graphics Card | VGA | PCIe (Requires Adapter) |
Understanding these components not only enhances your gaming experience but also provides valuable insights into computing history. Whether you’re a seasoned enthusiast or a curious beginner, this journey is both rewarding and educational.
Choosing the Right Motherboard
Selecting the ideal motherboard is a critical step in assembling a classic gaming system. It acts as the foundation, connecting all components and ensuring smooth operation. Compatibility with legacy hardware is essential for an authentic experience.
ISA and PCI Slots Explained
ISA and PCI slots are vital for connecting vintage components. ISA slots are ideal for sound cards, providing real-time MIDI audio that emulators cannot replicate. PCI slots are better suited for graphics cards, ensuring compatibility with older titles.
Proprietary motherboards from brands like Compaq or HP often use non-standard connectors, which can limit compatibility. Prioritize boards with 16-bit ISA slots and standard PCI slots for flexibility.
Form Factor and Power Socket Considerations
The form factor of your motherboard determines its size and layout. AT and ATX are the most common standards. ATX offers better power delivery and BIOS controls, making it compatible with modern PSUs like the Corsair CX450M.
Power sockets also play a crucial role. The MSI MS-5158, for example, supports Socket 7 CPUs like the Pentium MMX and AMD K6. Its replaceable CMOS battery simplifies maintenance over time.
“The right motherboard bridges the gap between vintage and modern components, ensuring a seamless retro gaming experience.”
When choosing a motherboard, consider its chipset and compatibility with your desired systems. The MSI MS-5158 is a standout option, offering both ISA and PCI slots, making it a versatile choice for enthusiasts.
Selecting the Perfect CPU
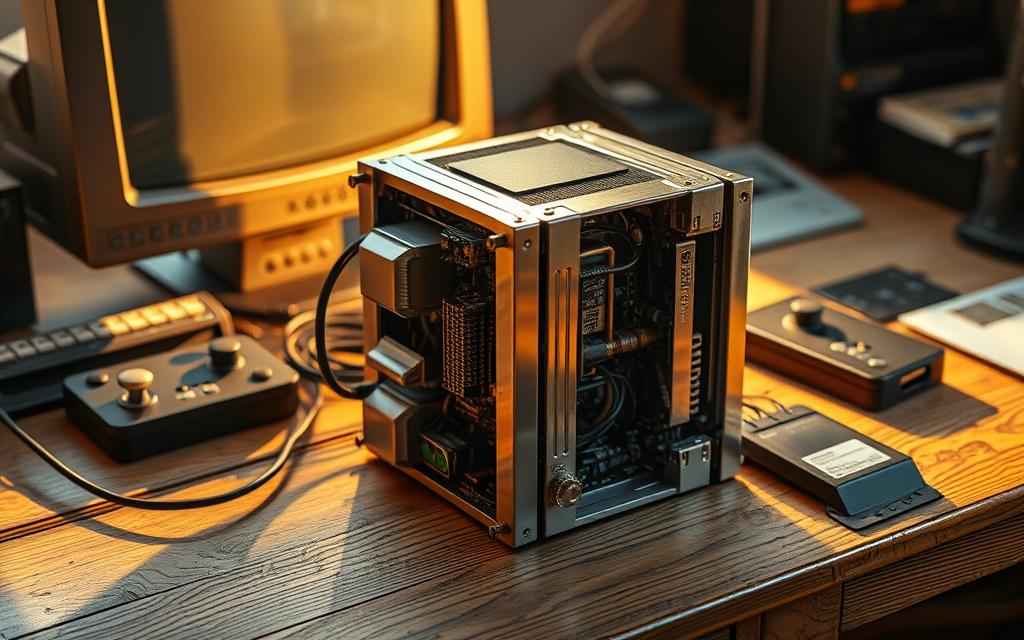
Choosing the right processor is a critical step in crafting an authentic classic gaming experience. The CPU determines compatibility with older titles and ensures smooth performance. For DOS and Windows 3.1 games, the Pentium MMX 166MHz stands out as a reliable choice.
CPU Options for Retro Gaming
When selecting a processor, consider the Intel Pentium MMX and AMD K6. The Pentium MMX excels in DOS-era gaming, offering superior performance compared to Cyrix alternatives. AMD K6 processors are also compatible but may require additional configuration for optimal results.
Socket 7 motherboards provide versatility, allowing for easy upgrades. These boards support a range of CPUs, making them ideal for retro gaming setups. Front-side bus speeds of 66MHz and multiplier settings via jumpers further enhance performance.
Compatibility with Motherboards
Ensure your motherboard supports the chosen CPU. Avoid Slot 1 Pentium II systems, as they lack ISA slots, limiting compatibility with legacy hardware. Instead, opt for boards with Socket 7 for seamless integration.
Cost-effective sourcing options, like eBay, make it easy to find affordable processors. The Pentium MMX, priced around $15, is a budget-friendly choice for enthusiasts. Pairing it with a compatible chipset ensures a smooth retro gaming experience.
Graphics Cards for Retro Gaming
Graphics cards play a pivotal role in delivering the visual experience for classic gaming setups. The right choice ensures smooth performance and authentic visuals for both DOS and Windows games. Understanding the differences between VGA and PCI options is essential for compatibility and optimal results.
VGA vs. PCI Graphics Cards
VGA cards, often paired with ISA slots, are ideal for older systems. They support resolutions like 640×480 with 256 colors, perfect for DOS-era titles. However, PCI alternatives, such as the Cirrus Logic 5446, offer better responsiveness for Windows 3.1 games.
VRAM requirements vary based on the game. For DOS, 256KB to 1MB is sufficient for most resolutions and color depths. PCI cards, with their higher bandwidth, provide smoother performance in Windows games compared to ISA VGA cards.
Choosing the Right Graphics Card for DOS and Windows Games
When selecting a graphics card, consider the game library you plan to play. For DOS titles, VGA cards with 1MB VRAM are a solid choice. For Windows 3.1 or later, PCI cards like the Cirrus Logic 5446 are more versatile.
AGP cards, while modern, lack DOS 3D drivers, making them unsuitable for classic gaming. CRT monitors or modern 4K displays with 4:3 aspect ratio scaling are recommended for the best visual experience.
| Feature | VGA Card | PCI Card |
|---|---|---|
| Compatibility | DOS Games | Windows Games |
| VRAM | 256KB-1MB | 1MB+ |
| Slot Type | ISA | PCI |
| Best For | Classic DOS Titles | Windows 3.1 and Later |
Affordable PCI cards can be sourced from platforms like eBay. Look for models with good reviews and tested functionality. Pairing the right graphics card with your setup ensures a seamless and authentic retro gaming experience.
Memory: SIMMs and DIMMs
Memory plays a crucial role in ensuring smooth performance for classic gaming setups. The right choice of RAM ensures compatibility with older titles and enhances overall system stability. Understanding the differences between SIMMs and DIMMs is essential for an authentic experience.
Understanding 72-pin SIMMs and 168-pin DIMMs
72-pin SIMMs were commonly used in Pentium systems, requiring installation in pairs for optimal performance. In contrast, 168-pin DIMMs allow for single-module installations, offering greater flexibility. This distinction is critical when selecting memory for your motherboard.
EDO (Extended Data Out) SIMMs, such as 32MB modules with a 66MHz FSB, are sufficient for DOS and Windows 3.1 games. However, SDRAM DIMMs provide better performance for forward compatibility, especially with systems that support higher bus speeds.
Memory Speed and Compatibility
Memory speed directly impacts the performance of your gaming setup. EDO RAM is ideal for vintage hardware, while SDRAM offers improved speed for more demanding titles. Always check your motherboard jumper settings to ensure compatibility with the chosen memory type.
Mixing SIMMs and DIMMs on the same board is not recommended, as it can lead to instability. For future-proofing, consider 100MHz DIMMs, which offer better performance and compatibility with modern components.
| Memory Type | Advantages | Best Use Case |
|---|---|---|
| 72-pin SIMMs | Period-accurate, affordable | DOS and Windows 3.1 games |
| 168-pin DIMMs | Single-module installation, faster speed | Forward compatibility with modern systems |
Choosing the right memory ensures your systems run smoothly, providing an authentic and enjoyable gaming experience.
Storage Solutions for Retro PCs
Storage solutions are a cornerstone of any classic gaming setup, ensuring both performance and authenticity. The right choice of storage can enhance your gaming experience while maintaining the charm of the era. Whether you opt for traditional hard drives or modern alternatives, compatibility and reliability are key.
Solid State Storage vs. Traditional Hard Drives
Traditional IDE hard drives are period-accurate but come with drawbacks. They are noisy, prone to failure, and often slower. In contrast, solid-state options like CompactFlash cards paired with IDE adapters offer silent operation and greater durability. These adapters, priced around $5.99, provide a reliable FAT16 boot drive for your systems.
FAT16 partitions are limited to 2GB, but multi-card setups offer flexibility. For example, one card can store the operating system, while another holds games. This approach ensures smooth performance without exceeding partition limits.
Using CompactFlash and IDE Drives
CompactFlash-to-IDE adapters are a popular choice for retro enthusiasts. They eliminate the noise and failure rates of traditional drives while maintaining compatibility with older hardware. For cable management, rounded IDE and floppy cables are preferred over ribbon cables, as they reduce clutter and improve airflow.
IDE CD-ROM drives are another essential component. They allow you to play games from original media, preserving the authentic experience. Sourcing CompactFlash adapters is easy, with platforms like eBay offering affordable and tested options.
“The right storage setup bridges the gap between vintage charm and modern reliability, ensuring a seamless gaming experience.”
- IDE hard drives are noisy and prone to failure.
- CompactFlash adapters offer silent, durable storage.
- FAT16 partitions are limited to 2GB, but multi-card setups provide flexibility.
- Rounded IDE cables improve cable management.
- IDE CD-ROM drives ensure compatibility with original media.
Power Supply Considerations
Ensuring your classic gaming setup has a reliable power source is essential for stability and performance. Modern PSUs offer significant advantages over vintage models, including improved efficiency and safety. Understanding compatibility and connectors is key to integrating these components seamlessly.
Modern PSUs for Retro Builds
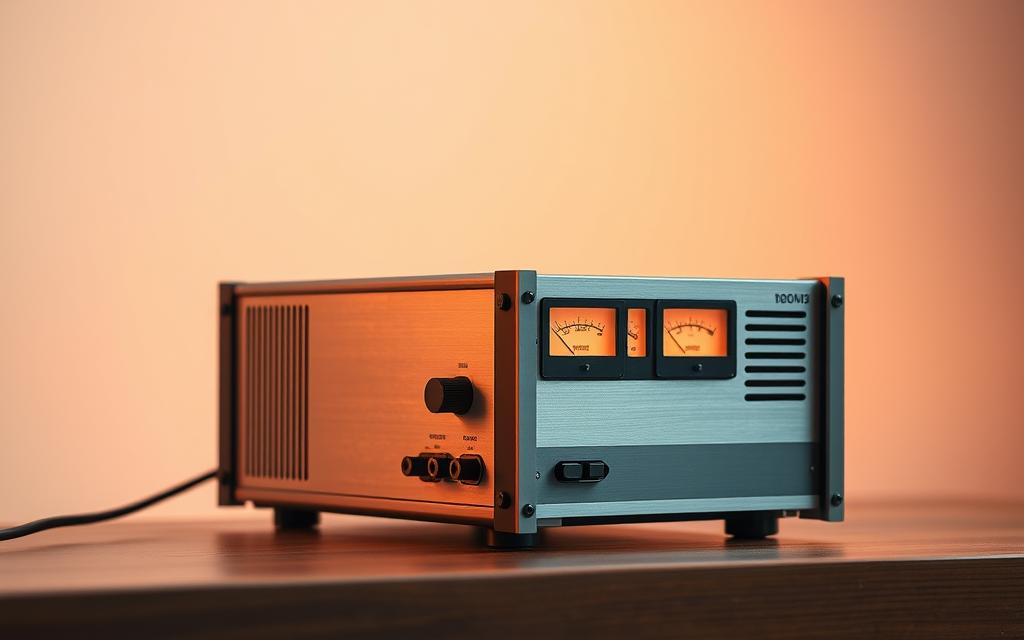
Modern PSUs, like the Corsair CX450M, provide 80 Plus efficiency, reducing energy waste and heat generation. This contrasts with 1990s PSUs, which often suffer from reliability issues and lack modern safety features. Modular PSUs are particularly beneficial, offering better cable management and reducing clutter in your setup.
For vintage motherboards, the 20-pin ATX plug on the Corsair CX450M ensures compatibility. Molex-to-floppy adapters can address legacy needs, allowing you to connect older drives without hassle. Always avoid PSUs with soldered AT power connectors, as they limit flexibility and can cause compatibility issues.
Connectors and Compatibility
Understanding connectors is crucial for integrating modern PSUs with retro systems. Molex and SATA adapters are essential for connecting floppy drives and other legacy components. Corsair’s eBay store is a reliable source for these adapters, ensuring you get tested and functional parts.
| Feature | Modern PSU | Vintage PSU |
|---|---|---|
| Efficiency | 80 Plus Certified | Lower Efficiency |
| Safety | Overload Protection | Limited Safety Features |
| Compatibility | 20-pin ATX, Molex Adapters | Soldered AT Connectors |
By choosing the right PSU and adapters, you can ensure your retro gaming setup runs smoothly and safely. Modern components enhance reliability while preserving the authenticity of your classic gaming experience.
Selecting the Right Case
The right case is essential for housing your classic gaming setup while ensuring functionality and style. Modern cases like the Fractal Design Define R5 offer a blend of safety, airflow, and compatibility with vintage hardware. These features make them ideal for retro gaming enthusiasts.
When choosing a case, consider its ATX form factor. This ensures it can accommodate both modern and legacy components. The Define R5, for example, supports 5.25″ drives via Akasa adapters, making it versatile for floppy drive installations.
Drive Bays and Front-Facing Ports
Drive bays are a critical feature for retro gaming setups. The Define R5 offers ample space for 5.25″ drives, while the Pure Base 600 provides similar flexibility. Using 3.5-to-5.25″ adapters allows you to install floppy drives seamlessly.
Front-facing USB 3.0 ports are another advantage of modern cases. They simplify file transfers and enhance connectivity. This feature is particularly useful for transferring game files or connecting peripherals.
Safety and Airflow Benefits
Modern cases prioritize safety with rounded edges and improved airflow. This contrasts with vintage designs, which often have sharp edges and poor ventilation. Enhanced airflow is especially beneficial for passive CPU cooling, ensuring your system runs efficiently.
“A well-designed case not only protects your components but also enhances the overall gaming experience.”
- Define R5 vs. Pure Base 600: Compare drive bay availability.
- 3.5-to-5.25″ adapters: Simplify floppy drive installations.
- Modern safety features: Avoid sharp edges and improve airflow.
- Front-facing USB 3.0 ports: Enhance file transfer convenience.
- Airflow benefits: Support passive CPU cooling for better performance.
By selecting the right case, you ensure your retro gaming setup is both functional and stylish. Modern cases like the Define R5 offer the perfect balance of safety, compatibility, and practicality.
Keyboard and Mouse Options
Peripherals are a vital part of any classic gaming setup, ensuring smooth interaction with your system. The right keyboard and mouse can significantly enhance your retro gaming experience. Whether you choose PS/2 or USB peripherals, understanding their differences is key to achieving compatibility and authenticity.
PS/2 vs. USB Peripherals
PS/2 peripherals offer interrupt-based advantages, ensuring direct communication with the motherboard. This eliminates the need for protocol emulation, providing a seamless experience for classic gaming. PS/2 optical mice, for example, avoid the maintenance issues of ball mice, making them a reliable choice.
USB peripherals, while modern, require protocol support for older systems. USB-to-PS/2 adapters can bridge this gap, but not all devices are compatible. Modern gaming mice often lack PS/2 protocol support, limiting their use in retro setups.
Finding Compatible Keyboards and Mice
For an authentic experience, consider Dell QuietKey keyboards. These models provide tactile feedback, enhancing the feel of classic gaming. Sourcing vintage PS/2 peripherals is easy through platforms like eBay, where tested and functional options are available.
When using USB adapters, ensure they support the necessary protocols. For example, adapters with PCI compatibility are ideal for integrating modern peripherals into retro hardware. Always verify compatibility before purchasing to avoid issues.
| Feature | PS/2 Peripherals | USB Peripherals |
|---|---|---|
| Compatibility | Direct motherboard communication | Requires protocol support |
| Maintenance | Low (optical mice) | Varies |
| Adapter Use | Not required | Necessary for older systems |
By choosing the right peripherals, you ensure a smooth and authentic retro gaming experience. Whether you prefer PS/2 or USB, understanding their advantages and limitations is essential for optimal performance.
Sound Cards for Authentic Audio
Achieving authentic audio in classic gaming setups relies heavily on the right sound card. These components are essential for recreating the immersive soundscapes of DOS games. Whether you’re playing King’s Quest IV or exploring MIDI-driven titles, the right card ensures a seamless experience.
ISA Sound Cards for DOS Games
ISA sound cards are the gold standard for vintage gaming. They provide direct hardware access, ensuring compatibility with older titles. The Sound Blaster 16, for example, supports wavetable daughterboards like the Yamaha DB50XG for enhanced MIDI audio.
OPL2 and OPL3 FM synthesis are common in older cards, but the AWE32 wavetable offers superior sound quality. Games like King’s Quest IV require the MPU-401 MIDI interface, which ISA cards handle effortlessly. For external modules, the Roland MT-32 is a popular choice, delivering rich, authentic audio.
Sound Blaster and Other Options
The Sound Blaster series remains a favorite among retro enthusiasts. Its compatibility with both DOS games and modern systems makes it versatile. However, non-Creative alternatives like the Gravis Ultrasound are also worth considering.
For those sourcing cards, eBay is a reliable platform. Look for tested models with positive reviews. Driver availability can be a challenge for obscure cards, so research is essential. Websites like VOGONS provide valuable resources for driver downloads and troubleshooting.
| Feature | Sound Blaster 16 | Gravis Ultrasound |
|---|---|---|
| MIDI Support | Wavetable Daughterboard | Built-in MIDI |
| Compatibility | DOS and Windows | DOS Games |
| Sound Quality | OPL3 FM Synthesis | 32-channel PCM |
“The right sound card bridges the gap between vintage hardware and modern expectations, delivering an authentic audio experience.”
By choosing the right sound card, you ensure your retro gaming setup delivers the audio quality that classic games deserve. Whether you opt for a Sound Blaster or explore alternatives, understanding the technical requirements is key to success.
Installing and Configuring the Motherboard
Properly installing and configuring the motherboard is a critical step in assembling a classic gaming system. This component acts as the foundation, connecting all hardware and ensuring smooth operation. Careful attention to detail during setup prevents issues and enhances compatibility.
Motherboard Jumpers and DIP Switches
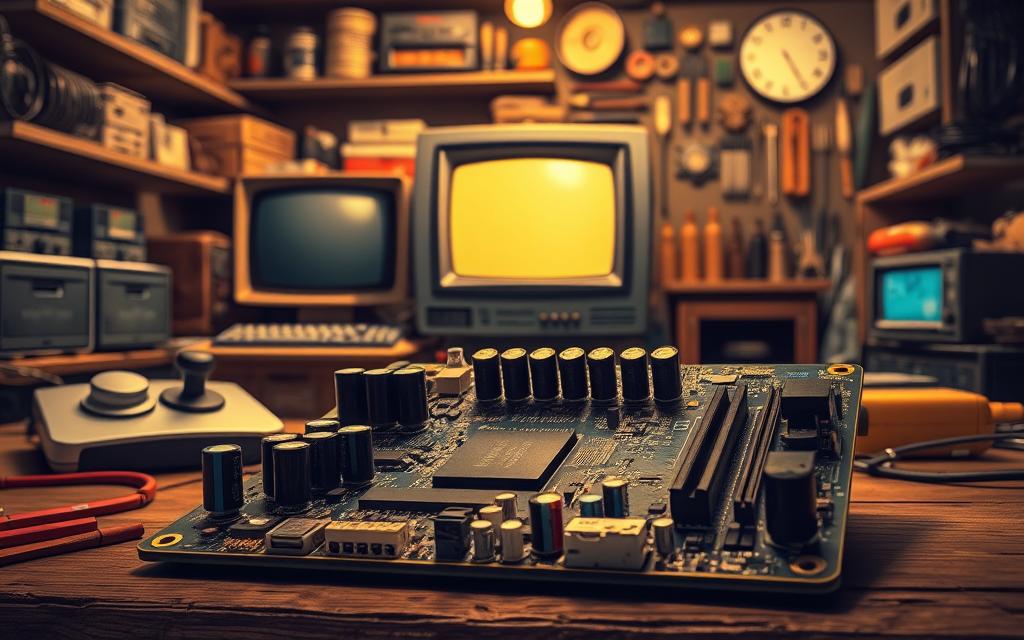
Configuring jumpers and DIP switches is essential for optimal performance. For example, the MS-5158 motherboard requires manual settings for voltage, FSB, and multiplier. Incorrect configurations can risk hardware damage, so double-check each setting.
Common jumper settings include 2.8V for the cpu and 66MHz FSB. DIP switches allow precise adjustments, ensuring the chipset operates within safe parameters. Always refer to the motherboard manual for accurate guidance.
Setting Up the BIOS
Older BIOS versions lack auto-detect features for drives, requiring manual configuration. This ensures proper recognition of IDE and floppy drives. Incorrect settings can lead to boot failures or data corruption.
Replacing the CMOS battery is another key step. A fresh battery maintains BIOS settings and prevents data loss. Online archives of motherboard manuals are invaluable resources for troubleshooting and setup.
“Accurate jumper and BIOS settings are the backbone of a reliable retro gaming system.”
- Verify jumper settings for voltage, FSB, and multiplier.
- Use DIP switches to fine-tune CPU and chipset performance.
- Manually configure BIOS for drive recognition.
- Replace the CMOS battery to preserve BIOS settings.
- Consult online motherboard manuals for detailed instructions.
CPU Installation and Cooling
Installing a cpu in a classic gaming setup requires precision and attention to detail. The process involves careful handling of components and understanding the unique requirements of vintage hardware. Proper installation ensures smooth performance and compatibility with older systems.
Installing a Socket 7 CPU
ZIF (Zero Insertion Force) sockets simplify the installation of cpus like the Pentium MMX. These sockets allow you to place the processor without applying pressure, reducing the risk of damage. Once the cpu is seated, gently lower the lever to secure it in place.
Compared to modern AM4 installations, socket 7 setups are straightforward but require manual adjustments. Always verify the alignment of the processor pins before locking it in. Incorrect installation can lead to bent pins or hardware failure.
Choosing the Right CPU Cooler
With a 13W TDP, the Pentium MMX allows for passive cooling, eliminating the need for noisy fans. Vintage heatsink and fan combos are available on platforms like eBay, offering an authentic solution for cooling. Ensure the cooler is compatible with your cpu and motherboard.
When applying thermal paste, use a small amount for bare die cpus. Over-tightening cooler clips can damage the processor or motherboard. Always test the cpu before final assembly to confirm proper operation.
“A well-installed CPU and cooler ensure your retro gaming system runs efficiently and reliably.”
- ZIF sockets simplify Pentium MMX installation.
- Passive cooling is ideal for low TDP cpus.
- Source vintage heatsinks and fans from eBay.
- Apply thermal paste sparingly for bare die cpus.
- Test the cpu before final assembly.
Assembling the Retro Gaming PC
Assembling a classic gaming system requires careful planning and attention to detail. Each component must be installed in the correct order to ensure smooth operation and compatibility. This step-by-step guide will walk you through the process, from setting up the motherboard to connecting cables and testing the system.
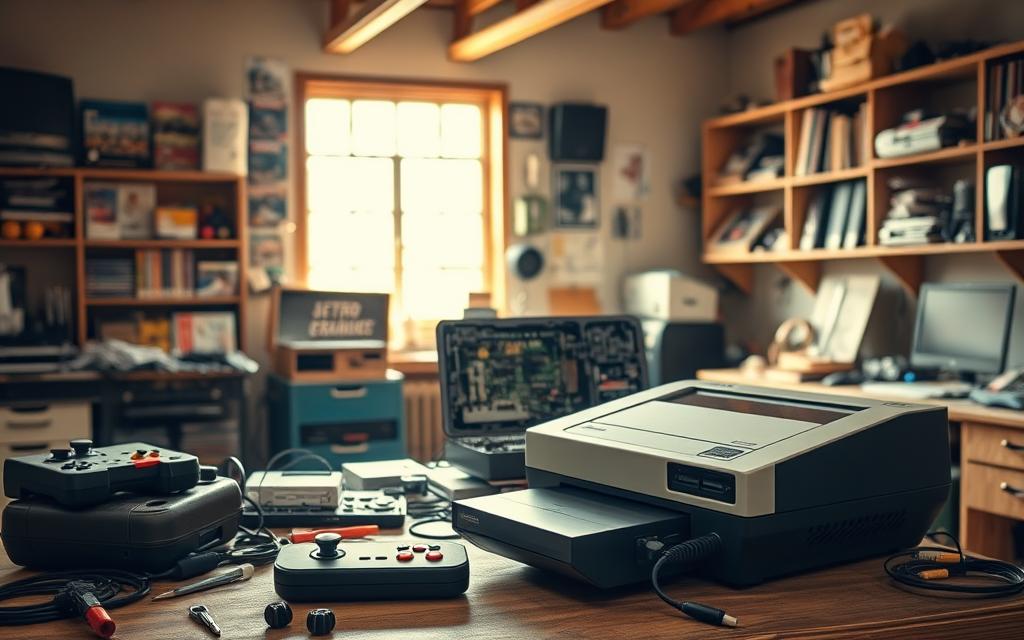
Step-by-Step Assembly Guide
Start by installing the motherboard into the case. Secure it with screws, ensuring it aligns properly with the standoffs. Next, mount the power supply, such as the Corsair CX450M, which simplifies cable routing with its modular design. This step ensures efficient power distribution to all components.
Install the drives next, beginning with the IDE hard drive or CompactFlash adapter. Ensure the ribbon cables are oriented correctly, with pin 1 aligned. For floppy drives, remember the twist in the cable determines drive letter assignment. This small detail is crucial for proper system recognition.
Finally, insert the expansion cards, such as the sound card and graphics card. Secure them firmly in their respective slots. Double-check all connections to avoid loose cables or misaligned components.
Connecting Cables and Components
Proper cable management is essential for airflow and aesthetics. Use rounded IDE and floppy cables to reduce clutter. Connect the power cables to the drives, ensuring each connection is secure. Modular PSUs like the Corsair CX450M make this process easier, allowing you to use only the cables you need.
Anti-static precautions are critical during assembly. Use an anti-static wrist strap or work on a grounded surface to prevent damage to sensitive hardware. This simple step can save you from costly repairs or component failures.
Before closing the case, perform a POST (Power-On Self-Test) to verify all components are functioning correctly. Check for error codes or beeps, which indicate potential issues. This final step ensures your system is ready for use.
“A well-assembled retro gaming PC not only performs reliably but also preserves the authenticity of classic gaming.”
- Install components in order: motherboard, PSU, drives, and cards.
- Align ribbon cables correctly, with pin 1 in the proper position.
- Use anti-static precautions to protect sensitive hardware.
- Perform a POST test before closing the case.
Testing and Troubleshooting
Testing and troubleshooting are essential steps to ensure your classic gaming system operates smoothly. These processes help identify and resolve issues before they impact performance. Properly diagnosing problems ensures compatibility and reliability for your setup.
Booting Up for the First Time
When booting your system for the first time, pay attention to POST (Power-On Self-Test) codes. These codes provide valuable information about the hardware status. For ISA motherboards, specific beep patterns indicate issues like faulty memory or disconnected components.
Reseating SIMM pairs often resolves POST failures. Ensure the memory modules are securely installed and aligned correctly. Creating a boot disk for DOS installation is another critical step. This disk ensures your systems can load the operating system without issues.
Common Issues and Solutions
Memory parity errors are a frequent problem in classic setups. These errors occur when the motherboard detects inconsistencies in data storage. Troubleshooting involves checking SIMM pairs for damage or misalignment.
IRQ conflicts between sound and graphics cards can cause system instability. Resolving these conflicts requires adjusting settings in the BIOS or using jumper configurations. Diagnosing floppy drive failures involves checking cables and ensuring proper power connections.
“Accurate testing and troubleshooting ensure your retro gaming system runs reliably, preserving the authenticity of classic gameplay.”
- Interpret POST codes to identify hardware issues.
- Reseat SIMM pairs to resolve memory-related failures.
- Create a boot disk for seamless DOS installation.
- Adjust IRQ settings to prevent conflicts between components.
- Check cables and power connections for floppy drive issues.
Conclusion
Preserving the charm of classic gaming through authentic hardware brings unparalleled satisfaction. Unlike emulation, using original components from the era ensures a genuine experience, capturing the nuances of classic gameplay.
Cost-effective sourcing strategies make this hobby accessible. Platforms like eBay offer affordable vintage parts, while modern alternatives enhance reliability. Engaging with the retro gaming community can also help locate rare components, fostering collaboration among enthusiasts.
For those looking to elevate their setup, upgrades like the AWE32 sound card or Voodoo 2 SLI graphics card are worth exploring. These additions enhance performance while maintaining the authenticity of your systems.
Ultimately, building and preserving these setups is more than a hobby—it’s a way to honor computing history. By keeping the spirit of classic gaming alive, we ensure future generations can appreciate the roots of modern technology.
FAQ
What are the key components needed for a retro gaming PC?
Essential components include a compatible motherboard with ISA or PCI slots, a CPU like the Pentium MMX or Pentium III, a graphics card such as VGA or PCI, memory modules like 72-pin SIMMs, and a sound card like Sound Blaster for authentic audio.
Why is original hardware important for retro gaming?
Original hardware ensures compatibility with older games and provides an authentic experience. Components like ISA sound cards and VGA graphics are crucial for running DOS and Windows games from the era.
How do I choose the right motherboard for retro gaming?
Look for motherboards with ISA or PCI slots, the correct form factor (e.g., ATX), and a compatible power socket. Ensure it supports CPUs like the Pentium MMX or Pentium III for optimal performance.
What CPU options work best for retro gaming PCs?
CPUs like the Pentium MMX, Pentium II, and Pentium III are ideal. Ensure compatibility with your motherboard’s socket and chipset for smooth operation.
Should I use VGA or PCI graphics cards for retro gaming?
VGA cards are great for DOS games, while PCI cards work well for Windows games. Choose based on the era of games you want to play.
What memory modules are suitable for retro PCs?
Use 72-pin SIMMs or 168-pin DIMMs, depending on your motherboard. Ensure the memory speed matches the system’s requirements for stability.
What storage options are best for retro gaming PCs?
CompactFlash cards with IDE adapters or traditional hard drives are popular. Solid-state storage offers faster performance, while IDE drives provide authenticity.
Can I use a modern PSU for a retro gaming build?
Yes, but ensure it has the correct connectors and wattage for older components. Compatibility with ATX cases is also important.
What case should I use for a retro gaming PC?
ATX cases with ample drive bays and front-facing ports are ideal. They provide enough space for older components and easy access for upgrades.
Are PS/2 or USB peripherals better for retro gaming?
PS/2 keyboards and mice are more authentic for older systems, but USB peripherals offer modern convenience. Choose based on your motherboard’s compatibility.
Why use ISA sound cards for retro gaming?
ISA sound cards like Sound Blaster provide authentic audio for DOS games. They ensure compatibility and enhance the gaming experience.
How do I set up the BIOS for a retro gaming PC?
Configure BIOS settings like boot order, memory timings, and CPU speed. Use motherboard jumpers or DIP switches for additional adjustments.
What CPU cooler should I use for a Socket 7 CPU?
Choose a cooler compatible with Socket 7 CPUs. Ensure it provides adequate cooling for processors like the Pentium MMX.
What are common issues when building a retro gaming PC?
Common problems include incompatible components, BIOS configuration errors, and power supply issues. Test each component during assembly to avoid these.


