Table of Contents
Creating a desktop shortcut can greatly enhance your productivity by providing quick and easy access to your favorite apps and files. In this comprehensive guide, we will walk you through the step-by-step process of creating a desktop shortcut on your Windows 10 computer. With our straightforward instructions, you’ll be able to unlock the power of desktop shortcuts and transform your workflow in no time.
Method 1: Creating a Shortcut from Windows Desktop
Creating a desktop shortcut on your Windows 10 computer is a breeze when you utilize the Windows Desktop itself. With just a few simple steps, you can have quick and easy access to your favorite files or applications right from your desktop. Follow these instructions to create a shortcut on your desktop:
-
Right-click anywhere on your desktop and select “New” from the dialog box.
-
Choose the “Shortcut” option from the menu that appears.
-
Browse to the location of the file or application for which you want to create the shortcut.
-
Click “Next” and type a name for the shortcut.
-
Click “Finish” to complete the process.
Creating a shortcut on your desktop has never been easier. Now you can conveniently access your most frequently used files or applications with just a single click. Say goodbye to searching through countless folders and menus, and say hello to a more efficient workflow.
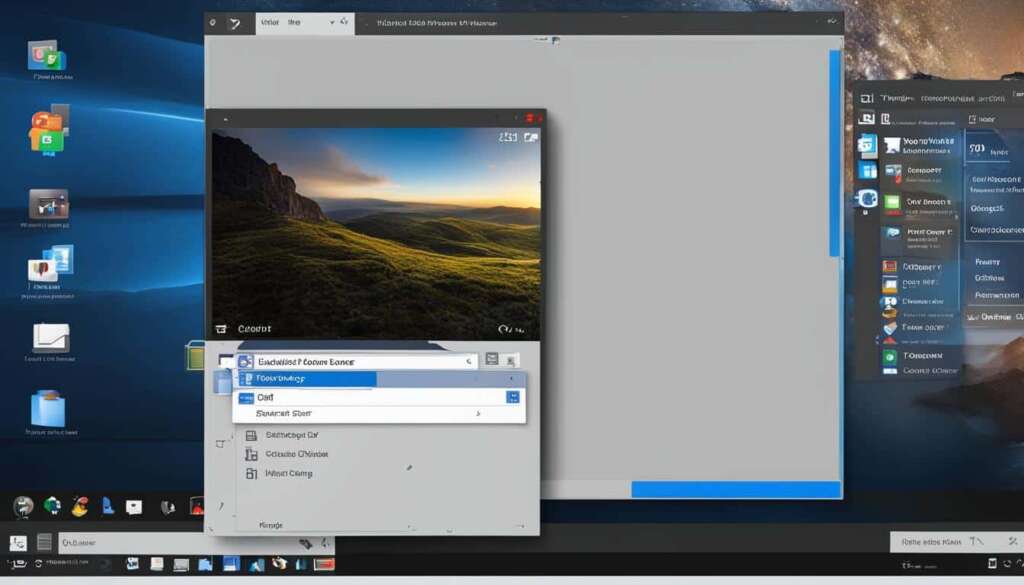
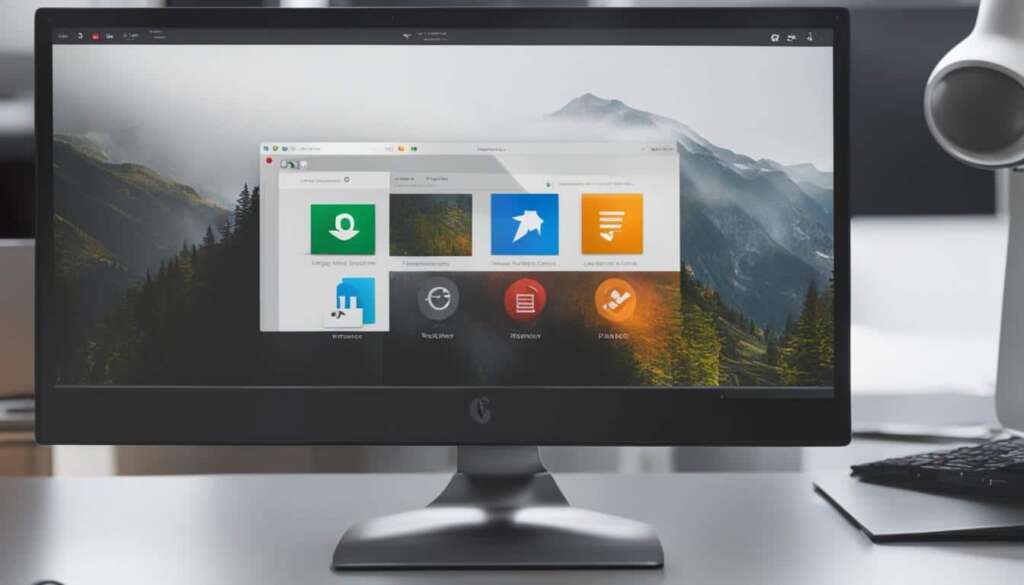
An image showing the process of creating a shortcut on the Windows Desktop.
Method 2: Creating a Shortcut from File Explorer
Creating a desktop shortcut is a convenient way to access your frequently used files and applications with ease. If you prefer using File Explorer to create shortcuts, follow these simple steps:
- Locate the file or application for which you want to create a shortcut in File Explorer.
- Right-click on the file or application and select “Create Shortcut”.
- The shortcut will be created and can be found at the end of the Programs list.
- Drag the shortcut to the desktop for quick and convenient access.
By using this method, you can easily create a desktop icon for any file or application you frequently use, making it more accessible and saving you time.
If you want to learn more desktop shortcut tips and tricks, continue reading our guide for further insights.
Creating a Shortcut to a Website
Did you know you can also create a desktop shortcut to your favorite websites? It’s a convenient way to access your go-to websites with just a click. Here’s how you can do it:
-
Open the website in your preferred web browser.
-
Click the three-dot icon in the top-right corner of the browser window.
-
Go to “More tools” and select “Create shortcut”.
-
Give the shortcut a name and click “Create”.
The website shortcut will now appear on your desktop, allowing you to quickly access your favorite websites without the need to open your browser first. This is particularly useful for websites that you visit frequently, saving you time and effort.
With just a click on the website shortcut, you’ll be instantly directed to the website of your choice. It’s a simple yet efficient way to streamline your web browsing experience and boost your productivity.
Working with Desktop Shortcuts
Once you have created desktop shortcuts, you can customize them to suit your preferences. Here are a few tips:
- Right-click on a shortcut to rename it or change its properties.
- You can organize your shortcuts by creating folders on your desktop and moving them into the appropriate folders.
- To access your shortcuts even faster, you can pin them to the Taskbar or Start Menu on Windows 10.
Customizing your desktop shortcuts allows you to optimize your workflow and make it more efficient. Renaming shortcuts with descriptive names helps you quickly identify their purpose, while changing properties can modify how they behave or appear.
By organizing your shortcuts into folders, you can declutter your desktop and easily locate the shortcuts you need. Create folders with specific categories or themes and move relevant shortcuts into them for easy access.
Additionally, pinning your frequently used shortcuts to the Taskbar or Start Menu in Windows 10 provides quick access without cluttering your desktop. Simply right-click on the shortcut and select “Pin to Taskbar” or “Pin to Start” to make it readily available.
Creating Desktop Shortcuts on Mac
If you’re using a Mac computer, you’ll be pleased to know that creating desktop shortcuts is just as feasible as it is on Windows. Although the process may differ slightly, it remains equally straightforward. Here’s how:
- Open the web page or file for which you want to create a shortcut.
- Drag the URL or file icon to the desktop. The shortcut will be automatically created.
- To customize the name or icon of the shortcut, right-click on it, select “Get Info,” and make the desired changes.
Creating shortcuts on your Mac is a convenient way to access your favorite web pages or files swiftly. By following these simple steps, you can optimize your workflow and enhance your overall productivity. Embrace the power of desktop shortcuts and simplify your Mac experience.
Desktop Shortcut Tips and Tricks
Make the most out of your desktop shortcuts with these practical tips and tricks:
- Organize your desktop shortcuts by creating folders
- Use meaningful names for your shortcuts
- Regularly review and remove unnecessary shortcuts
- Customize your shortcut icons
| Best Practices | Shortcut Optimization |
|---|---|
| Create folders to categorize your shortcuts | Organize your shortcuts based on their purpose |
| Keep shortcuts for similar apps or files in the same folder | Grouping shortcuts by category makes navigation easier |
| Give each folder a clear and descriptive name | Helps to quickly locate the appropriate shortcuts |
Tip: When naming your shortcuts, use names that clearly indicate their purpose or function. This will make it easier to identify and locate the shortcut you need.
Tip: To keep your desktop clutter-free, periodically go through your shortcuts and remove any that you no longer need. This will help you maintain a clean and organized desktop.
Tip: Personalize your shortcuts by changing their icons. You can choose from a variety of pre-installed icons, or even use your own custom icons to make them visually appealing and easily recognizable.
By following these desktop shortcut best practices and optimization techniques, you can enhance your productivity and streamline your workflow.
Conclusion
Desktop shortcuts are a powerful tool for streamlining your workflow and accessing your frequently used apps and files with just a click. By following the methods outlined in this guide, you can effortlessly create desktop shortcuts on your Windows 10 or Mac computer. Don’t miss out on the opportunity to boost your productivity and simplify your daily tasks. Unlock the full potential of desktop shortcuts and transform the way you work. Start creating your own desktop shortcuts today!
With desktop shortcuts, you can say goodbye to digging through folders and searching for applications or files. Instead, you’ll have a convenient and personalized shortcut right on your desktop, ready to launch with a single click. Make the most out of your computer’s capabilities and take advantage of this time-saving feature.
Whether you’re a Windows 10 user or a Mac enthusiast, the process of creating desktop shortcuts is straightforward and user-friendly. Plus, once you’ve created your shortcuts, you can further customize them to your liking by giving them meaningful names and organizing them in folders. Maximize your efficiency and keep your desktop clutter-free.
So, don’t hesitate any longer. Start optimizing your workflow, saving time, and simplifying your daily tasks. Desktop shortcuts are the key to unlocking a more productive and efficient work experience. Embrace the power of shortcuts and revolutionize the way you navigate your computer. Get started now and unleash your computer’s full potential!
FAQ
How do I create a desktop shortcut on Windows?
To create a desktop shortcut on Windows, you can either right-click on your desktop and select “New” followed by “Shortcut”, or right-click on a file or application in File Explorer and choose “Create Shortcut”.
Can I create a desktop shortcut for a website?
Yes, you can create a desktop shortcut for a website by opening the website in your web browser, clicking the three-dot icon in the top-right corner, going to “More tools”, and selecting “Create shortcut”.
How can I customize my desktop shortcuts?
You can rename and change the properties of a desktop shortcut by right-clicking on the shortcut and selecting “Rename” or “Properties”. You can also organize your shortcuts into folders on your desktop and customize their icons.
Can I create desktop shortcuts on a Mac computer?
Yes, you can create desktop shortcuts on a Mac computer by dragging the URL or file icon to the desktop. You can then customize the shortcut’s name and icon by right-clicking on the shortcut and selecting “Get Info”.
Are there any tips for working with desktop shortcuts?
Yes, you can organize your desktop shortcuts into folders, use meaningful names for easy identification, regularly review and remove unnecessary shortcuts, and customize shortcut icons for visual appeal and recognition.
What are some best practices for desktop shortcuts?
It is best to keep your desktop clutter-free by only creating shortcuts for frequently used apps and files. Additionally, regularly reviewing and managing your shortcuts can help you maintain an organized desktop.

