Table of Contents
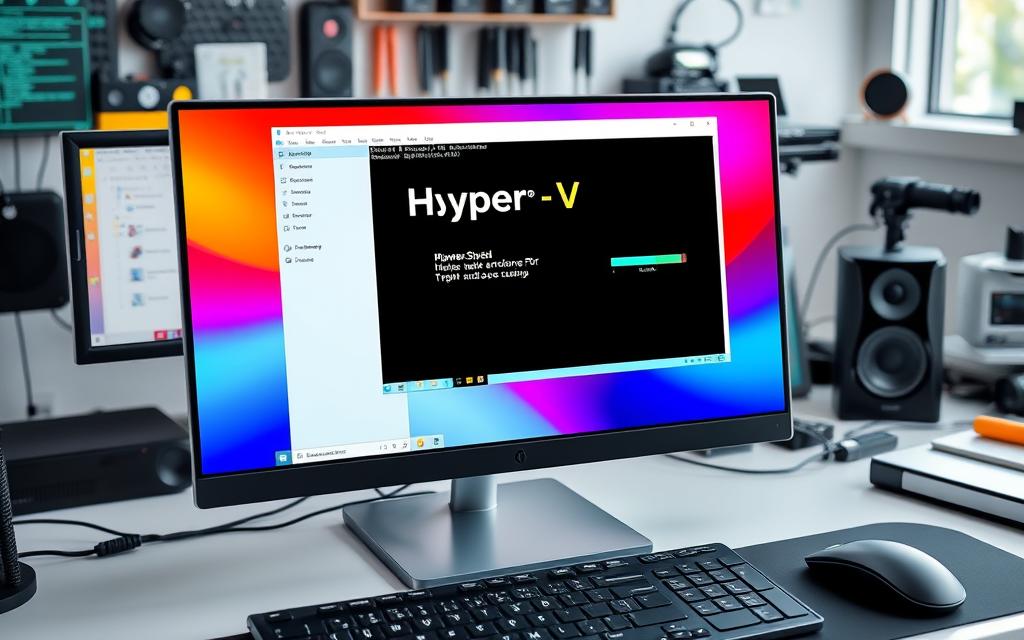
The Hyper-V PowerShell module helps you manage virtual environments on Windows. It is not pre-installed, so you need to install it yourself. On Windows 10 Pro and Enterprise, you can add this module for easier virtual machine management.
This Hyper-V installation guide shows how to install the PowerShell module on Windows 10. We use PowerShell commands and GUI installation. It’s great for those who want to use PowerShell to manage virtual machines and remote hosts efficiently.
Overview of Hyper-V PowerShell Module
The Hyper-V PowerShell module is a specialised tool for managing Hyper-V environments. It makes managing Hyper-V simpler by reducing the need for a graphical interface. This is especially useful for automating tasks and running scripts in virtual settings.
Importance of PowerShell in Managing Hyper-V
PowerShell is key to efficiently managing Hyper-V. It lets administrators automate many tasks, boosting operational efficiency. With PowerShell, tasks like starting, stopping, and creating virtual machines are done quickly. This automation cuts down repetitive tasks and lessens human errors.
Differences Between Hyper-V Role and PowerShell Module
It’s crucial to understand how the Hyper-V role and the PowerShell module differ. The Hyper-V role provides the basics needed to run virtual machines. It is the foundation of virtualisation on Windows Server. On the other hand, the PowerShell module focuses on management tasks. It offers cmdlets for advanced operations and automation.
Knowing the differences between the Hyper-V role and the PowerShell module helps maximise their benefits. This ensures a strong management of virtualisation.
| Feature | Hyper-V Role | PowerShell Module |
|---|---|---|
| Purpose | Core functionality for running virtual machines | Management and administrative tasks |
| Interface | Graphical User Interface (GUI) | Command-line Interface (CLI) |
| Automation | Limited | Extensive automation capabilities |
| Cmdlets | None | Provides specific cmdlets for managing Hyper-V |
How to Install the Hyper-V PowerShell Module on Windows 10
Installing the Hyper-V PowerShell module on Windows 10 requires some steps. Knowing what’s needed makes installation easier. You can install the module using PowerShell commands or through the GUI based on what you prefer.
Requirements for Installation
Your system needs to meet certain conditions to install the Hyper-V PowerShell module. It must have a 64-bit processor with SLAT and support VM Monitor Mode Extension (VT-c on Intel CPUs). Also, your system needs at least 4 GB of RAM. Remember, you cannot install this on Windows 10 Home editions.
Using PowerShell for Installation
To install the PowerShell module on Windows 10 through PowerShell, use this command:
Install-WindowsFeature -Name Hyper-V -IncludeManagementTools
This will install Hyper-V and combine it with necessary management tools for it to work well.
Using the GUI to Install Hyper-V PowerShell Module
If you prefer using graphical interfaces, the GUI installation method for Hyper-V is simple. Go to the Control Panel, click on Programs, and then Turn Windows features on or off. Find Hyper-V and ensure both the management tools and platform options are checked before you install.
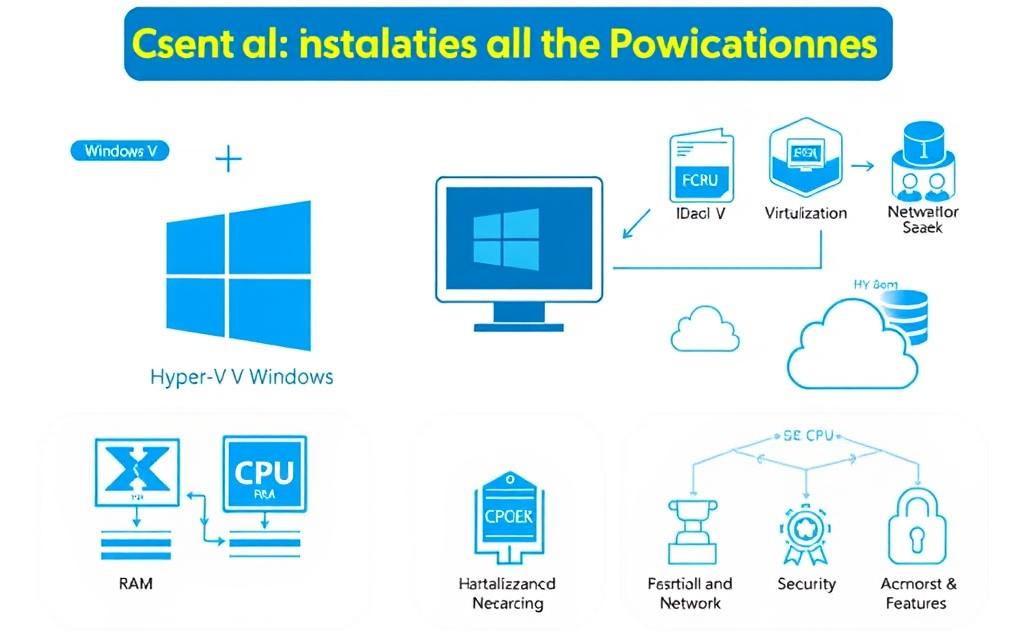
Exploring Hyper-V PowerShell Module Features
The Hyper-V PowerShell module offers powerful tools for better management and automation of virtual machines. It allows users to manage their virtual environments more easily. This is done by using Hyper-V PowerShell cmdlets.
Key Cmdlets and Their Functions
There are over 160 cmdlets in this module, each helping with different parts of virtual machine management. Key cmdlets include:
- Get-VM: Retrieves information about virtual machines.
- Start-VM: Powers on a virtual machine.
- Stop-VM: Powers off a virtual machine.
- Checkpoint-VM: Creates a snapshot of the current state of a virtual machine.
- Export-VM: Allows for the export of a virtual machine configuration for backup or replication purposes.
These cmdlets make it easier to carry out tasks efficiently. They cover everything from creating virtual machines to managing their resources from the host operating system.
How the Module Enhances Virtual Machine Management
Using PowerShell within Hyper-V greatly improves managing virtual machines. Automation, such as backups with Checkpoint-VM or setting up multiple virtual machines, becomes simpler. PowerShell Direct also ensures smooth operation, even when machines are network-isolated.
These functions boost efficiency and help in monitoring essential metrics. Tracking how often virtual machine checkpoints are made can fine-tune backup plans. Watching the number of new virtual machines helps understand trends in technology use within a company.
For details on installing the Hyper-V PowerShell module, check this guide on setting up the environment.
Conclusion
The Hyper-V PowerShell module is super useful for managing Hyper-V efficiently. It’s easy to install and packed with great features. Users find their virtualisation work smoother, getting better at managing virtual spaces. Through PowerShell commands, you can make operations run smoother and boost performance.
Both beginners and experts gain a lot from the PowerShell module. It’s perfect for building a strong private cloud or improving how virtual desktops work. Using this module makes handling Hyper-V tasks much easier.
In short, the Hyper-V PowerShell module is key for a modern virtualisation plan. It helps users get good at managing virtual machines. This leads to higher efficiency and more productivity.
FAQ
What is the Hyper-V PowerShell module?
The Hyper-V PowerShell module is a toolkit that lets users control Hyper-V on Windows. It’s handy for making and looking after virtual machines easily.
How do I install the Hyper-V PowerShell module on Windows 10?
To set up the Hyper-V PowerShell module, first check if your Windows 10 meets the needed requirements. Then, use Windows PowerShell commands or the user interface to install it.
What are the system requirements for installing the Hyper-V PowerShell module?
Your computer must have a 64-bit processor with SLAT, support for VM Monitor Mode Extension, and at least 4 GB of RAM. Windows 10 Home editions don’t support the Hyper-V role.
What key cmdlets are available in the Hyper-V PowerShell module?
The module comes with cmdlets like New-VM, Remove-VM, and Start-VM. These commands help with creating, deleting, and launching virtual machines, making Hyper-V management smoother.
How does the Hyper-V PowerShell module differ from the Hyper-V role?
The Hyper-V role provides the basics for running virtual machines. On the other hand, the PowerShell module includes specific commands for detailed management tasks, enabling better automation and scripting.
Can I automate tasks using the Hyper-V PowerShell module?
Indeed, the Hyper-V PowerShell module is designed for both automation and scripting. It offers a way to manage virtual setups more efficiently, without needing a graphical interface.
Is the Hyper-V PowerShell module available for Windows 10 Home edition?
No, the Hyper-V role and the PowerShell module cannot be installed on Windows 10 Home editions. They are only available for Windows 10 Pro and Enterprise editions.


