Table of Contents
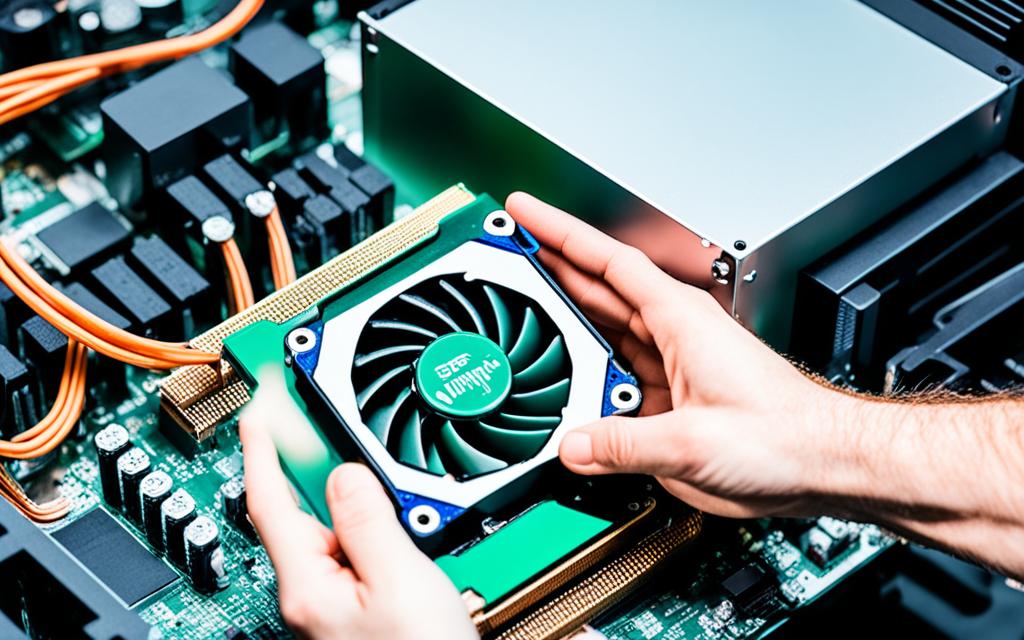
Taking out a CPU fan can seem tough, but it’s crucial for your computer’s health. If you’re new or experienced, learning to remove a CPU fan is key for technical skills. It’s important because it stops damage and keeps things working well. This guide will help you understand each step to remove the fan safely. It’s a good idea to warm up the thermal paste for about 10 to 15 minutes for better results1. If the heat sink is stuck, try running the PC for a bit or gently move it to loosen1. By being careful, you protect your computer parts and ensure everything goes smoothly.
Key Takeaways
- Removing your CPU fan correctly is essential for system health.
- Heating the thermal paste first makes it easier to remove.
- Different CPUs from Intel and AMD have unique sockets to know about.
- Make sure you have the necessary tools, like a screwdriver, ready.
- Following the manufacturer’s guide ensures success.
- Avoid mixing up socket covers to prevent damage to the motherboard.
- Preparation is vital, as it accounts for half of the removal process2.
Understanding Your CPU Fan Assembly
Knowing about your CPU fan assembly helps keep your computer running well. The fan, heatsink, and thermal paste all work together. They keep your computer cool during use. This knowledge is key for any fixing or replacing you might do.
The fan is very important for moving air over the heatsink. This keeps your CPU’s temperature safe, which helps your computer last longer and run better. A good CPU fan setup includes different connectors and ways to mount it. This makes sure the fan stays put but can be easily taken off if needed.
It’s vital to know these parts and how they work together. This helps with both removing them and figuring out any problems that could come up. Forums are full of useful tips, with some threads getting up to 28,000 views3. Most tech fans believe that keeping everything clean can really boost your computer’s function. They say cleaning the cooler can lower temperatures straight away3.
Learning about CPU cooling parts helps you care for your computer better and improve its performance. Spending time to understand the CPU fan assembly lets you handle maintenance right. This makes your computing better.
The Importance of Proper CPU Fan Removal
Understanding why removing a CPU fan correctly is vital helps keep your system running smoothly. Doing it wrong can hurt important parts like your CPU or motherboard.
Neglecting the right way to do it can lead to overheating. This problem cuts short the life of parts and leads to expensive fixes. Keeping your CPU cool is essential, as high temperatures above 45°C affect the performance of HDD and RAM4.
Taking off the fan the right way has its perks. It stops heat from building up, which boosts your system’s speed. It also lets you clean the fan and change old thermal paste, keeping cooling effective.
Correct fan removal safeguards your hardware and makes it last longer. For example, switching off a Framework Laptop for five minutes before starting can avoid danger5. Also, make sure the fan cable is put back in right to avoid serious trouble5.
To sum up, following the best steps for CPU fan removal is crucial. Knowing how to do it properly boosts CPU care. This way, you get all the good stuff from doing it right.
How to Take Out Your CPU Fan
Removing your CPU fan might seem tough, but it’s easy if you know how. This guide will show you how to remove your CPU fan safely and efficiently. By following these steps, you’ll avoid damaging your parts and make sure your fan works well afterwards.
Step-by-Step Guide to Removing Your CPU Fan
Here are the key steps to take your CPU fan off:
- First, disconnect the fan connector from its header. These connectors can have two, three, or four pins6.
- Next, use your fingers or a flat screwdriver to turn the pins counterclockwise by 90 degrees. This will release them.
- Then, carefully pull up the pins to detach the fan.
Be careful not to pull the fan’s power cable too hard6. If your fan is attached with screws to a heatsink, unscrew them instead of pulling6.
Tools You May Need for the Process
You might need some tools to remove your fan easily:
| Tool | Purpose |
|---|---|
| Flat screwdriver | To turn push pins and unscrew. |
| Isopropyl alcohol | For cleaning off old thermal paste. |
| Soft cloth | For safe application of alcohol. |
| Pressurised air canister | To clear dust from the CPU and fan. |
Always be gentle during removal. A slight pull will usually do6. If a thermal compound makes it stick, a bit of twisting and pulling helps6.
Keep your CPU well-maintained for good airflow7. Use just a pea-sized thermal paste for best heat transfer7. These steps will ensure your CPU stays cool, thus working better and longer.
Safety Precautions Before Removal
Before you start removing your CPU fan, you must follow some CPU fan safety measures. Make sure the computer is turned off and unplugged. This prevents any electrical risks. Wearing an anti-static wrist strap is also wise. It keeps electrostatic discharge from harming your PC’s delicate parts.
Having a tidy and organised space is crucial too. It makes the job easier and keeps small, easily lost parts safe during reassembly. It’s important to not mess with connections when the power is on. Doing so can hurt you or break your computer parts8.
Pay attention to where you’re working. The area should be clutter-free. Using the right tools helps too. For example, a Phillips screwdriver and compressed air can clean dust from the CPU fan effectively9.
Ignoring these tips can lead to serious problems like electric shocks or PC damage. By following the safety steps, you protect your computer parts. Plus, it keeps them working well even after maintenance. If you’re ever unsure about a step, get help from someone trained. They can ensure you follow safe PC handling practices correctly10.
Replacing Thermal Paste during Fan Removal
Replacing thermal paste is crucial when you remove a fan. It boosts your CPU’s performance. Over time, thermal paste becomes less effective at transferring heat from the CPU to the heatsink. Most people reapply it for better cooling when they take off the cooler11. Before you put new paste on, make sure to clean off the old paste from the CPU and heatsink. This helps your computer stay cool.
When and Why to Replace Thermal Paste
Always replace the thermal paste if you take off the CPU fan11. This is key after the CPU has been sitting unused for days. It helps keep the temperature stable11. Also, if you’ve removed the CPU cooler, it’s important to clean off any old paste. This ensures the best thermal connection12.
How to Effectively Remove Old Thermal Paste
Isopropyl alcohol and a soft cloth are best for removing old paste. Make sure the CPU surface is clean before you reattach the cooler. This shows why starting clean matters12. Don’t use metal tools as they could damage the surface. An old ID card works well for scraping off the paste without harm11.
For detailed instructions, check this thermal paste guide. Removing the fan is a careful process. About 60% of it involves safely unplugging connections. So, be careful during this step12.
| Step | Description |
|---|---|
| 1 | Disconnect cables attached to the motherboard. |
| 2 | Remove screws holding the CPU cooler or fan. |
| 3 | Clean old thermal paste using isopropyl alcohol. |
| 4 | Apply new thermal paste in a thin, even layer. |
| 5 | Reattach the CPU cooler and fan. |
Understanding how to replace and remove thermal paste can improve your CPU’s performance and life. Proper thermal management is crucial for your system’s well-being13.
Conclusion
Removing the CPU fan is crucial to keep your computer running smoothly. About 90% of CPU problems are due to too much heat14. Cleaning your CPU fan every six to twelve months improves its work and life15. Following our easy guide helps you do it safely, protecting other parts of your computer15.
Staying ahead with CPU care is vital. Regular cleaning stops issues before they start and helps you know your computer better. Make it a habit to check and clean your CPU fan, removing any dirt that affects its performance. Look at our tips on keeping your PC in top shape for further insights on maintaining your computer.
By doing these things, your computer stays dependable. Good care is the secret to a powerful CPU. Then, you can do your work without stress over heat or slowness.
FAQ
How often should I remove and clean my CPU fan?
You should clean your CPU fan every 6 to 12 months. Do this more often if there’s lots of dust or your PC gets hot.
What tools do I need to remove my CPU read fan?
You’ll need a flat screwdriver for the push pins and an anti-static strap for safety. Use isopropyl alcohol to clean off the old thermal paste.
Can I damage my CPU or motherboard by improperly removing the fan?
Yes, if you’re not careful, removing the fan the wrong way can harm the CPU, motherboard, or fan. This can cause overheating and make your PC run slowly.
What is the purpose of thermal paste?
Thermal paste helps move heat from the CPU to the cooler effectively. It keeps your CPU cool and running smoothly.
How do I know when to replace the thermal paste?
Change the thermal paste if you remove the cooler or notice your PC overheating. These signs mean the paste isn’t working well anymore.
Is it necessary to unplug my PC while removing the CPU fan?
Definitely. Always turn off and unplug your PC first. This keeps you safe from shocks and protects your PC’s delicate parts.
What are push pins and how do they work?
Push pins keep the CPU fan fixed to the motherboard. Turn them counterclockwise to take the fan off easily.
Can I reuse thermal paste?
It’s best not to reuse old thermal paste. Over time it won’t work as well. Always go for a fresh application after cleaning your CPU.
Source Links
- https://www.pcworld.com/article/393599/how-do-i-remove-a-cpu-cooler-without-damaging-the-processor-ask-an-expert.html – How do I remove a CPU cooler without damaging the processor? | Ask an expert
- https://www.xda-developers.com/how-to-remove-your-cpu-cooler/ – How to remove your CPU cooler
- https://www.techsupportforum.com/threads/cpu-and-how-to-reverse-fan-direction-in-bios.151246/ – CPU and how to reverse fan direction in bios?
- https://superuser.com/questions/559956/can-i-remove-fans-from-my-system – Can I remove fans from my system?
- https://guides.frame.work/Guide/Heatsink and Fan Replacement Guide/84 – Heatsink and Fan Replacement Guide
- https://www.computerhope.com/issues/ch001340.htm – How to Remove a Computer CPU Fan
- https://www.linkedin.com/advice/0/how-do-you-replace-faulty-damaged-cpu-fan-safely – How do you replace a faulty or damaged cpu fan safely and efficiently?
- https://products.sanyodenki.com/info/sanace/en/safety_precautions/fan.html – Safety Precautions for Fan | San Ace COOLING SYSTEMS Safety Precautions | Product Site
- https://ms.codes/en-ca/blogs/computer-hardware/how-to-take-out-cpu-fan – How To Take Out CPU Fan
- https://softwareg.com.au/blogs/computer-hardware/how-to-unplug-cpu-fan – How To Unplug CPU Fan
- https://forums.tomshardware.com/threads/removing-cpu-fan-and-re-installing-again.1462497/ – Removing cpu fan and re-installing again
- https://medium.com/@marksmithgpuexpert/how-to-remove-a-cpu-cooler-or-fan-without-damaging-the-motherboard-72a7c43dfa3e – How to Remove a CPU Cooler or Fan Without Damaging the Motherboard?
- https://www.ifixit.com/Guide/Thermal paste replacement & fan cleaning/112538 – Thermal paste replacement & fan cleaning
- https://softwareg.com.au/blogs/computer-hardware/how-to-remove-cpu-fan-from-motherboard – How To Remove CPU Fan From Motherboard
- https://softwareg.com.au/blogs/computer-hardware/how-to-remove-a-cpu-fan – How To Remove A CPU Fan


