Table of Contents
A clutter-free workspace can enhance productivity and create a visually appealing environment. For many users, the Recycle Bin icon on the desktop can feel unnecessary or distracting. While Windows doesn’t allow permanent deletion of this feature, it provides several ways to hide or remove it temporarily.
This guide is compatible with Windows 7, 8, 10, and 11, ensuring a seamless experience across versions. Removing the icon can also improve security in shared environments, preventing accidental file deletions. Additionally, it offers a cleaner, more professional look for your screen.
Before proceeding, ensure you understand the implications. Files sent to the Recycle Bin won’t be accessible if the icon is hidden. We’ll explore three primary methods: using Settings, Registry Editor, and Group Policy. Each method is straightforward and tailored to different user preferences.
Introduction to Removing the Recycle Bin
Windows users have relied on the Recycle Bin for decades as a digital safety net. Introduced in Windows 95, it was designed to avoid Apple’s “Trash” trademark while providing a similar function. This feature has evolved from a physical trash concept to a digital recycling metaphor, becoming a default presence on every desktop.
While the recycle bin icon is a standard feature, many users seek to customize their workspace. Some find it unnecessary or distracting, preferring a cleaner look. Others aim to optimize their workflow by reducing visual clutter. However, it’s important to note that system protections prevent the actual deletion of this functionality.
Users can choose between temporary hiding and registry-level removal. Temporary methods are ideal for those who want flexibility, while registry edits offer a more permanent solution. Regardless of the method, the files sent to the Recycle Bin remain accessible through File Explorer, ensuring no data is lost.
Understanding these options helps users make informed decisions about their bin icon desktop preferences. Whether for aesthetics or practicality, customizing this feature can enhance the overall user experience on windows systems.
How to Remove Recycle Bin from Desktop Using Settings
Customizing your desktop can significantly improve its appearance and functionality. One way to achieve this is by hiding the Recycle Bin icon through the settings app. This method is straightforward and works across Windows 10 and 11.
![]()
Step 1: Open Personalization Settings
Begin by pressing Win + I to open the Settings app. Alternatively, right-click on the desktop and select Personalize. This will take you directly to the personalization menu.
Step 2: Access Desktop Icon Settings
In the left panel, click on Themes. Scroll down to find Related Settings and select Desktop icon settings. This menu allows you to manage which icons appear on your desktop.
Step 3: Uncheck the Recycle Bin Option
In the desktop icon settings window, uncheck the box next to Recycle Bin. Click Apply and then OK to confirm. The icon will no longer appear on your desktop.
For more detailed instructions, visit this guide.
This method is ideal for users who prefer a temporary solution. It’s quick, easy, and doesn’t require advanced technical knowledge. Plus, it allows you to restore the icon anytime by revisiting the desktop icon settings.
How to Remove Recycle Bin from Desktop Using the Registry
For advanced users, the Windows Registry Editor offers a more permanent solution to customize the desktop. This method involves editing system files, so proceed with caution. Always back up your system before making changes to avoid potential issues.
Editing the registry can have significant effects on your system. If done incorrectly, it may cause instability or even prevent your computer from booting. To mitigate risks, use System Restore to create a backup point before proceeding.
Step 1: Open the Registry Editor
Press Win + R to open the Run dialog box. Type regedit and press Enter. This will launch the Registry Editor. Confirm any prompts to allow the application to make changes to your device.
Step 2: Navigate to the NameSpace Key
In the Registry Editor, navigate to the following path: HKEY_LOCAL_MACHINE\SOFTWARE\Microsoft\Windows\CurrentVersion\Explorer\Desktop\NameSpace. This folder contains keys for all desktop icons, including the Recycle Bin.
Step 3: Delete the Recycle Bin Key
Locate the key with the identifier {645FF040-5081-101B-9F08-00AA002F954E}. Right-click on it and select Delete. Confirm the action when prompted. Once deleted, the Recycle Bin icon will no longer appear on your desktop.
After completing these steps, refresh your desktop or restart your computer to see the changes. If you encounter any issues, restore your system using the backup created earlier. For more detailed instructions, refer to this guide.
This method is more permanent than using Settings. However, it requires careful execution to avoid unintended consequences. Always ensure you have a recovery plan in place before making changes to the registry.
How to Hide Recycle Bin from Desktop Using Group Policy Editor
The Group Policy Editor provides a powerful way to manage system settings and customize your Windows experience. This method is particularly useful for advanced users or IT administrators who need to enforce specific configurations across multiple devices.
Note that this feature is only available in Windows Pro and Enterprise editions. If you’re using a Home edition, you’ll need to explore alternative methods like the Registry Editor or Settings app.

Step 1: Open the Local Group Policy Editor
Press Win + R to open the Run dialog box. Type gpedit.msc and press Enter. This will launch the Group Policy Editor, a tool designed for managing system policies.
Step 2: Navigate to the Desktop Settings
In the left panel, expand User Configuration > Administrative Templates > Desktop. This path contains policies related to desktop customization, including the Recycle Bin icon.
Step 3: Enable the Remove Recycle Bin Icon Option
Double-click on the policy named Remove Recycle Bin icon from the desktop. Select the Enabled option and click Apply, then OK. This will hide the icon from your desktop immediately.
To reverse this change, simply revisit the policy and set it to Not Configured or Disabled. This flexibility makes the Group Policy Editor an ideal choice for enterprise environments where consistent configurations are essential.
“The Group Policy Editor is a robust tool for managing system settings, offering both flexibility and control for advanced users.”
Compared to other methods, this approach requires administrative permissions, making it more secure for deployment in professional or shared environments. Always ensure you have the necessary permissions before making changes to system policies.
How to Access the Recycle Bin After Removal
Even after hiding the icon, accessing your deleted files remains simple and efficient. The file explorer in windows provides multiple ways to retrieve or manage these files. This ensures you never lose access to your data, even if the icon is no longer visible on your desktop.
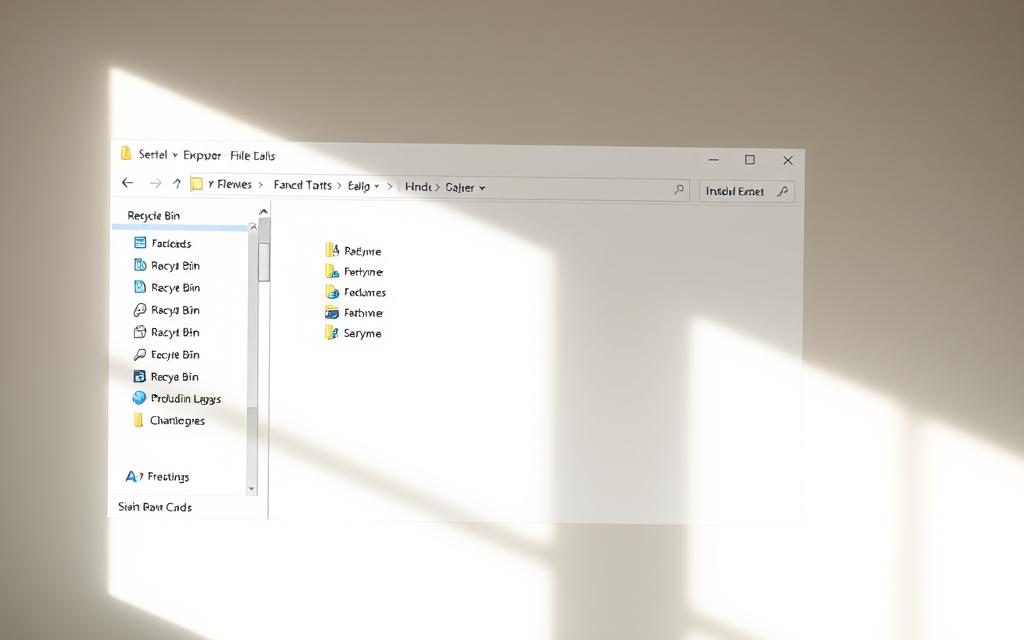
One straightforward method is through the file explorer. Navigate to the View tab and enable Hidden items. This reveals the $Recycle.Bin folder, where all deleted files are stored. This approach is ideal for users who prefer direct folder navigation.
For those who prefer alternative paths, the Start menu search bar can be a quick solution. Simply type “Recycle Bin” to locate and open it. This method is particularly useful for users who want to avoid navigating through folders.
- Enable Hidden items in the file explorer to access $Recycle.Bin.
- Use the Start menu search bar for quick access.
- Navigate directly through the address bar by typing C:\$Recycle.Bin.
- Network drives have their own recycle bins, which can be accessed similarly.
- PowerShell commands like Get-ChildItem can retrieve deleted files programmatically.
Advanced users can leverage PowerShell for more control. Commands like Get-ChildItem allow you to list and restore deleted files directly from the command line. This method is ideal for IT professionals or those comfortable with scripting.
“PowerShell offers unparalleled flexibility for managing system files, making it a powerful tool for advanced users.”
Third-party shell extensions are another option. These tools provide additional features like permanent deletion or enhanced recovery options. However, they require installation and may not be necessary for most users.
Whether you prefer temporary restoration or permanent solutions, windows ensures you can always access your deleted files. Choose the method that best suits your workflow and technical expertise.
How to Recover Deleted Files After Removing the Recycle Bin
Accidentally deleting files can be stressful, but recovery options are available even after removing the Recycle Bin icon. Whether files are temporarily misplaced or permanently deleted, understanding your options ensures you can retrieve them efficiently.
Immediate action is crucial. Stop using the drive where the deleted files were stored to prevent overwriting. Tools like EaseUS Data Recovery Wizard and Auslogics File Recovery can scan your system and restore lost data. These tools are compatible with both NTFS and FAT32 file systems, making them versatile for most Windows users.

Cloud storage platforms like OneDrive or Google Drive offer built-in recovery features. Check your cloud account’s trash or version history to restore files. This method is ideal for users who rely on cloud backups.
Prevention is better than cure. Enable version history in Windows to create restore points for your files. This feature allows you to revert to previous versions, minimizing the risk of permanent loss.
For advanced users, forensic recovery tools provide deeper scanning capabilities. These tools can recover files even after extensive overwriting, though they often come at a higher cost.
“Professional recovery tools offer a balance of efficiency and reliability, making them essential for critical data retrieval.”
Below is a comparison of popular data recovery tools:
| Tool | Features | Compatibility | Cost |
|---|---|---|---|
| EaseUS Data Recovery Wizard | Deep scan, partition recovery, file preview | NTFS, FAT32 | Free & Paid |
| Auslogics File Recovery | Quick scan, user-friendly interface | NTFS, FAT32 | Free & Paid |
Free tools are great for basic recovery, but paid versions offer advanced features like unlimited file size recovery and priority support. Evaluate your needs before choosing a solution.
By understanding these options, you can confidently recover deleted files even without the Recycle Bin icon. Whether you prefer free tools or professional software, the right approach ensures your data remains safe and accessible.
Conclusion
Maintaining a clean and organized desktop can significantly enhance your workflow and reduce distractions. Whether you’re a beginner or an advanced user, choosing the right method to manage your recycle bin depends on your skill level and needs. For quick adjustments, the settings app is ideal, while the Registry Editor offers a more permanent solution for experienced users.
For shared or public computers, hiding the recycle bin can prevent accidental deletions and improve security. Regular maintenance, like clearing unnecessary icons, ensures your desktop stays clutter-free. Future Windows updates may introduce new customization options, so staying informed is key.
Encourage yourself to explore these methods and tailor your workspace to your preferences. For additional support, visit Microsoft forums or trusted recovery software sites. A well-organized desktop not only looks professional but also boosts productivity.
FAQ
Can I still access deleted files after removing the Recycle Bin icon?
Yes, you can still access deleted files through File Explorer or by searching for the Recycle Bin in the Start Menu.
Will removing the Recycle Bin icon delete my files permanently?
No, removing the icon does not delete your files. It only hides the shortcut. Your files remain in the Recycle Bin until you empty it.
How do I restore the Recycle Bin icon to my desktop?
Go to Personalization Settings, select Themes, and click Desktop Icon Settings. Check the Recycle Bin option to restore the icon.
Is it safe to use the Registry Editor to remove the Recycle Bin icon?
Yes, but proceed with caution. Editing the Registry incorrectly can affect your system. Always back up the registry before making changes.
Can I hide the Recycle Bin without deleting it permanently?
Yes, you can hide it using Desktop Icon Settings or the Group Policy Editor without permanently removing it from your system.
What happens if I delete the Recycle Bin key in the Registry?
Deleting the Recycle Bin key in the Registry removes the icon permanently. You’ll need to restore it manually if you want it back.
How do I recover files if I’ve emptied the Recycle Bin?
Use File Recovery Software or check File History if enabled. These tools can help restore deleted files even after emptying the Recycle Bin.


