Table of Contents
Facebook offers a unique way to express individuality while maintaining a formal profile. By adding a nickname, users can personalize their presence and engage more meaningfully with their community. This feature is perfect for those who want to stand out or connect with friends in a more casual way.
Whether you’re using Chrome, Edge, or Safari, this guide is designed to help you navigate the process seamlessly. The current Facebook interface makes it easy to customize your account with just a few clicks. This step-by-step tutorial ensures clarity, even for beginners.
Enhancing your social media experience has never been simpler. By leveraging the nickname feature, you can add a personal touch to your interactions. Let’s dive into the details and make your profile truly yours.
Why Add a Nickname to Your Facebook Profile
Adding a nickname to your Facebook profile can make your online presence more relatable and engaging. It’s a simple yet effective way to personalize your identity while maintaining your formal name. This feature is especially useful for fostering familiarity within groups, events, or professional networks.
Enhancing Personalization and Community Engagement
Nicknames help you connect with your community on a deeper level. For example, using “AJ” for Alexander James in casual interactions or “Dr. Smith” in academic circles can make your profile more approachable. This personal touch encourages meaningful conversations and strengthens relationships.
Additionally, nicknames can increase your profile visibility in search results without altering your legal name. This is particularly helpful for rebranding, supporting causes like adding pronouns, or simplifying long names for easier recognition.
When Nicknames Are Most Useful
Nicknames are ideal for specific scenarios. They can help you stand out in professional networks, make your name easier to remember, or reflect your current identity. Facebook’s 2023 policy updates allow you to change your nickname twice every 60 days, giving you flexibility to adapt as needed.
Whether you’re looking to rebrand, support a cause, or simply add a personal touch, a nickname can enhance your views and interactions on the platform. It’s a small change that can make a big difference in how you connect with others.
How to Set Nicknames on Facebook PC: Step-by-Step Guide
Customizing your social media presence has never been easier with Facebook’s nickname feature. This simple yet powerful tool allows you to add a personal touch to your profile, making it more engaging and unique. Follow these steps to update your account seamlessly.

Step 1: Open Facebook and Navigate to Your Profile
Start by logging into your account using a browser like Chrome or Edge. Once logged in, click your profile photo located in the top right corner of the screen. This will take you directly to your profile page.
Step 2: Access the “About” Section
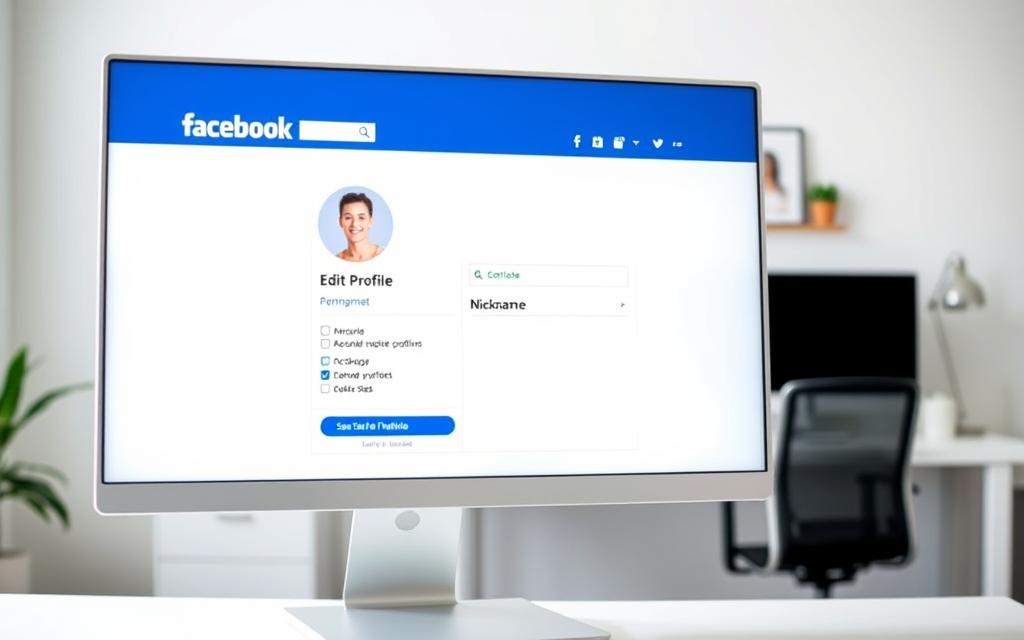
Scroll down to the section below your cover photo and locate the “About” tab. Click on it to reveal various subsections, including “Name”. This is where you’ll make your changes.
Step 3: Edit Your Name and Add a Nickname
In the “Name” subsection, you’ll find the option to add nickname. Choose your preferred name type, such as parentheses or quotation marks, and enter your desired nickname. Keep in mind the 50-character limit and avoid prohibited symbols.
Step 4: Save Changes and Confirm
After entering your nickname, click the “Save Changes” button. Facebook will prompt you to confirm the update. Once confirmed, your nickname will appear on your profile, enhancing your online identity.
Tips for Managing Nicknames on Facebook
Personalizing your Facebook profile with a nickname can make your online identity more distinctive and engaging. A well-chosen nickname not only reflects your personality but also helps you connect with others more effectively. Here are some practical tips to ensure your nickname enhances your profile without causing issues.
Choosing the Right Nickname for Your Profile
When selecting a nickname, aim for something unique and meaningful. Avoid overused options like “SuperDad” or “QueenBee,” as they may lack originality. Instead, consider a name that resonates with your personality or interests.
Use Facebook’s “View As” tool to test how your nickname appears to others. This ensures it aligns with your desired type of online presence. For example, a professional network might require a formal name, while a casual group allows for creativity.
Common Issues and How to Fix Them
One frequent error is the “Name doesn’t follow standards” message. This often occurs when special characters or symbols are used. To resolve this, stick to letters and avoid prohibited characters.
If your nickname is rejected, you can appeal via Meta’s support forms. Submitting a government ID can help verify your identity and expedite the process. Additionally, coordinate your nickname changes with updates to your profile picture for consistency.
By following these tips, you can add nickname seamlessly and enhance your Facebook experience. A well-managed nickname not only personalizes your account but also strengthens your connections.
Conclusion
Adding a personal touch to your profile can make your social media experience more engaging. Nicknames strike a perfect balance between individuality and professionalism, allowing you to express yourself while maintaining a formal identity. Seasonal updates, like holiday-themed names, can keep your profile fresh and relevant.
Changes to your nickname won’t affect existing tags or posts, ensuring a seamless transition. If your nickname isn’t appearing as expected, double-check your privacy settings to ensure it’s visible to your desired audience.
Enhance your views and connect more deeply with your community by updating your profile now. A well-chosen nickname can help you stand out and make your presence more memorable.
FAQ
Why should I add a nickname to my Facebook profile?
Adding a nickname enhances personalization and helps you stand out in the community. It’s especially useful for friends or groups who know you by a different name.
How do I set a nickname on Facebook using a PC?
Open Facebook, go to your profile, and click the About section. Edit your name, add a nickname, and save the changes to confirm.
Where can I find the option to add a nickname on Facebook?
Navigate to your profile, click the About section, and look for the Name type. Here, you can add or edit your nickname.
What should I consider when choosing a nickname?
Pick a name that reflects your identity or is recognizable to your community. Avoid offensive or misleading terms to maintain a positive profile.
What if my nickname doesn’t appear after saving?
Double-check the Name type settings and ensure the changes are saved. If issues persist, refresh the page or try again later.
Can I use a nickname for my Facebook business page?
Nicknames are primarily for personal profiles. For business pages, focus on using your official brand or business name.


