Table of Contents
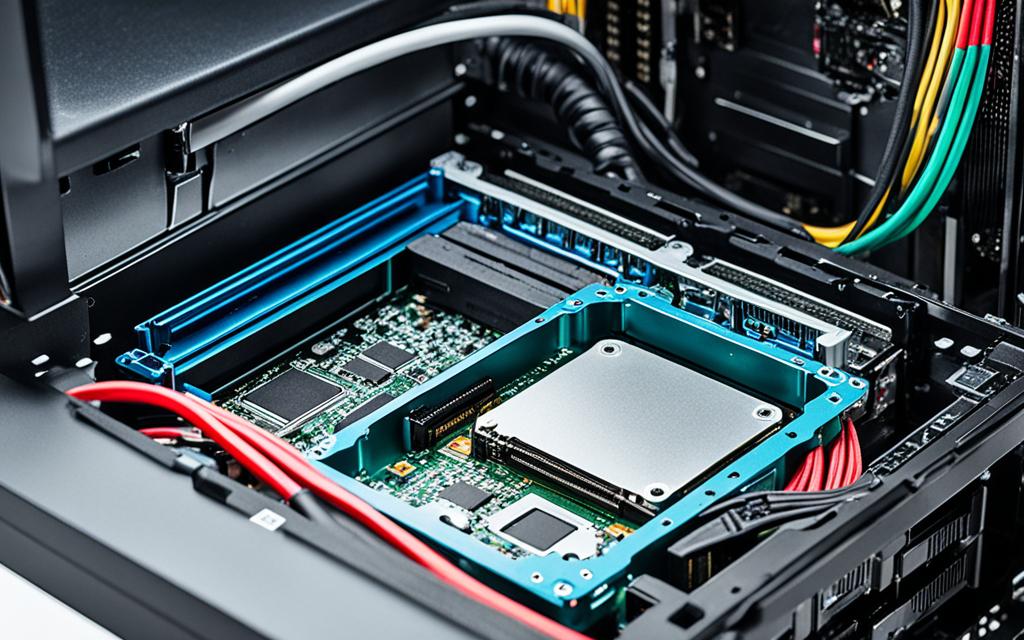
Upgrading to a Solid State Drive (SSD) can make your computer much faster. Especially with the new fastSSDs like NVMe M.2, which make people switch from old hard drives. But, putting in the SSD is just the beginning. Several important SSD installation steps are needed to make sure your new SSD works well with your computer.
This SSD setup guide gives you a post-installation checklist to make sure everything runs smoothly. You need to check if your computer recognises the new SSD. You should also move your operating system over, and set up the SSD as the main boot device. By doing these things, you will get the most out of your new SSD and improve your computer’s performance.
Key Takeaways
- Confirm SSD detection in BIOS/UEFI settings and Windows Disk Management.
- Migrate your operating system using reliable disk cloning software.
- Set your SSD as the primary boot device for quicker boot times.
- Install the latest drivers and software for optimal performance.
- Back up your data to prevent loss during the transition.
- Consider deleting old hard drive partitions to maximise available storage.
- Temporarily disable antivirus software during the cloning process.
Confirming SSD Detection
After you’ve put in a new SSD, it’s key to make sure it’s seen by your computer. You’ll want to get into the BIOS settings first to check. This checks that your system sees the SSD when it starts. Getting into the BIOS or UEFI interface is usually done by hitting F2, Delete, or Esc when you boot up. In the BIOS, go to the storage area to confirm the SSD is there.
Accessing BIOS/UEFI Settings
In the BIOS, look to see if the SSD shows up with other devices. It’s important to find it here as it lays the groundwork for what comes next. A lot of people find they have to check if their SSD is recognised right away. Finding the SSD here gets you nearer to enjoying its quick performance. This is key because many have moved from HDDs to SSDs for faster speeds1.
Verifying in Windows Disk Management
After Windows starts, checking SSD detection in Disk Management matters too. You can do this by right-clicking the Start button and choosing ‘Disk Management’. Make sure the SSD shows up as a known volume. This step is crucial to get your SSD ready for use. With most users cloning their Windows OS to SSDs, seeing it here means a smoother move21.
| Step | Action | Purpose |
|---|---|---|
| Access BIOS | Press F2/Delete/Esc on boot | Check SSD recognition |
| Check Storage Settings | Navigate to storage section | Ensure SSD is listed |
| Open Disk Management | Right-click Start, select ‘Disk Management’ | Verify SSD appears as a volume |
Doing these steps makes sure your new SSD is correctly seen. This opens the door to boosting your system’s speed and performance.
Transferring Your Windows OS to the SSD
To make the most of SSDs’ fast speeds, moving your Windows from an old hard drive is key. This change boosts performance, gives more space, and leads to quicker starts. Using special disk cloning software makes this move easy without needing to reinstall everything.
Using Disk Cloning Software
For disk cloning, software like Acronis True Image, EaseUS Disk Copy, and MiniTool Partition Wizard are great picks. Acronis True Image is especially good for smooth OS shifts but might need a restart due to active hard drive operations3. Switching to an SSD means your computer starts faster, opens programmes in a flash, and loads games quickly. It’s perfect for boosting your system’s speed4. Also, remember to back up your files to prevent losing them during the switch3.
Steps to Migrate OS Effectively
The steps to move Windows to an SSD start with running your chosen cloning software. Pick the old HDD as the source and the new SSD as the destination. This cloning might take up to an hour for Windows 104.
After cloning, make the SSD the main boot device in the BIOS settings. This ensures your system starts up quickly from the SSD, enhancing its speed and efficiency.
What to Do After Installing New SSD
After you’ve installed your new SSD, make it the main boot device. This is crucial for top performance and quick startups. Do this by adjusting the boot settings in the BIOS.
Setting the SSD as the Primary Boot Device
To make your SSD the primary boot device, enter the BIOS/UEFI when your computer starts. This is usually done by pressing F2 or Delete as the computer turns on. Once there, look for the boot options menu.
In the boot menu, make sure the SSD is first in line, before any other drives like your old HDD. This ensures the system starts up from the SSD. It makes your computer faster and more responsive.
Nowadays, many are choosing M.2 SSDs for their size and speed. Good news, you can swap to a new M.2 SSD without reinstalling Windows. Use cloning software, like EaseUS Disk Copy, for easy data transfer without a fresh OS install5.Moving your data over means all your files and apps are ready on the new SSD.
It’s important to configure your SSD correctly to get the most out of it. A good SSD can last about 20 years, much longer than HDDs’ six years5. High-quality SSDs boost both performance and reliability.
Setting up your SSD as the boot device improves your computer’s performance. It also prepares you for efficient computing in the future5.
Installing the Latest Drivers and Software
For your new SSD to work well, you need to carefully install drivers and software. Updating your SSD drivers is key. This keeps things running smoothly. Performance improvements make a big difference to your experience.
Finding Correct Drivers for Your Hardware
First, you must find the right SSD drivers. You can get these from the manufacturer’s website. This helps avoid issues with drivers that are too old or don’t match. Often, after adding an SSD, issues like slow processors and not enough RAM can slow things down6. Having the newest drivers helps your hardware work better together. This lets your SSD work well.
Updating Software for Optimal Performance
Updating software is as important as updating SSD drivers. Software for managing your SSD should help with TRIM functions and organising data. It’s smart to look for updates often. Not updating can lead to problems that lower performance6. Tools like Windows’ drive optimiser analyse your SSD. They make necessary tweaks for it to work better6.
| Driver Type | Importance | Update Frequency |
|---|---|---|
| SSD Drivers | Ensure compatibility and improve performance | Monthly or as needed |
| Motherboard Drivers | Manage system functionality and settings | Quarterly |
| Operating System Updates | Enhance OS compatibility with SSD technology | Regularly (Weekly/Monthly) |
Keeping SSD drivers and software up-to-date is crucial. It makes everything run smoother and protects your system. People in tech communities agree. They are always looking for ways to make SSDs perform better and keep data safe7.
Conclusion
Installing a new SSD can greatly improve your computer’s performance and make using it a better experience. First, make sure your computer recognises the SSD. Then, move your operating system over and get your computer to start from the SSD. These steps help make the switch from HDD to SSD smooth. They also keep your SSD working well for longer. Upgrading to an SSD makes your computer run faster and last longer, which is good for anyone wanting to boost their computer skills8.
After installing the SSD, it’s important to update software and keep some space free on the SSD. You should try to leave at least 10% of the SSD empty. This helps keep your computer running smoothly9. It’s also important to back up your data and to shut down your computer properly. This helps to protect your SSD and make it last longer. Using tools for safe data transfer and checking the SSD’s health can make your computing way better89.
The cost to upgrade to an SSD is usually between $120 and $250. This makes it a cost-effective way to improve an older computer. Many people focus on getting a better processor or more memory. Yet, adding an SSD can make a big difference too10. Following these upgrade tips can make adding an SSD easy and rewarding. It promises many years of improved performance and enjoyment.
FAQ
How can I confirm that my SSD is detected by the system?
To check if your SSD is detected, go into the BIOS or UEFI settings when your computer is starting. You do this by pressing keys like F2, Delete, or Esc. Look in the storage settings to see if your SSD shows up. Also, after your computer starts Windows, right-click the Start button and choose ‘Disk.
Management’. Then, see if your SSD is listed as a recognised volume.
What is the best method to migrate my Windows OS to the new SSD?
The best way to move your Windows OS to the new SSD is using disk cloning programs. Try programs like AOMEI Partition Assistant, EaseUS Disk Copy, or MiniTool Partition Wizard. These create an exact copy of your OS on the SSD without a full reinstall. Open the cloning program, pick your source and target drives, and then start copying.
How do I set the SSD as the primary boot device?
To make the SSD your main boot device, get into the BIOS or UEFI settings as your computer boots. Find the section for boot order and put the SSD first. Doing this will make sure your PC starts from the SSD. This can make your PC start faster and make programs run quicker.
Why is it necessary to keep drivers and software up-to-date after SSD installation?
It’s important to update drivers and software after putting in a new SSD to ensure everything works well together. New drivers can improve how your SSD and motherboard work. Also, the latest software can manage special features like TRIM. This keeps your SSD running smoothly and efficiently.
Where can I find the correct drivers for my SSD?
To get the right drivers for your SSD, go to the manufacturer’s official website. Or you can use Windows Update to automatically find and install needed updates. Check regularly for updates to keep your SSD working great.
What are the benefits of upgrading to an SSD?
Getting an SSD can greatly improve your computer’s performance. You’ll see much faster boot times and quicker loading of apps. Your computer will also respond faster. SSDs are more reliable than traditional hard drives, making your computer more stable.
Source Links
- https://www.minitool.com/partition-disk/what-to-do-after-installing-new-ssd.html – What to Do After Installing New SSD? Here’s Everything to Know
- https://www.easeus.com/questions/backup/what-to-do-after-installing-a-new-ssd.html – What to Do After Installing a New SSD?
- https://www.pcmag.com/how-to/copy-your-windows-installation-to-an-ssd – How to Copy Your Windows Installation to an SSD
- https://www.acronis.com/en-gb/blog/posts/how-to-move-os-to-another-drive/ – How To Move OS To Another Drive – Complete Guide & Software
- https://www.easeus.com/disk-copy/clone-resource/do-you-reinstall-windows-after-installing-new-m2-ssd.html – Do You Have to Reinstall Windows After Installing a New M2 SSD? [Check the Answer]
- https://www.fortect.com/how-to/fix-laptop-slow-after-ssd-upgrade/ – Laptop Slow After SSD Upgrade: 5 Easy Fixes
- https://www.diskpart.com/articles/what-to-do-after-installing-new-ssd-1796-rc.html – [2024 Update] What to Do After Installing New SSD: Everything You Should Know
- https://www.diskpart.com/articles/if-i-replace-my-ssd-will-i-lose-everything-3690.html – If I Replace My SSD Will I Lose Everything on Windows PC?
- https://www.kingston.com/en/blog/pc-performance/extend-ssd-lifespan-boost-performance – SSD Longevity – 5 Tips for Getting the Most out of Your New SSD
- https://www.tomshardware.com/reviews/ssd-upgrade-hard-drive,2956-10.html – Could An SSD Be The Best Upgrade For Your Old PC?

