Table of Contents
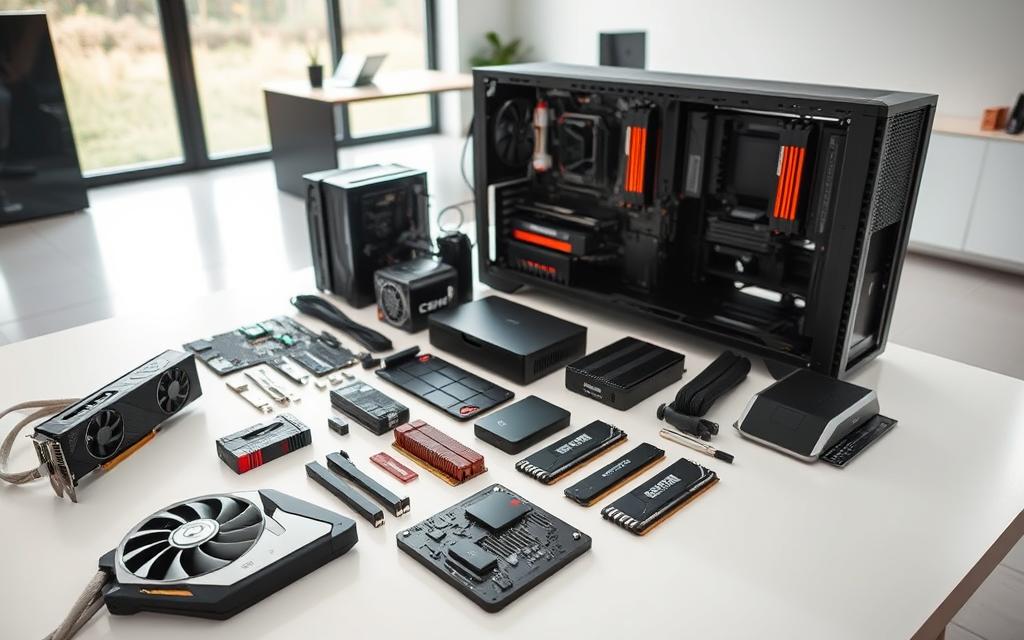
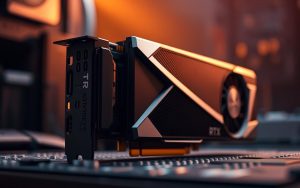
Creating your own computer unlocks unmatched customization for gaming, content creation, or professional workloads. Unlike prebuilt systems, handpicked components let you prioritize performance where it matters most—like NVIDIA GeForce RTX GPUs for smooth gameplay.
Budget-friendly setups start around $500, while high-end rigs can exceed $3,000. The assembly process typically takes 2-6 hours, but Micro Center offers same-day builds for those short on time.
Modern tools simplify compatibility checks. Platforms like Micro Center’s Custom PC Builder ensure seamless part matching. Critical hardware includes CPUs, motherboards, and cooling solutions tailored to your needs.
Why assemble? Savings average 20-30% versus prebuilt equivalents. You also gain future-proofing flexibility—upgrade individual parts as technology evolves.
Essential Tools and Preparation for Building a PC
Proper preparation separates smooth PC assembly from frustrating mishaps. Investing time upfront to gather the right tools and organize your workspace pays off during the process.
Must-Have Tools
A Phillips-head screwdriver is non-negotiable—most components attach with these screws. Keep a flathead screwdriver nearby for auxiliary tasks. A magnetic tray prevents lost screws, while zip ties streamline cable management.
Setting Up Your Workspace
Choose a clean, non-conductive surface like wood or glass. Avoid carpets—static buildup can damage parts. Ensure ample lighting and space to lay out components systematically.
Safety Tips (Anti-Static Measures)
An anti-static wristband grounds you to the case, protecting sensitive parts like CPUs. If you lack a wristband, frequently touch unpainted metal to discharge static. Keep liquids away and use grounded power outlets.
*Micro Center offers in-store assembly for those wary of DIY risks.* Their technicians handle everything from part selection to cable management, saving time and ensuring precision.
Choosing the Right Components for Your PC
The right hardware combination makes or breaks your system’s capabilities. Prioritizing performance-driven components ensures smooth gameplay, rapid rendering, or efficient multitasking. Whether you’re eyeing NVIDIA GeForce RTX GPUs or AMD Radeon alternatives, balance is key.
Core Parts: CPU, GPU, and Motherboard
Your CPU and GPU dictate raw power. Pair an Intel Core i5-14400F with an RTX 3050 for budget gaming, or step up to an AMD Ryzen 5 9600X and RTX 5070 for mid-tier builds. The motherboard acts as the backbone—ensure it supports your chipset and future upgrades.
Storage (SSD vs. HDD) and RAM
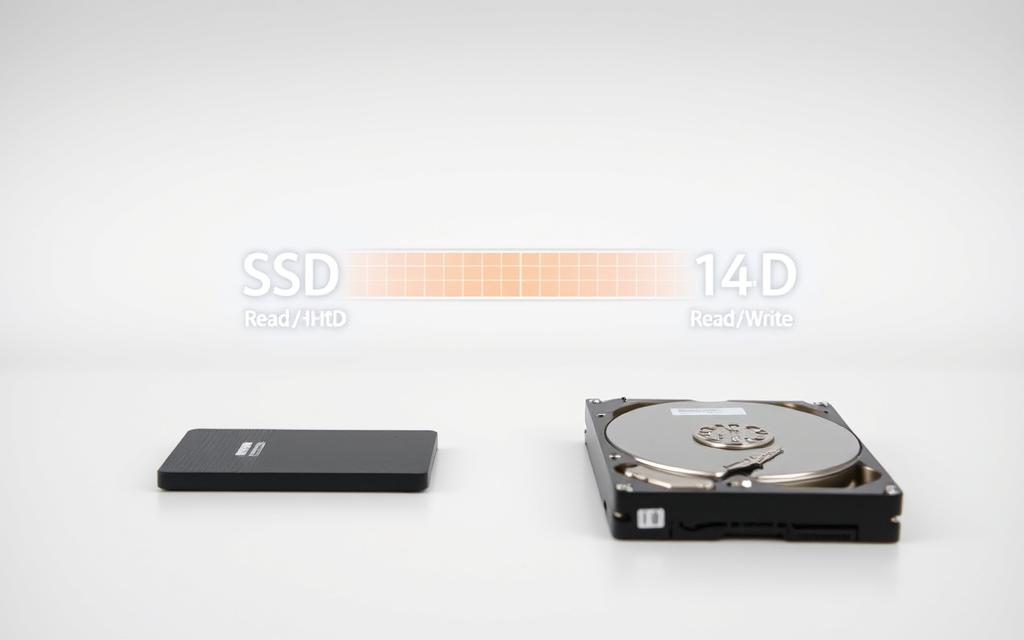
SSDs outpace HDDs with lightning-fast load times. A 1TB NVMe drive is ideal for your OS and favorite games. For bulk storage, add a secondary HDD. RAM-wise, DDR5 kits starting at 5200 MHz handle basic tasks, while 6000 MHz+ kits boost high-end setups.
Power Supply and Cooling Solutions
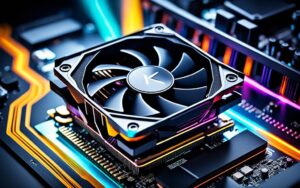
Calculate wattage needs based on your GPU. An RTX 3070 requires at least 650W, while an RTX 4080 demands 850W+. Liquid cooling excels for overclocked CPUs, but air coolers like Noctua’s NH-D15 offer reliable performance.
Peripherals: Monitor, Keyboard, and Mouse
A 144Hz monitor maximizes gaming fluidity. Mechanical keyboards provide tactile feedback, and wireless mice reduce desk clutter. *Micro Center’s builder tool* simplifies matching peripherals to your rig’s specs.
“Invest in a tier-one power supply—it safeguards every other component.”
How to Build a PC: Step-by-Step Assembly
Precision matters most during the physical assembly of your custom system. Follow these steps to ensure each component integrates flawlessly, from the motherboard to the final power check.
Installing the CPU and Cooler
Align the golden triangle on your Intel or AMD CPU with the socket notch. Gently lower it—never force it—to avoid bent pins. Apply a pea-sized thermal paste dot for optimal heat transfer.
Secure the cooler evenly, alternating screws to prevent uneven pressure. For liquid cooling, mount the radiator to the case first, then attach the pump block.
Mounting the Motherboard and RAM
Install the I/O shield before seating the motherboard. Use standoffs to elevate it, preventing shorts. Screw it down firmly but avoid overtightening.
Insert DDR5 RAM sticks into dual-channel slots (usually A2/B2). Listen for clicks to confirm proper seating. Pro tip: Consult your manual for optimal slot configurations.
Adding Storage and GPU
M.2 NVMe SSDs snap directly onto the motherboard. For HDDs, slide them into drive bays and connect SATA cables. Ensure screws are snug to prevent vibration noise.
Remove PCIe slot covers from the case before inserting your GPU. Push until the latch clicks, then secure it with screws. Connect PCIe power cables from the PSU.
Cable Management and Power Connections
Route cables behind the motherboard tray for a clean look. Use zip ties or Velcro straps to bundle wires. Modular PSUs help minimize clutter.
Double-check all connections: 24-pin motherboard power, CPU 8-pin, and GPU PCIe cables. A missed plug can halt the entire process.
“Test boot before closing the case. If lights turn on but nothing displays, reseat the RAM first.”
Powering On and Initial Setup
The moment of truth arrives when you press the power button for the first time. Successful boot-up means all components communicate correctly. If issues arise, revisit connections before diving into software setup.
BIOS Configuration
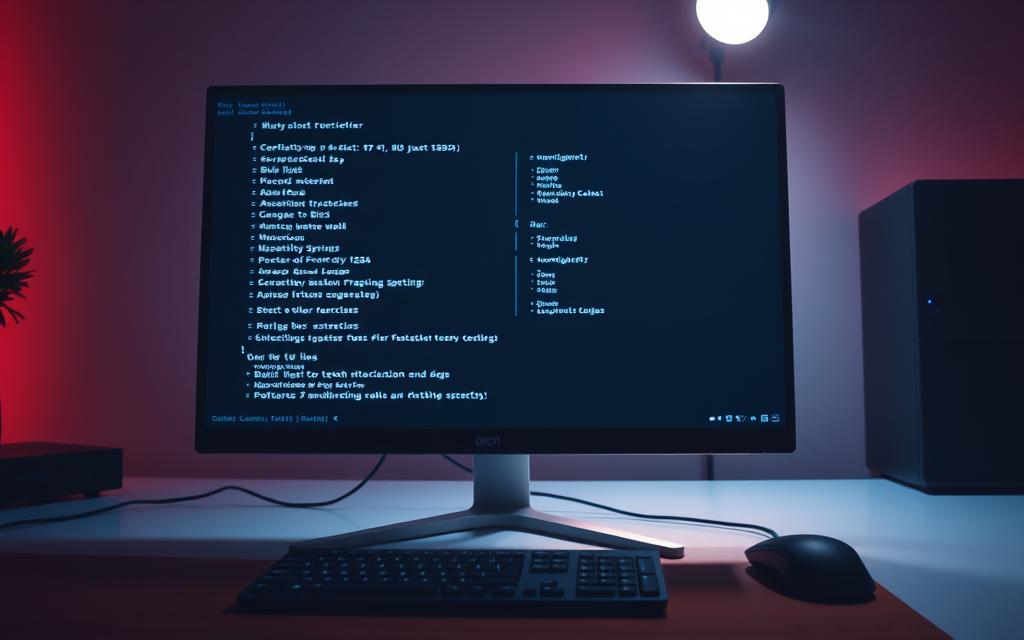
Access BIOS by pressing DEL or F2 during startup. Critical adjustments include:
- Enable XMP profiles to unlock full RAM performance.
- Set boot priority to your USB or SSD for OS installation.
- Monitor core temperatures to verify cooling efficiency.
Installing the Operating System
Use the Microsoft Media Creation Tool to create a Windows 11 USB. Partition your NVMe SSD during setup—allocate 250GB for the OS. This process typically takes 15–30 minutes.
Driver Updates and Software Installation
Download GPU drivers directly from NVIDIA or AMD. Pro tip: GeForce Experience optimizes settings for games automatically. Stress-test with 3DMark to validate stability.
“Skip generic driver updaters. Manufacturer tools like AMD Adrenalin offer better performance tuning.”
Tips for First-Time PC Builders
First-time builders often face hurdles that seasoned enthusiasts have already conquered. Whether assembling a gaming powerhouse or a multitasking workstation, these insights streamline the journey from unboxing to boot-up.
Common Mistakes to Avoid
PSU wattage miscalculations top the list. A 650W unit might power an RTX 3060 but fail an RTX 4080. Always use online calculators like OuterVision.
Mismatched CPU and motherboard sockets—like pairing an AMD AM5 chip with an LGA 1700 board—halt progress. Double-check compatibility tools before purchasing.
Thermal paste errors cause overheating. Too much paste insulates heat; too little leaves gaps. A rice-sized amount spreads evenly under pressure.
Where to Seek Help
The Micro Center Community offers real-time troubleshooting. Their experts diagnose issues from BIOS errors to GPU sag.
Reddit’s r/buildapc provides peer reviews. Share part lists for feedback before buying. Gaming-focused forums like Linus Tech Tips dive deeper into performance tuning.
When to Consider Professional Assembly
Complex builds—like custom water-cooled pcs—benefit from Micro Center’s Tier 4/5 service. Their team handles leak testing and overclocking.
NZXT’s prebuilt options include a 2-year warranty. Ideal for those prioritizing reliability over DIY pride.
“Test boot with minimal parts—just motherboard, CPU, and one RAM stick. Eliminates variables if issues arise.”
Conclusion
Custom gaming rigs deliver unmatched value—saving 20-30% versus prebuilt systems while offering tailored performance. Brands like NZXT provide 2-year warranties for those who prefer tested configurations.
First-time builders benefit from services like Micro Center’s same-day assembly. Their experts ensure flawless setups, from cable management to stress testing.
Share your completed builds on forums or social media. Upgrade flexibility lets you swap GPUs or add storage as needs evolve. Future-proof with PCIe 5.0 motherboards for next-gen components.
For detailed cost breakdowns, explore CPU building expenses. Whether DIY or pro-assembled, the right service ensures longevity and peak gaming experiences.
FAQ
What are the essential tools needed for assembling a PC?
A Phillips-head screwdriver, anti-static wrist strap, and zip ties for cable management are must-haves. A magnetic tray helps keep screws organized.
How do I choose between an NVIDIA GeForce RTX and AMD Radeon GPU?
NVIDIA GeForce RTX excels in ray tracing and DLSS, while AMD Radeon offers better value in raw performance. Pick based on gaming needs and budget.
Is an SSD necessary for a gaming PC?
Yes. An SSD drastically improves load times in games compared to an HDD. A 1TB NVMe SSD is ideal for fast storage and performance.
How much power supply wattage do I need?
A 650W PSU suits mid-range builds, while high-end setups with an RTX 4080 or Radeon RX 7900 XT may require 850W or more.
What’s the best way to prevent static damage during assembly?
Use an anti-static wrist strap and work on a non-carpeted surface. Avoid touching sensitive components like the CPU pins directly.
Should I prioritize CPU or GPU for gaming?
The GPU (like an RTX 4070 or Radeon RX 7800 XT) matters more for FPS, but a balanced CPU (e.g., Intel Core i7 or AMD Ryzen 7) prevents bottlenecks.
How do I know if my components are compatible?
Use tools like PCPartPicker to check compatibility. Ensure the motherboard socket matches the CPU and the case fits the GPU length.
Can I use a wireless keyboard and mouse for my first boot?
Yes, but wired peripherals are recommended for initial setup to avoid driver issues. Switch to wireless after installing the OS.
What’s the ideal RAM capacity for modern gaming?
16GB is the baseline, but 32GB DDR5 ensures smoother performance in demanding games and multitasking scenarios.
Should I build a PC or buy a prebuilt one?
Building offers better customization and value, while prebuilt PCs save time and include warranties. Beginners can opt for professional assembly services.


