Table of Contents
Capturing your screen is a quick way to save or share digital content. Whether for work, tutorials, or troubleshooting, screenshots simplify communication. Windows offers built-in tools to grab images of your display effortlessly.
From Windows 7 to the latest versions, multiple methods exist. Keyboard shortcuts, native apps like Snipping Tool, and third-party software provide flexibility. Static captures, video recordings, and browser extensions cater to diverse needs.
This guide covers nine reliable techniques. Social media posts, error documentation, and remote collaboration benefit from these solutions. Mastering these options ensures efficiency across tasks.
Introduction to Taking Screenshots on PC
Freezing digital content for reference has become essential in today’s workflows. From troubleshooting errors to sharing social media posts, screenshots bridge gaps in communication. They transform complex ideas into visual snippets anyone can understand.
Deciding between a full-screen or selective capture depends on your goal. Need to document an entire desktop? Use Print Screen. Only a browser tab? Try extensions like LightShot. Each method serves distinct needs.
Windows offers built-in tools across versions:
- Snipping Tool (Windows 7): Basic cropping and annotations.
- Snip & Sketch (Windows 10): Enhanced editing with delay options.
- Xbox Game Bar: Optimized for gaming captures.
Third-party apps add advanced features like cloud uploads. Browser extensions simplify web-specific tasks. Your choice hinges on speed, editing needs, and where the image lands—clipboard or direct save.
“Visual documentation cuts through textual clutter, making collaboration effortless.”
Newer Windows versions integrate these tools seamlessly. For example, Win + Shift + S instantly triggers Snip & Sketch. Meanwhile, legacy systems rely on the classic PrtScn key. Adaptability ensures no user gets left behind.
How to Take a Screenshot on PC Using the Print Screen Key
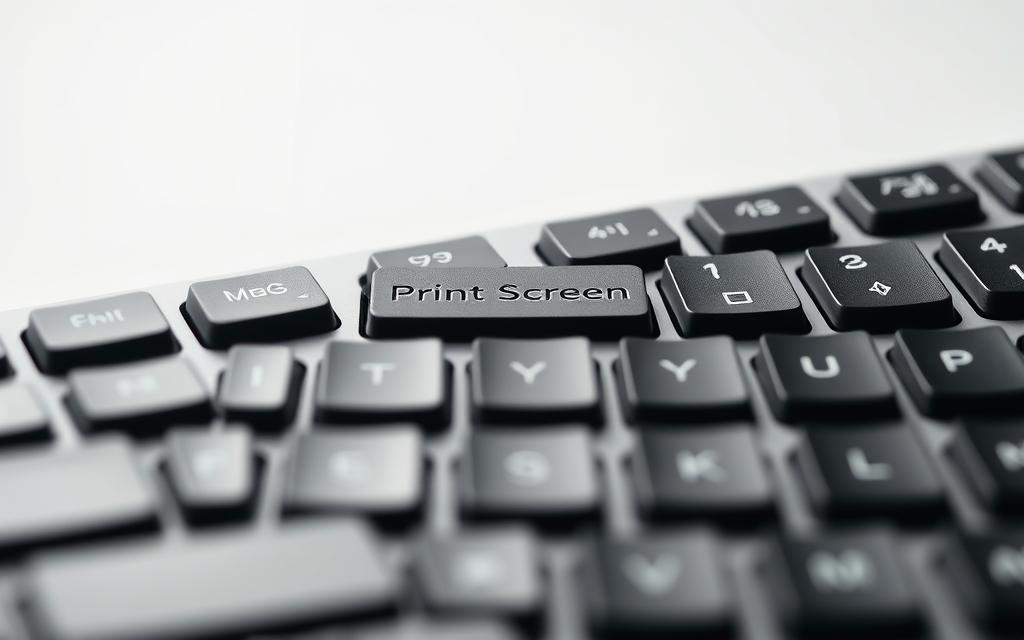
For decades, the PrtScn button has been a go-to method for screen captures. This keyboard shortcut instantly saves your entire screen to the clipboard, ready for pasting or editing. Variations exist across devices, but the core function remains universal.
Using the Print Screen (PrtScn) Key
Locate the PrtScn key—usually near the top-right of your keyboard. Laptops may require holding the Fn key simultaneously. Pressing it copies your display to the clipboard silently.
For active window captures, use Alt + PrtScn. This ignores secondary monitors or toolbars. Windows 10/11 users can press Win + PrtScn to save directly to Pictures > Screenshots.
| Method | Shortcut | Output |
|---|---|---|
| Full screen | PrtScn | Clipboard |
| Active window | Alt + PrtScn | Clipboard |
| Direct save | Win + PrtScn | PNG file |
Saving and Sharing Your Screenshot
Open Paint or Paint 3D and press Ctrl + V to paste screenshot content. Crop unwanted areas and save as PNG for max quality. For quick sharing, paste directly into Gmail or Microsoft Teams.
If images appear pixelated, check your display resolution. Set it to the monitor’s native value (e.g., 1920×1080) before capturing. This ensures crisp details for presentations or bug reports.
“Keyboard shortcuts like PrtScn eliminate extra clicks—critical for fast-paced workflows.”
Capturing Screenshots with the Snipping Tool
Microsoft’s Snipping Tool delivers precision for selective screen captures. Unlike full-screen methods, it lets you isolate specific areas—ideal for tutorials or error reports. Integrated into Windows since Vista, this utility balances simplicity with powerful editing.
Opening the Snipping Tool
Launch the tool in seconds:
- Press Win + Shift + S (Windows 10/11).
- Search “Snipping Tool” in the Start menu.
- Navigate via Windows Accessories in older versions.
For quick edits, the clipboard automatically stores snips. Alternatively, save directly as PNG or JPEG.
Using Different Snipping Modes
Four modes cater to diverse needs:
- Rectangular: Drag to select a box area.
- Free-form: Trace irregular shapes manually.
- Window: Capture an entire app or browser tab.
- Full-screen: Snapshot the entire display.
Need dropdown menus? Use the delay function (3–10 seconds). This pauses the capture, letting you open hidden elements.
Keyboard Shortcuts for the Snipping Tool
Speed up workflows with these shortcuts:
| Action | Shortcut |
|---|---|
| New snip | Ctrl + PrtScn |
| Copy to clipboard | Ctrl + C |
| Save snip | Ctrl + S |
Annotate with the pen, highlighter, or eraser before sharing. For advanced edits, explore Snipping Tool modes in detail.
“Precision captures eliminate distractions, focusing viewers on what matters.”
Pro Tip: Combine Win + Shift + S with delay function for flawless tooltip captures.
Using Snip & Sketch in Windows 10
Windows 10 introduces Snip & Sketch for streamlined screen captures. This tool replaces the legacy Snipping Tool with faster workflows and cloud-friendly features. Whether annotating error reports or sharing snippets, it’s ideal for collaborative tasks.
How to Open Snip & Sketch
Activate it instantly with Win + Shift + S. This shortcut dims the screen, letting you drag a selection box. Alternatively, search “Snip & Sketch” in the Start menu for full tool access.
Captures auto-save to the clipboard and the Screenshots folder (Pictures > Screenshots). Outline markers highlight selected areas, ensuring precision for tutorials or bug reports.
Features and Improvements Over Snipping Tool
Snip & Sketch adds modern conveniences:
- WiFi/Bluetooth sharing: Send directly to nearby devices.
- PNG optimization: Preserves quality for web uploads.
- Real-time annotations: Use pen, highlighter, or ruler tools.
| Feature | Snip & Sketch | Snipping Tool |
|---|---|---|
| Delay function | ❌ Removed | ✅ 3–10 sec |
| Sharing options | ✅ WiFi/Bluetooth | ❌ Limited |
| Auto-save | ✅ Screenshots folder | ❌ Manual save |
“Snip & Sketch’s sharing features bridge gaps between local and remote teams.”
For web content, save as PNG to avoid compression artifacts. Edit colors or crop before sharing to social media or support tickets.
How to Screenshot in Google Chrome (Full Page or Tab)
Full-page captures in Chrome require extensions beyond basic keyboard shortcuts. Native methods like Print Screen miss scrolling content, but third-party tools solve this seamlessly. Whether for audits or tutorials, these options ensure no pixel gets left behind.
Using Chrome Extensions for Screenshots
Popular extensions like Nimbus and Awesome Screenshot offer advanced features:
- Full-page capture: Automatically stitches scrolling content into one image.
- Annotations: Add arrows, text, or blur sensitive data before sharing.
- Tab-specific snaps: Press CTRL + Shift + E (Nimbus) to isolate a browser tab.
For marketers, consistent sizing is critical. These programs standardize dimensions, ideal for social media or reports.
Recommended Chrome Screenshot Tools
Compare top tools for different needs:
| Tool | Best For | Unique Feature |
|---|---|---|
| Nimbus | Teams | Cloud storage integration |
| Awesome Screenshot | Tutorials | Video recording |
| LightShot | Quick edits | Instant sharing links |
“Extensions turn Chrome into a powerhouse for visual documentation—no coding needed.”
LightShot excels in speed, while Nimbus suits collaborative workflows. Test each app to match your project’s scope.
Taking Screenshots in Microsoft Edge
Microsoft Edge simplifies web content preservation with its native capture tool. Whether archiving articles or sharing visual bugs, the Web Capture feature delivers precision. Unlike third-party extensions, it’s integrated directly into the browser.
Activating Web Capture
Launch the tool in two ways:
- Press Ctrl + Shift + S for instant access.
- Click the menu (three dots) and select Web Capture.
The screen dims, prompting a selection between free-form or full-page modes. Free-form lets you drag a custom area, while full-page auto-scrolls to grab everything.
Saving and Editing Captures
After selecting, Edge opens the image in an editor. Use these tools:
- Draw: Highlight key areas with colored pens.
- Erase: Remove accidental marks.
- Crop: Adjust boundaries before saving.
By default, files save to /User/Downloads/ as PNGs. Change the format or location via the option dropdown.
“Edge’s scroll-free technology ensures seamless full-page captures—no stitching required.”
Pro Tip: Use Win + Shift + S to bypass the browser and trigger Snip & Sketch for cross-app consistency.
How to Screenshot Games with Xbox Game Bar
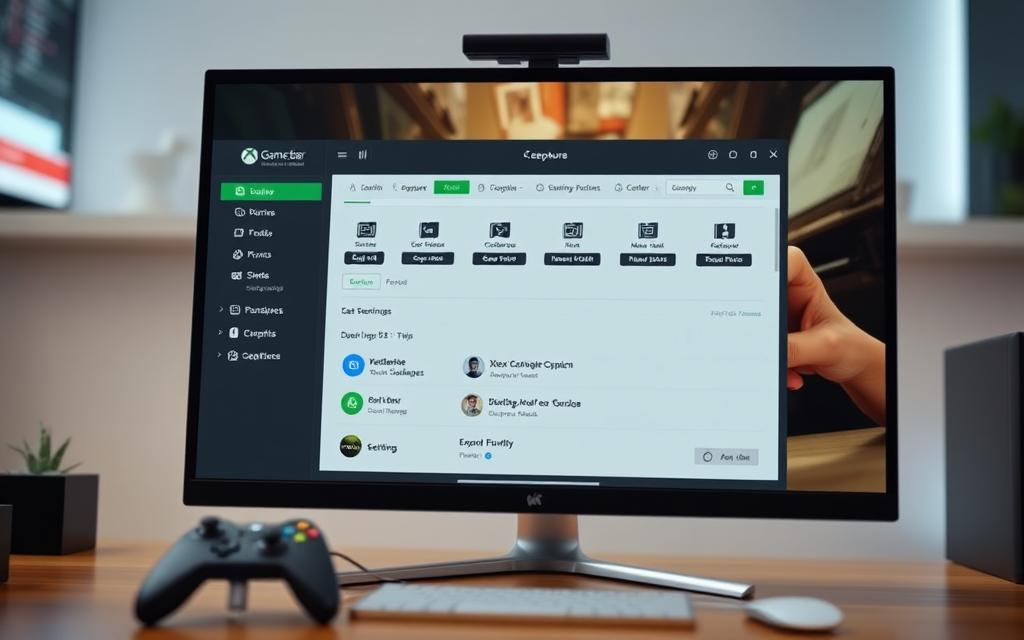
Gaming highlights deserve crisp, high-quality preservation. The Xbox Game Bar in Windows 10 and later versions makes this effortless. Designed for gamers, this built-in program captures screenshots and recordings without third-party tools.
Launching the Game Bar
Press Win + G during gameplay to activate the overlay. A permissions prompt may appear for first-time use—click “Yes, this is a game.” The toolbar offers quick access to capture widgets, performance metrics, and audio controls.
For smoother operation, ensure:
- Your game runs in full-screen or borderless windowed mode.
- Background recording is enabled in Settings > Gaming > Captures.
Capturing and Managing Screenshots
Use these shortcuts for instant results:
| Action | Shortcut |
|---|---|
| Take screenshot | Win + Alt + PrtScn |
| Record last 30 seconds | Win + Alt + G |
| Start manual recording | Win + Alt + R |
Files automatically save to the Captures folder (Videos > Captures). Organize them by date or game title for easy retrieval. The tool supports 4K resolution, perfect for detailed action shots.
“Game Bar transforms spontaneous victories into shareable memories—no extra software needed.”
Enable Twitter integration under Settings > Sharing to post directly. For creative flair, add text overlays using the meme editor before uploading.
Using Third-Party Apps Like LightShot
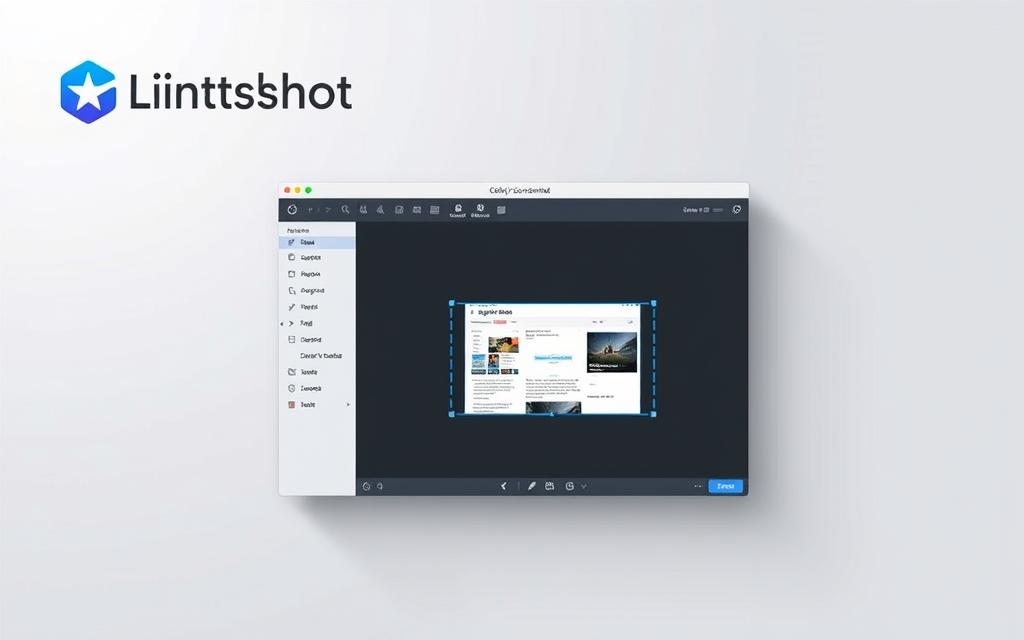
Third-party apps enhance screen capture flexibility beyond built-in Windows tools. LightShot delivers rapid editing and sharing capabilities for professionals and casual users alike. Its lightweight design makes it ideal for quick annotations and selective captures.
Getting Started with LightShot
Download LightShot exclusively from its official website to avoid malware risks. The installer completes in under a minute, with an option to override the PrtScn key functionality. Default saves go to /Documents/Lightshot, but you can specify custom folders during setup.
Key installation steps:
- Run the executable as administrator
- Uncheck bundled software offers
- Configure hotkeys under Settings > Keyboard
Powerful Editing Features
The tool’s interface shows editing tools immediately after capture. Scroll your mouse wheel to adjust line thickness for arrows or shapes. Right-click any icon to access advanced settings like opacity sliders.
Notable capabilities include:
- Pixel-perfect cropping with zoom assistance
- RGB color picker for precise annotations
- Instant uploads to prntscr.com with shareable links
| Feature | LightShot | Snagit |
|---|---|---|
| Cost | Free | $49.99+ |
| Cloud Storage | 1GB | Unlimited |
| Video Capture | ❌ | ✅ |
“LightShot’s balance of speed and functionality makes it a staple for agile teams.”
For basic image captures, LightShot outperforms bulkier tech like Camtasia. Choose clipboard copying for temporary use or file saving for documentation. Both options appear in the export menu for seamless workflow integration.
How to Take a Screenshot on Microsoft Surface Devices
Microsoft Surface devices offer intuitive ways to capture your display. Whether using a Surface Pro or Surface Laptop, hardware shortcuts and Windows tools simplify the process. Adapt these methods for error reports, presentations, or creative projects.
Hardware Button Combinations
Press the Power button + Volume Up simultaneously for full-screen captures. On Surface Laptops, use Fn + Spacebar instead. Screenshots save automatically to Pictures > Screenshots.
For selective captures, try these steps:
- Surface Pro: Hold Windows logo + Volume Down.
- Surface Book: Fn + Alt + Spacebar for active windows.
“Surface hardware integrations eliminate guesswork—ideal for on-the-go professionals.”
Troubleshooting Common Issues
If the screen dims but no capture saves, check storage permissions. Navigate to Settings > System > Storage to ensure the Screenshots folder has write access.
For unresponsive buttons:
- Restart the device.
- Update Windows via Settings > Update & Security.
- Use the Snipping Tool as a fallback.
Pro Tip: Enable clipboard history (Win + V) to recover lost captures quickly.
Conclusion
Windows provides diverse solutions for every capture scenario. Whether documenting errors or sharing achievements, the right tool streamlines your workflow.
For quick full-screen grabs, rely on the Print Screen key. Precision edits? Snip & Sketch excels. Gamers benefit from Xbox Game Bar’s high-res captures. Always use native resolution to prevent distortion.
Bloggers favor Snip & Sketch for annotations. Developers need LightShot’s instant sharing. Ready for more? Explore video capture next—ideal for dynamic tutorials.
Pro Tip: Pair these methods with Kinsta hosting for seamless tech workflows. Crisp visuals and robust performance go hand in hand.
FAQ
What’s the fastest way to take a screenshot on Windows?
Press the Print Screen (PrtScn) key to capture the entire screen. Use Windows key + Shift + S for quick snips with Snip & Sketch.
Where do screenshots go when using Print Screen?
The image copies to the clipboard. Paste it into an app like Paint or Word. Press Windows + PrtScn to save directly to the Screenshots folder.
How do I take a screenshot of a single window?
Press Alt + PrtScn to capture just the active window. The image saves to the clipboard for pasting.
What’s the difference between Snipping Tool and Snip & Sketch?
A: Snip & Sketch offers more editing tools, like pen and touch support. The Snipping Tool is simpler but lacks newer features.
Can I capture a scrolling window or full webpage?
Yes. Use browser extensions like Fireshot or Edge’s Web Capture tool for full-page screenshots.
How do I screenshot a game in Windows 10/11?
Open Xbox Game Bar (Windows + G), then click the camera icon or press Windows + Alt + PrtScn.
Why isn’t my screenshot saving?
Check if Windows key + PrtScn works. If not, verify storage permissions or try saving manually via Paint.
Are there free third-party tools for screenshots?
Yes. LightShot and Greenshot offer quick capture, editing, and sharing options.
How do I take a screenshot on a Microsoft Surface?
Press Power + Volume Up simultaneously. The screen dims briefly to confirm capture.


