Table of Contents
Capturing what’s on your computer screen is a useful skill for various purposes, such as troubleshooting, sharing information, or saving important content. A screenshot is a digital capture of your screen, providing a visual representation of what’s on your display.
Different computer operating systems have distinct methods for taking screenshots. This guide will walk you through multiple ways to capture your screen on both Windows and Mac computers. You’ll learn about built-in methods and third-party tools to create an image of your display, making it easy to share or save screenshots.
By the end of this article, you’ll be equipped with the knowledge to take a screenshot using the method that suits you best.
Understanding Screenshots and Their Importance
Screenshots have become an integral part of our digital lives, serving various purposes beyond just capturing what’s on our screens. They are a fundamental tool for both personal and professional use, simplifying tasks and enhancing productivity.
What is a Screenshot?
A screenshot, also known as a screen grab or snapshot, is essentially an image taken from your computer or mobile device’s display. It captures exactly what appears on the screen at a specific moment, functioning as visual documentation that can be saved, edited, and shared.
Common Uses for Screenshots
Screenshots are incredibly versatile, with applications ranging from troubleshooting technical issues by capturing error messages to creating tutorials and preserving important information. They are used for record-keeping, communication, and documentation purposes, making them an essential tool for computer users. By using screenshots, individuals can save time compared to describing what’s on a screen or copying text manually.
How Do I Take a Screenshot on My Computer Using Windows?
Capturing screenshots on Windows computers is a straightforward process with multiple methods available. Windows provides several built-in tools and shortcuts to cater to different user needs, from capturing the entire screen to selecting specific areas.
Using the Print Screen (PrtScn) Button
The Print Screen button is the most traditional way to capture the entire screen in Windows. Pressing the PrtScn key copies the screenshot to the clipboard, requiring you to paste it into an application like Paint to save. You can also use the Windows key + PrtScn shortcut to automatically save the screenshot to the Pictures > Screenshots folder.
Windows Key + Shift + S Method
Pressing Windows Key + Shift + S opens the Snip & Sketch tool, allowing for more selective captures. This method provides options for rectangular, freeform, window, and fullscreen captures, giving users flexibility in how they capture their screenshots.
Using the Snipping Tool
The Snipping Tool is another built-in application that can be accessed by searching for “Snipping” in the Start menu. It offers different options for capturing screenshots, including delayed shots and various save locations.
Game Bar Screenshot Method
For gamers, the Game Bar is a useful tool. By pressing Windows key + G during gameplay, users can capture screenshots or record videos. This method is particularly useful for capturing moments in games.

Taking Screenshots on Mac Computers
Mac computers offer a variety of built-in screenshot capabilities that make capturing your screen easy. The Mac operating system includes several features for taking screenshots, eliminating the need for additional software.
Shift + Command +3 for Full Screen Capture
To capture your entire screen, simply press Shift + Command +3. This keyboard shortcut instantly takes a screenshot of your entire screen, saving it as a file on your desktop.
Shift + Command +4 for Selected Areas
For more precision, use Shift + Command +4. This transforms your cursor into crosshairs, allowing you to select a specific area of the screen to capture.
Shift + Command +5 Screenshot Menu
Introduced in MacOS Mojave, Shift + Command +5 opens a comprehensive screenshot menu at the bottom of your screen. This menu offers options to capture the entire screen, a specific window, or a selected area, providing flexibility in how you take screenshots.
Other Mac Screenshot Shortcuts
Mac users have additional screenshot shortcuts at their disposal. For instance, Shift + Command +4 + Space bar allows you to capture a specific window or menu by turning your cursor into a camera icon. On compatible MacBook Pro models with a Touch Bar, Shift + Command +6 captures what’s currently showing in the Touch Bar.
| Shortcut | Function |
|---|---|
| Shift + Command +3 | Capture entire screen |
| Shift + Command +4 | Select area to capture |
| Shift + Command +4 + Space bar | Capture specific window or menu |
| Shift + Command +5 | Open screenshot menu |
| Shift + Command +6 | Capture Touch Bar (on compatible MacBook Pro models) |
By holding the Control key while using these shortcuts, you can copy the screenshot to your clipboard instead of saving it as a file. Additionally, Mac screenshots appear as thumbnails in the corner of your screen, allowing for immediate editing.
Finding and Managing Your Screenshots
Understanding where your screenshots are saved is crucial for efficient management. Once you’ve captured a screenshot, knowing its location and how to organize it can save you time and effort.
Where Screenshots Are Saved on Windows
In Windows 11, screenshots taken using the Print Screen (PrtScn) button in combination with other keys are typically saved to the Pictures > Screenshots folder. However, if you’re using Windows 10, a screenshot taken with just the PrtScn button will be copied to your clipboard, requiring you to paste it into an image editing program to save it. If you have OneDrive enabled, your screenshots might be saved there instead.

Where Screenshots Are Saved on Mac
By default, Mac computers save screenshots to the Desktop as PNG files with timestamp filenames, such as “Screenshot 2024-04-10 at 09.45.00 AM.png”. You can change this behavior using the screenshot menu accessed with Shift + Command + 5, where you can choose to save screenshots to other locations like Documents or Clipboard.
Changing Default Save Locations
You can customize where your screenshots are saved on both Windows and Mac. On Mac, using the screenshot menu (Shift + Command + 5) allows you to choose from various save locations, including custom folders. For Windows users with OneDrive, adjusting the settings within OneDrive can change the default save location.
Advanced Screenshot Techniques
Mastering advanced screenshot techniques can significantly enhance your productivity and screen capture capabilities. These techniques allow you to capture specific content, handle long web pages, and even schedule screenshots.
Taking Screenshots of Specific Windows
Capturing a specific window is a useful skill. On Windows, you can use the Alt + Print Screen shortcut to capture the active window. On Mac, use Command + Shift + 4, then press Spacebar to capture the desired window.
Capturing Long Web Pages and Emails
For long web pages or emails, conventional screenshot methods may not suffice. You can use browser-specific features or third-party tools like Snagit. In Chrome, for instance, you can use Developer Tools to capture a full-size screenshot by pressing Command + Option + I on Mac or Ctrl + Shift + I on Windows, then accessing the developer menu with Command + Shift + P or Ctrl + Shift + P and typing “screenshot.”
Using Delayed Screenshots
The delay feature in screenshot tools allows you to capture menus, tooltips, or other temporary elements. By setting a delay, you can open the menu or element you wish to capture, and the screenshot will be taken after the specified time, ensuring you don’t miss the element.
Third-Party Screenshot Tools
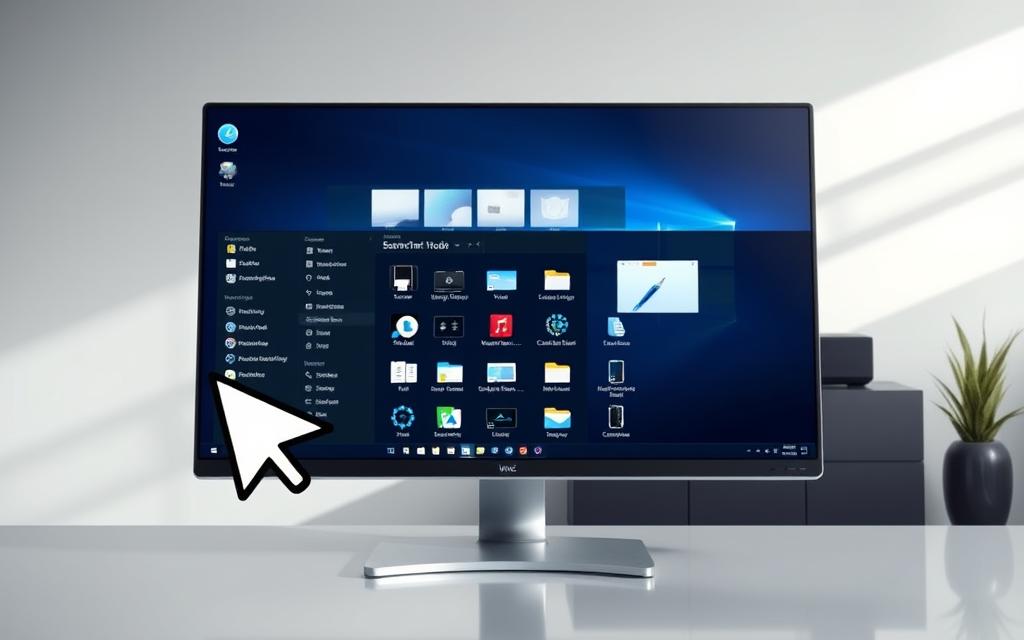
Third-party screenshot tools provide enhanced capabilities that go beyond the standard features offered by operating systems. These tools are designed to cater to diverse user needs, from basic screenshot capture to advanced editing and sharing functionalities.
Snagit Features and Benefits
Snagit is a comprehensive screenshot tool that offers precise capture, image editing, and free cloud-sharing. With Snagit, users can capture their entire desktop, a specific region, or a window using the All-in-One Capture feature. The software also allows for video recording and advanced editing tools, making it a versatile tool for professional environments.
Free Screenshot Applications
For users on a budget, free screenshot applications like Greenshot, Lightshot, and ShareX offer robust features. These tools provide functionalities such as quick image capture, basic editing, and sharing options, making them suitable for casual users.
When to Use Third-Party Tools vs. Built-in Options
Third-party tools are preferable when users need advanced editing, annotations, or special captures. They often include additional features like cloud storage integration and automatic uploading, streamlining the workflow for professional users.
Editing and Sharing Your Screenshots
Editing and sharing screenshots is a vital process that enhances the way we communicate visually. Both Windows and Mac operating systems offer built-in tools for basic screenshot editing, eliminating the need for additional software.
Basic Editing with Built-in Tools
After taking a screenshot, you can access the editing interface directly on modern operating systems. For instance, Windows provides the Snip & Sketch tool, while Mac users can utilize the Preview application. These built-in editing tools allow users to crop, resize, and adjust their screenshots as needed.
Annotating Screenshots
Annotation features are available in both Windows and Mac’s built-in editors. Users can add arrows, text boxes, highlighting, and drawing tools to their screenshots, making it easier to draw attention to specific areas or details.
Quick Ways to Share Screenshots
Sharing screenshots can be done quickly through various channels. Users can send screenshots via email, messaging apps, or cloud storage services. Additionally, built-in sharing menus allow users to send screenshots directly to specific applications or services.
| Platform | Built-in Editing Tool | Sharing Options |
|---|---|---|
| Windows | Snip & Sketch | Email, Messaging Apps, Cloud Storage |
| Mac | Preview | Email, Messages, AirDrop, Cloud Storage |
By utilizing these built-in tools and features, users can efficiently edit and share their screenshots, enhancing their ability to communicate complex information visually.
Conclusion
Whether you’re using a Windows or Mac computer, capturing screenshots is easier than ever. This article has explored various methods for taking screenshots on both platforms, including using the Print Screen button, keyboard shortcuts like Windows Key + Shift + S and Shift + Command + 4, and utilizing built-in tools like the Snipping Tool and Snagit.
By mastering these techniques, you can significantly improve your productivity and communication. The key is to choose the right method based on your specific needs. For instance, if you need to capture a specific area of the screen, using the Windows Key + Shift + S or Shift + Command + 4 shortcuts can be particularly useful. On the other hand, if you need to capture an entire web page or email, using a third-party tool might be more efficient.
To get the most out of your screenshot capabilities, it’s essential to practice the different methods and explore third-party tools if you frequently take and edit screenshots. By doing so, you’ll be able to save significant time and improve clarity in your digital communication. With the simple skill of taking screenshots, you can enhance your workflow and become more proficient in both personal and professional contexts.
In conclusion, taking screenshots is a valuable skill that has become an essential tool for modern computer users. By choosing the right method and tool for your needs, you can streamline your workflow, improve communication, and save time. So, take some time to practice and find what works best for you.
FAQ
What is the keyboard shortcut to capture the entire screen on a Windows computer?
Pressing the Print Screen (PrtScn) button captures the entire screen and copies it to the clipboard.
How can I capture a selected area of the screen using Windows?
You can use the Windows Key + Shift + S method to capture a selected area. This will open the Snip & Sketch tool, allowing you to choose the area you want to capture.
Where are screenshots saved on a Windows computer?
Screenshots taken using the Windows Key + Print Screen method are saved in the Pictures/Screenshots folder.
Can I change the default save location for screenshots on Windows?
Yes, you can change the default save location by modifying the settings in the Snip & Sketch tool or by using third-party screenshot software.
What is the Snipping Tool, and how do I use it?
The Snipping Tool is a built-in Windows utility that allows you to capture and annotate screenshots. You can access it by searching for “Snipping Tool” in the Start menu.
How do I capture a screenshot of a specific window on Windows?
Press Alt + Print Screen to capture the currently active window.
Can I edit screenshots directly after capturing them?
Yes, using the Snip & Sketch tool, you can edit screenshots directly after capturing them, allowing for basic editing and annotation.
Are there any third-party tools that can enhance my screenshot experience?
Yes, tools like Snagit offer advanced features for capturing, editing, and sharing screenshots.


