Table of Contents
Managing temporary files is essential for maintaining a smooth and efficient system. Over time, unnecessary data can accumulate, taking up valuable storage space and slowing down performance. Clearing these files ensures your device runs optimally.
This guide provides a comprehensive approach to removing unwanted files. Whether you’re looking for quick solutions or advanced techniques, we’ve got you covered. By following these steps, you can free up space and keep your system organized.
Stay tuned for professional tips on system maintenance and data recovery. These insights will help you make the most of your device’s capabilities.
Introduction to Emptying the Recycle Bin on Windows 11
Efficient storage management starts with understanding the role of temporary file storage. The Recycle Bin serves as a safety net for deleted files, allowing users to recover them if needed. However, these files continue to occupy space on your disk, which can lead to performance issues over time.
When the Recycle Bin accumulates too many files, it can trigger “Low Disk Space” warnings. This not only affects your system’s speed but also limits the available storage for new data. Regularly clearing the Recycle Bin ensures your drive remains optimized for daily tasks.
Why Emptying the Recycle Bin is Important
Unemptied Recycle Bins can significantly impact your disk space. According to EaseUS data, 58% of users face storage issues due to unemptied bins. Clearing these files frees up space and improves overall performance.
Understanding the Recycle Bin Functionality
The Recycle Bin stores deleted files in the C:\$Recycle.Bin directory until they are permanently removed. Metadata from these files accumulates in the system partition, further consuming resources. Once emptied, these files cannot be recovered without specialized software.
| Impact of Unemptied Recycle Bin | Consequences |
|---|---|
| Disk Space Usage | Reduces available storage on the C: drive |
| System Performance | Slows down operations and responsiveness |
| User Experience | Triggers low disk space warnings and errors |
By understanding the Recycle Bin’s role and its impact on your system, you can take proactive steps to maintain an efficient and organized device.
Method 1: Empty the Recycle Bin via Desktop Icon
The desktop icon provides a quick and easy method to manage deleted files. This approach is ideal for users who prefer a visual and straightforward process. By using the recycle bin desktop icon, you can permanently remove unnecessary files in just a few steps.
Step-by-Step Guide to Using the Desktop Icon
To clear files using the bin desktop icon, follow these steps:
- Locate the recycle bin desktop icon on your screen.
- Right-click the icon to open the context menu.
- Select the click empty recycle option to permanently delete all files.
This method is efficient and requires no additional tools. It’s perfect for users who want a hassle-free way to free up space.
What to Do If the Recycle Bin Icon is Missing
If the desktop icon is not visible, you can enable it through system settings. Navigate to Personalize > Themes > Desktop icon settings and check the box for the recycle bin. This ensures the icon reappears on your screen.
Before proceeding with permanent deletion, consider the following:
- Double-check that you no longer need the files.
- Understand that once deleted, recovery requires specialized software.
- Compare the right-click method with double-clicking for your preferred workflow.
By mastering this method, you can efficiently manage your storage and keep your system running smoothly.
Method 2: Empty the Recycle Bin Using File Explorer
Streamlining your storage begins with leveraging the tools built into your system. The File Explorer is a powerful utility that allows you to manage deleted files efficiently. This method is ideal for users who prefer a structured approach to storage management.
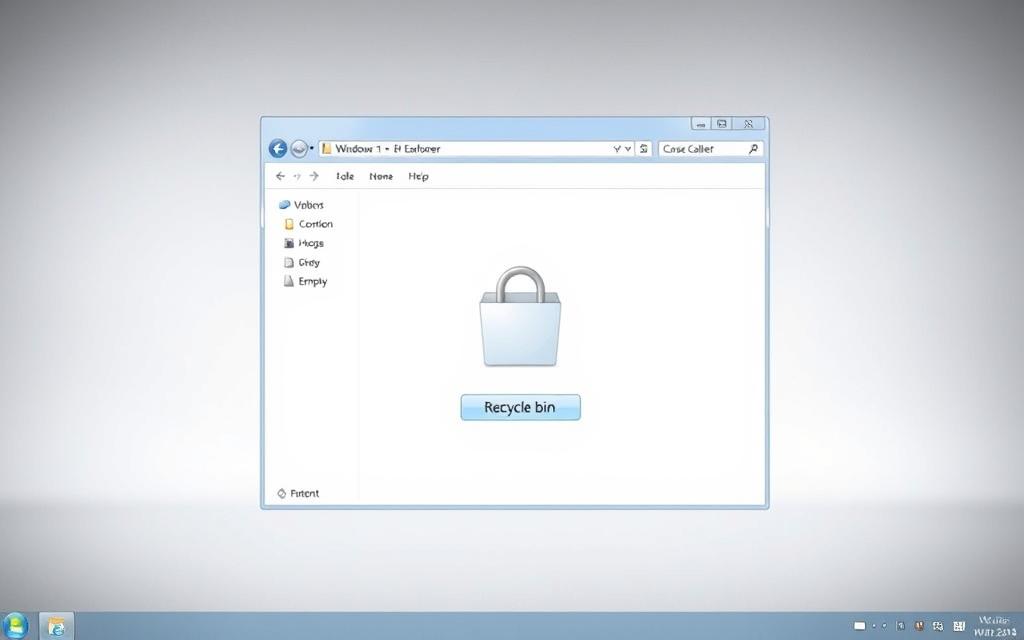
Navigating File Explorer to Access the Recycle Bin
To access the files recycle bin, open File Explorer using the Win + E shortcut or the taskbar icon. Navigate to Quick Access and locate the Recycle Bin folder in the system directories. This path provides a clear view of all deleted files.
Previewing files before deletion is a key advantage. It ensures you don’t accidentally remove important data. The File Explorer interface also displays storage capacity, helping you make informed decisions.
How to Use the Empty Recycle Bin Option in File Explorer
Once inside the Recycle Bin, select the Manage tab on the command bar. Click the button labeled Empty Recycle Bin to permanently delete all files. For selective removal, highlight specific items and press Shift + Delete to bypass the bin entirely.
This method correlates with desktop techniques but offers additional flexibility. Whether you’re a casual user or a power user, File Explorer provides a versatile solution for maintaining your system’s efficiency.
Method 3: Empty the Recycle Bin Through Windows Settings
Optimizing your device’s performance involves managing unnecessary data effectively. Windows 11 offers a streamlined approach through its unified settings panel. This method is ideal for users who prefer a centralized and automated solution for storage management.
Accessing Storage Settings in Windows 11
To begin, open the settings menu using the Win + I shortcut. Navigate to System > Storage to view a detailed breakdown of your device’s storage usage. This section provides insights into how space is allocated, including the amount occupied by temporary files.
Windows 11’s storage histogram is a powerful tool for identifying areas that require attention. It categorizes data into sections like apps, documents, and system files, making it easier to pinpoint unnecessary clutter.
Using the Temporary Files Option to Empty the Recycle Bin
Within the storage menu, select the Temporary Files option. This section lists all non-essential data, including cached files and items in the Recycle Bin. Click the Remove Files button to permanently delete these items and free up space.
“Storage Sense in Windows 11 automates the cleanup process, ensuring your system remains efficient without manual intervention.”
For advanced users, configuring Storage Sense can automate the cleanup process. This feature allows you to set schedules for deleting temporary files, ensuring your device remains optimized over time.
| Feature | Benefit |
|---|---|
| Unified Settings Panel | Centralized access to all storage management tools |
| Storage Histogram | Visual representation of storage allocation |
| Automated Cleanup | Reduces manual effort with scheduled deletions |
By leveraging these tools, you can maintain a clutter-free system and enhance its performance. For a detailed guide, refer to this step-by-step tutorial on emptying the Recycle Bin through Windows Settings.
Method 4: Empty the Recycle Bin with Disk Cleanup
The Disk Cleanup utility offers a reliable way to manage system storage. This built-in tool helps users reclaim valuable space by removing unnecessary files, including those in the Recycle Bin. It’s a versatile solution for maintaining an organized and efficient drive.

How to Launch Disk Cleanup in Windows 11
To access the disk cleanup utility, press Win + S and type “Disk Cleanup” in the search bar. Select the application from the results to open it. This method works seamlessly across multiple drives, allowing you to choose which one to clean.
The utility has evolved significantly since its introduction, offering advanced features for system maintenance. Unlike third-party tools, it integrates directly with the operating system, ensuring compatibility and safety.
Selecting the Recycle Bin Option in Disk Cleanup
Once the disk cleanup window opens, select the drive you want to clean. Click OK to proceed. The tool will analyze the selected drive and display a list of file categories that can be deleted.
Check the box next to “Recycle Bin” to include its contents in the cleanup process. You can also explore advanced options for system file cleanup, which provide additional storage reclamation metrics.
| Feature | Benefit |
|---|---|
| Multi-Drive Selection | Allows cleaning of multiple drives simultaneously |
| System File Cleanup | Removes outdated system files safely |
| Storage Metrics | Provides detailed insights into reclaimed space |
By leveraging the disk cleanup utility, you can maintain a clutter-free system and enhance its performance. This method is both efficient and user-friendly, making it a go-to solution for storage management.
Method 5: Empty the Recycle Bin Using Command Prompt
For advanced users, the Command Prompt offers a powerful way to manage system storage. This method provides precise control over file deletion, making it ideal for those comfortable with command-line operations. By using specific commands, you can permanently remove files from the bin efficiently.
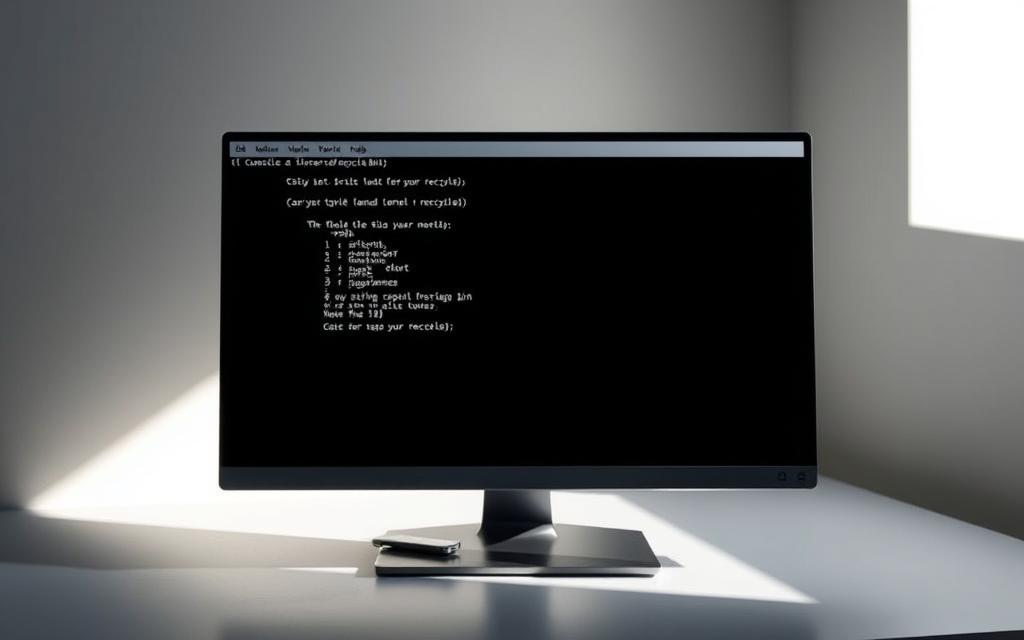
Running Command Prompt as Administrator
To begin, open the Command Prompt with administrative privileges. Press Win + S, type “cmd,” and select “Run as administrator.” This step ensures you have the necessary permissions to execute system-level commands.
Admin access is crucial for modifying system directories. Without it, the Command Prompt may return errors or fail to execute the desired command.
Executing the Command to Empty the Recycle Bin
Once the Command Prompt is open, type the following command: rd /s %systemdrive%$recycle.bin. Press Enter to execute. This command removes all files from the bin permanently.
For network drives, adapt the command by replacing %systemdrive% with the appropriate drive letter. Always double-check the syntax to avoid accidental data loss.
| Feature | Command Prompt | PowerShell |
|---|---|---|
| Ease of Use | Requires manual input | Simpler cmdlets |
| Automation | Batch files needed | Built-in scripting |
| Flexibility | Works on older systems | Modern and versatile |
Batch files can automate the cleanup process. Create a script with the command and schedule it using Task Scheduler. This approach saves time and ensures regular maintenance.
Error handling is essential. If permissions are denied, escalate privileges or troubleshoot using the takeown and icacls commands. These tools help resolve access issues effectively.
Method 6: Empty the Recycle Bin with PowerShell
PowerShell provides a robust solution for managing system storage with precision. This method is ideal for advanced users who prefer command-line tools over graphical interfaces. By leveraging PowerShell, you can efficiently clear unwanted files and maintain optimal performance.
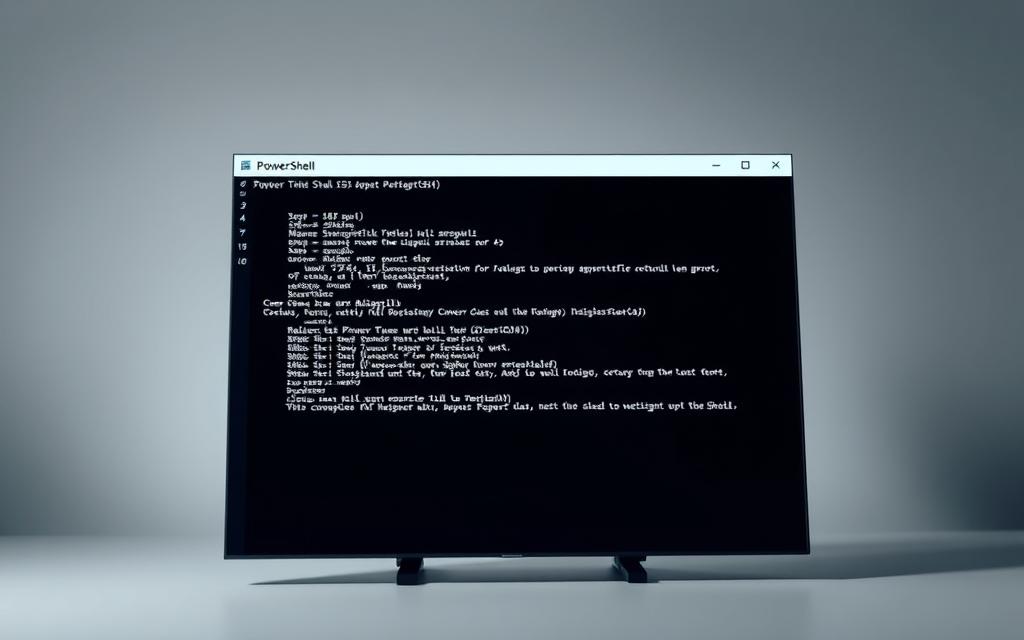
Opening PowerShell with Elevated Privileges
To begin, launch PowerShell with administrative rights. Press Win + S, type “PowerShell,” and select “Run as administrator.” Elevated privileges ensure you have the necessary permissions to execute system-level commands.
Without admin access, certain operations may fail or return errors. This step is crucial for modifying system directories and performing advanced tasks.
Using the Clear-RecycleBin Cmdlet
Once PowerShell is open, use the Clear-RecycleBin -Force command to permanently delete all files. The -Force parameter ensures the process completes without prompts, making it ideal for automation.
For multi-drive systems, specify the target drive by adding the -DriveLetter parameter. This flexibility allows you to manage storage across multiple partitions efficiently.
PowerShell 7.x offers enhanced compatibility and features compared to Windows PowerShell. IT administrators can create scripts to automate the cleanup process, integrating it with Task Scheduler for regular maintenance.
“PowerShell’s command-line efficiency surpasses GUI-based methods, offering unparalleled control over system operations.”
| Feature | PowerShell | GUI Methods |
|---|---|---|
| Speed | Faster execution | Slower due to interface |
| Automation | Supports scripting | Manual intervention required |
| Flexibility | Works across drives | Limited to single drive |
By mastering PowerShell, you can streamline storage management and enhance system performance. This method is particularly beneficial for IT professionals and power users seeking advanced control.
Conclusion: Keeping Your Windows 11 System Clean
Maintaining a clean and efficient system requires regular attention to storage management. Whether you prefer manual methods or automated tools, each approach has its advantages. Manual cleanup offers precise control, while automated solutions like Storage Sense save time and effort.
In enterprise environments, centralized management tools are essential for maintaining multiple systems. For personal use, tools like EaseUS Partition Master provide flexible space reallocation solutions. With a 92% success rate in recovering deleted data, such software ensures peace of mind.
Planning for data recovery is crucial. Always back up important files before clearing the files recycle bin. If storage limits are a concern, consider expanding your disk capacity instead of deleting files.
Looking ahead, advancements in Windows storage management promise smarter solutions. Features like AI-driven cleanup and cloud integration will redefine how we manage data. Staying informed about these trends ensures your system remains optimized for the future.
FAQ
Why is it important to clear the Recycle Bin regularly?
Regularly clearing the Recycle Bin helps free up storage space on your disk drive, ensuring your system runs efficiently and preventing unnecessary clutter.
What happens if the Recycle Bin icon is missing from the desktop?
If the Recycle Bin icon is missing, you can restore it by accessing the desktop settings in the context menu or using the File Explorer to manage files directly.
Can I use File Explorer to empty the Recycle Bin?
Yes, File Explorer provides an option to empty the Recycle Bin. Navigate to the Recycle Bin folder, right-click, and select the “Empty Recycle Bin” option.
How do I use Windows Settings to clear the Recycle Bin?
Open the Storage settings in Windows 11, select “Temporary Files,” and check the box for Recycle Bin. Click “Remove Files” to clear it.
Is Disk Cleanup an effective tool for emptying the Recycle Bin?
Yes, Disk Cleanup is a built-in tool that allows you to select and delete files from the Recycle Bin, along with other temporary files, to optimize storage.
Can Command Prompt be used to empty the Recycle Bin?
Absolutely. Run Command Prompt as an administrator and execute the appropriate command to clear the Recycle Bin instantly.
What is the Clear-RecycleBin cmdlet in PowerShell?
The Clear-RecycleBin cmdlet in PowerShell is a command-line tool that allows you to empty the Recycle Bin quickly and efficiently with elevated privileges.
Will emptying the Recycle Bin permanently delete my files?
Yes, emptying the Recycle Bin permanently deletes the files stored in it. Ensure you no longer need the files before proceeding.


