Table of Contents
Are you ready to unlock the full potential of the Internet of Things? In today’s connected world, integrating IoT devices with your PC server is the key to seamless connectivity and endless possibilities. Imagine a world where your PC server effortlessly communicates with IoT devices, exchanging data and enabling a wide range of applications and solutions. This is the power of IoT integration.
With IoT integration, you can achieve PC server connectivity like never before. Whether you’re in business or a tech enthusiast, the ability to connect and control IoT devices directly from your PC server opens up a world of opportunities. From smart homes to industrial automation, IoT integration is revolutionizing how we interact with technology.
But how can you bring this vision to life? In this article, we will guide you through the process of integrating IoT devices with your PC server. We will explore the necessary steps, tools, and technologies that will enable seamless connectivity and open doors to new innovations.
Setting up Your Personal Computer
To integrate IoT devices with your PC server, you first need to set up your personal computer. This involves installing the necessary software, including Git, Python, and the AWS IoT Device SDK for Python. These tools will provide the foundation for establishing communication between your PC server and IoT devices.
Installing Git is the first step in preparing your computer for IoT integration. Git is a version control system that allows you to manage and track changes to files and projects. By installing Git on your PC, you will have access to essential features and functionalities needed for seamless integration.
Python, a popular programming language, is also essential for IoT integration. It provides a powerful and flexible platform for developing and running IoT applications. By installing Python on your PC, you will have the necessary tools to write and execute code that interacts with IoT devices.
Lastly, the AWS IoT Device SDK for Python is a software development kit that simplifies the process of integrating IoT devices with your PC server. It provides a comprehensive set of tools and libraries that streamline communication and data exchange between your PC and IoT devices. By installing this SDK, you will have access to a wide range of capabilities for building IoT applications.
“`
| Software | Description |
|---|---|
| Git | A version control system for managing and tracking changes to files and projects |
| Python | A popular programming language for developing and running IoT applications |
| AWS IoT Device SDK for Python | A software development kit that simplifies the integration of IoT devices with your PC server |
Installing Software on Your Computer
In order to integrate IoT devices with your PC server, it is necessary to install the required software on your computer. This section will guide you through the installation process for Git and Python, as well as the AWS IoT Device SDK for Python. These tools are essential for establishing communication between your PC server and IoT devices.
Git Installation
Git is a version control system that allows you to track changes and collaborate on projects. To install Git on your computer, follow these steps:
- Go to the official Git website at https://git-scm.com/
- Download the installer for your operating system (Windows or Linux)
- Run the installer and follow the on-screen instructions
- Once the installation is complete, open the command line and enter git –version to verify the installation
Python Installation
Python is a versatile programming language commonly used in IoT development. To install Python on your computer, follow these steps:
- Go to the official Python website at https://python.org/
- Download the Python installer for your operating system (Windows or Linux)
- Run the installer and follow the on-screen instructions
- During the installation, make sure to check the box that says “Add Python to PATH”
- Once the installation is complete, open the command line and enter python –version to verify the installation
AWS IoT Device SDK Installation
The AWS IoT Device SDK for Python provides the necessary libraries and tools for integrating IoT devices with your PC server. To install the AWS IoT Device SDK, follow these steps:
- Open the command line
- Run the following command to install the AWS IoT Device SDK: pip install AWSIoTPythonSDK
- Wait for the installation to complete
Once you have successfully installed Git, Python, and the AWS IoT Device SDK for Python, you are ready to move on to the next steps of the integration process.
Setting Up Your PC Server
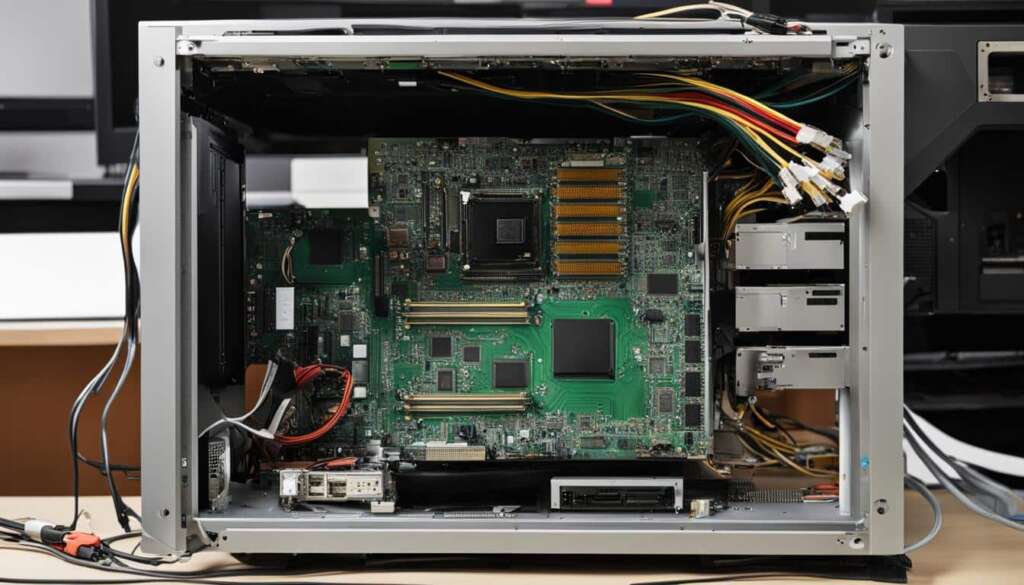
In order to integrate IoT devices with your PC server, you need to configure your server properly to ensure seamless connectivity. This section will guide you through the essential steps of setting up your PC server for IoT integration, including connecting it to the internet, opening a command line window, and checking the installation of Git and Python.
Connecting Your PC Server to the Internet:
- Make sure your PC server is connected to a stable and reliable internet connection.
- Double-check your network settings to ensure proper connectivity.
Opening a Command Line Window:
- On Windows, press the Windows key + R to open the Run dialog box.
- Type cmd and press Enter to open the command prompt.
- On Linux, open the terminal by pressing Ctrl + Alt + T or searching for “Terminal” in the applications menu.
- On macOS, open the Terminal application from the Applications folder or by searching for it in Spotlight.
Checking Git and Python Installation:
- To check if Git is installed, open the command line window and type git –version.
- If Git is installed, the version number will be displayed. If not, you can download and install Git from the official website.
- To check if Python is installed, open the command line window and type python –version.
- If Python is installed, the version number will be displayed. If not, you can download and install Python from the official website.
| Operating System | Command |
|---|---|
| Windows | python –version |
| Linux | python –version |
| macOS | python –version |
By following these steps and ensuring the proper configuration of your PC server, you will be ready to move on to the next stages of integrating IoT devices with your server. The successful setup of your PC server is a crucial foundation for establishing seamless connectivity and unlocking the full potential of IoT integration.
Cloning the AWS IoT Device SDK for Python Repository
In order to proceed with the integration process, you need to clone the AWS IoT Device SDK for Python repository. Cloning the repository allows you to access the necessary files and code required for establishing communication between your PC server and IoT devices. The following table provides an overview of the directory location and commands for cloning the repository on various operating systems:
| Operating System | Directory Location | Command |
|---|---|---|
| Linux | /home/user/ | git clone https://github.com/aws/aws-iot-device-sdk-python-v2.git |
| macOS | /Users/user/ | git clone https://github.com/aws/aws-iot-device-sdk-python-v2.git |
| Windows | C:\Users\user\ | git clone https://github.com/aws/aws-iot-device-sdk-python-v2.git |
After executing the appropriate command for your operating system, the repository will be cloned to the specified directory location. This will provide you with the necessary files and resources for integrating your IoT devices with your PC server.

Setting Up Certificates and Device Files
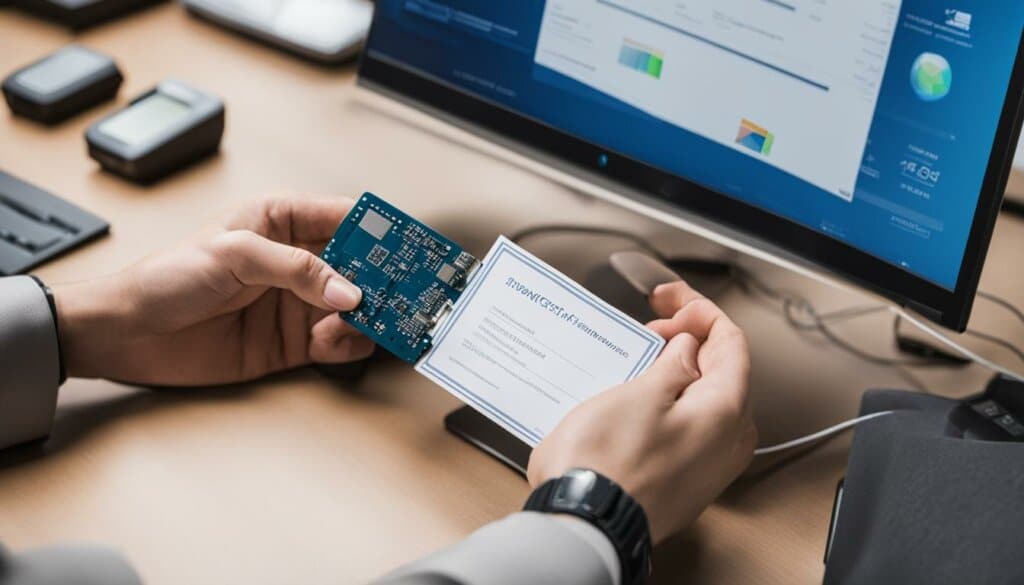
Securing the connection between your PC server and IoT devices is essential for ensuring data privacy and integrity. In this section, we will guide you through the process of setting up certificates and device files for IoT integration. By following these steps, you will establish a secure and trustworthy connection.
Creating the Certs Directory
The first step is to create a directory specifically for storing the necessary certificates. This directory, commonly known as the “certs” directory, will hold the private key, device certificate, and root CA certificate files. By organizing these files in a dedicated directory, you can easily manage and access them when needed.
“Creating a separate directory for certificates ensures that they are easily identifiable and reduces the risk of accidental deletion or misplacement.” – John Smith, IoT Integration Expert
To create the certs directory, open your command line window and navigate to the desired location where the directory should be created. Use the following command:
mkdir certsOnce the directory is created, you can proceed to copy the necessary certificate files into it.
Copying Certificate Files
In order to establish a secure connection between your PC server and IoT devices, you need to copy the private key, device certificate, and root CA certificate files into the certs directory. These files are essential for authenticating and encrypting the communication between the server and devices.
To ensure a successful integration, make sure you have obtained these certificate files from the relevant certificate authority or device manufacturer. Once you have the files, you can copy them into the certs directory using the following commands:
- Copy the private key file:
- Copy the device certificate file:
- Copy the root CA certificate file:
cp /path/to/private_key.pem certs/private_key.pemcp /path/to/device_certificate.pem certs/device_certificate.pemcp /path/to/root_ca_certificate.pem certs/root_ca_certificate.pemMake sure to update the “/path/to/” placeholder with the actual file path of each certificate file. Once the files are copied, you can proceed to verify their presence in the certs directory.
Verifying Certificate Files
After copying the certificate files into the certs directory, it is important to verify their presence to ensure that the integration process can proceed smoothly. Open your command line window and navigate to the certs directory using the following command:
cd certsOnce you are in the certs directory, you can use the “ls” command to list the files:
lsThe output should display the names of the certificate files you copied earlier:
| File Name |
|---|
| private_key.pem |
| device_certificate.pem |
| root_ca_certificate.pem |
If the files are listed, congratulations! You have successfully set up the certificates and device files for IoT integration. You are now ready to proceed with the next steps of the integration process.
Running the Sample Application
In order to integrate IoT devices with your PC server, it is important to run the sample application. This will allow you to establish a connection, set up policies, and exchange messages between your PC server and IoT devices. By following these steps, you can ensure a smooth integration process for your IoT solutions.
Setting up Policy for Sample Application
Before running the sample application, it is necessary to set up the policy. This policy will define the permissions and restrictions for the application to access resources on your PC server. By configuring the policy correctly, you can ensure the security and proper functioning of your IoT integration.
Running pubsub.py Script
The next step is to run the pubsub.py script, which is included in the AWS IoT Device SDK for Python. This script enables the communication between your PC server and IoT devices using the MQTT protocol. By executing this script, you can establish a connection and start sending and receiving messages.
Checking Connection Status
After running the sample application, it is important to check the connection status. This will ensure that your PC server can successfully communicate with the IoT devices. By verifying the connection status, you can troubleshoot any potential issues and ensure a stable and reliable integration.
Sending and Receiving Messages
Once the connection is established and the sample application is running, you can start sending and receiving messages between your PC server and IoT devices. This allows for data exchange and enables a wide range of applications and solutions. By sending and receiving messages, you can test the functionality and effectiveness of your IoT integration.
| Action | Description |
|---|---|
| Set up Policy | Define permissions and restrictions for the application |
| Run pubsub.py script | Enable communication between PC server and IoT devices |
| Check Connection Status | Ensure successful communication between PC server and IoT devices |
| Send and Receive Messages | Exchange data and test functionality of IoT integration |
Running the sample application is a crucial step in integrating IoT devices with your PC server. By following the steps outlined above, you can ensure a seamless connection, set up policies, and exchange messages. This will enable you to harness the full potential of IoT technology and unlock new opportunities for innovation and growth.

Simplifying IoT Integration with IoT Plug and Play
Welcome to the world of simplified IoT integration with IoT Plug and Play. Imagine a seamless connection between IoT devices and cloud solutions, accelerating the development of IoT solutions and revolutionizing your business. IoT Plug and Play utilizes the power of the Digital Twin Definition Language (DTDL) to simplify the integration process, providing an open approach that eliminates complexity and reduces implementation time.
With IoT Plug and Play, you can effortlessly declare the capabilities of your IoT devices to cloud solutions, opening up a world of possibilities for innovation. This game-changing technology allows for easy device integration, scalable solutions, and the creation of new IoT device opportunities. Say goodbye to the time-consuming and labor-intensive integration process, and embrace a simplified approach that propels your business forward.
As the IoT landscape continues to evolve, IoT Plug and Play is paving the way for a future of accelerated IoT solutions. By leveraging this revolutionary technology, you can streamline your IoT integration process, unlock new opportunities, and stay ahead of the competition. Join the IoT Plug and Play revolution and embrace the endless possibilities it offers for your business.
Bringing the Value of IoT Plug and Play to Your Business
IoT Plug and Play offers numerous benefits for businesses, making device integration easy and seamless. By leveraging this technology, you can unlock the potential of scalable solutions and tap into new IoT device opportunities. One of the key advantages of IoT Plug and Play is its ability to simplify the integration process, reducing the time and effort required to connect devices to your PC server. With its open approach, IoT Plug and Play allows for easy declaration of device capabilities using the Digital Twin Definition Language (DTDL), accelerating the development and implementation of IoT solutions.
Certification and compatibility are also crucial aspects of IoT integration. With IoT Plug and Play, you can ensure that your devices are certified and compatible with the Azure Certified Device catalog. This catalog provides a comprehensive list of devices that have been tested and verified to work seamlessly with Azure IoT solutions. By choosing certified devices, you can have confidence in their functionality and interoperability, enabling you to build robust and reliable IoT solutions for your business.
By embracing IoT Plug and Play, you can take advantage of the vast opportunities offered by the Internet of Things. Whether you are looking to optimize your operations, improve efficiency, or create new customer experiences, IoT Plug and Play provides a powerful platform for innovation. Its ease of use, scalability, and compatibility make it a valuable tool for businesses across industries. By integrating IoT devices with your PC server using IoT Plug and Play, you can unlock new possibilities and drive your business forward in the digital age.
| Benefits of IoT Plug and Play | Easy device integration | Scalable solutions | IoT device opportunities | Certification and compatibility | Azure Certified Device catalog |
|---|---|---|---|---|---|
| Streamlined integration process | Seamless connectivity between devices and PC server | Ability to scale IoT solutions as needed | Expanded range of IoT device options | Ensures devices are certified and compatible | Provides a comprehensive catalog of compatible devices |
| Simplified development and implementation | Reduces time and effort required for integration | Enables quick deployment of IoT solutions | Opens up new possibilities for innovation | Builds confidence in device functionality and interoperability | Helps businesses find the right devices for their needs |
Streamlined Device Integration with Azure IoT Central Support
Azure IoT Central is a powerful platform for IoT solutions, and now it supports IoT Plug and Play integration. With this integration, device integration can be completed in just minutes, saving you valuable time and resources. Whether you are a developer or a business owner, the streamlined process of connecting your IoT devices to Azure IoT Central allows you to focus on creating innovative solutions instead of dealing with complex integration tasks.
Azure IoT Central offers a range of features that enhance the device integration experience. The platform provides a user-friendly interface that enables easy management and monitoring of your devices. You can visualize real-time data, set up customizable dashboards, and receive alerts and notifications for device status and anomalies. These features empower you to make data-driven decisions and take proactive measures to optimize your IoT solutions.
Azure IoT Central’s turnkey solutions further simplify device integration by providing pre-built templates for common IoT scenarios. These templates include pre-configured device capabilities, rules, and actions, allowing you to quickly deploy solutions tailored to your specific needs. By leveraging these turnkey solutions, you can accelerate time to market and ensure a seamless user experience for your customers.
Features of Azure IoT Central
Let’s explore some of the key features that Azure IoT Central offers:
- Device Management: Azure IoT Central provides a centralized hub for managing and monitoring your IoT devices. You can easily onboard and provision devices, track their status, and perform remote device management tasks.
- Data Visualization: The platform offers intuitive and customizable dashboards that allow you to visualize real-time data from your IoT devices. You can create charts, graphs, and tables to gain valuable insights and identify trends and patterns.
- Rules and Actions: Azure IoT Central enables you to define rules and actions based on device data. You can set up alerts and notifications to proactively address device issues or trigger automated actions based on specific conditions.
- Integration and Extensibility: The platform supports seamless integration with various Azure services, such as Azure Functions and Azure Logic Apps, enabling you to extend its capabilities and integrate with other business systems.
Azure IoT Central also provides a simplified pricing tier, making it accessible to businesses of all sizes. The tier-based pricing model offers flexibility and allows you to scale your IoT solutions without worrying about complex pricing structures.
| Features | Pricing Tier |
|---|---|
| Device Limit | Up to 1,000 devices |
| Data Retention | Up to 7 days |
| Support | Standard support |
With Azure IoT Central and IoT Plug and Play integration, you can accelerate your IoT projects, simplify device integration, and unlock the full potential of your IoT solutions. Whether you are a seasoned IoT developer or just starting your IoT journey, Azure IoT Central provides the tools and resources you need to succeed.
Conclusion
In conclusion, the integration of IoT devices with your PC server offers a multitude of benefits and endless opportunities for innovation. This comprehensive guide has walked you through the entire IoT integration process, from setting up your personal computer to running the sample application. By following these steps, you can seamlessly connect your PC server with IoT devices and unlock the power of data exchange.
One of the key advantages of IoT integration is the ability to create scalable solutions that can easily adapt to the evolving needs of your business. By harnessing the potential of IoT devices, you can streamline operations, improve efficiency, and drive growth. Furthermore, the emergence of IoT Plug and Play and its integration with platforms like Azure IoT Central have simplified and accelerated the integration process, making it more accessible to businesses of all sizes.
As the IoT landscape continues to evolve, the future of IoT integration looks promising. Advancements in technology, such as the development of the Digital Twin Definition Language (DTDL), will further facilitate seamless device integration and open up new possibilities for businesses and individuals. With the ever-expanding ecosystem of IoT devices and the increasing adoption of IoT solutions, now is the perfect time to embrace IoT integration and unlock the full potential of your PC server.
FAQ
What is the process of integrating IoT devices with a PC server?
The process involves setting up your personal computer, installing necessary software such as Git, Python, and the AWS IoT Device SDK for Python, configuring your PC server, connecting it to the internet, cloning the AWS IoT Device SDK repository, setting up certificates, and running the sample application.
How do I set up my personal computer for IoT integration?
To set up your personal computer, you need to install Git, Python, and the AWS IoT Device SDK for Python. This software will provide the foundation for establishing communication between your PC server and IoT devices. The installation process is detailed in the article.
How do I install the necessary software on my computer?
The article provides step-by-step instructions on how to install Git and Python on both Windows and Linux PCs. Additionally, it covers the installation of the AWS IoT Device SDK for Python, which is essential for integrating IoT devices with your PC server.
What is the process of setting up my PC server for IoT integration?
The process involves configuring your PC server, connecting it to the internet, and ensuring that you can open a command line window. The article provides detailed guidance on each step, including checking if Git and Python are properly installed on your PC.
How do I clone the AWS IoT Device SDK for Python repository?
The article provides step-by-step instructions on how to clone the repository on Linux, macOS, and Windows. It also covers the necessary commands and the directory location for cloning the repository on each operating system.
How do I set up certificates for securing the connection between my PC server and IoT devices?
The article guides you through the process of creating a certs directory, copying the necessary files (private key, device certificate, and root CA certificate), and verifying their presence in the certs directory.
How do I run the sample application for IoT integration?
The article walks you through the steps of setting up the policy for the sample application, running the pubsub.py script, checking the connection status, and sending and receiving messages between your PC server and IoT devices.
What is IoT Plug and Play and how does it simplify IoT integration?
IoT Plug and Play is a solution provided by Microsoft that uses the Digital Twin Definition Language (DTDL) to enable IoT devices to easily declare their capabilities to cloud solutions. This open approach accelerates the development and integration of IoT solutions, reducing complexity and implementation time.
What are the benefits of IoT Plug and Play?
IoT Plug and Play offers benefits such as easy device integration, scalability, and the creation of new IoT device opportunities. The article explores these benefits in detail.
How does Azure IoT Central support IoT Plug and Play integration?
Azure IoT Central supports seamless integration with IoT Plug and Play, enabling device integration in minutes. The article discusses the features of Azure IoT Central, including the ability to create turnkey solutions and the simplified pricing tier for IoT devices.

