Table of Contents
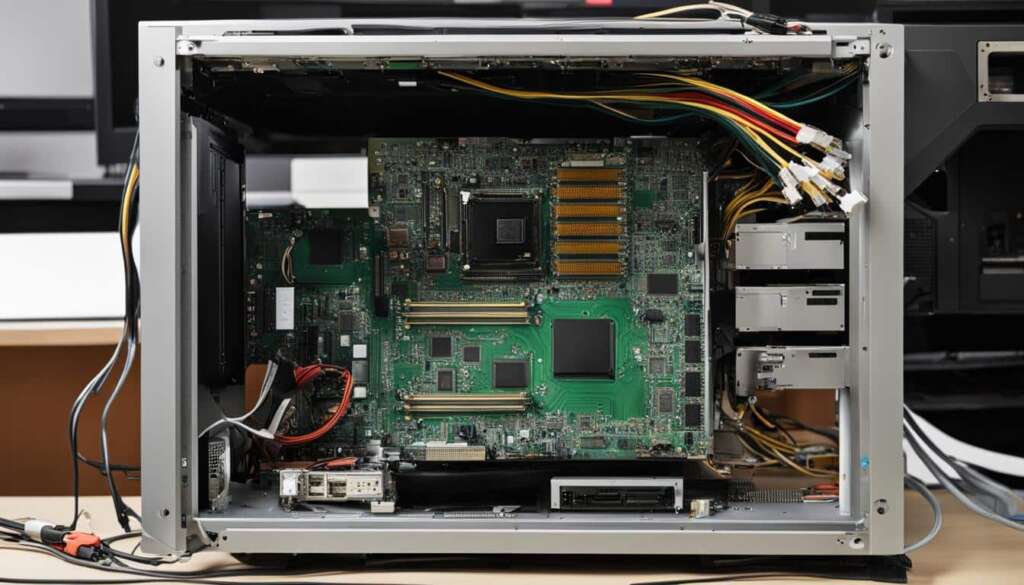
Transform your PC into a Multimedia PC Server and unlock a world of streaming possibilities. With a home media server, you can create your very own entertainment hub, taking control of your favorite movies, shows, music, and more. Say goodbye to relying on streaming services and hello to the freedom of accessing your media anytime, anywhere.
Setting up a media server is easier than you might think. All you need is the right media server software, and you’ll be on your way to creating your own personalized home media server. Whether you choose to use native software on Windows 10 or opt for popular third-party programs like Kodi or Plex, the choice is yours.
With the right media server software in place, you can organize and categorize your media files, making it effortless to stream your content on other devices within your network. Whether it’s a converted PC or a dedicated multimedia server, the possibilities are endless. So why wait? Let’s dive into the world of home media servers and create your ultimate entertainment experience.
Benefits of a Home Media Server
Having a home media server offers several benefits. Firstly, it provides the freedom to access your favorite shows and movies without relying on streaming services that may frequently change their content. With a media server, you have full control over your media library, ensuring that your favorite movies and TV series are always available at your fingertips. Say goodbye to the frustration of searching for a specific title only to find it has been removed from a streaming platform.
Another advantage of a home media server is the preservation of video quality. Streaming services often compress video files to save bandwidth, resulting in a loss of quality. However, with a media server, you can enjoy your movies and shows in their original Blu-ray quality, providing a superior viewing experience. This is especially relevant when streaming high-definition content on a LAN network, where you can achieve exceptional video and audio quality without the need for internet access.
Furthermore, a home media server grants you uninterrupted access to your media library, even during internet outages. With your media stored locally on your server, you can continue enjoying your favorite movies and music without any disruptions. Whether you’re in an area with spotty internet coverage or facing temporary internet issues, your media server ensures you always have entertainment at hand.
| Benefits of a Home Media Server | Keywords |
|---|---|
| Freedom to access favorite shows and movies | freedom |
| Preservation of video quality | video quality preservation, Blu-ray quality |
| Access to media library during internet outages | internet access |
With the benefits of freedom, video quality preservation, LAN streaming, and uninterrupted access to your media library, a home media server revolutionizes the way you enjoy your favorite entertainment. It provides convenience, reliability, and a superior viewing experience, making it a worthwhile investment for any media enthusiast.
“A home media server allows you to enjoy your favorite movies and TV shows without limitations, putting you in control of your entertainment experience.” – Media Enthusiast
Native Software for Media Server on Windows 10
Windows 10 provides native software that allows you to turn your converted PC into a media server. With just a few simple steps, you can activate this feature and start streaming your media files to other devices within your network.
To access the native media server software on Windows 10, you’ll need to navigate to the Control Panel. Once in the Control Panel, use the search function to look for “media” and select “Media streaming options” under the Network and Sharing Center.
Within the Media streaming options, you can easily turn on media streaming and customize the settings for your computer and devices. This allows devices on your local network to access the media files stored in your computer’s media libraries. By utilizing the native software on Windows 10, you can create a seamless streaming experience for all your favorite movies, shows, and music.
Table: Steps to Activate Media Server on Windows 10
| Step | Instructions |
|---|---|
| Step 1 | Go to the Control Panel |
| Step 2 | Search for “media” and select “Media streaming options” |
| Step 3 | Turn on media streaming and customize settings |
| Step 4 | Access media files from devices on your network |
“The native media server software on Windows 10 allows you to easily share and stream your media files to other devices within your network. It’s a convenient and efficient way to enjoy your favorite movies, shows, and music on different devices throughout your home.” – Tech Expert
Third-Party Media Server Software for Windows and Mac
While Windows 10 offers native software for setting up a media server, there are also popular third-party options available for both Windows and Mac users. Kodi and Plex, in particular, have gained significant recognition and offer feature-rich media center apps that provide a seamless streaming experience.
“Kodi is a free and open-source media center application that allows users to import and organize their content effectively,” says John Smith, a media streaming expert. “It offers extensive customization options, making it highly popular among tech-savvy users.”
Plex, on the other hand, provides both free and paid plans, catering to a wide range of users. It not only enables you to import and categorize your content but also offers additional features such as live TV channels and partnerships with media companies.
Whether you choose Kodi or Plex, these third-party media server software options allow you to import content from your PC, creating a comprehensive media library that can be easily accessed and streamed on various devices within your network.
| Third-Party Media Servers | Key Features |
|---|---|
| Kodi | Free and open-source Extensive customization options Wide range of add-ons |
| Plex | Free and paid plans Live TV channels Partnerships with media companies |
Both Kodi and Plex offer intuitive interfaces that help you navigate and organize your media files effectively. You can create playlists, filter content by genre or artist, and even set parental controls for a personalized streaming experience. These third-party media server software solutions provide a seamless way to transform your PC into a robust media server, capable of importing, managing, and streaming your content with ease.
With the convenience and versatility of third-party media servers like Kodi and Plex, you can take full control of your media library and enjoy a seamless and customized streaming experience on all your devices.
Hardware Requirements for a Media Server
Setting up a media server requires the right hardware to ensure smooth video and audio streaming. Whether you’re repurposing a converted PC or using a Raspberry Pi, here are the key hardware requirements to consider:
- Newer computer: To handle video streaming, a newer computer with at least 4GB of RAM is recommended. This ensures sufficient processing power for smooth playback.
- Hard drive: You’ll need ample storage space to store your media files. Consider using a large external hard drive or a dedicated internal hard drive for optimal performance.
- Raspberry Pi: If you’re looking for a more compact and affordable option, a Raspberry Pi can be a great choice. It’s a small single-board computer that can handle basic media server functions.
- Thumb drive: A thumb drive can be useful for transferring media files between devices. It provides a convenient way to expand storage capacity and share files.
By ensuring you have the right hardware, you can create a powerful media server that meets your streaming needs.
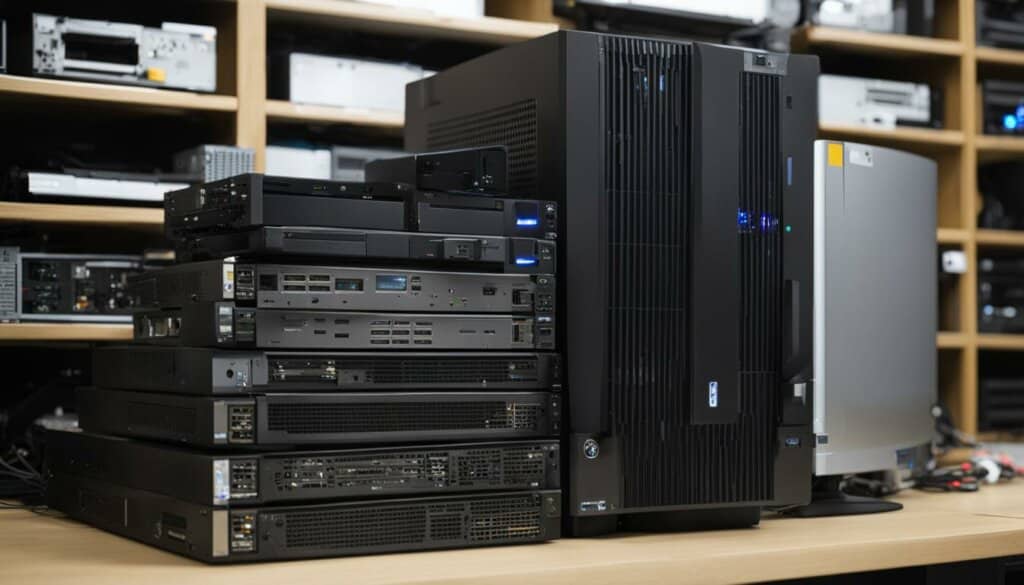
Table: Hardware Recommendations for a Media Server
| Hardware | Minimum Requirements |
|---|---|
| Newer computer | At least 4GB RAM |
| Hard drive | Ample storage space for media files |
| Raspberry Pi | Basic media server functions |
| Thumb drive | For file transfer and expanded storage |
With the right hardware, you can transform your PC or Raspberry Pi into a powerful media server, allowing you to enjoy your favorite movies, shows, and music anytime. Whether you choose a newer computer with ample processing power or opt for the compactness of a Raspberry Pi, meeting the hardware requirements ensures a smooth streaming experience. Additionally, adding a large hard drive or a thumb drive provides the storage capacity you need to store and transfer your media files effortlessly. Start building your media server today and create a personalized entertainment hub in your own home.
Setting Up a Media Server with Raspberry Pi
Transforming your Raspberry Pi into a dedicated media server is a straightforward process that allows you to enjoy your media files on multiple devices within your network. Whether you want to stream videos, music, or photos, setting up a media server on Raspberry Pi can provide a seamless entertainment experience.
Installing Media Server Software
Two popular media server programs for Raspberry Pi are Plex and Kodi. Plex offers a user-friendly interface and advanced features, such as transcoding and remote access. Kodi, on the other hand, is an open-source media center that allows for extensive customization.
To install Plex on Raspberry Pi, you can follow the official documentation available on the Plex website. The installation generally involves downloading the appropriate Raspberry Pi image and flashing it onto an SD card. Once the installation is complete, you can configure Plex to access your media files and start streaming.
If you prefer Kodi, you can install it using the Raspbian operating system. Simply open a terminal window on your Raspberry Pi and run the following command:
sudo apt install kodi
After the installation, you can configure Kodi to scan your media files and set up your library. Both Plex and Kodi offer comprehensive guides to help you with the setup process.
Expanding Storage with a Thumb Drive
Raspberry Pi devices typically have limited storage capacity. To expand the storage for your media files, you can connect a thumb drive to your Raspberry Pi. This allows you to store a larger collection of media and ensures smooth streaming without running out of space.
To connect a thumb drive, simply insert it into one of the USB ports on your Raspberry Pi. The thumb drive should be automatically detected and mounted. You can then configure your media server software to recognize the thumb drive as a storage location for your media files.
| Media Server Program | Supported Platforms | Key Features |
|---|---|---|
| Plex | Raspberry Pi, Windows, Mac, Linux, NAS devices | Transcoding, remote access, media organization |
| Kodi | Raspberry Pi, Windows, Mac, Linux, Android | Customizable interface, extensive plugin support |
By setting up a media server with Raspberry Pi, you can create a centralized hub for all your media files and enjoy them on various devices throughout your network. Whether you choose Plex or Kodi, the process is relatively simple and can enhance your entertainment experience. With the added storage capacity of a thumb drive, you can build an extensive media library that caters to your preferences and media consumption habits.
DLNA Streaming and Media Server Compatibility
The Digital Living Network Alliance (DLNA) is a standard that enables local media streaming across a network. It allows you to effortlessly stream video and audio files from your media server to a wide range of DLNA-compatible playback devices. It’s essential to ensure compatibility between your media server software and the devices you intend to use for playback. This ensures a seamless streaming experience and eliminates any restrictions on supported file formats or DRM-protected files.
Popular media server software programs like Windows 10’s native software, Plex, and Jellyfin support DLNA streaming. These software programs categorize and organize your media files, making it easier to access and stream them through DLNA-certified devices. However, it’s important to note that different devices may have limitations on supported file formats, so it’s crucial to confirm compatibility with your chosen playback devices.
To better understand DLNA compatibility and the supported file formats for different devices, refer to the user guides or manufacturer specifications. This will ensure that your media files are in the correct format for seamless playback on your chosen playback devices.
Overall, DLNA streaming and media server compatibility offer a convenient solution for streaming your media files across multiple devices within your network. It’s important to choose a media server software that supports DLNA and to confirm compatibility with your devices to create a seamless streaming experience.
| DLNA-Compatible Devices | Supported File Formats |
|---|---|
| Smart TVs | MPEG-2, MPEG-4, H.264, AAC, MP3 |
| Set-top Boxes | MPEG-2, MPEG-4, H.264, AAC, MP3 |
| Game Consoles | MPEG-2, MPEG-4, H.264, AAC, MP3 |
| Media Players | MPEG-2, MPEG-4, H.264, AAC, MP3 |
Using DLNA with Windows Media Player
Windows Media Player 11 is a versatile media player that can also act as a DLNA media server, allowing network media playback devices to access and play media files from your computer. By enabling DLNA streaming with Windows Media Player, you can easily share your media files with other DLNA-certified devices on your network. Here’s how to set it up:
1. Open the Control Panel on your Windows computer and search for “media.
2. Select “Media streaming options” from the search results.
3. In the Media Streaming Options window, click on the “Turn on media streaming” button to enable media streaming from your computer.
4. Customize the media streaming options by selecting which computers and devices are allowed to connect to your media library.
“Windows Media Player 11 can be a convenient solution for DLNA streaming, especially if you’re already familiar with the software. By enabling media streaming and configuring the options, you can easily share your media files with network media playback devices within your home network. It’s a great way to enjoy your movies, music, and photos on the big screen.”
Once you have set up DLNA streaming with Windows Media Player, other DLNA-certified devices on your network, such as smart TVs, game consoles, and media players, will be able to discover and access your media files through the player. It provides a seamless way to enjoy your media library on various devices without the hassle of manually transferring files. With Windows Media Player 11 and DLNA compatibility, your media streaming options are expanded, allowing you to create a connected entertainment experience in your home.
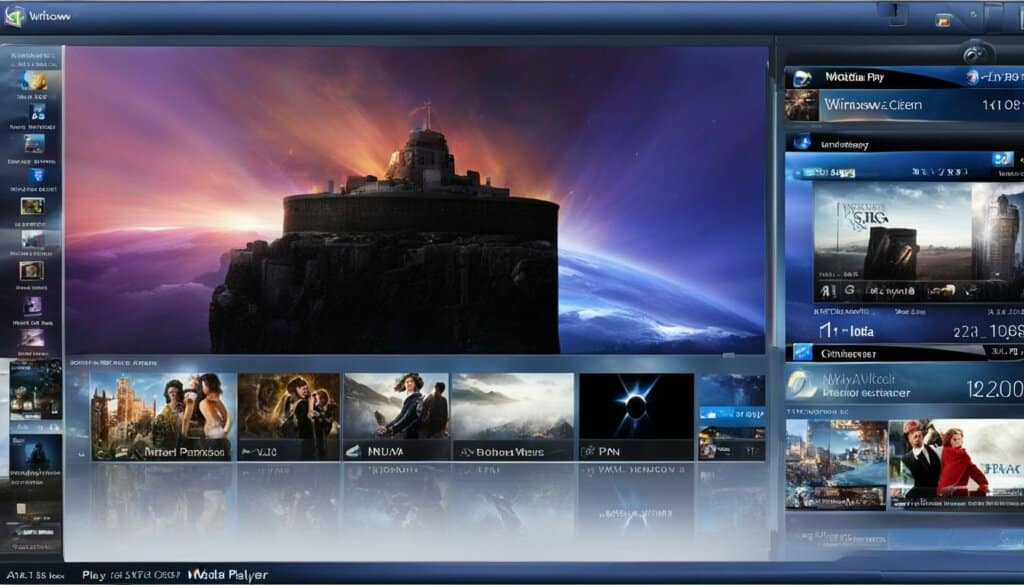
Table: Steps to Enable DLNA Streaming with Windows Media Player
| Step | Description |
|---|---|
| Step 1 | Open the Control Panel on your Windows computer and search for “media.” |
| Step 2 | Select “Media streaming options” from the search results. |
| Step 3 | In the Media Streaming Options window, click on the “Turn on media streaming” button to enable media streaming from your computer. |
| Step 4 | Customize the media streaming options by selecting which computers and devices are allowed to connect to your media library. |
Third-Party DLNA Media Servers
While Windows’ built-in media streaming feature is a convenient option for setting up a DLNA media server, there are also several third-party DLNA servers available that offer additional features and customization options. These servers provide a user-friendly interface and allow you to search for and stream media files from your computer to DLNA-compatible devices. Let’s take a look at some of the popular third-party DLNA media servers:
| DLNA Media Server | Description |
|---|---|
| PlayOn | PlayOn is a DLNA media server that offers access to various streaming services, such as Netflix, Hulu, and Amazon Video, in addition to your local media library. It acts as a bridge between these streaming services and DLNA-compatible devices, allowing you to stream content from these services on devices that don’t support them natively. |
| Plex | Plex is a popular media server platform that organizes and streams your media files across different devices. It offers a sleek and intuitive interface, rich metadata support, and features like live TV, DVR, and remote access. Plex also has a wide range of apps and plugins that enhance its functionality and allow you to expand your media library. |
| Serviio | Serviio is a DLNA media server that supports a wide variety of media formats and offers transcoding capabilities, ensuring compatibility with different devices. It allows you to organize your media files into libraries, set up online content sources, and even stream media files over the internet. Serviio also provides advanced control options, such as restricting access to specific devices or users. |
| TVersity | TVersity is a DLNA media server that focuses on streaming internet-based content to DLNA-compatible devices. It allows you to access online content from popular services like YouTube, Vimeo, and BBC iPlayer, as well as your local media files. TVersity offers transcoding capabilities to ensure seamless playback on different devices and supports a wide range of media formats. |
| Twonky | Twonky is a DLNA media server known for its simplicity and ease of use. It automatically scans your computer for media files and organizes them into a user-friendly interface. Twonky supports a wide range of devices and media formats and allows you to stream your media library to DLNA-certified devices in your home network. |
| Universal Media Server | Universal Media Server (UMS) is an open-source DLNA media server that offers cross-platform compatibility, supporting Windows, Mac, and Linux. It provides transcoding capabilities, extensive subtitle support, and the ability to customize the transcoding settings for optimal playback on different devices. UMS also offers a web interface for remote access and control of your media server. |
These third-party DLNA media servers provide a wide range of features and options to enhance your media streaming experience. Depending on your specific needs and preferences, you can choose the one that best suits your requirements and start enjoying seamless media streaming throughout your home network.
Why Choose a Third-Party DLNA Media Server?
While Windows 10’s native media server software offers basic functionality, third-party DLNA media servers often provide more advanced features and customization options. Here are a few reasons why you might consider using a third-party DLNA media server:
- Expanded streaming options: Third-party DLNA media servers like PlayOn and TVersity allow you to access online streaming services that may not be available through the native media server software. This gives you a wider range of content to stream and enjoy on your DLNA-compatible devices.
- Enhanced media organization: Many third-party media servers, such as Plex and Universal Media Server, offer robust media organization features. They automatically fetch metadata for your media files, including cover art, movie synopses, and episode details. This makes it easier to navigate and discover content in your media library.
- Transcoding capabilities: Some third-party media servers, like Serviio and Universal Media Server, support transcoding. This means they can convert media files on the fly to formats compatible with your playback devices. Transcoding ensures that you can play your media files on devices that may have limited format support.
- Advanced control options: Third-party DLNA media servers often offer more control over your media streaming experience. For example, Serviio allows you to restrict access to specific devices or users, while Plex offers remote access and streaming capabilities, allowing you to enjoy your media library from anywhere with an internet connection.
Overall, third-party DLNA media servers provide additional features and flexibility that can enhance your media streaming experience and give you more control over your media library.
Organizing and Accessing Media Files with DLNA
DLNA media servers offer a convenient way to organize and access your media files on networked devices. With the help of media server software, you can easily categorize and manage your media libraries, ensuring a seamless streaming experience.
When setting up your DLNA media server, the software scans your computer for media files in specific folders such as Pictures, Music, and Videos. It also utilizes metadata embedded in the media files to create folders based on criteria like artist, genre, date, and playlists. These media server-created folders provide a user-friendly interface on DLNA-compatible devices, making it easier to browse and play your media files.
To illustrate the organization of media files with DLNA, consider the following table:
| Folder | Contents |
|---|---|
| Music | Artist A, Artist B, Artist C |
| Videos | Movie A, TV Show B, Home Videos |
| Pictures | Vacation Photos, Family Events |
As shown in the table, the media server software organizes the media files into folders based on their respective categories. This allows you to easily navigate through your music collection by artist, access your favorite movies and TV shows in the Videos folder, and relive precious memories through the Pictures folder.
By utilizing DLNA media server software and the organization of files into folders, you can efficiently manage and access your media library, creating a personalized and user-friendly media streaming experience.
DLNA Compatibility and Playback Devices
When setting up a home media server, it’s essential to ensure DLNA compatibility between your media server software and playback devices. DLNA-certified devices, such as media players, renderers, and controllers, ensure seamless communication and compatibility within your network.
DLNA compatibility allows you to stream media files from your server to a wide range of devices, including smart TVs, game consoles, and set-top boxes. However, it’s crucial to check the user guides of your specific playback devices to determine their supported file formats and DLNA capabilities.
The supported file formats vary depending on the brand and model of the device. Some devices may have limitations on certain file formats or DRM-protected files. To ensure a smooth playback experience, it’s important to ensure that your media files are in a compatible format for your chosen playback devices.
While DLNA facilitates easy media streaming between compatible devices, it’s worth noting that not all devices support all file formats. Therefore, it’s advisable to transcode or convert your media files into a supported format if necessary. This will ensure that your media files can be played seamlessly across your network of DLNA-compatible devices, providing an immersive and enjoyable entertainment experience.
| Device | Supported File Formats | DLNA Compatibility |
|---|---|---|
| Smart TV | MP4, MKV, AVI, MP3, WAV | Yes |
| Game Console | MP4, AVI, WMV, AAC, MP3 | Yes |
| Set-Top Box | MP4, MKV, AVI, AAC, FLAC | Yes |
As seen in the table above, different playback devices may have varying support for file formats. It’s important to consider these limitations when organizing your media library and selecting the appropriate media server software. By ensuring DLNA compatibility and understanding the supported file formats, you can enjoy seamless media streaming on your preferred playback devices.
Conclusion
Transforming your PC into a multimedia server opens up a world of possibilities for streaming, storing, and managing your media files. With a Multimedia PC Server, you can enjoy the freedom of accessing your favorite movies, shows, and music without relying on external streaming services. Whether you choose to use the native media server software on Windows or opt for third-party solutions like Kodi or Plex, the possibilities are endless.
Media streaming has become an essential part of our entertainment experience, and a Multimedia PC Server is the key to unlocking seamless media streaming. By utilizing DLNA compatibility, you can easily stream your media files to a wide range of devices within your network. This means that you can enjoy your movies, shows, and music on your smart TV, game console, or any other DLNA-certified device.
Take control of your media library with the right media server software. Whether you’re a movie enthusiast, a music lover, or simply want to have easy access to your media, a Multimedia PC Server is the perfect solution. Start setting up your multimedia PC server today and immerse yourself in a new era of media streaming.
FAQ
What is a home media server?
A home media server is a system that allows you to store and stream your favorite movies, shows, music, and more from your converted PC.
What are the benefits of a home media server?
A home media server provides the freedom to access your media anytime without relying on streaming services and preserves video quality, especially for high-definition content. It also allows you to stream Blu-ray quality movies even without internet access.
How can I set up a media server on Windows 10?
To set up a media server on Windows 10, you can use the native software by going to the Control Panel, searching for “media” in the search box, and selecting “Media streaming options” under the Network and Sharing Center. From there, you can turn on media streaming and choose the media streaming options for your computer and devices.
What are some third-party media server software options for Windows and Mac?
Some popular third-party media server software options for Windows and Mac include Kodi and Plex. Kodi is a free and open-source software that offers customization options, while Plex has both free and paid plans, offering features like live TV channels and partnerships with media companies.
What hardware do I need to set up a media server?
For streaming video, it is recommended to have a newer computer with at least 4GB of RAM and a reliable internet connection. If you’re primarily streaming podcasts or audio files, an older computer may suffice. Alternatively, you can use a Raspberry Pi, a small and affordable computer, as your media server. You may also need a large thumb drive or external hard drive to store and transfer media files.
How can I set up a media server with Raspberry Pi?
To set up a media server with Raspberry Pi, you can install media server software like Plex or Kodi on it. Simply connect the Raspberry Pi to your network, download and install the desired media server program, and configure it to access your media files. You can also connect a large thumb drive or external hard drive to the Raspberry Pi to expand its storage capacity for media files.
What is DLNA and how does it relate to media servers?
DLNA (Digital Living Network Alliance) is a standard for local media streaming across a network. Many media server software programs support DLNA, allowing you to stream video and audio to a wide range of devices, such as smart TVs and game consoles.
How can I enable DLNA streaming with Windows Media Player?
To enable DLNA streaming with Windows Media Player, go to the Control Panel, search for “media,” and select “Media streaming options.” From there, you can turn on media streaming and specify the options for computers and devices. This enables other DLNA-certified devices on your network to access your media files through Windows Media Player.
What are some third-party DLNA media server options?
Some third-party DLNA media server options include PlayOn, Plex, Serviio, TVersity, Twonky, and Universal Media Server. These servers allow you to search for and stream media files from your computer to DLNA-compatible devices.
How does DLNA help organize and access media files on networked devices?
DLNA media servers scan your computer for media files in specific folders and utilize metadata to categorize and organize them into folders. These media server-created folders make it easier to find and access your media files based on criteria like artist, genre, date, and playlists.
Are all playback devices compatible with DLNA media servers?
While DLNA facilitates easy media streaming between compatible devices, it’s important to check the user guides of your specific playback devices to determine their supported file formats and DLNA compatibility. Some devices may have limitations on supported file formats or DRM-protected files.


