

Table of Contents
Do you want to make your WordPress site safer? Just using passwords isn’t always enough to stop hackers.
In this article, we’ll guide you through setting up 2-step verification on your WordPress site using the Google Authenticator plugin and app.
What is the Google Authenticator app, and why is it important for your WordPress site?
The Google Authenticator app is a mobile app that adds an extra layer of security each time you log in to a third-party app or site, such as WordPress.
Sometimes, passwords can be guessed by bad people. If you use the same password on lots of websites and one gets hacked, it’s bad news for your other accounts. People often don’t bother to change their passwords even after hearing about a security problem on a prominent site.
The 2-step verification fixes this. Even if a hacker knows your WordPress username and password, they can’t get into your WordPress hosting site unless they have a unique security code from Google Authenticator, and it’s only valid for a short time.
The Google Authenticator app is just one example of a mobile app that offers two-factor authentication (2FA) for different online accounts and services.
It creates time-based passwords that you only use once (TOTPs). These act as the second step when you log in to an account.
How to Add Google Authenticator in WordPress
Method 1. Using the Google Authenticator plugin
1. Log into your WordPress dashboard.
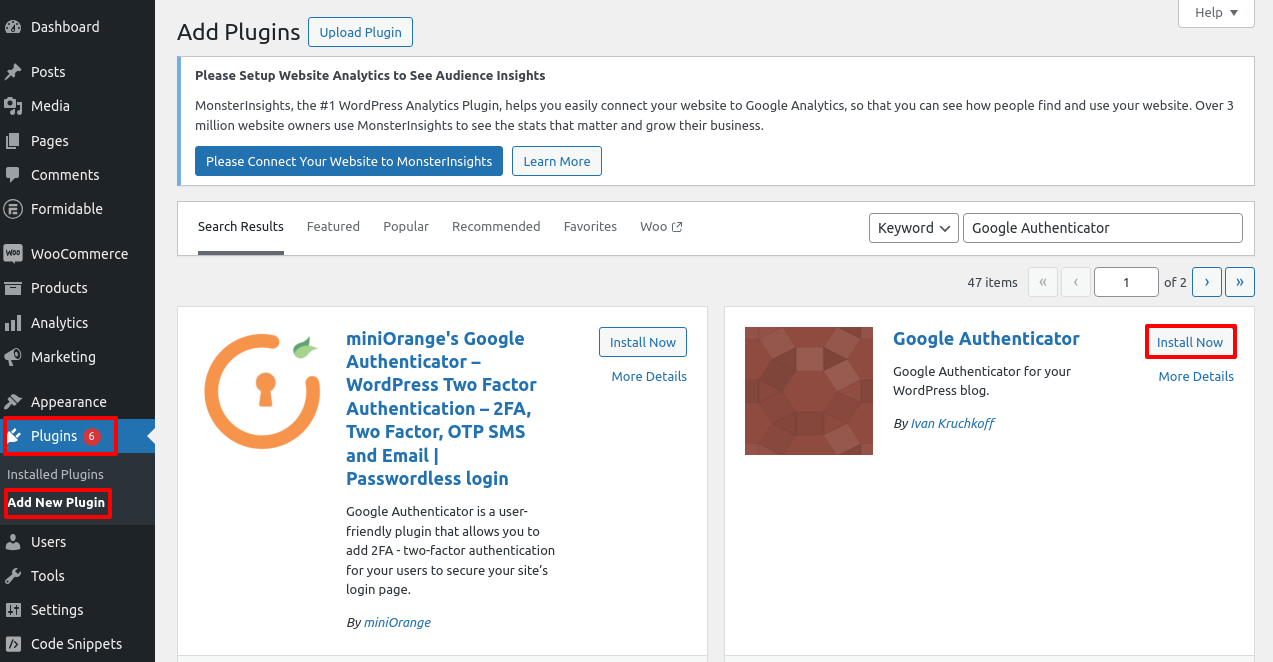
2. Navigate to Plugins > Add New.
3. Search for the Google Authenticator plugin.
4. Click on Install Now and Activate it.
5. After that, navigate to the sidebar and click on Users > Profile.
6. Scroll down to the Google Authenticator settings option.
Related Posts:


If you can’t see the QR code, click on the button that says “Show/Hide QR code.”
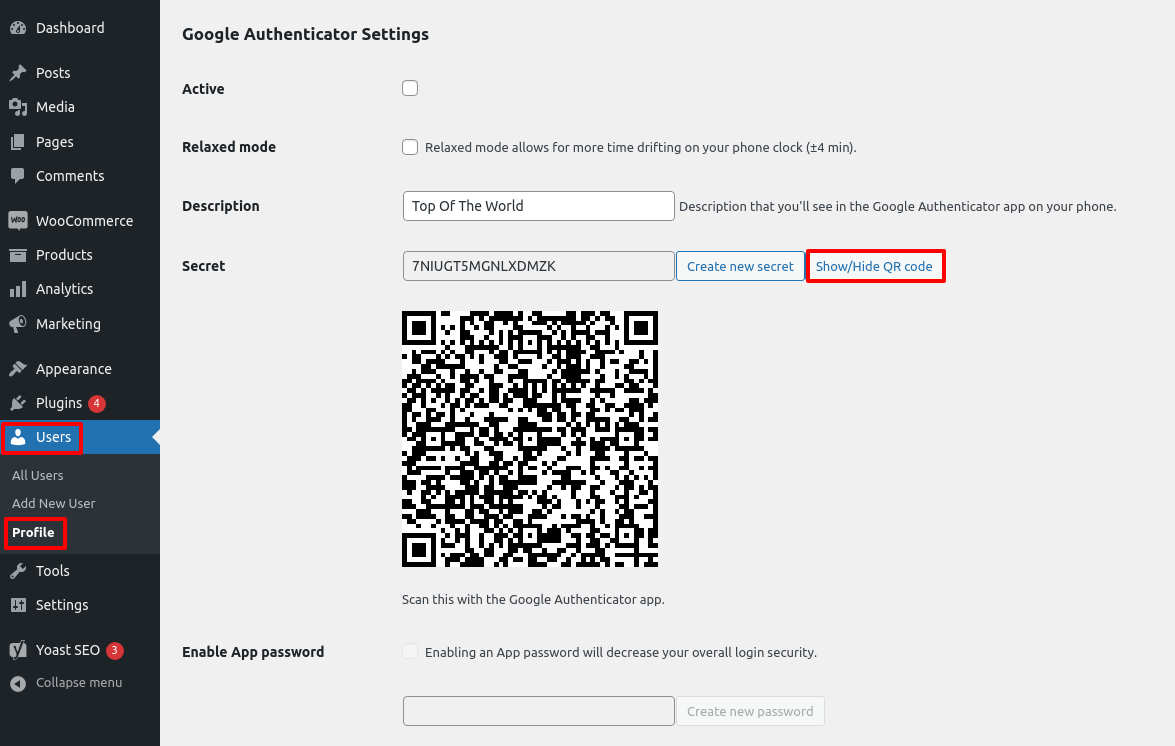
- Active: Check this box after you’ve finished setting up. This will turn on Google Authenticator for your site.
- Relaxed Mode: Allows Google Authenticator codes to last for up to 4 minutes instead of expiring every minute.
- Description and Secret Key: The description is the name of your account in the Google Authenticator app. The secret key is used if you can’t scan the QR code.
- Turn on the App Password: Only if your WordPress site uses XML-RPC (remote publishing).
7. Check the Active option, enter the description, and then click Update Profile to save the settings.
Method 2: Using MiniOrange’s Google Authenticator Plugin
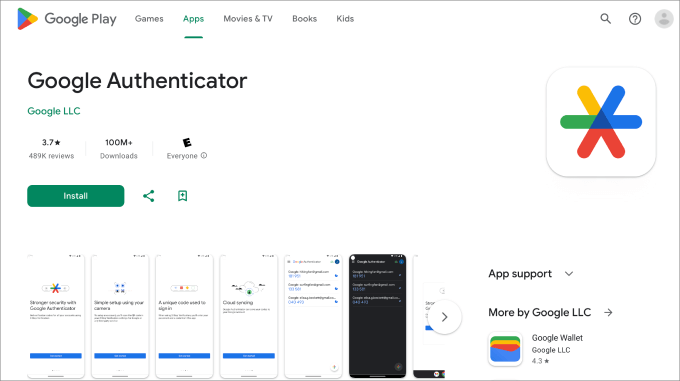
First, download the Google Authenticator app on your phone.
Step 1: Install the Google Authenticator App on Your Mobile
Go to the App Store, look for ‘Google Authenticator’, and then tap ‘Install’ to get the app.
Now, let’s return to your WordPress dashboard.
Step 2: Install MiniOrange’s Google Authenticator Plugin
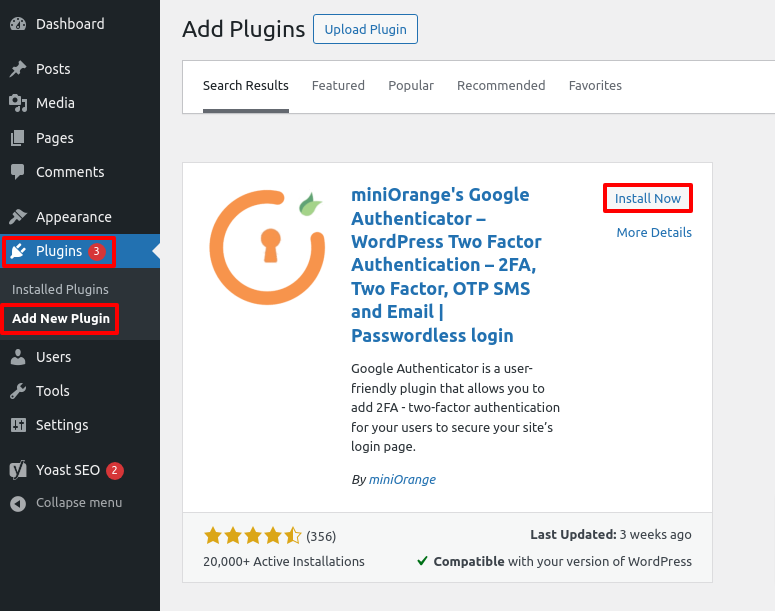
- Log into your WordPress dashboard.
- Navigate to Plugins > Add New.
- Search for the MiniOrange Google Authenticator plugin.
- Click on Install Now and Activate it.
This free WordPress plugin helps keep your site safe from unauthorized access. Whenever you log in to WordPress, you’ll need to enter a one-time passcode from the Google Authenticator app to prove it’s you.
When you activate the plugin, a set up wizard will guide you through the process of setting up your Google Authenticator two-factor authentication in WordPress. Just follow the steps.
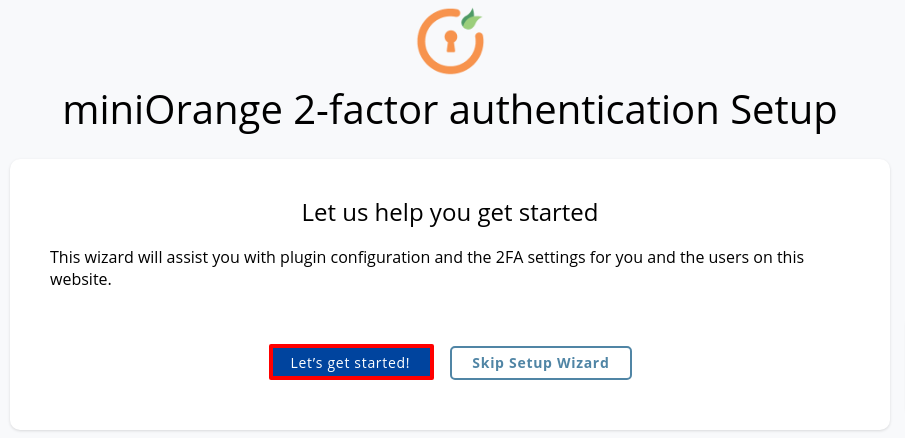
Step 3. Start the setup process
Click on “Let’s get started”.
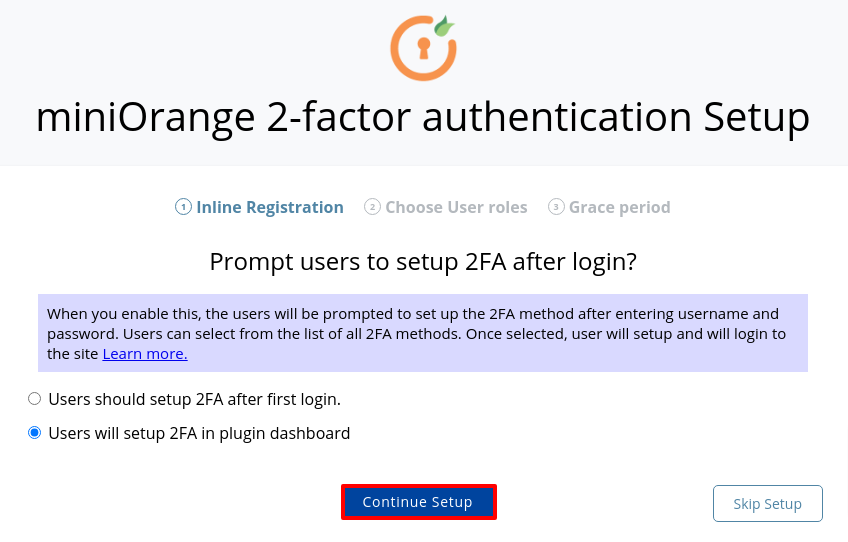
Next, you’ll be asked if you wish to set up 2FA after your first login or within the plugin dashboard. Both methods are okay.
Click ‘Continue Setup.’
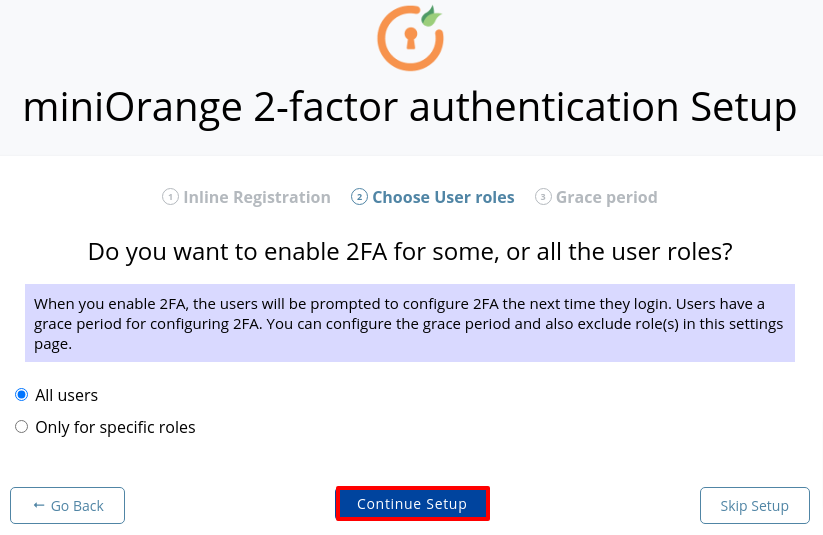
Next, choose who you want to use 2FA. You can pick All Users for top security, or only select certain types of users.
Then click ‘Continue Setup.’
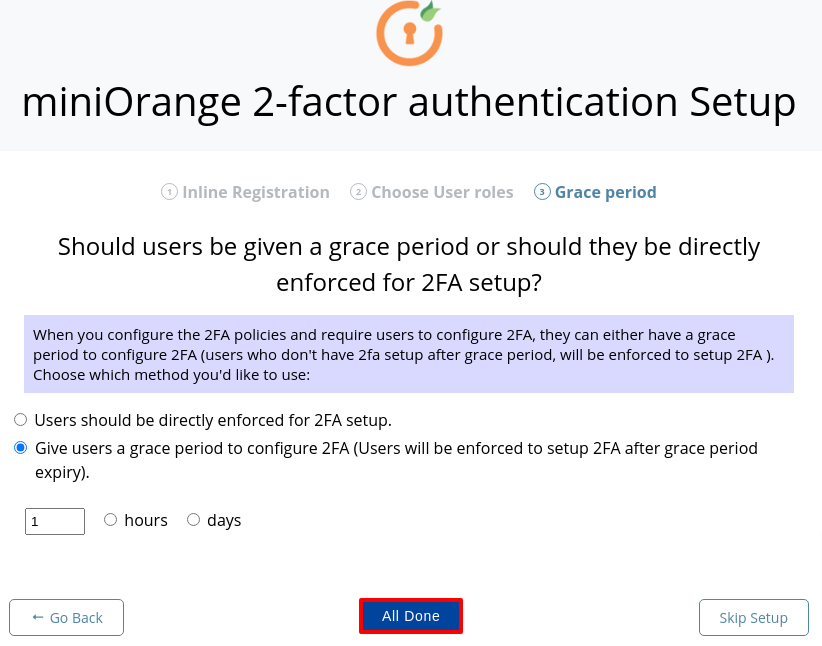
Finally, you’ll be asked if you want to enforce 2FA right away or give users some time.
If you choose to give users time, you can pick how long, in hours and days. When you’re done, click ‘All Done.’
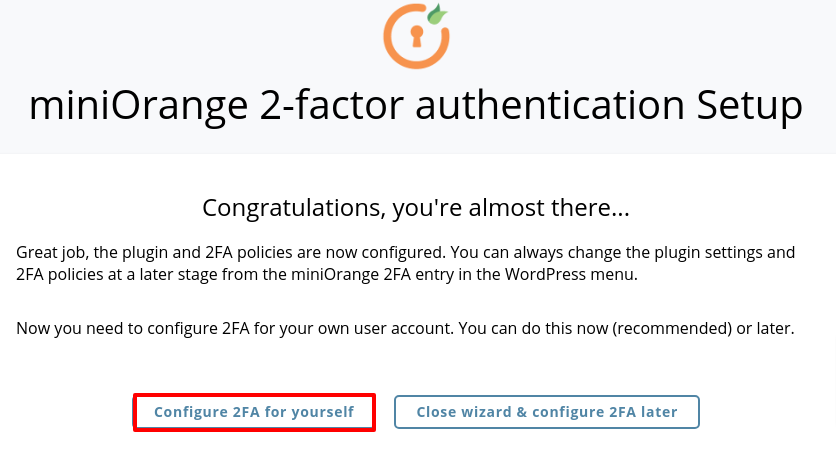
Now that you’ve finished setting up, you can choose whether to set up 2FA for yourself now or later.
Click the ‘Configure 2FA for yourself’ button to proceed.
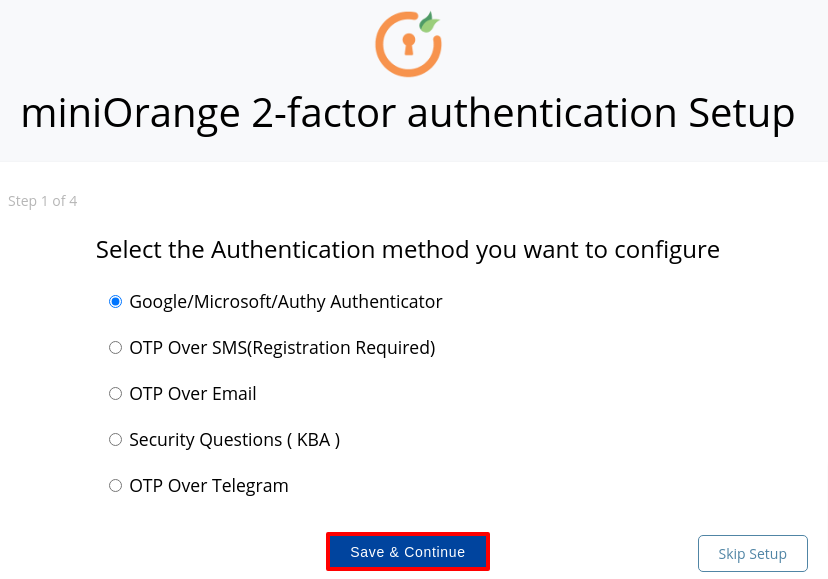
Here, you’ll need to choose the method of 2-factor authentication for your WordPress site.
For this guide, select ‘Google/Microsoft/Authy Authenticator.’ Then, click ‘Save & Continue.’
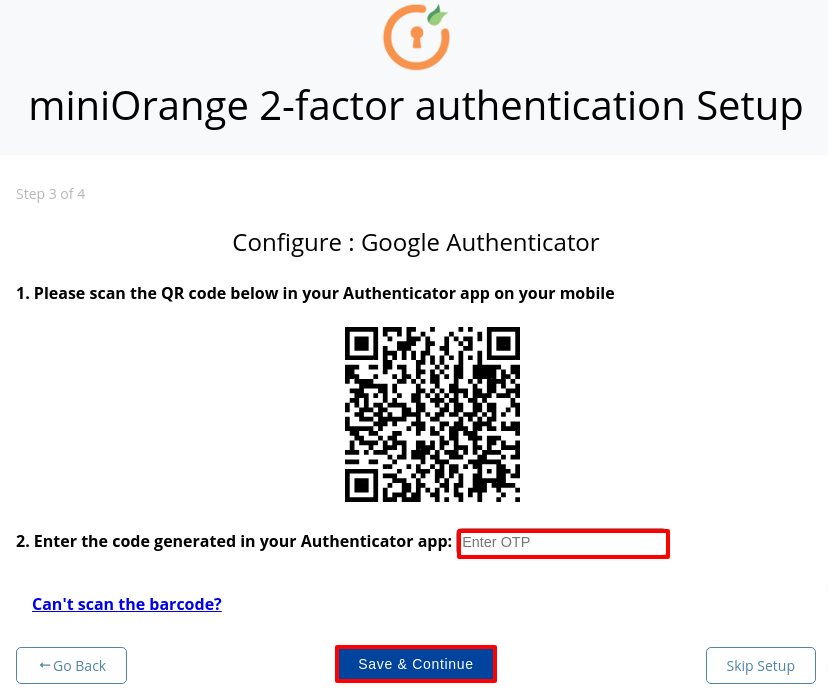
Next, you’ll need to scan the barcode on the screen. Open the Google Authenticator app on your phone and scan the barcode shown.
In the Google Authenticator app on your phone, tap the ‘+’ icon at the bottom, then select ‘Scan a QR code.’ Aim your phone camera at the barcode on your computer screen to scan it.
Enter OTP and click on Save & Continue.
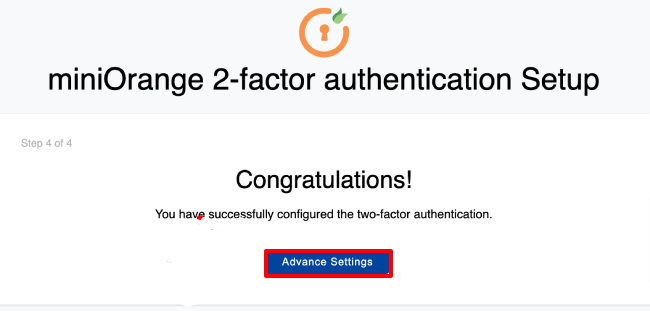
You’ll receive a message saying you’ve set up two-factor authentication successfully.
Just choose ‘Advance Settings.’
Step 4. Add security questions
Besides setting up Google Authenticator 2-factor authentication, you might also add security questions.
If you can’t use your Google Authenticator app, you can still log in to your WordPress site by answering the security questions you’ve set.
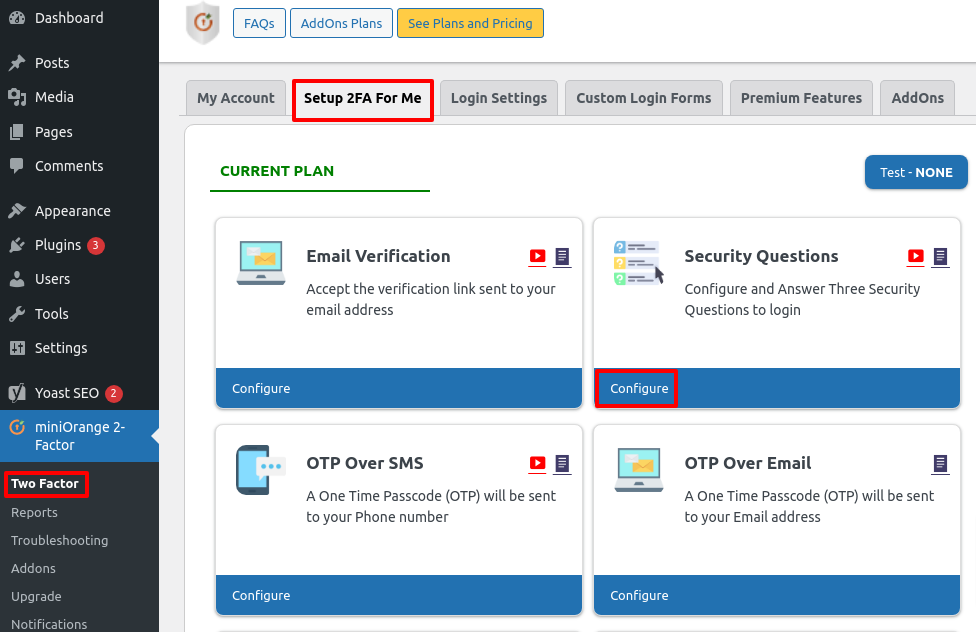
Navigate to the Mini Orange 2-Factor > Two Factor page in your WordPress admin dashboard. Then, in the Setup 2FA For Me tab, find the Security Questions method and click on ‘Reconfigure.’
Remember, you can also set up other types of two-factor authentication methods, like email verification, OTP over email, OTP over SMS, OTP over Telegram, and even Duo Authenticator.
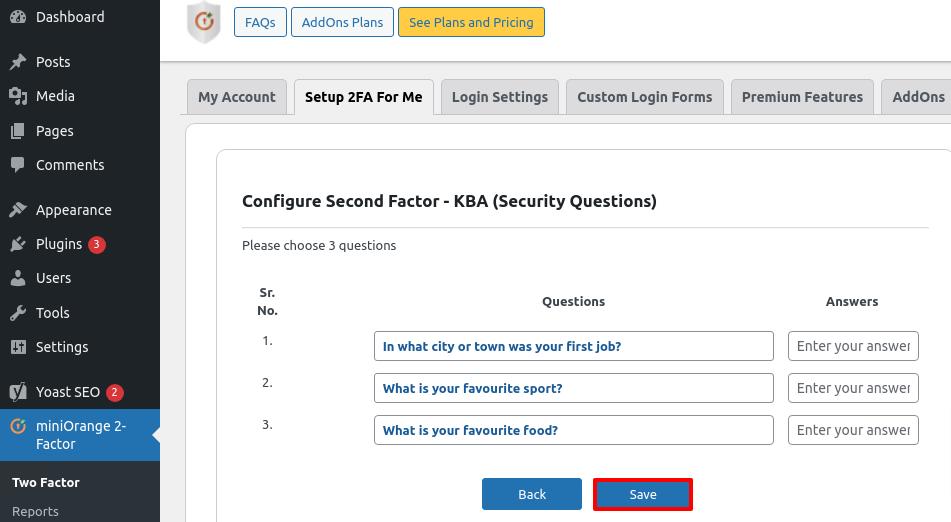
Next, you can choose up to three security questions. Pick two from a dropdown menu, and make up your own for the third.
Then, type in your answers and click ‘Save.’
Step 5: Test it for yourself
Once everything is set up, you can test it out. Just log out of your WordPress dashboard and try logging back in.
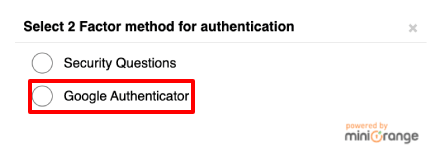
You’ll see a page where you can either answer security questions or use Google Authenticator to enter your one-time passcode.
Choose the ‘Google Authenticator’ option.
On this screen, you need to enter the OTP from your Google Authenticator app. Enter the code and click ‘Validate.’
Now, you’ll return to your WordPress admin dashboard, like usual.
Conclusion
In conclusion, adding Google Authenticator 2-Step Verification to your WordPress site is important for making it more secure. It adds an extra step when you log in, which makes it much harder for someone to get in without your permission, even if they know your password.
With Google Authenticator, each login requires a unique code generated on your mobile device, providing an extra level of protection against potential threats. Remember, safeguarding your website is essential for maintaining its integrity and protecting your data and your users’ data. So, take this security tip seriously and keep your WordPress site safe from potential intruders.