Table of Contents
Creating shortcuts on your desktop can significantly enhance your digital workflow by providing quick and easy access to your most frequently used files, folders, and applications. With these desktop shortcuts, you can streamline your desktop experience, saving valuable time and increasing productivity.
In this comprehensive guide, we will explore various methods to create desktop shortcuts in Windows. Whether you’re a beginner or an advanced user, you’ll find step-by-step instructions to help you master the art of desktop shortcut creation. So, let’s dive in and discover how to create desktop shortcuts effortlessly.
When it comes to creating desktop shortcuts, you have several methods at your disposal. Each method offers ease of use and efficiency, ensuring that you can create shortcuts tailored to your specific needs. In the following sections, we will cover five different methods to create desktop shortcuts on your Windows computer.
Method 1: Using the Right-Click Menu
Creating desktop shortcuts can be a breeze when you harness the power of the right-click menu. Here’s a step-by-step guide on how to create a desktop shortcut effortlessly:
-
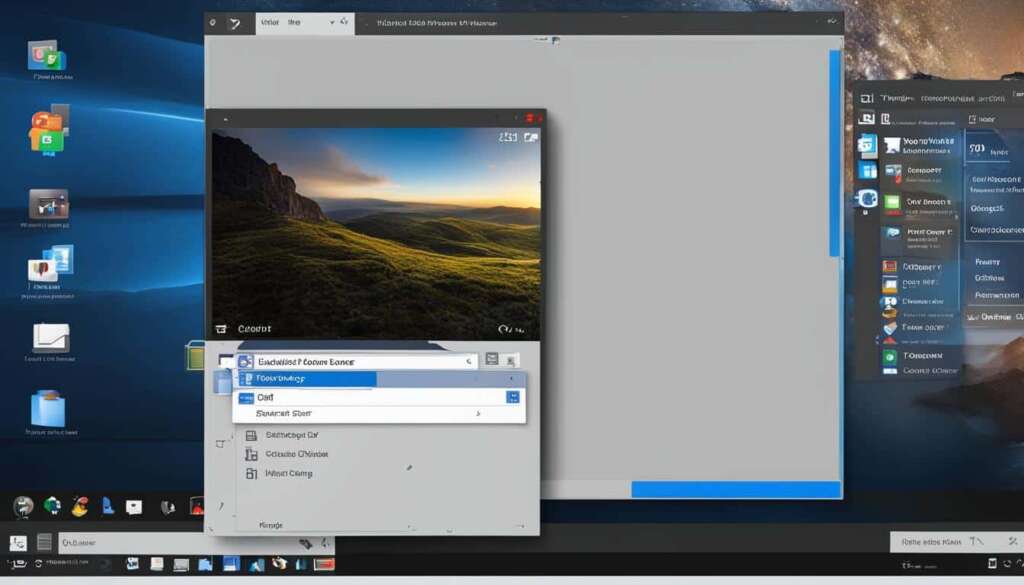
Right-click anywhere on the free space of your desktop and select “New” from the context menu.
-
From the submenu that appears, choose “Shortcut”.
-
Browse to the location of the file or folder you want to create a shortcut for and select it.
-
Click “Next” and enter a name for the shortcut.
-
Finally, click “Finish” to complete the creation of the desktop shortcut.
This straightforward method allows you to quickly create desktop shortcuts for easy access to your most essential files, folders, or applications. Now, let’s explore other methods of shortcut creation in the following sections.
Method 2: Using File Explorer
File Explorer is a powerful tool in Windows that allows you to navigate through your files and folders with ease. It also provides a convenient method for creating desktop shortcuts. Follow these simple steps to create a shortcut using File Explorer:
- Open File Explorer by clicking on the folder icon in the taskbar, or by pressing the Windows key + E on your keyboard.
- Navigate to the file or folder for which you want to create a shortcut.
- Right-click on the file or folder and select “Create shortcut” from the context menu.
- A shortcut will be created in the same location as the original file or folder.
- For easy access, simply drag the shortcut to your desktop.
Creating a desktop shortcut using File Explorer is a quick and efficient way to have important files and folders at your fingertips. Now you can easily access them without having to navigate through multiple folders every time. Try it out and see how it simplifies your workflow!
Benefits of Using File Explorer for Shortcut Creation
Utilizing File Explorer for creating desktop shortcuts offers several advantages:
| Efficiency | Ease of Use | Organizational Benefits |
|---|---|---|
| Save time by accessing frequently used files and folders with a single click. | Create shortcuts with just a few right-clicks, eliminating the need for complex processes. | Arrange your shortcuts in a manner that suits your workflow, keeping your desktop clean and organized. |
| Reduce frustration by reducing the number of steps required to open important files. | Enjoy a user-friendly interface that allows for intuitive shortcut creation. | Visualize your files and folders, ensuring quick and efficient access at all times. |
Method 3: Using the Shortcut Wizard
Creating desktop shortcuts doesn’t have to be a complicated process. With the Shortcut Wizard, you can quickly and effortlessly create shortcuts for your most frequently used files, folders, and programs. Follow these simple steps to create desktop shortcuts like a pro:
- Right-click on the desktop and select “New” from the context menu.
- Choose “Shortcut” from the submenu that appears.
- The Shortcut Wizard will open, asking for the location of the item you want to create a shortcut for.
- Enter the location or browse for the file, folder, or program you want to create a shortcut for.
- Click “Next” and enter a name for the shortcut. Be sure to choose a descriptive name that will help you easily identify the shortcut.
- Click “Finish” to create the desktop shortcut.
With the Shortcut Wizard, you can create shortcuts for any type of file, folder, or program on your desktop. Whether it’s a frequently accessed document, a favorite website, or a productivity tool, the Shortcut Wizard makes shortcut creation a breeze.
Now that you know how to use the Shortcut Wizard, you’ll be able to create desktop shortcuts like a shortcut wizard yourself, saving you time and making your digital workflow more efficient.
Creating desktop shortcuts with the Shortcut Wizard is just one of the many methods you can use to enhance your digital productivity. In the next section, we’ll explore another simple yet effective method: Drag and Drop.
Method 4: Drag and Drop
Creating desktop shortcuts doesn’t have to be a complicated task. With the drag and drop method, you can quickly and easily create shortcuts for your frequently accessed files and folders. Let’s explore the step-by-step process:
- Open File Explorer and locate the file or folder you want to create a shortcut for.
- Click and hold the file or folder, then drag it to the desktop.
- Release the mouse button to create the shortcut on the desktop.
This intuitive method saves you time and effort by eliminating the need for complex menus or wizards. Simply drag and drop the desired item onto your desktop, and voila! You now have a convenient shortcut at your fingertips.
Whether it’s an important document, a frequently used application, or a folder containing essential files, creating desktop shortcuts through drag and drop allows you to access them with ease, speeding up your workflow and boosting productivity.
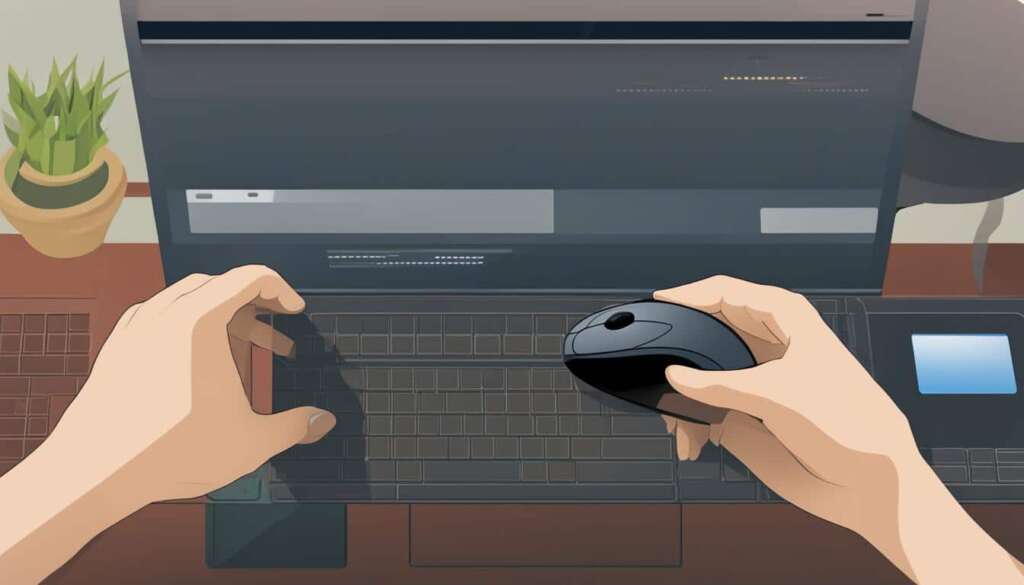
With a visual representation of the drag and drop process, you can see how simple and effective it is to create desktop shortcuts. Harness the power of drag and drop to personalize your desktop and optimize your digital experience.
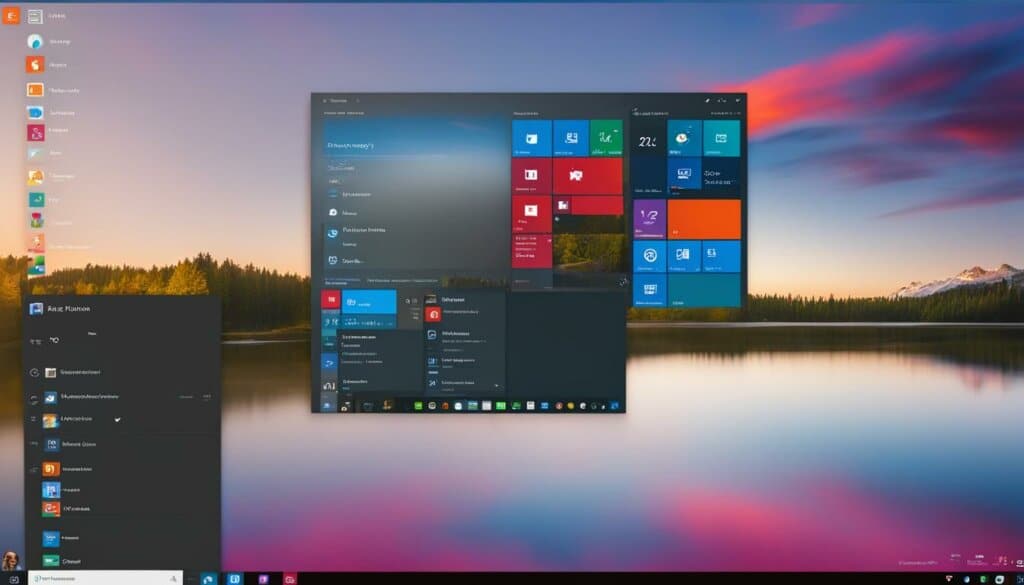
Method 5: Using the Start Menu
Are you ready to create a shortcut using the Start Menu? Let’s get started!
1. Open the Start Menu and locate the application or program you want to create a shortcut for.
2. Right-click on the application or program and select “More” from the context menu.
3. Choose “Open file location” to navigate to the program’s location in File Explorer.
4. Right-click on the program file and select “Create shortcut”.
5. The shortcut will be created in the same location as the original program file.
6. Finally, to have easy access to the shortcut, simply drag it to your desktop.
That’s it! You’ve successfully created a desktop shortcut using the Start Menu.
| Pros | Cons |
|---|---|
| Quick and easy access | Only works for programs listed in the Start Menu |
| No need to navigate through File Explorer | May clutter the Start Menu with shortcuts |
| Convenient for frequently used programs | Does not work for files or folders |
Conclusion
Creating desktop shortcuts is a simple yet powerful technique that can significantly enhance your digital workflow. By following the methods outlined in this guide, you can easily create shortcuts for your most frequently accessed files, folders, and applications, providing you with quick and convenient access to your digital assets.
Desktop shortcuts not only save you time and effort but also improve your productivity and efficiency. With just a few clicks, you can create shortcuts for important documents, favorite websites, and essential programs, eliminating the need to navigate through multiple folders or search for specific files.
Whether you prefer using the right-click menu, File Explorer, the Shortcut Wizard, drag and drop, or the Start Menu, the choice is yours. These methods offer flexibility and cater to different user preferences. Experiment with each method to find the one that suits your workflow best.
So, take control of your desktop and harness the power of desktop shortcuts today. Start creating shortcuts for your frequently used files and applications, and experience the convenience and efficiency they bring to your digital life.
FAQ
To create a desktop shortcut using the right-click menu, simply right-click anywhere on the free space of your desktop, select “New” from the context menu, choose the “Shortcut” option from the submenu, browse to the location of the file or folder you want to create a shortcut for, and click “Next” and enter a name for the shortcut. Finally, click “Finish” to complete the creation of the desktop shortcut.
How can I create a desktop shortcut using File Explorer?
To create a desktop shortcut using File Explorer, open File Explorer and navigate to the file or folder you want to create a shortcut for. Right-click on the file or folder, select “Create shortcut”, and the shortcut will be created in the same location as the original file or folder. Drag the shortcut to the desktop for easy access.
Can I use the Shortcut Wizard to create a desktop shortcut?
Yes, you can use the Shortcut Wizard to create a desktop shortcut. To do this, right-click on the desktop, select “New” from the context menu, choose “Shortcut” from the submenu, enter the location or browse for the file, folder, or program, click “Next” and enter a name for the shortcut, and finally, click “Finish” to create the desktop shortcut.
Is it possible to create a desktop shortcut by dragging and dropping?
Absolutely! To create a desktop shortcut by dragging and dropping, simply open File Explorer and locate the file or folder you want to create a shortcut for. Click and hold the file or folder, then drag it to the desktop. Release the mouse button to create the shortcut on the desktop.
Can I create a desktop shortcut from the Start Menu?
Yes, you can create a desktop shortcut from the Start Menu. Open the Start Menu and locate the application or program you want to create a shortcut for. Right-click on the application or program, select “More” from the context menu, choose “Open file location” to navigate to the program’s location in File Explorer. Right-click on the program file and select “Create shortcut”. Drag the shortcut to the desktop for easy access.
What are the benefits of creating desktop shortcuts?
Creating desktop shortcuts can greatly enhance your digital workflow by providing easy access to frequently used files, folders, and applications. With desktop shortcuts, you can streamline your desktop experience, improve productivity, and save time by eliminating the need to search for files and programs in complex folder structures.

