Table of Contents
If you’re looking to boost your productivity and multitasking capabilities, setting up a dual monitor setup on your PC is a great solution. With two screens, you can have more space to work with and easily switch between different applications and tasks. In this guide, we’ll walk you through the process of setting up dual monitors on your PC, from ensuring the necessary connections to configuring the display settings.
To begin, let’s make sure your PC has the proper connections for a dual monitor setup. You’ll need at least two HDMI outputs or one HDMI output and one DisplayPort output. If you have a dedicated graphics processing unit (GPU), you’ll have more options for connecting displays, with around four possible connections. Make sure to use the GPU outputs for connecting your monitors, not the motherboard’s outputs.
Once you’ve confirmed that your PC has the necessary connections, it’s time to connect the monitors. Take a standard HDMI cable and connect one end to the PC’s output and the other end to the first monitor’s input. Repeat this process for the second monitor, ensuring you have the proper output connections. If needed, you can use a DisplayPort to HDMI adapter cable for the second monitor.
Now that both monitors are physically connected to your PC, it’s time to configure the setup. Access the display settings in Windows by going to Start > Settings > System > Display. In the display settings, you can rearrange your displays by clicking and dragging them to your desired arrangement. You can also adjust individual settings for each monitor, such as resolution and additional features.
Lastly, choose a setting under “Multiple Displays” based on your preferences. You can choose to extend the displays, allowing you to use both screens independently, or duplicate them to show the same content on both monitors. Select the option that suits your needs.
Once you’ve completed these steps, you’ll have successfully set up a dual monitor setup on your PC. Enjoy the enhanced productivity and flexibility that comes with having two monitors, and make the most out of your workspace!
Ensure Your PC Has the Proper Connections
Before setting up dual monitors, it is important to check if your PC has the necessary connections. A dedicated graphics processing unit (GPU) can provide more options for connecting displays, with around four possible connections. Ensure that your PC has at least two HDMI outputs or one HDMI output and one DisplayPort output. If your PC does not have a dedicated GPU, the monitor connections will be found on the motherboard. It is crucial to use the GPU outputs for connecting displays, not the motherboard’s outputs.
Connecting the monitors to the GPU outputs ensures better performance and compatibility. Using the motherboard’s outputs may result in limited resolution options or even failure to display on the additional monitors entirely.
“Using the GPU outputs for connecting displays ensures better performance and compatibility.”
Having the required connections allows you to take full advantage of the benefits offered by a dual monitor setup, such as increased workspace, improved multitasking, and enhanced productivity.
PC Connections Comparison
| Connection Type | Advantages | Disadvantages |
|---|---|---|
| HDMI | Widely available Supports audio and video Allows for high-definition resolutions |
Limited cable length May not support refresh rates over 60Hz |
| DisplayPort | High refresh rates Supports higher resolutions Daisy-chaining multiple monitors |
Not as widely supported as HDMI Some older monitors may not have DisplayPort inputs |
Whether you opt for HDMI or DisplayPort, both connections offer their own advantages and provide excellent options for connecting dual monitors to your PC. The choice ultimately depends on your specific requirements and the availability of compatible inputs on your monitors.
Connect the Monitors to Your Computer
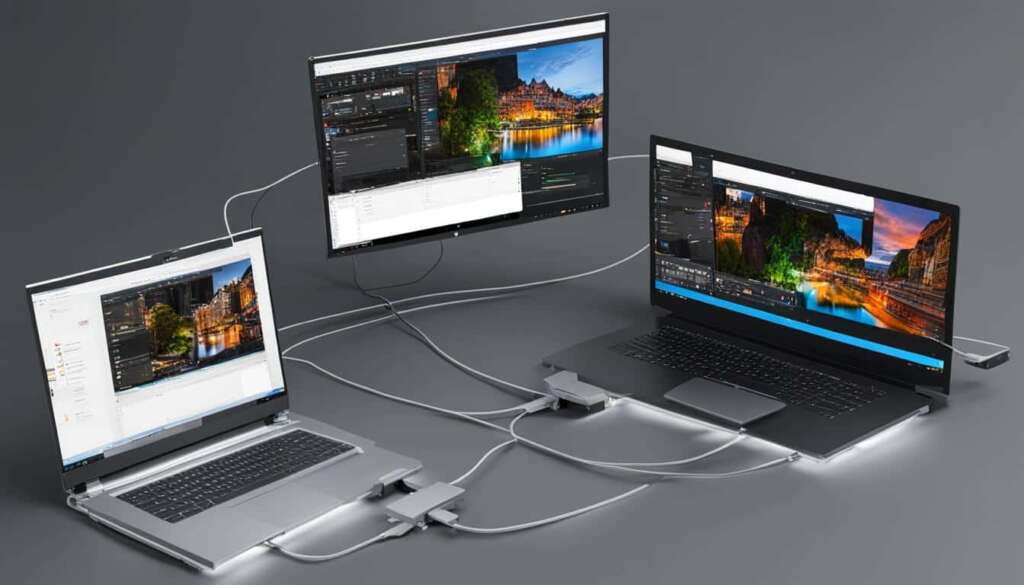
Once you have confirmed that your PC has the proper connections, the next step is to physically connect the monitors. Take a standard HDMI cable and connect one end to the PC’s output and the other end to the first monitor’s input. Windows will automatically detect the display, and the first connected monitor will become the main one. Repeat this process for the second monitor, ensuring that you have the necessary output connections from the PC to the input connection on the second display. If the second monitor does not have a matching input, you may need to use a DisplayPort to HDMI adapter cable. It’s important to have the correct cables for the physical connections between the PC and the monitors.
| Monitor | Input Connection | Cable |
|---|---|---|
| Monitor 1 | HDMI | HDMI cable |
| Monitor 2 | HDMI or DisplayPort (with adapter) | HDMI or DisplayPort cable |
“Windows will automatically detect the display, and the first connected monitor will become the main one.”
Configure Your Dual Monitor Setup
Now that both of your monitors are connected, it’s time to configure your dual monitor setup to optimize your display settings. To do this, access the display settings on your Windows PC. Simply go to Start > Settings > System > Display.
Within the display settings, you’ll have the option to rearrange your displays according to your preference. This feature allows you to effortlessly click and drag the monitors to your desired arrangement. You can easily switch the position of the monitors, whether you prefer them side by side or one on top of the other.
Additionally, you can also adjust the individual settings for each monitor. This includes tweaking the resolution to suit your needs and taking advantage of other features like Windows Night Light, which reduces blue light emissions for a more comfortable viewing experience.
Don’t forget to explore the “Multiple Displays” section at the bottom of the display settings. Here, you can choose whether to extend your displays, allowing you to use both screens separately and expand your workspace, or duplicate them to show the same content on both monitors. Select the setting that aligns with your preferences and requirements.
With your dual monitor setup configured, you can now enjoy the expanded screen space and take full advantage of the increased productivity that multiple displays offer. Whether you’re working on multiple projects simultaneously, multitasking with different applications, or simply enjoying immersive entertainment, the possibilities are endless with your dual monitor setup.
FAQ
Can I set up dual monitors on my PC?
Yes, setting up dual monitors on a PC can greatly enhance productivity and multitasking capabilities. Windows provides a simple and straightforward process for adding additional monitors to your setup.
What connections does my PC need for dual monitors?
To set up dual monitors, your PC should have at least two HDMI outputs or one HDMI output and one DisplayPort output. If your PC does not have a dedicated graphics processing unit (GPU), the monitor connections will be found on the motherboard. However, it is crucial to use the GPU outputs for connecting displays, not the motherboard’s outputs.
How do I physically connect the monitors to my PC?
Take a standard HDMI cable and connect one end to the PC’s output and the other end to the first monitor’s input. Repeat this process for the second monitor, ensuring that you have the necessary output connections from the PC to the input connection on the second display. If the second monitor does not have a matching input, you may need to use a DisplayPort to HDMI adapter cable.
How do I configure my dual monitor setup?
Access the display settings in Windows by going to Start > Settings > System > Display. In the display settings, you can rearrange your displays by clicking and dragging the monitors to your desired arrangement. You can also adjust individual settings for each monitor, such as resolution and additional features like Windows Night Light. At the bottom of the display settings, you can choose a setting under Multiple Displays, such as extending the displays or duplicating them. Select the appropriate setting based on your preferences.

