Table of Contents
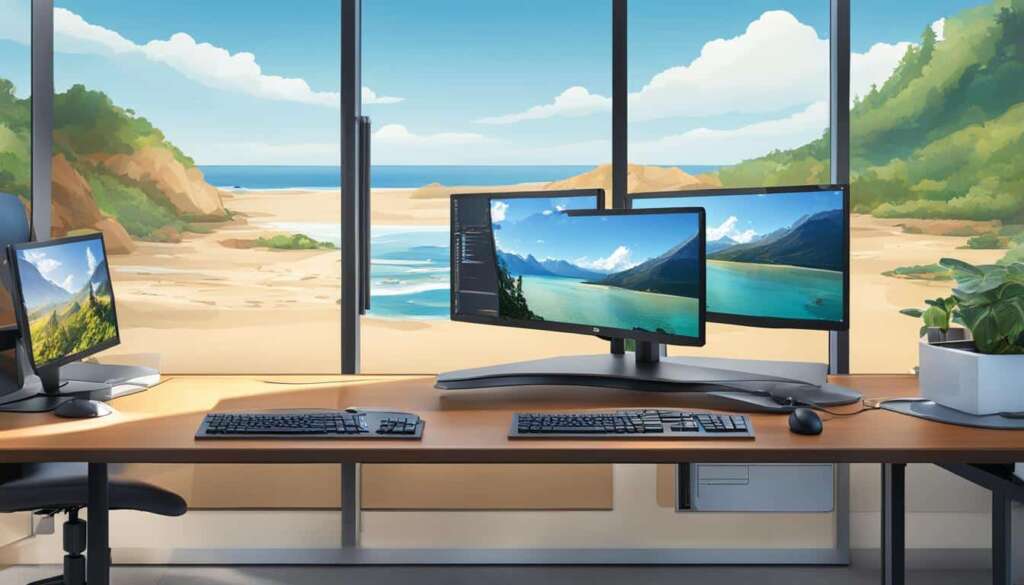
A dual monitor setup can greatly enhance your productivity by providing extra screen real estate. Whether you’re a live streamer, a multitasker, or simply someone who wants a more efficient workflow, setting up a second monitor on your PC is a simple process. By following the steps outlined below, you can easily connect and configure a second monitor to create a dual screen workspace.
Before setting up your dual monitor setup, it’s important to ensure that your PC has the necessary connections. Most PCs with a dedicated graphics processing unit (GPU) have multiple possible connections, including HDMI and DisplayPort. You’ll need at least two available connections on your PC for external displays. If your PC does not have a dedicated GPU, the monitor connections will be located on the motherboard. Make sure to use the outputs of the dedicated GPU for connecting the displays, not the motherboard’s outputs.
Once you have confirmed that your PC has the necessary connections, it’s time to physically connect the monitors. Use a standard HDMI cable to connect the output from your PC to the input of the first monitor. Windows will automatically detect the display, and the first monitor connected will become the main one. Repeat this process for the second monitor, using the appropriate output connection from your PC to the input connection on the second display. If the connections do not match, you may need to use an adapter cable, such as a DisplayPort to HDMI adapter cable, to make the connection.
Once both monitors are connected, it’s time to configure them. In Windows, you can access the display settings by going to Start > Settings > System > Display. Here, you can rearrange your displays to your desired arrangement by dragging the monitor icons. You can also adjust individual settings for each monitor, such as resolution and display features. Make sure to choose the appropriate setting under the “Multiple Displays” option, such as extending the displays or duplicating them. Once the configuration is complete, you can start enjoying the benefits of your dual monitor setup.
Ensure Your PC Has the Proper Connections
Before setting up your dual monitor setup, it’s important to ensure that your PC has the necessary connections. Most PCs with a dedicated graphics processing unit (GPU) have multiple possible connections, including HDMI and DisplayPort. You’ll need at least two available connections on your PC for external displays. If your PC does not have a dedicated GPU, the monitor connections will be located on the motherboard. Make sure to use the outputs of the dedicated GPU for connecting the displays, not the motherboard’s outputs.
To clarify, here are the steps to check if your PC has the proper connections:
- Identify if your PC has a dedicated GPU. If you are unsure, consult your PC’s specifications or contact the manufacturer.
- If your PC has a dedicated GPU, check for available HDMI and DisplayPort outputs. These are the most common connections for dual monitors.
- If your PC does not have a dedicated GPU, locate the monitor connections on the motherboard. Despite being an option, it’s recommended to use the dedicated GPU’s outputs for better performance.
Having the right connections is crucial for successfully setting up a dual monitor configuration. Once you confirm that your PC has the necessary connections, you can proceed to the next step of physically connecting the monitors.
| Connection Type | Features |
|---|---|
| HDMI | High-definition video and audio transmission. Widely supported by monitors and TVs. |
| DisplayPort | High-performance digital video and audio transmission. Capable of driving higher resolutions and refresh rates than HDMI. |
Connect the Monitors to Your Computer
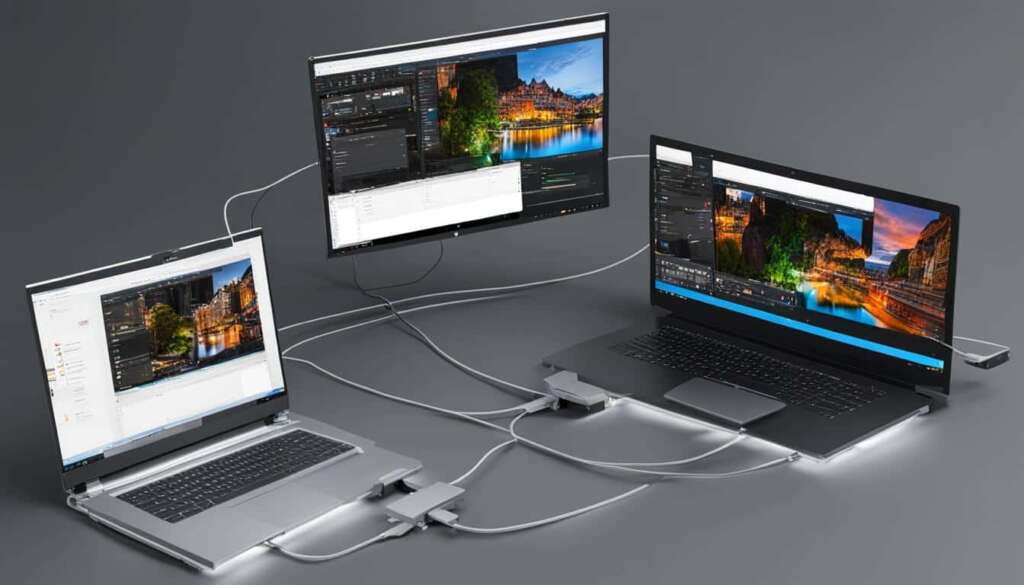
Once you have confirmed that your PC has the necessary connections, it’s time to physically connect the monitors. Use a standard HDMI cable to connect the output from your PC to the input of the first monitor. Windows will automatically detect the display, and the first monitor connected will become the main one. Repeat this process for the second monitor, using the appropriate output connection from your PC to the input connection on the second display. If the connections do not match, you may need to use an adapter cable, such as a DisplayPort to HDMI adapter cable, to make the connection.
Connecting the Monitors:
- Using a standard HDMI cable, connect one end to the HDMI output of your PC.
- Connect the other end of the HDMI cable to the HDMI input of the first monitor.
- Repeat the process for the second monitor, using the appropriate output connection from your PC and the corresponding input connection on the second display.
- If the connections do not match, use a DisplayPort to HDMI adapter cable to establish the connection.
“The dual monitor setup enables you to expand your workspace and boost productivity. Follow these steps to properly connect your monitors and enjoy the benefits of a dual screen workstation.
Configure Your Dual Monitors
Now that both monitors are connected, it’s time to configure them to suit your preferences. In Windows, you can easily access the display settings by following a few simple steps.
To begin, click on the Start menu and select “Settings.” From there, navigate to the “System” option and choose “Display.” This will open up the display settings menu, where you can customize various aspects of your dual monitor setup.
One of the key features you can adjust is the arrangement of your displays. By dragging and dropping the monitor icons, you can rearrange them to match the physical positioning of your monitors. This allows you to seamlessly move your cursor between screens, enhancing your workflow and productivity.
Additionally, you have the option to tweak individual settings for each monitor, such as resolution and display features. This ensures that each monitor is optimized for your specific needs and preferences.
Finally, don’t forget to choose the appropriate setting under the “Multiple Displays” option. Depending on your requirements, you can select options such as extending the displays to create a larger workspace or duplicating the displays for presentations and conferences.
Once you have configured your dual monitors according to your desired settings, you can start enjoying the benefits of your enhanced setup. Whether you’re working on multiple tasks simultaneously or simply immersing yourself in a gaming session, the versatility and increased screen real estate provided by a dual monitor setup will undoubtedly elevate your computing experience.
FAQ
What are the benefits of setting up a dual monitor?
A dual monitor setup can greatly enhance productivity by providing extra screen real estate. It is beneficial for live streamers, multitaskers, and anyone who wants a more efficient workflow.
How do I ensure that my PC has the necessary connections for a dual monitor setup?
Most PCs with a dedicated GPU have multiple possible connections, including HDMI and DisplayPort. You’ll need at least two available connections on your PC for external displays. If your PC does not have a dedicated GPU, the monitor connections will be located on the motherboard. Make sure to use the outputs of the dedicated GPU for connecting the displays, not the motherboard’s outputs.
How do I physically connect the monitors to my computer?
Use a standard HDMI cable to connect the output from your PC to the input of the first monitor. Windows will automatically detect the display, and the first monitor connected will become the main one. Repeat this process for the second monitor, using the appropriate output connection from your PC to the input connection on the second display. If the connections do not match, you may need to use an adapter cable, such as a DisplayPort to HDMI adapter cable, to make the connection.
How do I configure my dual monitors?
In Windows, you can access the display settings by going to Start > Settings > System > Display. Here, you can rearrange your displays to your desired arrangement by dragging the monitor icons. You can also adjust individual settings for each monitor, such as resolution and display features. Make sure to choose the appropriate setting under the “Multiple Displays” option, such as extending the displays or duplicating them. Once the configuration is complete, you can start enjoying the benefits of your dual monitor setup.

