Table of Contents
Are you wondering how to connect a PC to a monitor? Look no further, as we have a simple guide that will help you establish a seamless PC to monitor connection. Whether you’re setting up an extended workspace or setting up a home theater system, connecting your PC to a monitor is a straightforward process that anyone can accomplish.
Before diving into the steps, it’s important to determine the type of video output ports available on your PC. These ports may vary depending on the age and model of your PC. Common ports include VGA, DVI, HDMI, DisplayPort, and USB-C. Familiarize yourself with the port on your PC to ensure a successful connection.
Types of Cables and Connectors for PC to Monitor Connection
There are several types of cables and connectors that you can use to connect your PC to a monitor. Understanding these options will allow you to choose the appropriate one based on your specific requirements.
VGA: VGA connectors are the oldest type and transmit analog signals. They are commonly found on older PCs and monitors.
DVI: DVI connectors offer a sharper display quality and can carry both analog and digital signals. They are often used in gaming monitors and high-resolution displays.
HDMI: HDMI cables provide a high-definition video and audio experience over a single cable. They are widely used in modern PCs and monitors.
DisplayPort: DisplayPort connectors deliver high-quality video and audio signals and support resolutions up to 8K. They are commonly found on newer PCs and monitors.
USB-C and Thunderbolt: USB-C and Thunderbolt connectors offer versatility and can be used for various purposes, such as connecting external displays or transferring data. These connectors are becoming increasingly popular and are found on many modern devices.
Steps to Connect a PC to a Monitor
Now that you understand the different cables and connectors available, let’s delve into the steps to connect your PC to a monitor:
- Ensure both your PC and monitor are turned off.
- Identify the appropriate video output port on your PC and the corresponding input port on your monitor.
- Connect one end of the cable to the output port on your PC and the other end to the input port on your monitor.
- Turn on your PC and monitor.
- Adjust the display settings on your PC if necessary.
That’s it! With just a few simple steps, you can enjoy a seamless PC to monitor connection, enhancing your productivity or entertainment experience.
Troubleshooting and Additional Information
If you encounter any issues during the PC to monitor connection, try the following troubleshooting steps:
- Double-check the cable connections to ensure they are secure.
- Verify that both your PC and monitor are powered on.
- Check if the correct input source is selected on your monitor.
- Update your PC’s graphics drivers.
- Refer to your PC and monitor’s user manuals for specific troubleshooting steps.
By following these troubleshooting tips, you can resolve most common connection issues and get your PC and monitor working together seamlessly.
Now that you’re equipped with the knowledge of how to connect your PC to a monitor, you can enjoy the benefits of an extended workspace or an immersive multimedia experience. Say goodbye to squinting at a small screen and embrace the visual clarity and efficiency of a PC to monitor connection!
Types of Cables and Connectors for PC to Monitor Connection
When connecting a PC to a monitor, it’s important to have the right cables and connectors for a seamless and high-quality display. There are several options available, each with its own features and advantages.
VGA
VGA (Video Graphics Array) is the oldest type of connector commonly found on PCs and monitors. It transmits analog video signals and is capable of supporting lower resolutions. While VGA is still used in some older systems, it has been largely replaced by newer options.
DVI
DVI (Digital Visual Interface) connectors offer a sharper and higher-resolution display compared to VGA. They support both analog and digital signals and are compatible with a wide range of monitors. DVI connectors are available in three types: DVI-A, DVI-D, and DVI-I.
HDMI
HDMI (High-Definition Multimedia Interface) cables provide both high-definition video and audio signals over a single cable. They are widely used in modern PCs and monitors, offering superior image quality and supporting resolutions up to 4K. HDMI connectors are backward compatible, allowing you to connect older devices.
DisplayPort
DisplayPort cables provide high-quality audio and video signals and are capable of supporting multiple monitors. They offer excellent performance and are commonly used in gaming setups and professional environments. DisplayPort connectors come in different versions, with DisplayPort 1.4 being the latest and most advanced.
USB-C and Thunderbolt
USB-C and Thunderbolt are versatile connectors that can be used for various purposes, including connecting a PC to a monitor. USB-C supports video signals and power delivery, making it a convenient option for laptops and mobile devices. Thunderbolt, on the other hand, offers faster data transfer speeds and more advanced capabilities, such as daisy-chaining multiple monitors.
To choose the right cable or connector for your PC to monitor connection, ensure that both your PC and monitor have compatible ports. Refer to their user manuals or specifications to determine the appropriate cables or adapters needed.
| Connector | Description |
|---|---|
| VGA | Analog video connector, commonly found on older PCs and monitors. |
| DVI | Offers sharper display and supports both analog and digital signals. |
| HDMI | Provides high-definition video and audio over a single cable. |
| DisplayPort | High-quality audio and video signals, supports multiple monitors. |
| USB-C | Versatile connector with support for video signals and power delivery. |
| Thunderbolt | Faster data transfer speeds, advanced capabilities like daisy-chaining. |
Steps to Connect a PC to a Monitor
Connecting your PC to a monitor is a straightforward process that can enhance your computing experience. Follow these simple steps to establish a seamless connection:
- Identify the video output ports on your PC: Before making the connection, it’s essential to understand the available video output ports on your PC. Common ports include VGA, DVI, HDMI, DisplayPort, and USB-C. Check the user manual or the manufacturer’s website to determine the ports available on your specific PC model.
- Choose the appropriate cable or adapter: Once you know the ports on your PC, select the cable or adapter that matches both the PC’s port and the monitor’s input port. For example, if your PC has an HDMI port and your monitor has an HDMI input, use an HDMI cable for the connection. If the ports don’t match, you may need to use an adapter to convert the signal.
- Power off your PC and monitor: Before connecting the PC to the monitor, make sure both devices are powered off. This precautionary step prevents any potential damage caused by static electricity.
- Connect the cable or adapter: Insert one end of the cable into the corresponding port on your PC and the other end into the input port on the monitor. Ensure a secure connection by tightening any screws or latches on the cable or adapter.
- Power on your PC and monitor: Once the cable or adapter is firmly connected, power on your PC and monitor. They should detect each other automatically, and you should see your PC’s display mirrored or extended on the monitor.
- Configure display settings if necessary: In some cases, you may need to adjust the display settings on your PC to optimize the monitor’s resolution or refresh rate. This can usually be done through the operating system’s display settings or graphics control panel.
Following these steps will allow you to successfully connect your PC to a monitor and take advantage of a larger screen space for work, gaming, or multimedia purposes.
Remember, the specific steps and cable requirements may vary depending on your PC model and monitor. Always refer to the user manuals or manufacturer’s guidelines for detailed instructions tailored to your devices.
Troubleshooting and Additional Information
If you encounter any issues while connecting your PC to a monitor, don’t worry. There are a few troubleshooting steps you can follow to resolve the problem.
If your monitor is not working with your PC, the first thing to check is the cable connection. Ensure that the cable is securely plugged into both the PC and the monitor. Sometimes, a loose connection can cause display issues. If the cable is connected properly and the monitor is still not working, try using a different cable. Sometimes, a faulty cable can be the culprit.
Another common issue when using multiple monitors is incorrect display settings. To resolve this, go to your PC’s display settings and check if the monitors are detected. Make sure that the correct monitor is set as the primary display. You can also adjust the screen resolution and orientation to match your preferences. If you are still experiencing issues, try updating your graphics drivers. Outdated drivers can sometimes cause compatibility problems between the PC and the monitor.
If none of these troubleshooting steps work, it might be helpful to consult the user manual of your monitor or contact the manufacturer’s support for further assistance. They will be able to provide you with specific instructions based on your monitor model. Remember, connecting a PC to a monitor is usually a straightforward process, and most issues can be resolved with these troubleshooting steps.
FAQ
What are the steps to connect a PC to a monitor?
To connect a PC to a monitor, follow these steps: Firstly, identify the video output ports on your PC, such as VGA, DVI, HDMI, DisplayPort, or USB-C. Secondly, choose the appropriate cable or connector based on the ports available on your PC and the monitor. Lastly, connect one end of the cable to the PC’s video output port and the other end to the corresponding input port on the monitor.
What are the types of cables and connectors used for PC to monitor connection?
There are various types of cables and connectors that can be used to connect a PC to a monitor. These include VGA, DVI, HDMI, DisplayPort, USB-C, and Thunderbolt. VGA connectors transmit analog signals, while DVI connectors offer a sharper display and carry both analog and digital signals. HDMI cables provide high-definition video and audio over a single cable, and USB-C and Thunderbolt are versatile connectors that can be used for multiple purposes.
What are some troubleshooting steps for PC to monitor connection issues?
If you encounter any issues during the PC to monitor connection, try the following troubleshooting steps: Firstly, ensure that both the PC and the monitor are powered on. Secondly, check the cable connections to ensure they are secure. Thirdly, verify that the monitor is set to the correct input source. If the issue persists, try using a different cable or connector, or test the monitor with another PC. If none of these steps resolve the issue, it may be necessary to consult technical support.
Can I use multiple monitors with my PC?
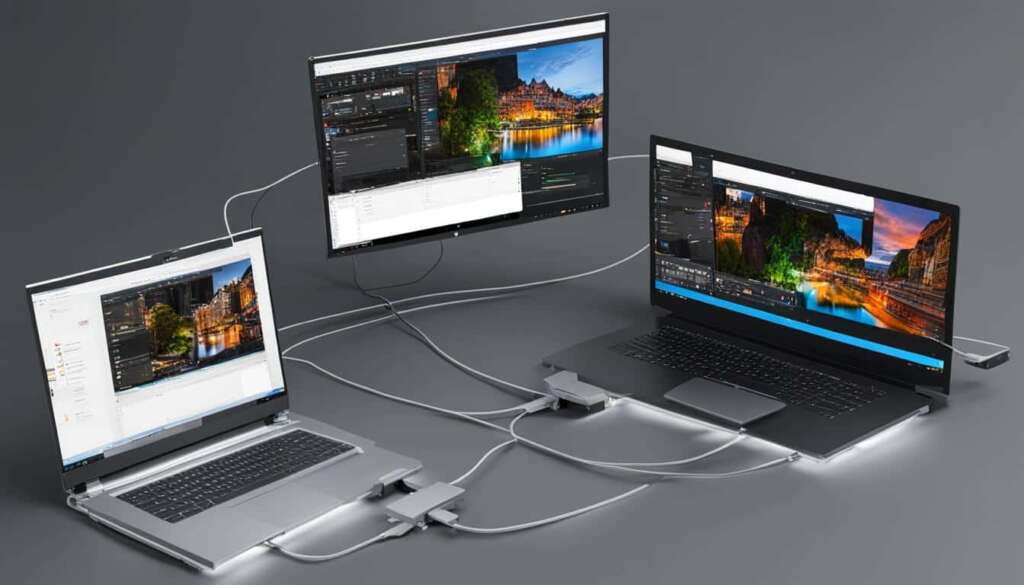
Yes, you can use multiple monitors with your PC. Most modern PCs support multiple monitor setups, allowing you to extend your desktop across multiple screens or duplicate the display on each monitor. However, it is important to ensure that your PC’s graphics card and operating system support multiple monitors. Additionally, you may need to adjust the display settings in your PC’s control panel to configure and optimize the setup.
How do I adjust the display settings for my monitor connected to a PC?
To adjust the display settings for a monitor connected to a PC, go to the control panel or settings menu on your PC. Look for the display or screen settings option, where you can customize various aspects such as resolution, orientation, color calibration, and screen arrangement for multiple monitor setups. You can also adjust the brightness, contrast, and other visual settings specific to your monitor in its own menu or through dedicated software provided by the manufacturer.

