Table of Contents
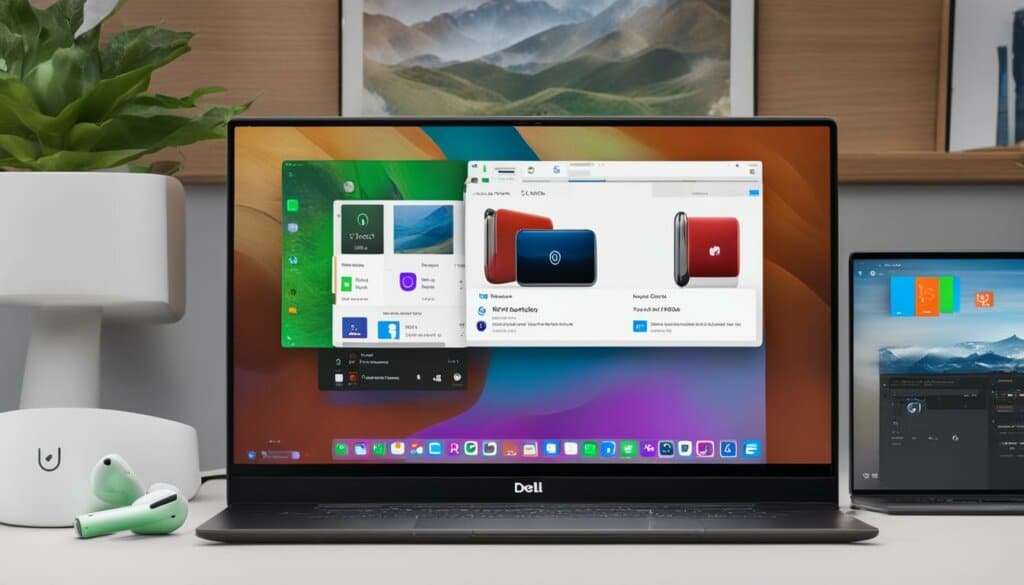
In today’s digital age, wireless audio has become a fundamental part of our daily lives. Whether you’re listening to music, watching a movie, or joining a virtual meeting, the convenience of wireless headphones cannot be underestimated. If you’re a proud owner of AirPods and a Dell laptop, you might be wondering how to connect these two devices to enhance your audio experience.
To connect your AirPods to your Dell laptop, follow these simple steps. Please note that the process of pairing may vary slightly depending on the model of your Dell laptop. It’s always a good idea to ensure that both your AirPods and Dell laptop are fully charged before attempting to connect them.
First, make sure Bluetooth is enabled on your Dell laptop. You can usually find the Bluetooth option in the settings menu or the taskbar. Once enabled, open the lid of your AirPods charging case. The LED light on the case should start blinking.
Next, navigate to the Bluetooth settings on your Dell laptop. You should see a list of available devices. Look for your AirPods in the list and select them to initiate the pairing process. Once connected, you will be able to enjoy crystal-clear audio wirelessly from your Dell laptop.
Pairing your AirPods with your Dell laptop opens up a world of possibilities. Whether you’re working on a project, streaming your favourite shows, or simply taking a break with some music, the freedom of wireless audio will enhance your overall experience.
So why wait? Connect your AirPods to your Dell laptop and elevate your audio experience to new heights. Say goodbye to tangled wires and hello to seamless connectivity.
How to Connect AirPods to a Mac
If you have a Mac computer, connecting your AirPods is a breeze. Follow these simple steps to pair your AirPods with your Mac and enjoy a wireless audio experience.
- First, ensure that your Mac’s operating system is up to date. This is important as it ensures compatibility and optimal performance.
- Next, open the System Preferences on your Mac. You can easily access this by clicking on the Apple menu located on the top left corner of your screen and selecting “System Preferences”.
- Within the System Preferences window, locate and click on the “Bluetooth” option. This will open up the Bluetooth settings on your Mac.
- Now, take your AirPods and place them in the charging case. Open the lid of the case.
- On the back of the charging case, you’ll find a small button. Press and hold this button until the LED light on the front of the case starts blinking white.
- In the Bluetooth settings on your Mac, you should see your AirPods listed under the available devices. Click on your AirPods to connect them to your Mac.
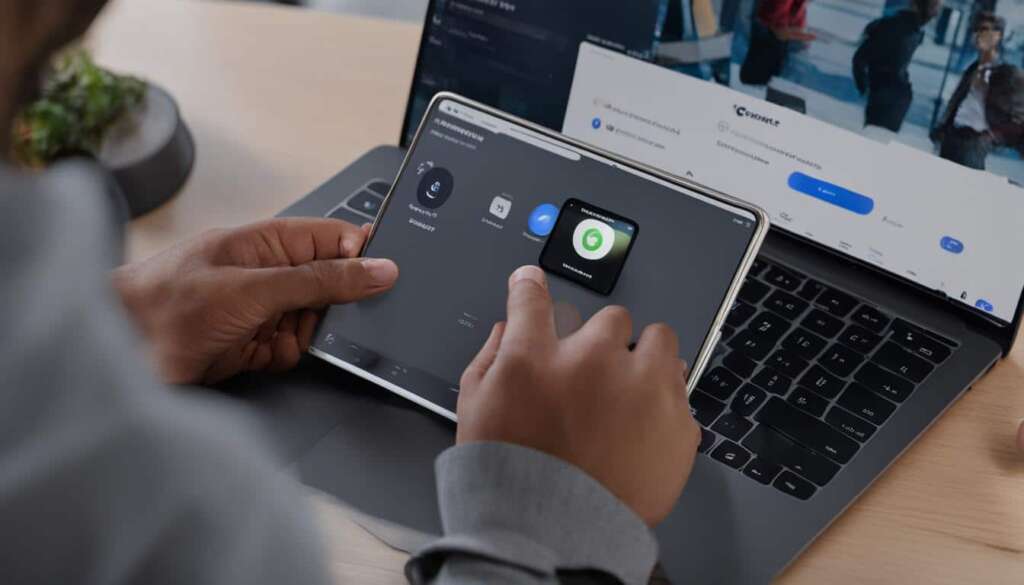
This image illustrates the process of connecting AirPods to a Mac, providing a visual reference to help you along the way. The seamless connection between AirPods and a Mac opens up a world of wireless audio possibilities.
Why Choose AirPods for Your Mac?
Pairing AirPods with your Mac offers several advantages. Firstly, you no longer have to deal with the hassle of tangled wires or limited mobility. With AirPods, you can move freely while enjoying your favorite music, podcasts, or videos.
Secondly, AirPods are designed with convenience in mind. They automatically connect to your Mac when you open the lid of the charging case, saving you time and effort. Additionally, the integration with Apple devices allows for seamless switching between your Mac, iPhone, and iPad, ensuring a smooth audio experience across all your devices.
| Advantages of AirPods for Mac | Benefits |
|---|---|
| Wireless Connectivity | Easily move around without being tethered by wires |
| Automatic Connection | Instantly connect to your Mac when you open the charging case |
| iOS Integration | Seamlessly switch between Mac, iPhone, and iPad |
As you can see, connecting your AirPods to your Mac is a simple process that offers a range of benefits. Whether you’re listening to music, watching videos, or participating in video calls, the wireless freedom and convenience of AirPods enhance your overall audio experience.
How to Connect AirPods to a PC or Windows Laptop
Connecting your AirPods to a PC or Windows laptop is a breeze. Follow these simple steps to enjoy wireless audio on your device:
- On your PC, open the Settings menu and navigate to the Bluetooth & other devices section.
- Click on the “Add Bluetooth or other device” option and select Bluetooth.
- Open the lid of your AirPods case and press and hold the button until the LED light starts flashing.
- Your AirPods should appear in the list of available devices on your PC.
- Click on your AirPods in the list to pair and connect them.
Connecting your AirPods to your Windows laptop allows you to enjoy a seamless wireless audio experience. Say goodbye to tangled wires and hello to freedom.
Comparison of AirPods Connectivity on Different Devices
| Mac | PC or Windows Laptop | |
|---|---|---|
| Connectivity Steps | 1. Open Bluetooth settings 2. Place AirPods in case and open lid 3. Press and hold case button 4. Connect in available devices list |
1. Open Settings menu 2. Select Bluetooth & other devices 3. Click “Add Bluetooth or other device” 4. Pair and connect AirPods |
| Compatibility | Specifically designed for Apple devices | Compatible with any PC or Windows laptop with Bluetooth capability |
| Features | Seamless integration with Apple ecosystem Siri voice control |
Wireless audio on Windows devices Bluetooth connectivity |
| Overall User Experience | Optimized for Mac users User-friendly and intuitive |
Smooth pairing process Great audio experience on Windows |
Troubleshooting Tips for Connecting AirPods to a Dell Laptop
If you’re experiencing difficulties connecting your AirPods to your Dell laptop, there are a few troubleshooting tips you can try. First, make sure that Bluetooth is enabled on both your AirPods and your Dell laptop. Restart both devices and try reconnecting. If that doesn’t work, try resetting your AirPods by placing them in the charging case and holding the setup button until the LED light flashes. You can also try forgetting the AirPods from the Bluetooth settings on your Dell laptop and then reconnecting them.
How to Take a Screenshot on a Dell Laptop
Taking a screenshot on a Dell laptop is a useful feature that you may need during the process of connecting your AirPods. To capture a screenshot on your Dell laptop, simply press the “PrtScn” or “Print Screen” key on your keyboard.
Pressing the “PrtScn” or “Print Screen” key will capture an image of your entire screen and save it to your clipboard.
Once you have taken the screenshot, you can then paste it into an image editing program or document of your choice. This allows you to save or share the captured image as needed.
By utilizing this simple screenshot function on your Dell laptop, you have the ability to capture important information, document errors, or easily save images without the need for external software.
Remember, the screenshot function on your Dell laptop can be a valuable tool in various situations. Whether you want to capture a memorable moment, save important information, or troubleshoot an issue, taking a screenshot is quick and easy.
Screenshot Tips and Tricks for Dell Laptops
When it comes to taking screenshots on your Dell laptop, there are a few handy tips and tricks that can make the process easier and more efficient. Whether you need to capture the entire screen or just a specific window or area, these techniques will help you get the perfect screenshot every time.
Capturing a Specific Window or Area
If you want to capture only a specific window or area of your screen, there’s a simple shortcut you can use. Just press the “Alt” key along with the “PrtScn” key. This combination will capture only the active window or area and save it to your clipboard. It’s a quick and convenient way to snap a screenshot without capturing unnecessary background clutter.
Using Screenshot Software
If you’re looking for more advanced features and customization options for your screenshots, there are several screenshot software programs available for Dell laptops. These programs offer a range of capabilities, such as annotation tools, editing options, and easy sharing features. With screenshot software, you can add text, highlight important areas, blur sensitive information, and much more. Explore different software options to find the one that suits your needs.
“Screenshot software programs offer advanced features such as annotation, editing, and sharing options, providing you with greater control and flexibility when capturing and managing your screenshots.”
Whether you’re capturing screenshots for work, personal projects, or troubleshooting purposes, mastering the art of screenshotting on your Dell laptop can greatly improve your productivity and efficiency. By using the shortcut for capturing specific windows or areas and exploring screenshot software programs, you can enhance your screenshot capabilities and streamline your workflow.
Conclusion
In conclusion, connecting your AirPods to your Dell laptop is a straightforward process. Whether you’re using a Mac or a PC, following the simple steps outlined in this article will enable you to enjoy wireless audio with ease. Remember to keep your devices charged and up to date, and troubleshooting tips are available if you encounter any difficulties. Now you can seamlessly pair your AirPods with your Dell laptop and experience the convenience of wireless audio.
FAQ
How do I connect my AirPods to my Dell laptop?
To connect your AirPods to your Dell laptop, open the Settings menu and navigate to the Bluetooth & other devices section. Click on the “Add Bluetooth or other device” option and select Bluetooth. Open the lid of your AirPods case and press and hold the button until the LED light starts flashing. Your AirPods should appear in the list of available devices on your Dell laptop. Click on them to connect.
How do I connect my AirPods to a Mac?
To connect your AirPods to a Mac, ensure that your Mac’s operating system is up to date. Then, open the System Preferences and select the Bluetooth option. Place your AirPods in the charging case and open the lid. Press and hold the button on the back of the case until the LED light starts blinking. Your AirPods should appear in the list of available devices on your Mac. Click on them to connect.
How do I connect my AirPods to a PC or Windows laptop?
To connect your AirPods to a PC or Windows laptop, open the Settings menu and navigate to the Bluetooth & other devices section. Click on the “Add Bluetooth or other device” option and select Bluetooth. Open the lid of your AirPods case and press and hold the button until the LED light starts flashing. Your AirPods should appear in the list of available devices on your PC. Click on them to connect.
What should I do if my AirPods are not connecting to my Dell laptop?
If you’re experiencing difficulties connecting your AirPods to your Dell laptop, first make sure that Bluetooth is enabled on both your AirPods and your Dell laptop. Restart both devices and try reconnecting. If that doesn’t work, try resetting your AirPods by placing them in the charging case and holding the setup button until the LED light flashes. You can also try forgetting the AirPods from the Bluetooth settings on your Dell laptop and then reconnecting them.
How do I take a screenshot on my Dell laptop?
To take a screenshot on a Dell laptop, press the “PrtScn” or “Print Screen” key on your keyboard. This will capture an image of your entire screen and save it to your clipboard. You can then paste the screenshot into an image editing program or document.
Are there any tips for taking screenshots on a Dell laptop?
Yes, if you want to capture only a specific window or area of your screen, you can use the “Alt” + “PrtScn” key combination. This will capture only the active window or area and save it to your clipboard. Additionally, there are various screenshot software programs available for Dell laptops that offer advanced features such as annotation, editing, and sharing options.


