Table of Contents
Are you ready to capture every important moment on your Dell laptop? Whether you want to capture a memorable quote, save crucial information, or troubleshoot an issue, knowing how to screenshot on a Dell laptop is essential in today’s digital world.
With a variety of screenshot methods available, you’ll never miss a moment. From using the built-in features to exploring third-party applications, we’ve got you covered. Let’s dive into the different methods for Dell laptop screen capture.
Method 1: Using the Print Screen Key – How to Screenshot on a Dell Laptop
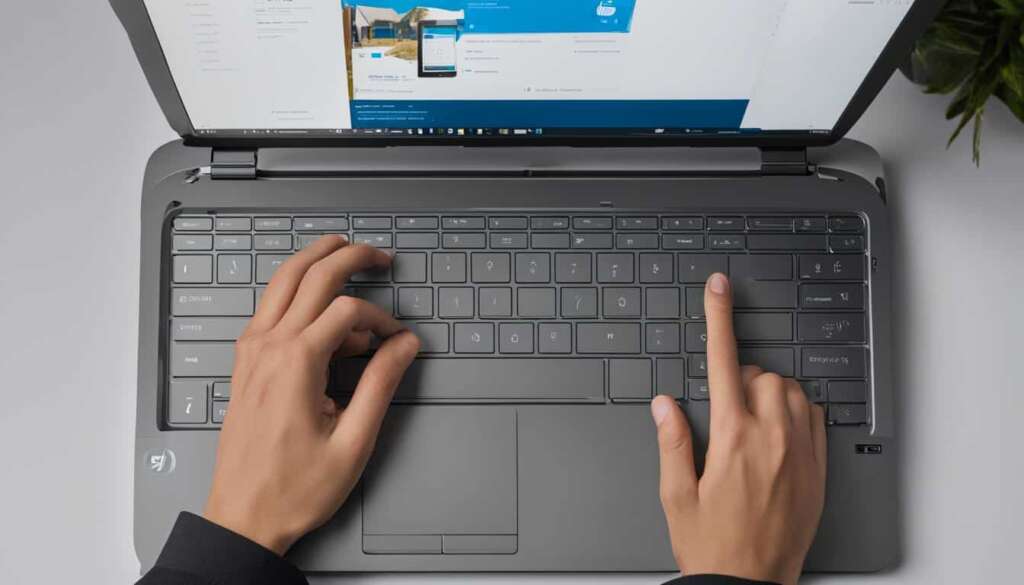
The Print Screen key is your go-to option when you want to capture the entire screen effortlessly. Simply locate the Print Screen key on your Dell laptop’s keyboard, press it, and the screenshot will be saved to your clipboard. You can then paste it into an image editor and make any necessary edits before saving.
Method 2: Capturing a Specific Window
If you prefer to capture a specific window instead of the entire screen, there’s a shortcut for that too. By pressing the Alt key and the Print Screen key simultaneously, you can save a screenshot of the active window to your clipboard. Once saved, open an image editor, paste the screenshot, and make any edits or annotations to your heart’s content.
Method 3: Using the Snipping Tool
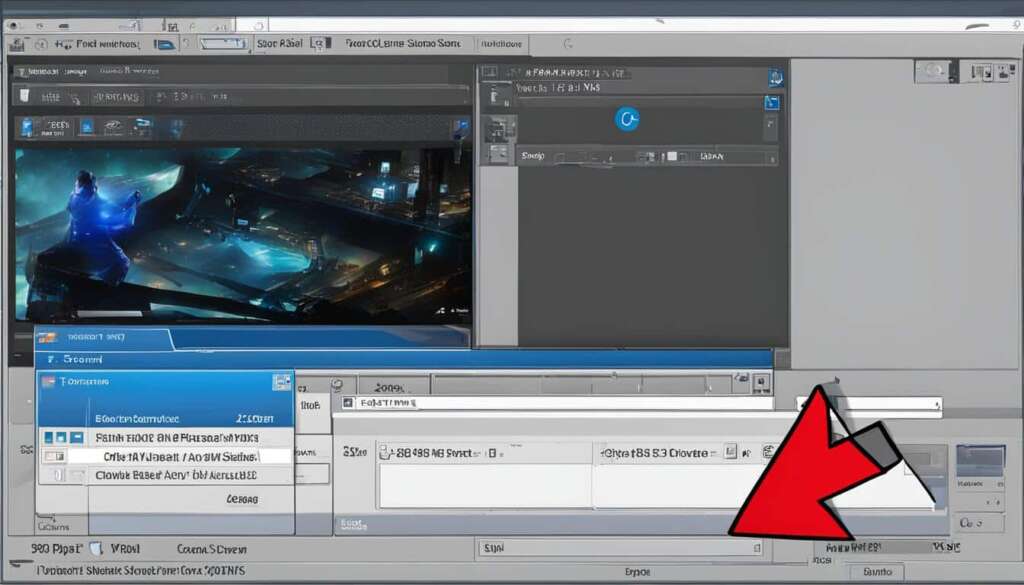
Windows operating systems provide a built-in solution for all your screenshot needs – the Snipping Tool. To access this handy feature on your Dell laptop, simply type “Snipping Tool” in the Windows search bar. Once opened, select the desired snip type – Free-form, Rectangular, Window, or Full-screen – and capture the snip by dragging the cursor around the area you want to screenshot. The snipped image will then appear in the Snipping Tool editor, where you can add annotations or edits before saving it.
Method 4: Using Third-Party Applications
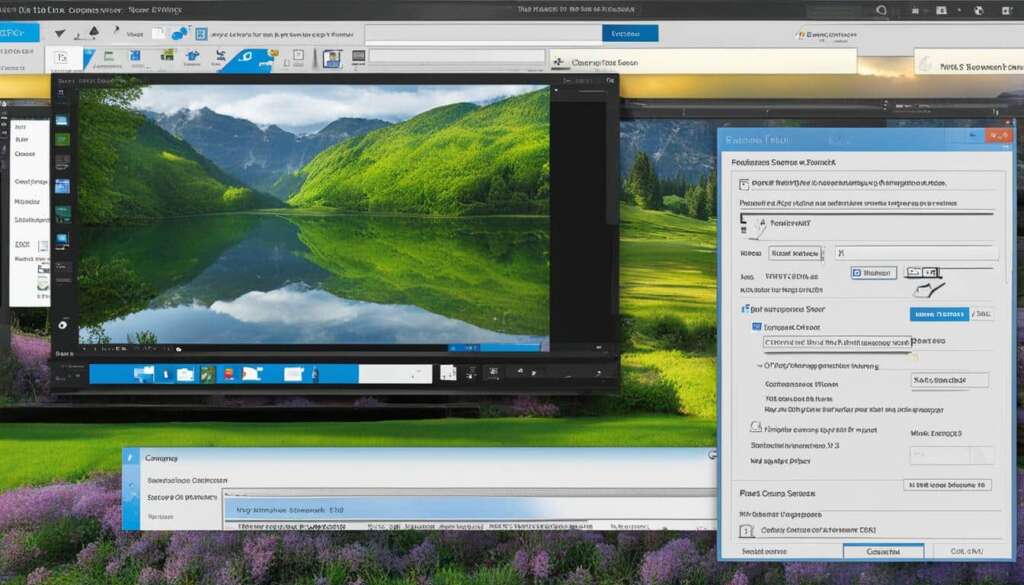
If you’re looking for more advanced features and customization options, consider using third-party applications for your Dell laptop screenshots. Two popular choices are Greenshot and Snagit. Greenshot offers a simple, free, and open-source solution for capturing and sharing screenshots effortlessly. On the other hand, Snagit provides a feature-rich experience with a wide range of editing and annotation tools. Explore these applications on their official websites to elevate your screenshot game.
Now that you know the various screenshot methods on a Dell laptop, you’re equipped to document every important moment. Capture, save, and share with ease, and never let a moment slip away.
Method 1: Using the Print Screen Key – How to Screenshot on a Dell Laptop
The Print Screen key is a useful feature available on most Dell laptops that allows you to capture a screenshot of the entire screen. Simply locate the Print Screen key on your keyboard, press it, and the screenshot will be automatically saved to your clipboard.
To capture a screenshot using the Print Screen key:
- Locate the Print Screen key on your keyboard. It is usually labeled as PrtScn or Print Scr.
- Press the Print Screen key. This will capture the entire screen.
- Open an image editor like Paint or Photoshop.
- Paste the screenshot by pressing Ctrl + V or right-clicking and selecting Paste.
- Edit and save the screenshot as per your preference.
Using the Print Screen key is a quick and simple method to capture screenshots on your Dell laptop. It allows you to easily share and save important information, images, or anything displayed on your screen.
Method 2: Capturing a Specific Window
Sometimes you may only want to capture a specific window instead of the entire screen. This can be useful when you want to focus on a particular application, document, or webpage. To capture a specific window on your Dell laptop, follow these simple steps:
- Step 1: Identify the window you want to capture.
- Step 2: Press the Alt key and the Print Screen key simultaneously.
- Step 3: The screenshot of the active window will be saved to your clipboard.
- Step 4: Open an image editor, such as Paint or Adobe Photoshop.
- Step 5: Paste the screenshot into the image editor.
- Step 6: Make any necessary edits or annotations.
- Step 7: Save the edited screenshot to your Dell laptop.
This method ensures that you capture only the window you need, eliminating any unnecessary clutter from your screenshots. It’s an efficient way to highlight specific information or troubleshoot issues in a particular application. Now you can easily capture screenshots of active windows on your Dell laptop and save them for future reference or sharing.
Method 3: Using the Snipping Tool
If you’re looking for a versatile and user-friendly method to capture screenshots on your Dell laptop, the Snipping Tool is the ideal solution. This built-in screen capture utility is available on Windows operating systems, including Dell laptops. The Snipping Tool offers various snip types, allowing you to capture specific areas, windows, or even the entire screen with ease.
To access the Snipping Tool on your Dell laptop, simply type “Snipping Tool” in the Windows search bar. Click on the application to open it, and a small window will appear with different snip options.
Here’s how to capture screenshots using the Snipping Tool:
- Click on “New” in the Snipping Tool window to initiate the screenshot process.
- Select the desired snip type from the dropdown menu:
| Snip Type | Description |
|---|---|
| Free-form | Allows you to capture a snip in any shape or size by drawing around the area. |
| Rectangular | Enables you to capture a rectangular portion of the screen by dragging the cursor. |
| Window | Allows you to capture the entire window, including its borders. |
| Full-screen | Captures the entire screen, including all open windows. |
Once you’ve selected the desired snip type, use your mouse or touchpad to capture the snip by dragging the cursor around the area you want to screenshot. The selected area will open in the Snipping Tool editor.
In the Snipping Tool editor, you can make any necessary edits or annotations to the screenshot. Whether you need to highlight certain areas, add text, or crop the image, the Snipping Tool provides a range of basic editing options.
Once you’re satisfied with the screenshot, save it to your preferred location on your Dell laptop. You can easily share the captured screenshot by attaching it to an email, inserting it into a document, or uploading it to a website.
With the Snipping Tool, capturing screenshots on your Dell laptop has never been easier. Take advantage of this powerful tool to capture and share important information, create instructional materials, troubleshoot technical issues, and more.
Method 4: Using Third-Party Applications
In addition to the built-in tools, there are several third-party applications available for capturing screenshots on Dell laptops. Two popular options are Greenshot and Snagit.
Greenshot is a free and open-source tool that allows users to capture screenshots and share them effortlessly. With Greenshot, you can capture full screens, selected regions, or even specific windows with just a few clicks. It also offers advanced editing features such as adding annotations, highlighting important areas, and blurring sensitive information.
On the other hand, Snagit is a feature-rich screenshot and screen recording software that provides a wide range of editing and annotation tools. With Snagit, you can capture screenshots, record videos, and create GIFs. It offers a user-friendly interface and powerful features to enhance your screenshots. Whether you need to add text, shapes, or effects, Snagit has got you covered.
To start using these third-party applications, simply visit their respective official websites and download them onto your Dell laptop. Once installed, explore their advanced features to capture and enhance screenshots in a way that suits your needs.
FAQ
How do I capture a screenshot on my Dell laptop?
There are several methods to capture screenshots on a Dell laptop. You can use the Print Screen key, capture a specific window, use the Snipping Tool, or utilize third-party applications.
How do I use the Print Screen key to capture a screenshot on a Dell laptop?
To capture the entire screen, locate the Print Screen key on your Dell laptop keyboard and press it. The screenshot will be saved to your clipboard. Open an image editor, paste the screenshot, and save it as desired.
Can I capture a specific window instead of the entire screen on my Dell laptop?
Yes. To capture a specific window, simultaneously press the Alt key and the Print Screen key on your Dell laptop. This will save a screenshot of the active window to your clipboard. Open an image editor, paste the screenshot, and save it accordingly.
How do I use the Snipping Tool to capture a screenshot on my Dell laptop?
On Windows operating systems, including Dell laptops, you can use the built-in Snipping Tool. Type “Snipping Tool” in the Windows search bar to open the application, click “New” in the Snipping Tool window, select the desired snip type, capture the snip by dragging the cursor, and edit and save it using the Snipping Tool editor.
Are there any third-party applications for capturing screenshots on Dell laptops?
Yes. Two popular options are Greenshot and Snagit. Greenshot is a free and open-source tool that allows effortless screenshot capture and sharing. Snagit is a feature-rich screenshot and screen recording software with editing and annotation tools. You can download these applications from their official websites and explore their advanced features on your Dell laptop.

