Table of Contents
Do you want to capture your screen on a Dell desktop? Look no further! Taking screenshots on a Dell desktop is a breeze, and we’re here to show you how. Whether you want to capture the entire screen or specific windows, we’ve got you covered. Let’s dive in and discover the simple steps to capture your screen effortlessly.
When it comes to capturing screenshots on a Dell desktop, the process is as easy as pie. By using the Print Screen key, you can quickly capture your screen and save it for later use or share it with others. The Print Screen key is usually located in the upper right corner of your keyboard, labeled as “PrtScn” or “prt sc.”
Simply press the Print Screen key to capture the entire screen in one go. The captured screenshot will be automatically copied to your computer’s clipboard, ready to be pasted into other applications or saved as an image file. It’s that simple!
But what if you only want to capture specific windows? Don’t worry, we have a solution for that too. By pressing the Alt + Print Screen keys simultaneously, you can capture only the active window you’re currently working on. This allows you to focus on what’s important and avoid cluttering your screenshot with unnecessary elements.
Now that you know how to easily capture screenshots on your Dell desktop, you’re ready to take your productivity to the next level. Whether you need to capture important information for documentation, share something interesting with your friends, or simply keep a visual record of your work, screenshotting on a Dell desktop is a hassle-free process.
Using the Print Screen Key
To take a screenshot on a Dell desktop using the Print Screen key, simply press the key once. This will capture the entire screen. Alternatively, if you only want to capture specific windows, you can press the Alt + Print Screen keys together. The captured screenshot is then saved to your computer’s clipboard, and you can paste it into applications like Microsoft Paint or Photoshop to edit or save it.
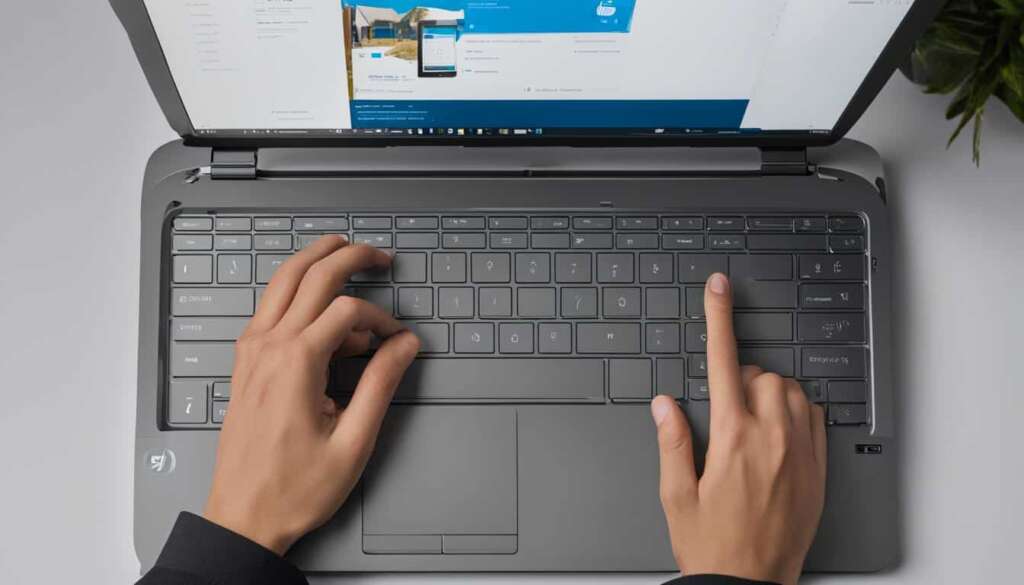
If you’re unsure of where the Print Screen key is located on your Dell desktop, look for a key labeled “PrtScn” or “prt sc” in the upper right corner of the keyboard. Once you locate the key, taking screenshots becomes a breeze.
When you press the Print Screen key, you won’t see any visual feedback, but rest assured that your screenshot has been captured and is ready to be pasted or saved. Whether you need to capture important information, document software issues, or share interesting content with others, the Print Screen key is a valuable tool.
Screenshot Shortcut for Dell Desktops
Using the Print Screen key is a quick and efficient way to take screenshots on your Dell desktop. It eliminates the need for third-party software and allows you to capture images with ease. By mastering this convenient shortcut, you can save time and effort when documenting or sharing information.
To enhance your screenshot-taking experience on a Dell desktop, you can explore additional techniques and customization options in the following sections.
Dell Desktop Screenshot Instructions
Dell desktops provide user-friendly instructions for capturing screenshots using the Print Screen key. Whether you’re a beginner or an experienced user, the process is straightforward and accessible to all.
Press the Print Screen key to capture the entire screen on your Dell desktop. Alternatively, press the Alt + Print Screen keys together to capture specific windows.
Once you’ve captured a screenshot, it’s automatically saved to your computer’s clipboard, ready to be pasted or saved in various applications. Whether you’re creating a presentation, reporting an issue, or simply capturing a moment, Dell desktops offer a seamless screenshot experience.
Customizing PrtScn Screenshots
The Print Screen key on Dell desktops provides a range of customization options for capturing screenshots. With these techniques, you can tailor your screenshots to suit your specific needs and preferences.
One useful feature is the ability to use the combination of the Windows logo key + Print Screen key to capture the entire screen effortlessly. This method not only captures the screen but also automatically saves the screenshot in the Screenshots folder located within the Pictures folder. This makes it convenient to organize and access your screenshots.
If you prefer capturing all active windows at once, simply pressing the Print Screen key does the trick. This method comes in handy when you want to capture multiple windows on your Dell desktop.
For Dell tablet users, pressing the Windows logo key + PrtScn key together allows you to capture the entire screen in one go. This streamlined approach ensures that you can quickly and efficiently capture the content you need.
Furthermore, you can capture a specific active window by tapping or clicking on the desired window and then pressing the Alt + PrtScn keys together. This technique enables you to isolate and capture the specific information you require without including the entire screen.
By using these screenshot customization techniques on your Dell desktop or tablet, you can effectively capture and save screenshots in a way that aligns with your workflow, whether for professional or personal use.
Screenshot Options
| Key Combination | Functionality |
|---|---|
| Windows logo key + Print Screen key | Captures the entire screen and automatically saves it to the Screenshots folder in the Pictures folder. |
| Print Screen key | Captures all active windows on the Dell desktop. |
| Windows logo key + PrtScn key | Captures the entire screen on Dell tablets. |
| Alt + PrtScn keys | Captures the active window you select on the Dell desktop or tablet. |
Experiment with these screenshot customization options to find the method that best suits your needs. Whether you’re capturing the entire screen, all active windows, or a specific active window, Dell provides the tools you need to fine-tune your screenshot capturing experience.
Alternative Methods for Taking Screenshots
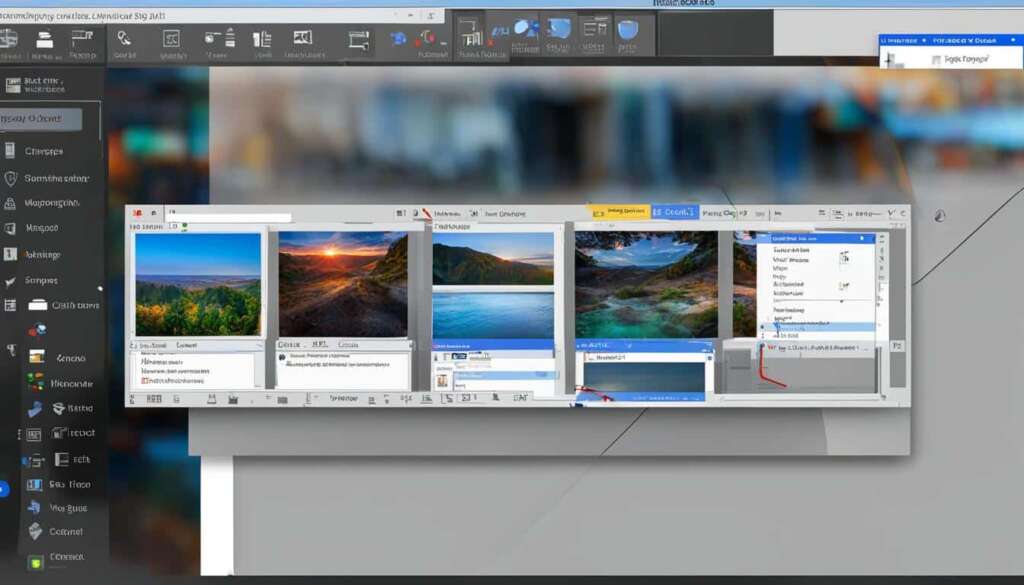
In addition to using the Print Screen key, there are alternative methods for taking screenshots on a Dell desktop. One method is to use the Snipping Tool, a built-in Windows tool that allows you to select and capture specific portions of the screen.
To open the Snipping Tool, click on the Start menu and search for “Snipping Tool,” then select it from the search results. The Snipping Tool offers options for capturing free-form selections, rectangular selections, windows, or the entire screen.
Once you’ve captured the desired screenshot, you can save it or annotate it directly in the Snipping Tool.
Taking Screenshots on Dell Tablets
Taking screenshots on Dell tablets follows a similar process to Dell desktops. To capture the entire screen on a Dell tablet, simply press the Windows logo button and the volume down button simultaneously. The captured screenshot is automatically saved to the Pictures folder on the tablet. For capturing specific windows or customizing the screenshot, you can follow the methods mentioned earlier, such as using the Print Screen key or the Snipping Tool.
Here is a brief overview of the steps to take a screenshot on a Dell tablet:
- Press the Windows logo button and the volume down button simultaneously.
- The captured screenshot is automatically saved to the Pictures folder on the tablet.
By following these simple steps, you can easily capture screenshots on your Dell tablet and save them for later use.
Now that you know how to capture screenshots on both Dell desktops and tablets, you can easily document important information, share visual content, or edit screenshots for various purposes. Whether you’re a student, professional, or casual user, screenshotting is a valuable tool for enhancing your productivity and communication.
| Method | Instructions |
|---|---|
| Pressing Windows logo button + Volume down button | Simultaneously press the Windows logo button and the volume down button on your Dell tablet to capture the entire screen. The screenshot will be saved in the Pictures folder. |
| Using the Print Screen key | If your Dell tablet has a physical keyboard, you can use the Print Screen key to capture the entire screen or specific windows. The screenshot will be saved to the clipboard for pasting into other applications. |
| Snipping Tool | Another option is to use the Snipping Tool, which allows you to capture specific portions of the screen on your Dell tablet. Open the Snipping Tool and select the desired capture option, then save or edit the screenshot as needed. |
Conclusion
Capturing screenshots on a Dell desktop is a breeze with the Print Screen key or the Snipping Tool. Dell offers various options to suit your needs, whether you want to capture the entire screen, specific windows, or customize your screenshot. By following these simple instructions, you can effortlessly capture and save screenshots on your Dell desktop for documentation, sharing, or editing purposes.
FAQ
How do I capture a screenshot on a Dell desktop using the Print Screen key?
To capture a screenshot on a Dell desktop using the Print Screen key, simply press the key once. This will capture the entire screen. If you only want to capture specific windows, you can press the Alt + Print Screen keys together.
Can I customize the screenshots captured using the Print Screen key?
Yes, there are customization options available for capturing screenshots with the Print Screen key on Dell desktops. For example, you can use the combination of the Windows logo key + Print Screen key to capture the entire screen and automatically save the screenshot in the Screenshots folder in the Pictures folder. To capture all active windows, you can simply press the Print Screen key. Additionally, pressing the Windows logo key + PrtScn key together on Dell tablets allows you to capture the entire screen. You can also capture a single active window by tapping or clicking on the window and then pressing the Alt + PrtScn keys together.
Are there alternative methods for taking screenshots on a Dell desktop?
Yes, there are alternative methods for taking screenshots on a Dell desktop. One method is to use the Snipping Tool, a built-in Windows tool that allows you to select and capture specific portions of the screen. To open the Snipping Tool, click on the Start menu and search for “Snipping Tool,” then select it from the search results. The Snipping Tool offers options for capturing free-form selections, rectangular selections, windows, or the entire screen. Once you’ve captured the desired screenshot, you can save it or annotate it directly in the Snipping Tool.
How do I take screenshots on Dell tablets?
To capture the entire screen on a Dell tablet, simply press the Windows logo button and the volume down button simultaneously. The captured screenshot is automatically saved to the Pictures folder on the tablet. For capturing specific windows or customizing the screenshot, you can follow the methods mentioned earlier, such as using the Print Screen key or the Snipping Tool.

