Table of Contents
In our digital era, the ability to capture and share on-screen content quickly and efficiently has become a vital tool for productivity. Whether you’re assembling a how-to guide, saving a snapshot of an important conversation, or illustrating a software problem, screenshots are the ultimate quick-reference tool that lets you capture moments exactly as they appeared on your screen. This article aims to guide you through the process of taking screenshots on your computer, offering various methods and tools for different devices and operating systems.
Key Takeaways:
- Learn how to take a screenshot on your computer for quick and efficient content capture.
- Understand the importance and versatility of screenshots in various scenarios.
- Explore different screenshot methods and tools available on Windows, Mac, and Chromebook.
- Discover third-party screenshot software that can enhance your capturing capabilities.
- Master advanced screenshot techniques to capture menus, scrollable content, and edit screenshots for clarity and impact.
By mastering the art of capturing screenshots, you can unlock the power of visual communication and enhance your productivity. So, let’s dive into the world of screenshot capture and discover the endless possibilities it offers!
Basics of Taking Screenshots
In our digital age, screenshots have become an indispensable tool for capturing and sharing on-screen content. But, what exactly is a screenshot? A screenshot, also known as a screen capture, is a digital image that captures the exact visual representation of what is displayed on your computer screen. It’s like taking a photograph of your screen in a single moment, allowing you to preserve important information, document issues, or simply capture memorable moments.
So, why should you take screenshots? Screenshots serve a multitude of purposes, from creating tutorials and illustrating software problems to capturing important conversations or saving information for future reference. They provide a visual record of what you see on your screen, making it easier to convey information, troubleshoot issues, and collaborate with others.
Now that we understand what screenshots are and why they are important, let’s explore how to capture them. Taking screenshots on a computer is a simple process that can be done using various methods and keyboard shortcuts. In the following sections, we will delve into the specific screenshot methods for different operating systems, including Windows, Mac, and Chromebook. We will also explore third-party screenshot tools that offer additional features and functionality to enhance your screenshot capture experience.
The Power of Screenshots
“A screenshot is worth a thousand words.” – Unknown
Screenshots are a powerful communication tool that allows you to capture, share, and reference visual information quickly and easily. Whether you’re troubleshooting a technical problem, creating instructional materials, or collaborating with colleagues, screenshots provide a clear and concise way to convey information. Instead of describing what you see on your screen in words, a screenshot enables you to show it directly, eliminating any ambiguity and ensuring accurate communication.
In addition to their communication benefits, screenshots also serve as a valuable reference tool. By capturing important moments, conversations, or information, you can store them for future use. Screenshots can be organized and saved in various file formats, making them easily accessible whenever you need to recall specific details or refer back to a particular visual representation.
Now that we’ve established the importance of screenshots and their versatile applications, let’s dive into the specifics of taking screenshots on different operating systems.
Taking Screenshots on Windows
Windows is one of the most widely used operating systems, and it offers a variety of built-in methods for capturing screenshots. Whether you’re using Windows 10 or the latest Windows 11, there are several ways to capture screenshots that cater to different preferences and needs.
Method 1: Using the Print Screen key
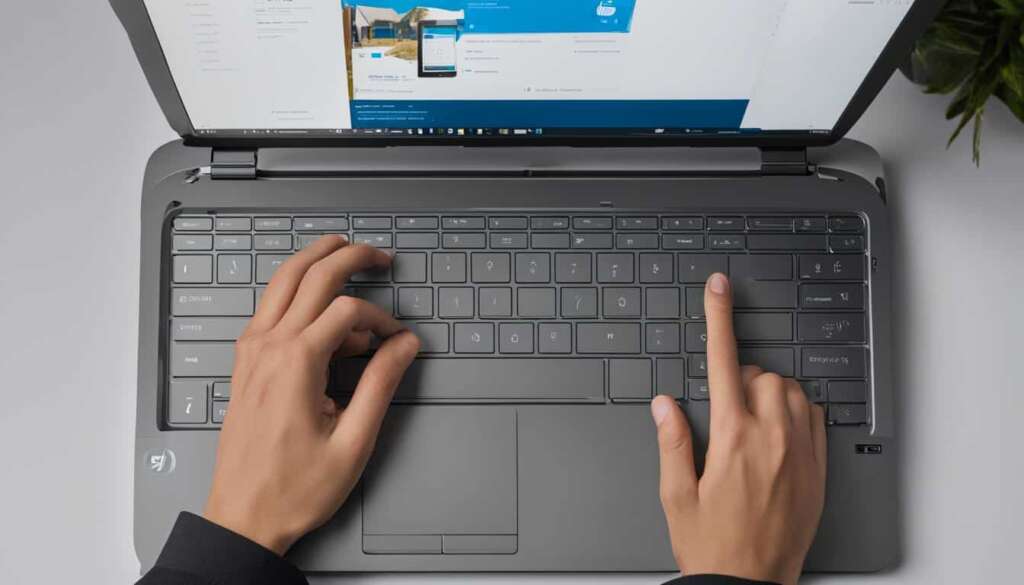
The Print Screen key (often labeled as PrtSc or PrtScn) on your keyboard is the simplest way to capture a screenshot on Windows. Pressing this key will capture the entire screen and save it to the clipboard. You can then paste the screenshot into an image editing software or document for further use.
Method 2: Snipping Tool
Windows also provides the Snipping Tool, a built-in screenshot utility with more advanced options. To access the Snipping Tool, simply search for it in the Windows search bar. This tool allows you to capture a specific section of the screen, a window, or the full screen. You can also make use of the various annotation and editing features within the Snipping Tool to enhance your screenshots.
Method 3: Windows Key + Shift + S
For Windows 10 and later versions, you can use the keyboard shortcut Windows Key + Shift + S to capture a screenshot of a specific area. This will trigger the Snip & Sketch tool, which lets you capture a portion of the screen and save it directly to your clipboard or as an image file.
These are just a few of the many methods available for taking screenshots on Windows. Experiment with different methods to find the one that works best for you, and start capturing and sharing moments effortlessly.
| Keyboard Shortcut | Description |
|---|---|
| Print Screen | Captures the entire screen and saves it to the clipboard. |
| Windows Key + Shift + S | Opens the Snip & Sketch tool for capturing a specific area. |
Remember to always experiment with different methods to find the one that works best for you.
“Capturing screenshots on Windows is a breeze with the built-in tools and keyboard shortcuts. Whether you prefer the simplicity of the Print Screen key or the advanced features of the Snipping Tool, Windows offers flexibility and convenience. So go ahead, start capturing those important moments and sharing them with ease.”
Taking Screenshots on Mac
Mac users have the advantage of built-in tools that make capturing screenshots a breeze. Whether you’re using a MacBook, iMac, or Mac Pro, there are multiple methods available to capture your screen with precision. Let’s explore some of the Mac screenshot methods and learn how to make the most of them.
1. Using Keyboard Shortcuts
Mac provides keyboard shortcuts that allow you to quickly take screenshots without the need for additional software. Here are the most commonly used shortcuts:
- Command + Shift + 3: Capture the entire screen and save it as a file on your desktop.
- Command + Shift + 4: Turn the cursor into a crosshair, allowing you to select a specific portion of the screen to capture.
- Command + Shift + 4 + Spacebar: Capture a specific window or application by hovering the crosshair over it and clicking.
2. Using the Grab Application
Mac also provides a built-in application called Grab, which offers more advanced screenshot options. To access Grab, follow these steps:
- Open the Applications folder.
- Go to Utilities.
- Double-click on Grab to launch the application.
- Once Grab is open, you can choose from various options such as capturing the entire screen, a specific window, or a timed screen capture.
3. Annotating and Sharing Screenshots
After capturing a screenshot on Mac, you can easily annotate it or share it with others using the Markup tool. To access Markup, follow these steps:
- Open the screenshot you want to annotate or share.
- Click on the Markup icon (looks like a toolbox) in the top-right corner of the preview window.
- Markup provides various tools such as text, shapes, arrows, and highlighting, allowing you to annotate your screenshot as needed.
- Once you’ve added annotations, you can click the Share button to send the screenshot via email, Messages, AirDrop, or other sharing options.
Taking screenshots on Mac is a straightforward process thanks to the built-in tools and keyboard shortcuts provided by Apple. Whether you need to capture the entire screen, a specific window, or annotate and share your screenshots, Mac offers a user-friendly experience that ensures you can capture and utilize your screen content effectively.
Taking Screenshots on Chromebook
Chromebook users are not left behind when it comes to capturing screenshots. Chrome OS offers a variety of screenshot methods that allow users to capture their screen effortlessly. Whether you need to save important information, create a visual presentation, or report an issue, taking screenshots on a Chromebook is a simple process that can be done in a few easy steps.
Chromebook Screenshot Methods
There are multiple ways to capture a screenshot on a Chromebook. Here are a few methods you can use:
- Keyboard Shortcut: Press the Ctrl and Show windows (or F5) keys simultaneously to capture a full-screen screenshot.
- Partial Screenshot: Press the Ctrl, Shift, and Show windows keys simultaneously, then click and drag the cursor to select the desired area for the screenshot.
- Screen Recording: Use the built-in screen recorder feature on your Chromebook to capture a video of your screen activities.
These methods offer flexibility and convenience for different screenshot needs. Whether you want to capture the entire screen or select a specific area, Chromebook’s screenshot options have got you covered.
How to Capture a Screenshot on Chromebook
To capture a screenshot on your Chromebook, follow these simple steps:
- Make sure the content you want to capture is displayed on your screen.
- Press the appropriate keyboard shortcut for the type of screenshot you want to capture (full-screen, partial, or screen recording).
- The screenshot will be saved automatically in your Downloads folder.
It’s that easy! With just a few clicks, you can capture and save screenshots on your Chromebook for future reference or sharing with others.
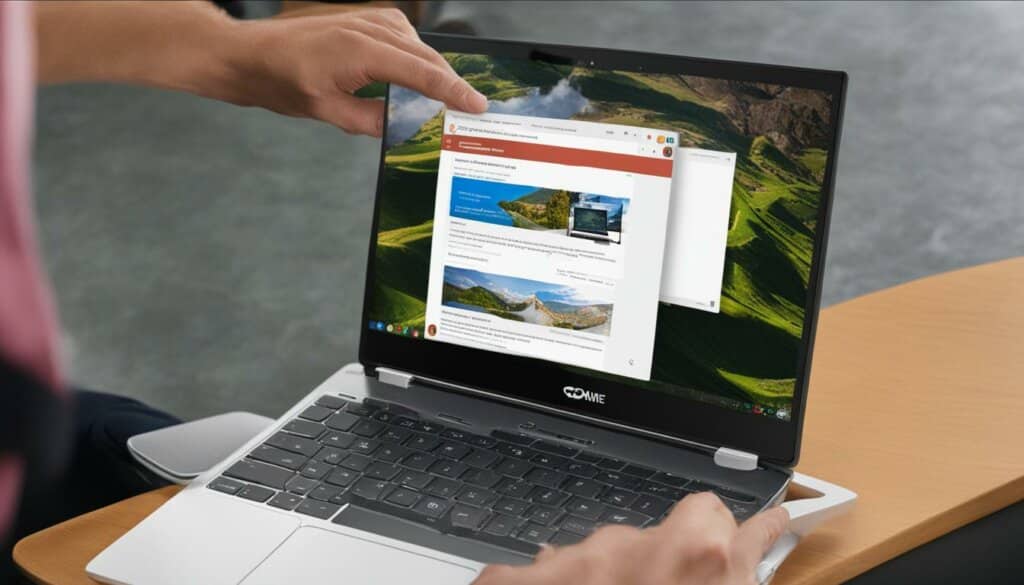
| Screenshot Method | Keyboard Shortcut |
|---|---|
| Full-Screen | Ctrl + Show windows (F5) |
| Partial | Ctrl + Shift + Show windows |
| Screen Recording | Ctrl + Shift + Show windows + Press the ‘R’ key to start/stop recording |
Use these keyboard shortcuts to quickly capture screenshots on your Chromebook and streamline your workflow.
Third-Party Screenshot Tools
In addition to the built-in screenshot tools provided by operating systems, there are also third-party screenshot tools that offer a range of advanced features and functionality. These tools can enhance your screenshot capture experience, providing you with more editing options, seamless cloud storage integration, and convenient sharing capabilities.
When it comes to the best third-party screenshot software, there are several options available for different operating systems. Some popular choices include:
- Screenshot Extensions: Browser extensions that allow you to capture screenshots directly from your web browser.
- Screenshot Apps: Applications specifically designed for capturing, editing, and organizing screenshots.
These third-party tools often offer more flexibility and customization than the default screenshot options provided by your operating system. Whether you need advanced annotation tools, the ability to capture specific areas of your screen, or integration with other productivity apps, there is a third-party screenshot tool that can meet your needs.
To help you choose the best third-party screenshot software for your requirements, let’s take a look at a comparison table of some popular options:
| Tool Name | Key Features | Supported Platforms |
|---|---|---|
| Tool 1 | Advanced annotation tools, cloud storage integration | Windows, Mac, Chromebook |
| Tool 2 | Customizable capture options, instant sharing | Windows, Mac |
| Tool 3 | Scrollable screenshot capture, image editing | Windows, Mac |
Keep in mind that these are just a few examples, and there are many other third-party screenshot tools available. It’s important to consider your specific needs and preferences when choosing the right tool for you.
Advanced Screenshot Techniques
Now that you have mastered the basics of taking screenshots on your computer, it’s time to explore some advanced techniques that will take your screenshot game to the next level. These techniques will allow you to capture screenshots with precision and enhance them for better clarity and impact.
Capturing Menus
One advanced technique is capturing menus. Sometimes you may need to capture a specific menu or dropdown list on your screen. To do this, open the desired menu, making sure it is fully visible on your screen. Then, press the screenshot key combination or use the screenshot tool of your choice. The screenshot will capture the entire menu, allowing you to document specific options or settings.
Delaying Screenshots
Another useful technique is delaying screenshots. This is particularly handy when you need to capture a time-limited event or a specific action on your screen. Using a screenshot tool with a delay feature, you can set a countdown timer before the screenshot is taken. This gives you enough time to navigate to the desired screen or perform the necessary action before the screenshot is captured.
Scrollable Screenshots
Scrollable screenshots are ideal for capturing web pages, documents, or any content that extends beyond the visible screen area. While not all operating systems offer built-in scrollable screenshot functionality, there are third-party tools and browser extensions available that allow you to capture the entire length of a webpage or document. With scrollable screenshots, you can ensure that nothing is left out and present a comprehensive view of the content.
These advanced screenshot techniques will help you capture exactly what you need, whether it’s a specific menu, a time-sensitive event, or content that extends beyond the visible screen. By utilizing these techniques, you can elevate the quality and effectiveness of your screenshots, making them even more valuable for your productivity, communication, and documentation needs.
Table: Comparison of Advanced Screenshot Techniques
| Technique | Description | Key Benefits |
|---|---|---|
| Capturing Menus | Capture specific menus or dropdown lists on your screen. |
|
| Delaying Screenshots | Set a countdown timer before capturing a screenshot. |
|
| Scrollable Screenshots | Capture web pages or documents that extend beyond the visible screen. |
|
Editing and Saving Your Screenshots
In addition to capturing screenshots, it’s equally important to know how to edit, save, and organize them effectively. Editing your screenshots can help enhance their clarity and impact, while proper organization ensures easy retrieval and future reference. Let’s explore some essential tips and techniques for editing and saving your screenshots.
Editing Your Screenshots
After capturing a screenshot, you may need to make adjustments or annotations to highlight specific areas or add additional context. Many operating systems provide built-in editing tools that allow you to crop, resize, add text, draw shapes, and apply various effects to your screenshots. These tools can help you create professional-looking screenshots that effectively convey your message. Alternatively, you can use third-party editing software for more advanced editing capabilities.
When editing your screenshots, consider the purpose and audience of the screenshot. Is it for a professional document, a casual conversation, or personal use? Adjust the editing level accordingly to maintain a consistent tone and style throughout your screenshot collection.
Saving and Organizing Your Screenshots
Once you’ve edited your screenshots, it’s essential to save them in a format that preserves their quality and makes them easily accessible. Most operating systems allow you to save screenshots as image files, such as PNG, JPEG, or GIF. Choose a file format that suits your needs, considering factors like file size, compatibility, and transparency support.
To keep your screenshot collection organized, create dedicated folders and subfolders for different categories or projects. Use descriptive filenames that clearly indicate the content or purpose of each screenshot. Renaming your screenshots with meaningful titles can save you time and effort when searching for specific screenshots later. Additionally, consider using cloud storage or backup solutions to ensure the safety and accessibility of your screenshots across devices and platforms.
Table: Comparison of Screenshot File Formats
| File Format | Advantages | Disadvantages |
|---|---|---|
| PNG (Portable Network Graphics) | – Lossless compression – Supports transparency – High-quality images |
– Larger file size compared to JPEG – Limited compatibility with older software |
| JPEG (Joint Photographic Experts Group) | – Smaller file size – Wide compatibility – Suitable for photographs or complex images |
– Lossy compression can result in reduced image quality – Does not support transparency |
| GIF (Graphics Interchange Format) | – Supports animation – Small file size – Suitable for simple graphics or animations |
– Limited color support – Limited image quality compared to PNG or JPEG |
Choose the file format that best suits your needs based on factors like image quality, file size, and compatibility with the software you’ll be using the screenshots in.

Common Issues and Troubleshooting
Despite the convenience and usefulness of taking screenshots, there can sometimes be issues that hinder the process or result in less than satisfactory outcomes. This section aims to address some of the common problems that users may encounter when capturing screenshots on their computer. By understanding these issues and implementing troubleshooting techniques, you can ensure a smooth and successful screenshot capture experience.
Screenshot Not Working
One of the most frustrating issues that users may face is when the screenshot function simply doesn’t work. This could be due to various reasons, such as incompatible software, conflicting keyboard shortcuts, or system glitches. To resolve this issue, try the following troubleshooting steps:
- Restart your computer: Sometimes, a simple restart can resolve temporary software or system glitches that may be affecting the screenshot function.
- Check keyboard shortcuts: Ensure that you are using the correct keyboard shortcut to capture screenshots on your specific operating system. Different systems may have different default shortcuts, so double-check your device’s documentation or search online for the correct key combination.
- Update software and drivers: Make sure that your operating system and any relevant software or drivers are up to date. Outdated software or drivers can sometimes cause conflicts and prevent screenshots from being captured.
Dark or Low-Quality Screenshots
Another common issue with screenshots is that they may appear dark or of low quality. This can be frustrating, especially if you need clear and visible screenshots for documentation or sharing purposes. To improve the quality of your screenshots, consider the following tips:
- Adjust screen brightness: If your screenshots appear too dark, try adjusting the brightness settings on your computer or monitor. Increasing the brightness can help capture brighter and more vibrant screenshots.
- Use natural lighting: If possible, try capturing screenshots in a well-lit environment. Natural lighting can enhance the quality of your screenshots and make them appear clearer and more vibrant.
- Change file format: Consider saving your screenshots in a higher-quality file format, such as PNG, instead of JPEG. PNG files tend to preserve image quality better and result in sharper screenshots.
Can’t Find Screenshot
After capturing a screenshot, it can be frustrating when you can’t locate the saved image. This issue can occur due to various reasons, such as incorrect default save location or accidental deletion. To help you find your screenshots more easily, consider the following tips:
- Check default save location: Depending on your operating system and settings, screenshots may be saved in different default locations. Check your device’s documentation or search online to find out where screenshots are typically saved on your computer.
- Search file explorer: If you’re unable to locate your screenshots in the default save location, use the file explorer or search function on your computer to search for the image file. Make sure to enter specific keywords or file extensions to narrow down the search.
- Organize screenshots: To avoid future difficulties in finding screenshots, create a dedicated folder on your computer for screenshots and make it your default save location. This way, all future screenshots will be saved in one easily accessible location.
By understanding and addressing these common screenshot issues, you can overcome hurdles and ensure a smooth and successful screenshot capture experience on your computer.
Integrating Screenshots into Other Applications
Once you’ve captured a screenshot, you can maximize its potential by seamlessly integrating it into other applications. Whether you’re working in Microsoft Office, graphic design software, or video editing software, incorporating screenshots can enhance your projects and make your visual content more impactful.
Using screenshots in Microsoft Office:
- Inserting screenshots in Word, PowerPoint, or Excel can provide visual support to your documents or presentations.
- In Word, go to the “Insert” tab, click on “Screenshot,” and choose from the available screenshots or capture a new one.
- In PowerPoint, navigate to the “Insert” tab, click on “Screenshot,” and select the desired screenshot.
- In Excel, go to the desired cell, click on “Insert,” and choose “Screenshot” to add the screenshot directly into the spreadsheet.
Using screenshots in graphic design software:
- Graphic design software such as Adobe Photoshop or Illustrator allows you to incorporate screenshots directly into your designs.
- In Photoshop, open your design file and go to the “File” menu. Choose “Place Embedded” or “Place Linked” to insert the screenshot.
- In Illustrator, open your design file, select the “File” menu, and choose “Place.” Select the screenshot file to add it to your design.
Using screenshots in video editing software:
- Video editing software like Adobe Premiere Pro or Final Cut Pro enables you to include screenshots in your video projects.
- In Premiere Pro, import your screenshot file into the project, drag it to the desired location on the timeline, and adjust its duration and position as needed.
- In Final Cut Pro, import the screenshot file, drag it to the timeline or storyboard, and position it accordingly. Customize its appearance using the available editing tools.
Integrating screenshots into other applications opens up a world of possibilities for visually enhancing your work. Whether you’re creating documents, designing graphics, or editing videos, screenshots can add depth and context to your projects. Use these integration methods to seamlessly incorporate your captured screenshots and take your work to the next level.
Conclusion
As we conclude this comprehensive guide on capturing screenshots on your computer, it’s clear that mastering this essential skill can significantly enhance your productivity and communication. By immersing yourself in the world of screenshots, you gain the power to effectively convey information, report issues, create tutorials, and document important moments in a visual and impactful way.
In this article, we have covered the basics of taking screenshots, exploring various methods and tools for different devices and operating systems. From Windows to Mac and even Chromebook, we have delved into the specific screenshot techniques available on each platform. Additionally, we highlighted the benefits of utilizing third-party screenshot software to unlock advanced features and functionality.
Moreover, we delved into advanced techniques such as delaying screenshots, capturing menus, capturing scrollable content, and editing screenshots to enhance their clarity and impact. We also discussed how to edit, save, and organize your screenshots for easy retrieval and future reference.
By incorporating screenshots into other applications like Microsoft Office, graphic design software, or video editing software, you can seamlessly integrate visual elements into your projects and presentations.
In conclusion, taking screenshots on your computer is not only a practical skill but also an artistic opportunity to capture and share moments exactly as they appeared on your screen. So, embrace the power of screenshots and unlock a world of possibilities for productivity, creativity, and effective communication.
FAQ
What is a screenshot?
A screenshot, or screen capture, is a digital image that captures precisely what is displayed on your screen at any given moment.
Why would I want to take a screenshot?
Screenshots can be incredibly useful for a variety of reasons, such as creating tutorials, reporting issues, saving important information, or simply capturing a memorable moment on your device.
How do I take a screenshot on Windows?
Windows provides various methods for capturing screenshots. You can use keyboard shortcuts like PrtScn or Win + Shift + S, or use the built-in Snipping Tool or Snip & Sketch tool.
How do I take a screenshot on Mac?
Mac computers have built-in tools that make it easy to capture your screen. You can use keyboard shortcuts like Command + Shift + 3 or Command + Shift + 4, or use the Grab application.
How do I take a screenshot on Chromebook?
Chrome OS offers a variety of screenshot methods. You can use keyboard shortcuts like Ctrl + Show windows or Ctrl + Shift + Overview, or use the built-in screenshot tool in the Quick Settings menu.
Are there any third-party screenshot tools available?
Yes, there are several third-party screenshot tools available for different operating systems. Some popular options include Lightshot, Greenshot, and Snagit.
Are there any advanced screenshot techniques I can use?
Yes, there are advanced techniques such as delaying screenshots, capturing menus, capturing scrollable content, and editing screenshots to enhance their clarity and impact.
How do I edit and save my screenshots?
You can edit screenshots using built-in or third-party editing tools. You can also save and organize your screenshots for easy retrieval and future reference.
What should I do if I encounter issues with taking screenshots?
If you encounter issues such as screenshots not working, dark or low-quality screenshots, or difficulties in finding captured screenshots, you can troubleshoot the problem using the provided tips and solutions.
How can I integrate screenshots into other applications?
You can insert screenshots into different applications by copying and pasting, importing as an image file, or using other integration methods depending on the specific application.
What are the key takeaways from this article?
By mastering the art of capturing screenshots on your computer, you can enhance your productivity and communication. Screenshots are a powerful tool for conveying information, reporting issues, creating tutorials, and documenting important moments.

