Table of Contents
Taking screenshots on a PC is a simple process that can be done using various methods. Whether you are using Windows 10 or Windows 11, there are built-in tools and shortcuts available for taking screenshots. This guide will walk you through the different methods and options for capturing screenshots on your PC.
Key Takeaways:
- Learn how to capture screenshots on your PC using built-in tools and shortcuts
- Explore options like the Snip & Sketch tool, Snipping Tool, and Game Bar
- Discover third-party screenshot apps for advanced features and customization
- Understand specific shortcuts for capturing screenshots on Microsoft Surface devices
- Enhance your screenshot-taking experience with advanced editing capabilities
Using the Snip & Sketch Tool
The Snip & Sketch tool is a convenient and user-friendly way to capture screenshots on your PC. It can be accessed through a keyboard shortcut (Windows key + Shift + S) or through the Start menu or notification panel. The tool allows you to choose between capturing a rectangular, freeform, window, or full-screen screenshot. The captured screenshot is saved to your clipboard and can be opened in the Snip & Sketch app for annotation, saving, or sharing.
To use the Snip & Sketch tool:
- Press the Windows key + Shift + S to activate the tool.
- Select the desired snipping mode: rectangular, freeform, window, or full-screen.
- Click and drag the cursor to capture the desired area.
- Release the mouse button to take the screenshot.
- The screenshot will be saved to your clipboard and can be accessed in the Snip & Sketch app.
The Snip & Sketch tool provides a simple and intuitive interface for capturing screenshots on your PC. With its various snipping modes and easy-to-use features, it is a valuable tool for any PC user.
Benefits of using the Snip & Sketch tool:
- Multiple snipping modes for capturing different types of screenshots
- Convenient keyboard shortcut for quick access
- Ability to annotate and edit screenshots in the Snip & Sketch app
- Easy sharing and saving options
“The Snip & Sketch tool is a game-changer for capturing screenshots on my PC. It’s intuitive, fast, and offers a variety of snipping modes to fit my needs. Plus, the ability to annotate and edit screenshots directly in the app is a huge bonus!” – PC user
| Snip & Sketch Tool | Snipping Tool | Keyboard Shortcuts |
|---|---|---|
| Multiple snipping modes | Limited snipping options | Quick and easy access |
| Annotation and editing features | No built-in editing options | Variety of screenshot capture methods |
| Clipboard integration | Manual saving required | Efficient screenshot workflow |
Using the Snipping Tool to Capture Screenshots on a PC
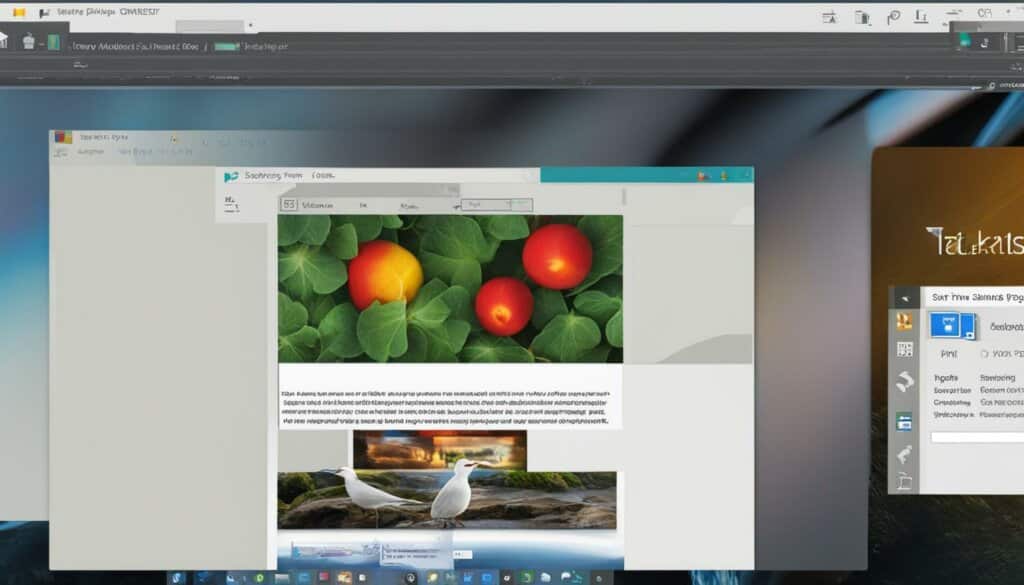
The Snipping Tool is a built-in option for capturing screenshots on your PC. While it may not have as many features as the Snip & Sketch tool, it is still a useful tool for taking rectangular, freeform, full-screen, or window screenshots. Once you have captured the screenshot, it is not automatically saved, but you can save it manually within the Snipping Tool.
To open the Snipping Tool, you can search for it in the Start menu or use the Windows key + Shift + S keyboard shortcut. Once the Snipping Tool is open, you can choose the type of screenshot you want to capture by clicking on the “Mode” option in the toolbar. You can select “Rectangular Snip” to capture a specific area, “Freeform Snip” to capture a non-rectangular shape, “Window Snip” to capture a specific window, or “Full-screen Snip” to capture the entire screen.
After selecting the desired mode, click and drag your cursor to capture the screenshot. Once captured, the screenshot will open in a new window within the Snipping Tool. From here, you can use the tools in the toolbar to annotate or highlight the screenshot if needed. To save the screenshot, click on the “File” menu and select “Save As”. Choose a location on your PC to save the screenshot and give it a descriptive name.
Snipping Tool Options and Shortcuts
| Shortcut | Description |
|---|---|
| Windows key + Shift + S | Opens the Snipping Tool and allows you to capture a screenshot using the Snipping Tool’s interface. |
| Alt + M | Choose a capture mode (Rectangular Snip, Freeform Snip, Window Snip, or Full-screen Snip) without using the mouse. |
| Ctrl + S | Save the current screenshot. |
| Ctrl + C | Copy the screenshot to the clipboard. |
| Ctrl + N | Create a new screenshot. |
| Ctrl + Z | Undo the last action. |
“The Snipping Tool is a versatile tool for capturing screenshots on a PC. With its various capture modes and simple interface, it provides an easy way to capture and save screenshots for various purposes.”
Using Keyboard Shortcuts
Taking screenshots on a PC can be quick and convenient with the help of keyboard shortcuts. These shortcuts allow you to capture your screen with just a few key combinations, saving you time and effort. Let’s explore some of the most commonly used keyboard shortcuts for taking screenshots on a PC.
The Print Screen (PrtScn) Key
The Print Screen key is a versatile shortcut that captures the entire screen and saves it to your clipboard. Simply press the PrtScn key, and you can then paste the screenshot into an image editing program or document. This is a useful option if you want to capture everything you see on your screen in one go.
Windows Key + PrtScn
Another handy shortcut is the combination of the Windows key and PrtScn. When you press these keys together, Windows automatically saves a screenshot of the entire screen to the Pictures > Screenshots folder. This shortcut eliminates the need to paste the screenshot manually and allows for easy access to your captured images.
Alt + PrtScn
If you only want to capture the active window instead of the entire screen, you can use the Alt + PrtScn shortcut. Pressing these keys simultaneously captures the current window and saves it to the clipboard. You can then paste the screenshot into an editing program or document for further use.
These keyboard shortcuts provide quick and efficient ways to capture screenshots on your PC without the need for any additional tools or software. Whether you want to capture the entire screen, a specific window, or simply need a quick way to save your screen contents, these shortcuts have got you covered.
| Shortcut | Description |
|---|---|
| Print Screen (PrtScn) | Captures the entire screen and saves it to the clipboard. |
| Windows Key + PrtScn | Automatically saves a screenshot of the entire screen to the Pictures > Screenshots folder. |
| Alt + PrtScn | Captures the active window and saves it to the clipboard. |
These keyboard shortcuts are just a few examples of the many options available for taking screenshots on a PC. Experiment with these shortcuts and find the ones that work best for your needs. Whether you’re capturing screens for work, gaming, or personal use, mastering these shortcuts will make the process faster and more efficient.
Using Game Bar
The Game Bar is a powerful tool built into Windows that allows you to capture screenshots while gaming or using any other application. With just a few simple keystrokes, you can capture your in-game moments or capture important information on your screen. Let’s dive into how to use the Game Bar to take screenshots on your PC.
Activating the Game Bar
To activate the Game Bar, simply press the Windows key + G on your keyboard. This will bring up the Game Bar overlay, which provides quick access to various gaming features, including the screenshot function. Alternatively, you can also activate the Game Bar by pressing the Windows key + Alt + Print Screen. Once the Game Bar is open, you’ll see a toolbar with different options, including the screenshot button.
Taking a Screenshot with Game Bar
To capture a screenshot using Game Bar, simply click on the screenshot button, which looks like a camera icon. This will instantly capture a full-screen screenshot of your current display. The screenshot will be saved in the default location, which is the Pictures > Screenshots folder. You can also access the captured screenshot by opening the Xbox app and navigating to the Game DVR section. There, you’ll find all your captured screenshots and have the option to edit or share them.
Using the Game Bar is a convenient way to capture screenshots on your PC, especially while gaming. It provides a seamless experience with easy access to the screenshot function and saves your captured screenshots in a designated folder for easy retrieval. Whether you want to capture your gaming achievements, document important information, or simply share interesting content, the Game Bar has got you covered.
| Pros | Cons |
|---|---|
| Convenient and quick access to screenshot functionality | Limited to capturing full-screen screenshots |
| Automatically saves screenshots to a designated folder | Not suitable for capturing specific windows or regions |
| Integrated with the Xbox app for easy editing and sharing | Requires activation and may interfere with certain games |
Additional Options for Taking Screenshots
While the built-in screenshot tools in Windows are sufficient for most users, there are also third-party screenshot apps available that offer additional features and functionality. These apps can enhance your screenshot-taking experience and provide you with more customization options. Here are some popular third-party screenshot apps for PC:
- Lightshot: Lightshot is a lightweight screenshot tool that allows you to capture screenshots and easily edit them. It offers features like annotation, highlighting, and sharing options. It also provides a built-in image editor for quick edits.
- Greenshot: Greenshot is an open-source screenshot tool that offers advanced editing capabilities. It allows you to capture screenshots of selected areas, windows, or the entire screen. You can annotate, highlight, and blur sensitive information in your screenshots.
- Snagit: Snagit is a powerful screenshot and screen recording tool. It offers a wide range of features, including custom capture options, editing tools, and the ability to capture scrolling webpages. Snagit also provides built-in templates and effects to enhance your screenshots.
- Screencast-O-Matic: Screencast-O-Matic is a versatile screen recorder and screenshot tool. It allows you to capture screenshots, record screen videos, and even edit them with annotations and effects. It also offers cloud storage for easy sharing and collaboration.
These third-party screenshot apps provide a range of options for capturing and editing screenshots on your PC. Whether you need basic annotation tools, advanced editing features, or screen recording capabilities, these apps have got you covered. Explore these options to find the one that best suits your needs and preferences.
Taking Screenshots on Microsoft Surface Devices
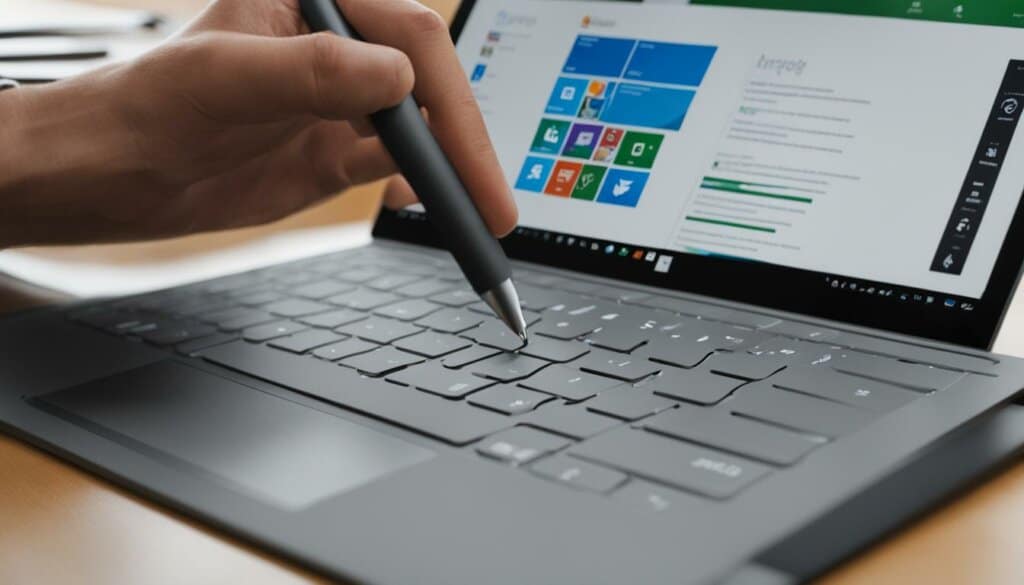
If you are a proud owner of a Microsoft Surface device, capturing screenshots is a breeze with the dedicated shortcuts designed for these devices. Whether you’re using a Surface Pro, Surface Laptop, or Surface Book, these shortcuts allow you to quickly capture and save screenshots for easy access and sharing.
To take a screenshot of the entire screen on a Microsoft Surface device, simply press the Windows Logo touch button at the bottom of the screen and simultaneously press the physical volume-down button located on the side of the device. The screen will briefly dim, indicating that the screenshot has been captured. By default, the screenshot is automatically saved to the Pictures > Screenshots folder, making it easy to find and access your screenshots later on.
It’s worth noting that this shortcut captures the entire screen, including the Windows taskbar and any open windows or applications. If you only want to capture a specific portion of the screen, you can use the built-in Snip & Sketch tool or other methods discussed earlier in this article.
Taking a Surface Screenshot Shortcut
In summary, the Surface screenshot shortcut on Microsoft Surface devices allows you to quickly capture screenshots of the entire screen. By pressing the Windows Logo touch button and the volume-down button simultaneously, you can effortlessly capture and save screenshots to the Pictures > Screenshots folder. This feature is highly convenient for Surface users who frequently need to capture and share screenshots for work, study, or personal purposes.
Conclusion
Capturing screenshots on a PC is a skill that can greatly enhance your productivity and communication. By utilizing the various built-in tools and shortcuts, you can easily capture and share important information. Whether you prefer the Snip & Sketch tool, Snipping Tool, keyboard shortcuts, Game Bar, or third-party apps, there is a solution that suits your needs.
As you become more proficient, consider exploring advanced features and techniques for an even better screenshot-taking experience. Experiment with annotation tools, scrolling webpage capture, and video recording to create more dynamic and informative visuals. The possibilities are endless!
Remember, mastering screen capture techniques is not only useful for professional purposes, but also for personal use. You can create visual tutorials, share interesting content with friends and family, or simply capture cherished memories from your favorite games. So go ahead, unleash your creativity, and take your screenshot game to the next level!
FAQ
How do I take a screenshot on my PC using the Snip & Sketch tool?
To take a screenshot using the Snip & Sketch tool, you can use the keyboard shortcut Windows key + Shift + S, access it through the Start menu or notification panel, and choose between capturing a rectangular, freeform, window, or full-screen screenshot. The screenshot is saved to your clipboard and can be opened in the Snip & Sketch app for annotation, saving, or sharing.
How do I take a screenshot on my PC using the Snipping Tool?
To take a screenshot using the Snipping Tool, you can open the tool and select the desired capturing mode (rectangular, freeform, full-screen, or window). After capturing the screenshot, it is not automatically saved, but you can save it manually within the tool.
What are the keyboard shortcuts for taking screenshots on a PC?
There are several keyboard shortcuts available for taking screenshots on a PC. The Print Screen (PrtScn) key captures the entire screen and saves it to the clipboard. The Windows key + PrtScn combination automatically saves the screenshot to the Pictures > Screenshots folder. The Alt + PrtScn shortcut captures the active window and copies the screenshot to the clipboard. Some devices may have alternative key combinations, like Fn + Windows logo key + Space Bar or Alt + Print Screen.
How do I take a screenshot using the Game Bar?
To take a screenshot using the Game Bar, you can bring up the overlay by pressing the Windows key + G, and then click on the screenshot button to capture a full-screen screenshot. The screenshots taken with Game Bar are saved in the Pictures > Screenshots folder by default.
Are there any third-party screenshot apps available for PC users?
Yes, there are third-party screenshot apps available for PC users. Some popular options include Lightshot, Greenshot, Snagit, and Screencast-O-Matic. These apps provide advanced editing capabilities, the ability to capture scrolling web pages, annotate screenshots, and even record screen videos.
How do I take a screenshot on a Microsoft Surface device?
To take a screenshot on a Microsoft Surface device, press the Windows Logo touch button at the bottom of the screen and the physical volume-down button simultaneously. The screenshot of the entire screen is automatically saved to the Pictures > Screenshots folder.
Are there any other options or tips for taking screenshots on a PC?
Yes, in addition to the built-in tools and shortcuts, you can explore third-party screenshot apps for more features and customization options. Additionally, you can experiment with different methods and explore advanced features to enhance your screenshot-taking experience.
How can I enhance my screenshot-taking experience?
To enhance your screenshot-taking experience, you can try out different methods and tools, utilize advanced features like annotation and editing, explore third-party apps, and stay updated with the latest tips and tricks for capturing screenshots on your PC.

