Table of Contents
Discover the art of capturing screenshots on your Dell laptop with ease.
Knowing how to screenshot on a Dell laptop is a valuable skill in our digital world. Whether you want to save important information, troubleshoot technical issues, or share interesting content, capturing screenshots allows you to effortlessly capture and save anything on your screen.
In this comprehensive guide, we will walk you through the step-by-step process of capturing screenshots on your Dell laptop, providing you with the necessary tools and shortcuts to streamline your screenshotting experience.
From understanding the various methods available to utilizing the built-in features of your Dell laptop, you will learn how to capture the perfect screenshot in no time. Whether it’s utilizing the Print Screen key, capturing a specific window, using the Snipping Tool, or exploring third-party applications, we have you covered.
Stay tuned as we guide you through each method, highlighting the unique features and shortcuts that will enhance your Dell laptop’s screenshot capabilities.
Method 1: Using the Print Screen Key – How to Screenshot on a Dell Laptop
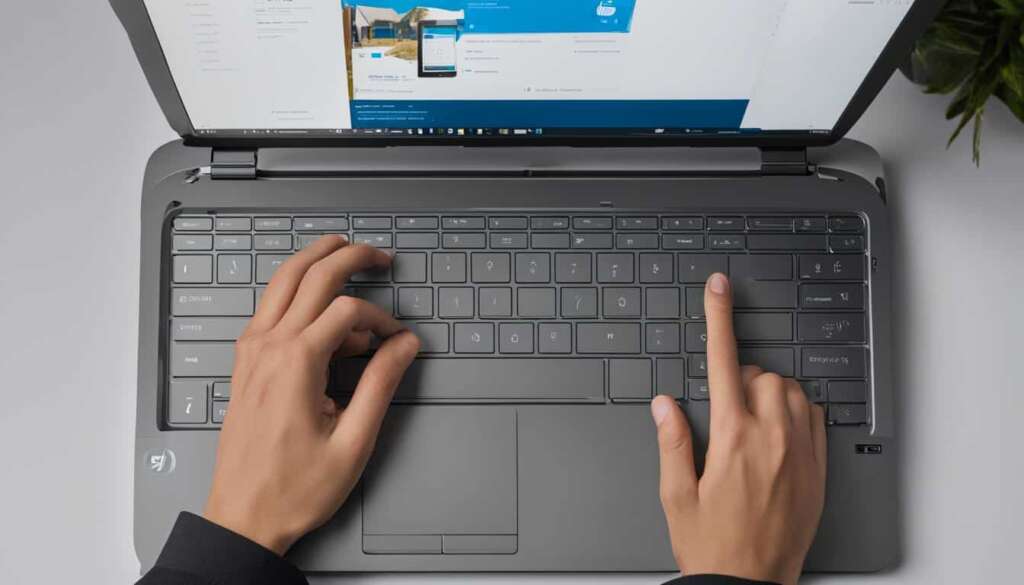
Taking a screenshot on your Dell laptop is made easy with the Print Screen key. This convenient feature allows you to capture a screenshot of your entire screen effortlessly. To use this method, follow the simple steps below:
- Locate the Print Screen key on your Dell laptop’s keyboard.
- Press the Print Screen key to capture the screenshot.
- Open an image editor such as Paint or Photoshop.
- Paste the screenshot into the image editor.
- Edit the screenshot if desired.
- Save the screenshot to your preferred location on your Dell laptop.
Note: By default, the screenshot is saved to the clipboard, allowing you to easily paste it into any application or document. If you want to save the screenshot directly as an image file, you can use the image editor’s “Save” function.
Method 2: Capturing a Specific Window
Sometimes you may have the need to capture a specific window instead of the entire screen on your Dell laptop. This can be useful when you want to highlight a particular application, dialog box, or webpage. Fortunately, capturing a specific window is a straightforward process that can be done with just a few simple steps.
- First, navigate the cursor to the window you want to capture. Make sure the window is active and visible on your screen.
- Next, press the Alt key and Print Screen key simultaneously. This key combination tells your Dell laptop to capture a screenshot of the active window only.
- Now that you’ve taken the screenshot, open an image editor of your choice. Popular options include Paint, Adobe Photoshop, or even online image editors like Pixlr.
- In the image editor, paste the screenshot you just captured. Most image editors have a Paste option in the Edit menu or you can use the shortcut Ctrl + V.
- If necessary, you can now make any desired edits to the screenshot. This can include cropping, resizing, adding annotations, or applying filters.
- Finally, remember to save the edited screenshot to your Dell laptop. Choose a suitable file format, such as JPEG or PNG, and select a location on your computer where you want to save the screenshot.
By following these steps, you can easily capture and save a screenshot of a specific window on your Dell laptop. Whether you want to share an error message, showcase a design, or document an important conversation, capturing specific windows can help you communicate more effectively.
| Advantages | Disadvantages |
|---|---|
| Allows you to focus on specific content within a window | Does not capture the entire screen, which may be needed in certain situations |
| Quick and easy to perform | May require additional steps to edit or annotate the screenshot |
| Useful for highlighting specific details or troubleshooting issues | May require the use of an image editor to save the screenshot |
Remember, capturing a specific window can be a valuable skill when you need to focus on specific content or troubleshoot issues on your Dell laptop. Now that you know how to do it, you can efficiently capture and save screenshots of individual windows to enhance your productivity and communication.
Method 3: Using the Snipping Tool
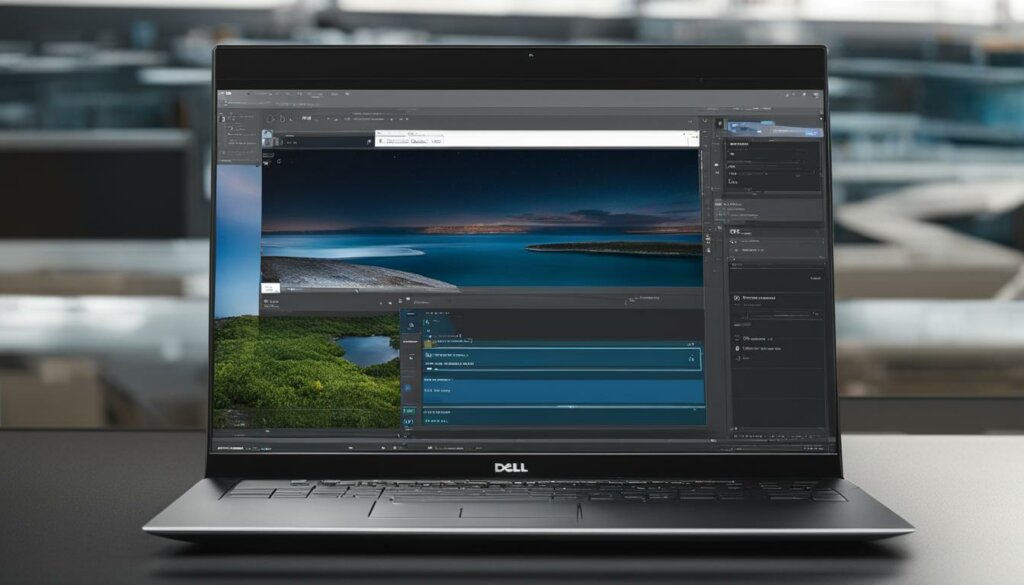
When it comes to capturing specific areas on your Windows operating system, the Snipping Tool is a reliable built-in screen capture utility. It offers various snip types and allows you to effortlessly capture and save specific areas of your screen.
To open the Snipping Tool, simply type “Snipping Tool” in the Windows search bar. Once opened, follow these steps:
- Click on “New” in the Snipping Tool window to start a new snip.
- Select the desired snip type from the available options:
| Snip Type | Description |
|---|---|
| Free-form | Create a snip in any irregular shape you want. |
| Rectangular | Create a snip in a rectangular shape. |
| Window | Select a specific window to capture. |
| Full-screen | Capture the entire screen. |
Once you have selected the snip type, drag your cursor around the area you want to capture. Release the cursor to capture the snip. If needed, you can make annotations or edits using image editing software. Finally, save the snip to your desired location.
To make the most of the Snipping Tool, remember to explore its different snipping options and practice capturing specific areas effectively. With this powerful utility at your fingertips, capturing and saving specific areas of your screen has never been easier.
Method 4: Using Third-Party Applications
When it comes to capturing screenshots with advanced features, third-party applications can provide you with the tools you need. Two popular options that offer a wide range of screenshot capturing capabilities are Greenshot and Snagit.
Greenshot
Greenshot is a free and open-source application that allows you to effortlessly capture and share screenshots. With Greenshot, you can capture screenshots of your entire screen, specific windows, or even select a custom region to capture. It also offers various editing options, allowing you to annotate your screenshots with text, arrows, and shapes.
To download Greenshot and start taking advantage of its advanced screenshot capturing features, visit their official website: https://getgreenshot.org/
Snagit
If you’re looking for a feature-rich screenshot and screen recording software, Snagit is an excellent choice. Along with capturing screenshots, Snagit allows you to record videos of your screen, making it a versatile tool for tutorials and presentations. With Snagit, you can capture screenshots of specific windows, selected regions, or even entire web pages. It also offers a wide range of editing and annotation tools, empowering you to enhance your screenshots with text, shapes, and effects.
To download Snagit and explore its advanced screenshot capturing features, visit their official website: https://www.techsmith.com/screen-capture.html
With these third-party applications at your disposal, you can take your screenshot capturing capabilities to the next level. Whether you choose Greenshot or Snagit, you’ll have access to advanced features that will streamline your workflow and enhance your screenshots.
Conclusion
Capturing screenshots on your Dell laptop is a skill that can unlock a world of possibilities. From saving important information to sharing captivating content, knowing how to efficiently capture and save screenshots is a valuable tool in the digital age. By following the step-by-step methods outlined in this guide, you can easily screenshot on your Dell laptop and never miss a moment worth preserving.
Whether you prefer using the Print Screen key, capturing specific windows, utilizing the Snipping Tool, or exploring third-party applications, each method offers unique benefits and flexibility. Choose the method that suits your needs and workflow best and dive into the world of seamless screenshot capturing on your Dell laptop.
Now, armed with the knowledge and techniques discussed in this guide, you can confidently take screenshots on your Dell laptop and capture memories, important information, or even troubleshoot technical issues with ease. So, don’t hesitate to start exploring the wonders of screenshotting on your Dell laptop – it’s time to unleash your creativity and productivity in the digital realm!
FAQ
How do I capture a screenshot on my Dell laptop?
There are several methods you can use to capture a screenshot on your Dell laptop. You can use the Print Screen key to capture the entire screen, the Alt key and Print Screen key to capture a specific window, or the Snipping Tool to capture a specific area. Additionally, you can use third-party applications such as Greenshot or Snagit for advanced screenshot capturing features.
How do I use the Print Screen key to capture a screenshot on my Dell laptop?
To use the Print Screen key, simply locate the key on your Dell laptop’s keyboard, press it to capture the screenshot, open an image editor like Paint or Photoshop, paste the screenshot, edit if desired, and save it to your preferred location on your Dell laptop.
Can I capture a specific window instead of the entire screen?
Yes, you can capture a specific window by navigating the cursor to the window you want to capture, pressing the Alt key and Print Screen key simultaneously, opening an image editor, pasting the screenshot, making any necessary edits, and saving it to your Dell laptop.
How do I use the Snipping Tool to capture a screenshot on my Dell laptop?
To use the Snipping Tool, type “Snipping Tool” in the Windows search bar to open the application. Click on “New” in the Snipping Tool window, select the desired snip type (Free-form, Rectangular, Window, or Full-screen), drag the cursor around the area you want to capture, release the cursor to capture the snip, make any necessary annotations or edits, and save the snip to your desired location.
What are some third-party applications I can use to capture screenshots on my Dell laptop?
Two popular options for capturing screenshots on your Dell laptop are Greenshot and Snagit. Greenshot is a free and open-source tool that allows users to capture screenshots and share them effortlessly. You can download Greenshot from their website at (https://getgreenshot.org/). Snagit, on the other hand, is a feature-rich screenshot and screen recording software that provides a wide range of editing and annotation tools. You can find more information and download Snagit from their official website at (https://www.techsmith.com/screen-capture.html).
Why is capturing screenshots on a Dell laptop important?
Capturing screenshots on your Dell laptop is important for various reasons. It allows you to save important information, share interesting content with others, and troubleshoot technical issues by capturing and sharing screenshots with support teams or online forums.

