Table of Contents
Taking screenshots on a desktop is a simple and useful way to save or share what’s on your screen. Whether you’re using Windows 10 or Windows 11, there are several tools and shortcuts available to make screenshotting easy.
One of the built-in tools is Snip & Sketch, which allows you to capture different types of screenshots and provides options for annotation and sharing. Another option is the Snipping Tool, which has been around since Windows Vista and is still available in Windows 11.
Additionally, you can use keyboard shortcuts like Print Screen, Windows key + Print Screen, and Alt + Print Screen to capture screenshots. And if your computer doesn’t have a Print Screen key, you can use the Fn + Windows logo key + Space Bar shortcut.
Lastly, there are other methods like using the Game bar or the Windows Logo + volume down buttons on Microsoft Surface devices. All these options provide different ways to capture screenshots on a desktop.
Using Snagit to Capture Screenshots on a Desktop
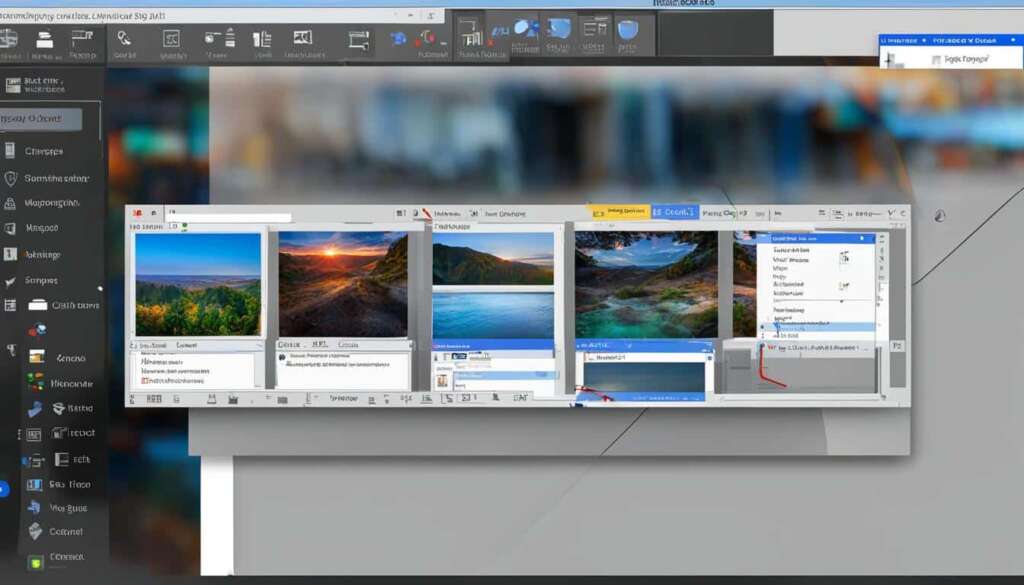
Snagit is a powerful screenshot software that serves as an ideal capture tool for desktop users. This feature-rich application offers advanced capabilities beyond the limitations of built-in screenshot options. Snagit empowers you to capture, edit, and share screenshots effortlessly, enhancing your desktop screen capture experience.
With Snagit, you have the flexibility to capture your entire screen or specific portions, ensuring you capture exactly what you need. Whether it’s an important document, an inspiring article, or a captivating image, Snagit enables you to preserve and share it with ease.
Snagit’s editing features allow you to customize your screenshots further. Crop, annotate, and add effects to create visually stunning captures that convey your message effectively. These editing tools give you the freedom to highlight important details, add informative callouts, or underline key elements, ensuring your screenshots are both informative and visually appealing.
In addition to screenshots, Snagit goes beyond static images and allows you to record videos, capture entire web pages, and create captivating GIFs. Such dynamic features make Snagit an all-in-one solution for capturing not just screenshots, but also interactive and engaging media.
To enhance productivity, Snagit offers user-friendly custom shortcuts. These shortcuts enable quick access to the features you use most, saving valuable time and streamlining your workflow.
Once you’ve captured the perfect screenshot or recorded a video, Snagit simplifies sharing by providing built-in sharing options. You can effortlessly generate shareable links, making it convenient to instantly share your content via email, social media platforms, or cloud storage services.
Snagit truly elevates your screenshot experience by providing a comprehensive set of tools and features tailored to meet the demands of professionals and frequent screenshot users. With its intuitive interface and powerful capabilities, Snagit is the ultimate solution for anyone seeking a robust and versatile screenshot software.
Taking Screenshots on Windows Using Built-In Tools
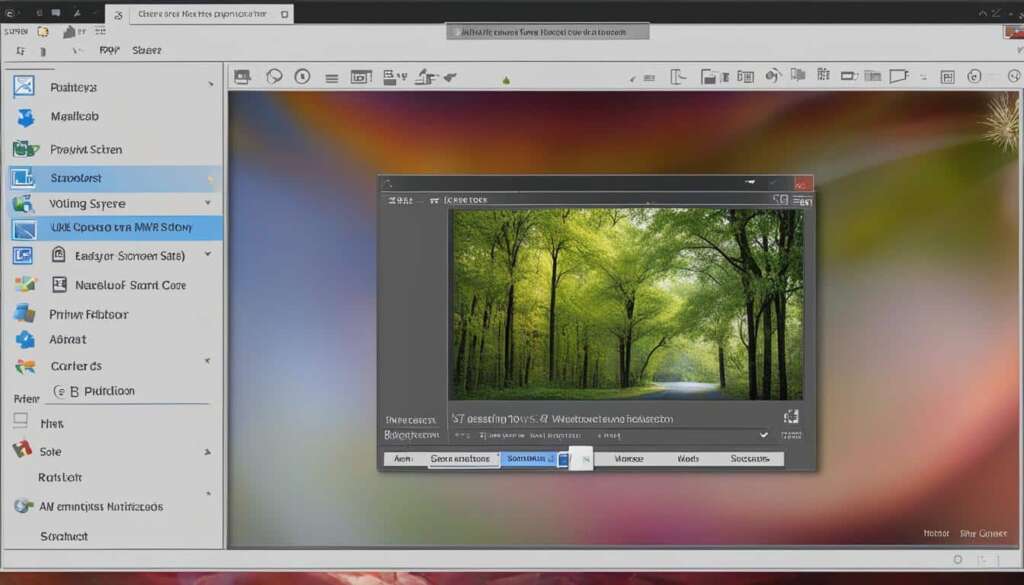
Windows operating systems, including Windows 10 and Windows 11, provide users with convenient built-in tools for capturing screenshots. One of the commonly used tools is the Snipping Tool, which allows you to capture specific areas of your screen. With the Snipping Tool, you can choose from different snip types, such as rectangular, freeform, full-screen, and window snips. This versatile tool gives you the flexibility to capture exactly what you need.
If you’re using Windows 10, you can also take screenshots using the Print Screen (PrtSc) key. Pressing this key captures the entire screen and saves it to your clipboard. Alternatively, you can use the Alt + Print Screen shortcut to capture only the active window. These keyboard shortcuts offer quick and effortless ways to capture screenshots.
For Windows 11 users, there’s a new shortcut available. You can use the Windows key + Print Screen combination to automatically save the screenshot to a dedicated folder called Screenshots in the Pictures directory. This makes it easy to locate your screenshots and access them whenever you need them.
If you have a Microsoft Surface device, there’s an additional shortcut available. By pressing the Windows Logo + volume down buttons simultaneously, you can quickly capture a screenshot. This feature is especially useful for Surface users who want a straightforward way to capture their screen.
Screenshot Methods on Windows
| Screenshot Method | Windows 10 | Windows 11 | Microsoft Surface |
|---|---|---|---|
| Snipping Tool | ✓ | ✓ | ✓ |
| Print Screen (PrtSc) | ✓ | ||
| Alt + Print Screen | ✓ | ||
| Windows key + Print Screen | ✓ | ||
| Windows Logo + volume down | ✓ |
This table summarizes the available screenshot methods for different Windows versions and Microsoft Surface devices. As you can see, the Snipping Tool is available across all platforms, providing a consistent screenshotting experience.
Whether you prefer using the Snipping Tool, keyboard shortcuts, or the built-in options on your device, Windows offers convenient and straightforward ways to capture screenshots. Experiment with different methods to find the one that best suits your needs.
Third-Party Apps for Screenshots on Windows
In addition to the built-in tools, there are various third-party apps and programs available for capturing screenshots on Windows. One of the popular alternatives is Snagit, as mentioned earlier. However, there are other options like Greenshot, which is an open-source and free tool for taking screenshots on Windows. These third-party apps often offer more features and flexibility compared to the built-in tools. For example, Snagit allows you to customize shortcuts, offers advanced editing options, and provides easy sharing capabilities. Exploring and using third-party screenshot apps can enhance your screenshotting experience on a desktop.
| Third-Party Apps | Features |
|---|---|
| Snagit | – Customizable shortcuts – Advanced editing options – Easy sharing capabilities |
| Greenshot | – Open-source and free – Wide range of annotation tools – Supports multiple image formats |
How to Take a Screenshot on a Mac
If you’re using a Mac computer, capturing screenshots is a breeze. Mac offers several methods, including convenient keyboard shortcuts and built-in tools that make the process seamless.
One of the simplest ways to take a screenshot on a Mac is by utilizing keyboard shortcuts. Pressing Command + Shift + 3 captures the entire screen, allowing you to quickly save or share what you see. If you prefer to capture a specific portion of the screen, Command + Shift + 4 enables you to select the desired area for the screenshot.
In addition to keyboard shortcuts, Mac provides the Grab application, which offers even more functionality for screenshotting. With Grab, you can take timed captures, perfect for capturing specific moments during videos or presentations. Grab also allows you to perform window snips, making it easier to focus on specific windows or applications.
A further option available on Mac is the screenshot utility accessed by pressing Command + Shift + 5. This utility provides a graphical interface that allows you to choose between capturing the entire screen, a specific window, or a selected portion. The utility also includes options for recording the screen or capturing video.
With these various methods and the built-in Grab application, taking a screenshot on a Mac is a straightforward and efficient process. Whether you need to capture an entire screen, a specific portion, or perform more advanced capture functions, Mac provides the necessary tools to meet your screenshotting needs.
Summary:
– Keyboard shortcuts: Command + Shift + 3 captures the entire screen, Command + Shift + 4 allows for selecting specific portions of the screen.
– Grab application: Provides timed captures and window snips for more precise screenshotting.
– Screenshot utility: Accessed by pressing Command + Shift + 5, offers options for various types of captures, including video recording.
Advanced Screenshot Features with Snagit
Snagit, the third-party software mentioned earlier, offers a range of advanced features that take screenshotting to the next level. Whether you’re using a Windows or Mac computer, Snagit provides powerful tools for capturing and editing screenshots with ease.
One of the standout features of Snagit is its ability to record videos. With Snagit, you can easily capture screen recordings, allowing you to demonstrate processes, create tutorials, or showcase software functionality. This feature is especially useful for content creators, educators, and professionals who rely on visual communication.
Snagit also allows you to capture whole web pages, making it a breeze to save and share webpage content, even if it extends beyond the visible screen. This feature is particularly valuable for researchers, designers, and marketers who need to capture complete web content for reference or analysis.
The editing capabilities of Snagit are truly impressive. With its intuitive editor, you can enhance and customize your captures to fit your needs. Add text to provide context or explanations, draw shapes to highlight important elements, apply effects to make your screenshots visually appealing, and even add watermarks to protect your intellectual property.
Snagit goes a step further by enabling you to create GIFs. GIFs are a popular and engaging format for conveying concepts, demonstrating processes, or adding a touch of creativity to your communication. With Snagit, you can easily capture GIFs from your screen and customize them with text, shapes, and effects for maximum impact.
Customizability is a key aspect of Snagit’s appeal. The software allows you to create and personalize shortcuts, giving you quick access to the features you use most frequently. This saves you time and increases your productivity, allowing you to capture and edit screenshots faster and more efficiently.
Sharing your screenshots is effortless with Snagit. The software lets you generate shareable links, making it easy to send your captures to colleagues, clients, or friends. Additionally, you can save your screenshots in various formats, such as JPG or PNG, making them compatible with email, social media, or cloud storage platforms.
As an all-in-one screenshot solution, Snagit offers advanced features that elevate your screenshotting experience. Whether you’re a professional needing precise and polished captures or an enthusiast looking to unleash your creativity, Snagit provides the tools you need to unleash your potential.
So, why settle for basic screenshot functionality when you can amplify your capabilities with Snagit?
Key Features of Snagit:
| Capture | Edit | Share |
|---|---|---|
| Record videos of your screen | Add text, shapes, and effects to your captures | Generate shareable links |
| Capture whole web pages | Create personalized shortcuts for quick access | Save screenshots in various formats |
| Create GIFs from your screen recordings | Customize GIFs with text, shapes, and effects |
Conclusion
Capturing screenshots on a desktop is an essential skill that allows you to save and share information more effectively. Whether you choose to use the built-in tools on Windows or third-party apps like Snagit, there are numerous options available to meet your screenshotting needs.
Built-in tools like Snip & Sketch and the Snipping Tool provide easy ways to capture screenshots on Windows desktops, allowing you to quickly capture and annotate specific areas of your screen. These tools are great for everyday use and provide basic functionality for most users.
However, if you require more advanced features and flexibility for demanding screenshot tasks, Snagit is the go-to application. With Snagit, you can capture screenshots of your entire screen, select specific portions, and even record videos. The intuitive editing options and easy sharing capabilities make Snagit a powerful tool for enhancing productivity and communication.
Mac users also have their own built-in tools, such as Grab, which offers features like timed captures and window snips. Whether you’re using Windows or Mac, mastering the ability to capture screenshots will greatly enhance your workflow and allow you to effectively convey information to others.
FAQ
How do I capture a screenshot on a Windows desktop?
There are several methods you can use to capture a screenshot on a Windows desktop. You can use built-in tools like Snip & Sketch or the Snipping Tool, or you can use keyboard shortcuts like Print Screen or Alt + Print Screen. Additionally, some Microsoft Surface devices have their own shortcut of Windows Logo + volume down buttons. There are also third-party apps like Snagit and Greenshot available for more advanced screenshotting features.
How do I capture a screenshot on a Mac?
Mac users can capture screenshots by using keyboard shortcuts. Pressing Command + Shift + 3 captures the entire screen, while Command + Shift + 4 allows you to select a specific portion of the screen. You can also use the screenshot utility by pressing Command + Shift + 5, which provides additional options for capturing the entire screen, a specific window, or a selected portion. Macs also have the Grab application, which offers features like timed captures and window snips.
What is Snagit and how does it work?
Snagit is a third-party software that provides advanced features for capturing and editing screenshots on both Windows and Mac. It allows you to capture screenshots of your entire screen or select a specific portion. Snagit also offers a range of editing options like cropping, annotating, and adding effects to your screenshots. Additionally, you can record videos, capture whole web pages, and create GIFs with Snagit. The software is user-friendly and offers custom shortcuts for quick access to its features.
Are there any alternatives to Snagit?
Yes, there are alternative third-party screenshot apps available for Windows, such as Greenshot. These apps often offer similar features to Snagit and may have different editing options and sharing capabilities. Exploring different apps can help you find the one that best suits your screenshotting needs.
Are there built-in tools for capturing screenshots on Windows?
Yes, Windows operating systems have built-in tools for capturing screenshots. The Snipping Tool, available since Windows Vista and still available in Windows 11, allows you to capture specific areas of the screen. In Windows 10 and 11, you can also use the Print Screen key to capture the entire screen or the Alt + Print Screen shortcut to capture the active window. Microsoft Surface devices have their own shortcut of Windows Logo + volume down buttons for capturing a screenshot.
Why should I capture screenshots on my desktop?
Capturing screenshots on your desktop is an essential skill that allows you to save and share information more effectively. Screenshots can be used for various purposes, such as capturing important documents, saving webpage information, or sharing visual representations of software issues. They are particularly useful for communication and troubleshooting purposes.

