Table of Contents
To capture a screenshot on a Dell computer, there are a few different methods you can use. One way is to use the Print Screen key on your keyboard. The location of this key may vary depending on your Dell model, but it is usually found at the top of the keyboard on the right side. Another method is to use the built-in Windows Snipping Tool, which allows you to capture specific areas of your screen. Additionally, you can use third-party screenshot tools like Markup Hero to capture and annotate screenshots on your Dell computer.
Key Takeaways
- There are multiple ways to capture screenshots on a Dell computer, including using the Print Screen key and the Windows Snipping Tool.
- Third-party screenshot tools like Markup Hero offer advanced editing and annotation features for your Dell computer screenshots.
- Experiment with different methods to find the one that works best for you and start creating professional-looking screenshots in no time.
Capturing Screenshots on Dell Laptops
When it comes to capturing screenshots on Dell laptops, there are several options available. The most common method is using the Print Screen key, which is usually located in the top row of keys on the right side of the keyboard. Pressing this key captures the entire screen and saves it to the clipboard.
For those who only want to capture a single active window, the Alt + Print Screen shortcut comes in handy. This combination captures the active window and saves it to the clipboard, allowing you to paste it into an image editing program or document.
In some cases, Dell laptops may have specific shortcuts for capturing screenshots. For example, pressing Fn + Print Screen may capture the entire screen or a specific area depending on the laptop model. It’s worth checking the user manual or Dell’s support website for specific instructions on screenshot shortcuts for your laptop model.
If you prefer more advanced screenshot capabilities, you can also consider third-party screenshot tools that offer additional features. One such tool is Markup Hero, which allows you to capture and annotate screenshots on your Dell laptop. With Markup Hero, you can easily highlight important information, add comments, and draw attention to specific areas of your screenshots.
| Screenshot Shortcut | Description |
|---|---|
| Print Screen | Captures the entire screen and saves it to the clipboard. Can be pasted into an image editing program or document. |
| Alt + Print Screen | Captures the active window and saves it to the clipboard. Can be pasted into an image editing program or document. |
| Fn + Print Screen | On some Dell laptops, captures the entire screen or a specific area depending on the laptop model. |
Note: The location of the Print Screen key may vary depending on your Dell laptop model.
Taking Screenshots on Dell Desktops
To capture screenshots on a Dell desktop, you have a few different options, including using the Print Screen key or third-party software. Let’s explore these methods in detail.
Using the Print Screen Key
The Print Screen key is a convenient and straightforward way to capture screenshots on your Dell desktop. Typically located at the top of the keyboard on the right side, the Print Screen key allows you to capture the entire screen with just one press.
If you only want to capture a specific window, you can use the Alt + Print Screen key combination. This captures only the active window and excludes everything else on your screen.
It’s important to note that the exact location of the Print Screen key may vary depending on your Dell model. However, it is usually clearly labeled and easy to find.
Using Third-Party Screenshot Software
In addition to using the Print Screen key, you can also use third-party screenshot software for more advanced features and customization options. These software options offer additional capabilities, such as capturing specific areas of your screen, adding annotations, and even recording screencasts.
Popular screenshot software for Dell desktops include Snagit, Greenshot, and Lightshot. These tools provide intuitive interfaces and a range of features to enhance your screenshot capturing experience.
| Software | Features |
|---|---|
| Snagit | Advanced editing tools, scrolling capture, video recording |
| Greenshot | Customizable capture options, basic editing tools |
| Lightshot | Instant sharing, simple editing tools, cloud storage integration |
These third-party software options give you more control over your screenshots and allow you to tailor them to your specific needs. Whether you prefer a simple and lightweight tool or a more advanced solution, there is a screenshot software available for your Dell desktop.
Using the Windows Snipping Tool on Dell
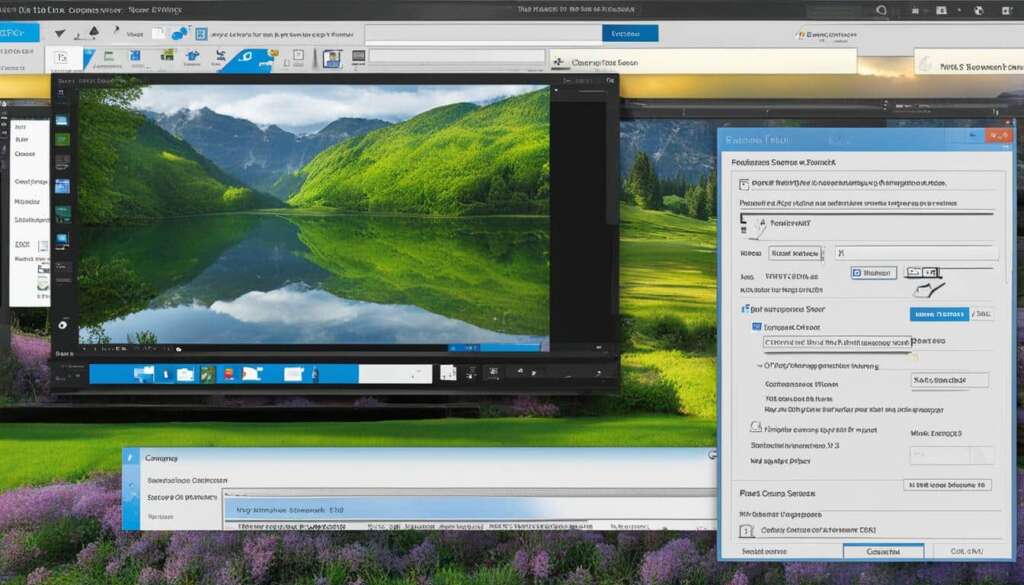
When it comes to capturing screenshots on a Dell computer, one method that can be used is the built-in Windows Snipping Tool. This tool provides the flexibility to capture specific areas of your screen, such as a selected portion or a specific window. To open the Snipping Tool, simply search for it in the Start menu.
Once the Snipping Tool is open, you will have the option to choose the type of snip you want to capture. You can select from rectangular, free-form, window, or full-screen snips. This allows you to capture exactly what you need, whether it’s a small section of a webpage or an entire application window. The Snipping Tool also provides options for saving and editing your screenshots after they have been captured.
With the Windows Snipping Tool, you have the ability to take precise screenshots on your Dell computer. Whether you need to capture a specific detail or highlight a particular area, this tool offers the functionality to do so. It’s a convenient option for users who want to go beyond simply capturing a full-screen image and need more control over their screenshots.
Overall, the Windows Snipping Tool is a valuable tool for capturing and editing screenshots on your Dell computer. It provides a straightforward way to capture specific areas of your screen and offers various snip options to suit your needs. Whether you’re a student, professional, or casual user, the Snipping Tool can help you quickly and efficiently capture and edit screenshots for various purposes.
Using Markup Hero for Screenshot Annotation
If you’re looking to take your screenshot game to the next level on your Dell computer, Markup Hero is the perfect tool for you. With its easy-to-use interface and powerful annotation features, Markup Hero allows you to capture screenshots and add annotations like arrows, text boxes, and highlighting to make your screenshots more informative and visually appealing.
Markup Hero offers a range of editing tools that allow you to customize your annotations to suit your needs. You can change the color, size, and style of your annotations, making it easy to draw attention to important information. Whether you’re creating instructional materials, sharing feedback, or collaborating with others, Markup Hero provides the tools you need to enhance your screenshots.
With Markup Hero, capturing and annotating screenshots on your Dell computer is a breeze. Whether you’re using a Dell laptop or desktop, you can easily capture screenshots using the methods mentioned earlier in this article, and then use Markup Hero to add annotations. No matter your level of technical expertise, Markup Hero’s intuitive interface makes it easy for anyone to create professional-looking screenshots.
Conclusion
Capturing screenshots on a Dell computer is a breeze with a variety of methods at your disposal. Whether you opt for the convenient Print Screen key, the versatile Windows Snipping Tool, or the feature-rich third-party screenshot tool Markup Hero, you can effortlessly capture and annotate screenshots on your Dell laptop or desktop. By experimenting with different methods, you can find the one that suits your needs and start creating professional-looking screenshots in no time.
So, the next time you need to capture a screenshot on your Dell computer, remember that it’s as easy as a few clicks or keystrokes. Whether you want to capture the entire screen or a specific area, there’s a method that will work for you. With the various options available, you can take screenshots and customize them to meet your specific requirements.
Now that you know how to screenshot on your Dell computer, you can enhance your productivity, create instructional materials, share feedback, or collaborate with others effectively. So, why wait? Start capturing and annotating screenshots on your Dell computer today and make the most out of this powerful feature!
FAQ
How do I capture a screenshot on a Dell computer?
There are several methods you can use to capture a screenshot on a Dell computer. One way is to use the Print Screen key on your keyboard. Another method is to use the built-in Windows Snipping Tool. You can also use third-party screenshot tools like Markup Hero.
How do I capture a screenshot on a Dell laptop?
On Dell laptops, you can use the Print Screen key or various keyboard shortcuts. The Print Screen key is usually located in the top row of keys on the right side of the keyboard. To capture the entire screen, press the Print Screen key. If you only want to capture a single active window, press Alt + Print Screen. Some Dell laptops may have specific shortcuts like Fn + Print Screen.
How do I capture a screenshot on a Dell desktop?
On Dell desktops, you can use the Print Screen key to capture screenshots. The location of the key may vary, but it is usually found at the top of the keyboard on the right side. To capture the entire screen, simply press the Print Screen key. If you want to capture a specific window, press Alt + Print Screen. You can also use third-party screenshot software for additional features.
Can I use the Windows Snipping Tool on my Dell computer?
Yes, you can use the built-in Windows Snipping Tool on your Dell computer. This tool allows you to capture specific areas of your screen, such as a selected portion or a specific window. To open the Snipping Tool, search for it in the Start menu. From there, you can choose the type of snip you want to capture, such as rectangular, free-form, window, or full-screen snip.
Can I annotate my screenshots on a Dell computer?
Yes, you can annotate your screenshots on a Dell computer using third-party tools like Markup Hero. Markup Hero allows you to capture screenshots of specific areas on your screen and provides a variety of editing and annotation tools. With Markup Hero, you can easily highlight important information, add comments, and draw attention to specific areas of your screenshots.

