Table of Contents
Installing a hard drive in your PC is a straightforward process that can provide you with additional storage space. It is often a better option than using external drives because it offers more capacity and is less likely to be misplaced. Before you begin, make sure to select a compatible hard drive for your desktop PC and gather the necessary tools, such as a screwdriver. The installation process involves mounting the hard drive, connecting cables, and formatting the drive for use.
Selecting the Right Hard Drive for Your PC
When choosing a hard drive for your PC, there are several factors to consider. These factors include the form factor, capacity, speed, and the type of drive that best suits your needs. In this section, we will explore the different options available and provide insights to help you make an informed decision.
Internal Hard Drive Form Factors
Internal hard disk drives (HDDs) come in various form factors, which determine their physical dimensions and compatibility with different computer systems. The two most common form factors are the 2.5-inch and 3.5-inch drives.
The 2.5-inch drives are typically found in laptops and smaller form factor PCs. These drives are more compact and lighter, making them suitable for portable systems. On the other hand, the 3.5-inch drives are commonly used in desktop computers and offer larger capacities.
SATA vs. SSD
When it comes to the type of drive, there are two main options: SATA drives and SSDs. SATA (Serial ATA) drives are the most common and affordable choice. They provide reliable storage with decent read and write speeds.
SSDs (Solid State Drives), on the other hand, offer faster speeds and improved performance. They use flash memory technology instead of traditional magnetic storage, resulting in quicker data access and shorter boot times. However, SSDs are generally more expensive than SATA drives.
Quote: “SSDs are worth considering if you prioritize speed and performance over price.”
Hard Drive Options
Aside from form factors and drive types, consider the capacity and whether you need additional features such as hybrid HDD/SSD options. The capacity of a hard drive determines how much data it can store. Higher capacities are suitable for users who require ample storage space for multimedia files, applications, and games.
If you need the best of both worlds, hybrid HDD/SSD drives combine the capacity of an HDD with the speed of an SSD. These drives automatically store frequently accessed data on the SSD portion, resulting in improved performance for those specific files.
Research and Choose Wisely
Before making a purchase, it’s essential to research the various hard drive options available. Consider your specific requirements, budget, and the type of tasks you’ll be performing on your PC.
By carefully considering the form factor, drive type, and capacity, you can select a hard drive that meets your storage needs while staying within your budget.
| Form Factor | Type | Pros | Cons |
|---|---|---|---|
| 2.5-inch | SATA or SSD | – Compact and lightweight – Suitable for laptops – Affordable |
– Smaller capacities – Slower speeds compared to 3.5-inch drives |
| 3.5-inch | SATA or SSD | – Larger capacities – More common in desktops – Suitable for gaming and multimedia |
– Heavier and bulkier – Higher power consumption compared to 2.5-inch drives |
| SATA | HDD or SSD | – Affordable – Reliable storage – Decent read and write speeds |
– Slower compared to SSDs – Limited to SATA interface speeds |
| SSD | SSD | – Faster speeds and improved performance – Quicker data access and boot times |
– More expensive than SATA drives – Lower capacities for the price |
Step-by-Step Guide for Installing a Hard Drive in Your PC
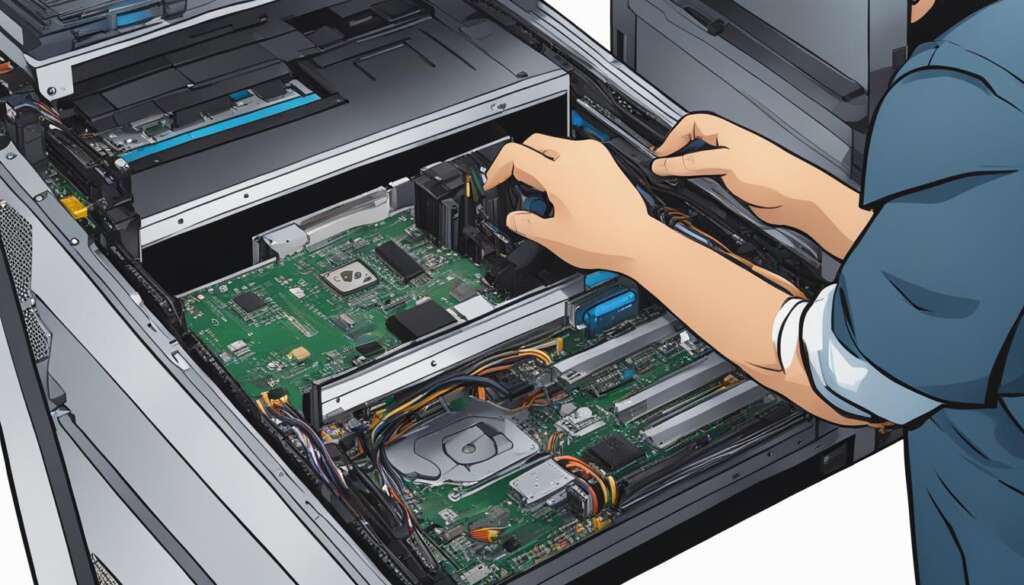
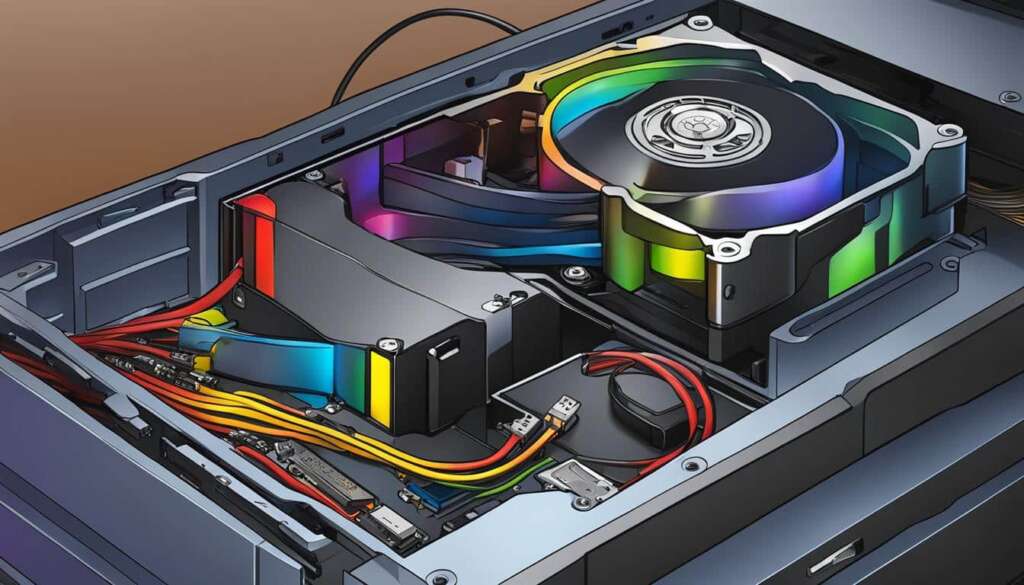
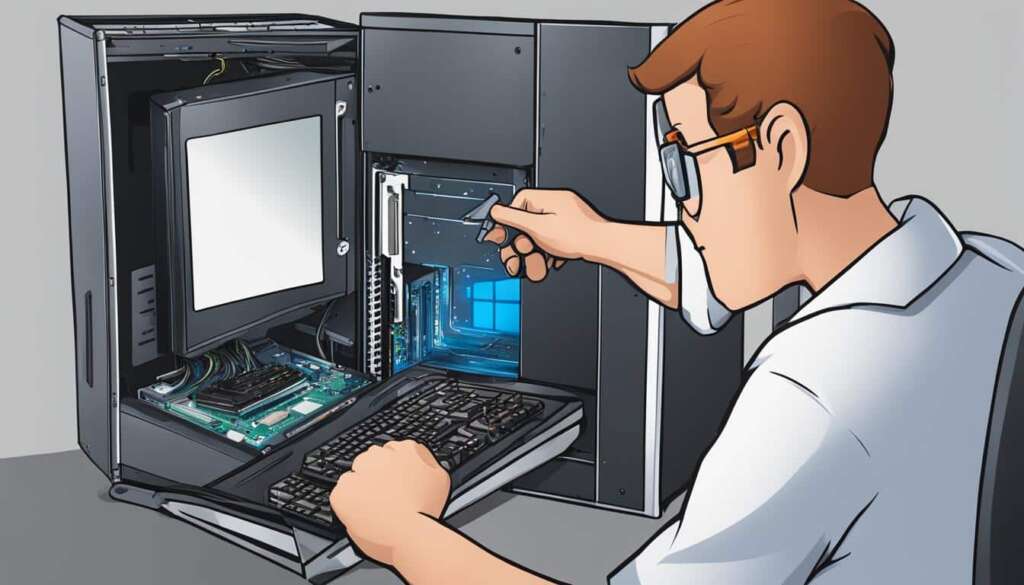
Before you begin installing the hard drive, ensure that your PC is powered off and unplugged. To access the inside of the computer, remove the side panel of the case using a screwdriver. Once inside, locate the drive bay or cage where the hard drive will be mounted. Depending on the case, you may need to use screws or tool-less trays to secure the drive.
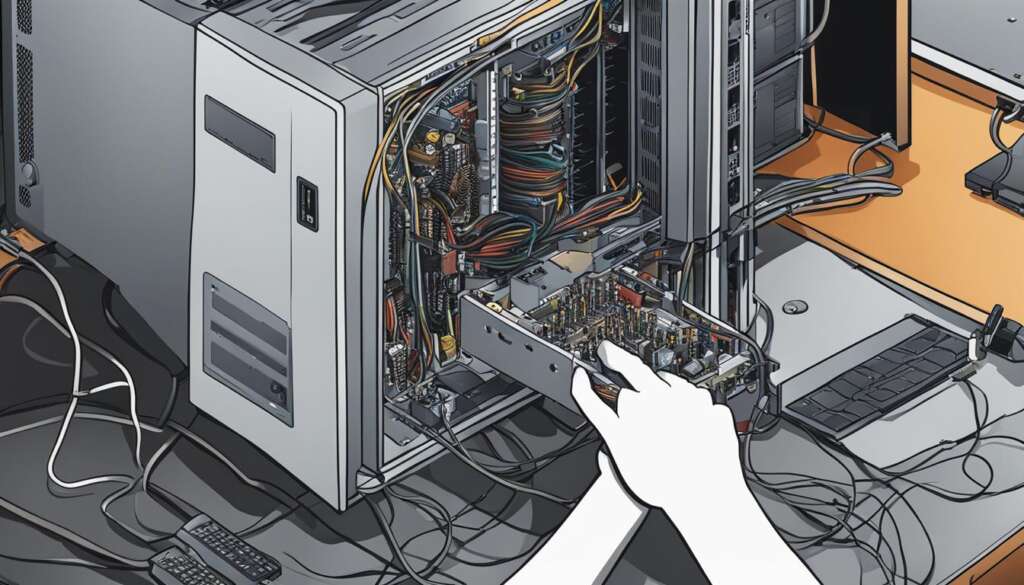
Connect the hard drive to the motherboard using a SATA cable and the power supply using a SATA power cable. Make sure to connect the SATA cable to the appropriate port on the motherboard and the power cable to the corresponding power connector on the drive. Take care not to force the connections.
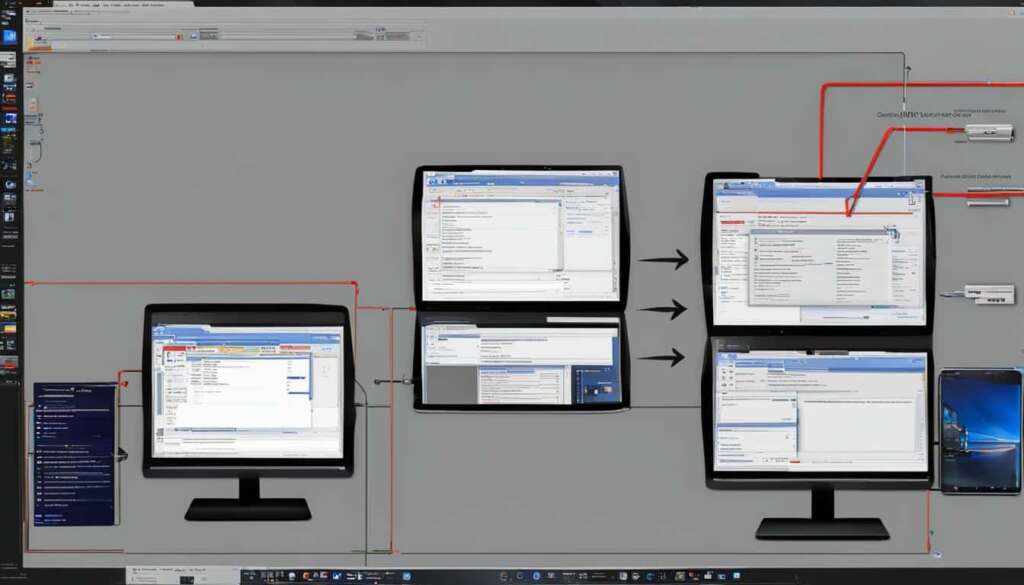
After securing the drive and making the connections, close up the computer case and plug it back in. Power on the PC and enter the BIOS settings to confirm that the drive is recognized. If necessary, format the drive to make it usable. In the BIOS settings, navigate to the storage or boot options to check if the drive is listed. You may need to change the boot order to include the new drive if you plan to install an operating system on it.
Once the drive is recognized and the BIOS settings are adjusted, you can proceed with formatting the drive. Formatting will erase any existing data on the drive, so make sure to back up any important files before you begin. To format the drive, navigate to the Disk Management utility in the operating system. Right-click on the drive and select the “Format” option, follow the on-screen prompts to complete the formatting process.
FAQ
What is the benefit of installing a hard drive in my PC?
Installing a hard drive in your PC provides you with additional storage space and is often a better option than using external drives due to its larger capacity and lower likelihood of misplacement.
How do I select the right hard drive for my PC?
When selecting a hard drive for your PC, consider factors such as form factor, capacity, and speed. Choose between 2.5-inch and 3.5-inch form factors, with 3.5-inch being more common in desktop computers. SATA drives are the most common, but SSDs offer faster speeds. Additionally, consider the capacity and whether you need a hybrid HDD/SSD drive.
How do I install a hard drive in my PC?
To install a hard drive in your PC, start by ensuring your PC is powered off and unplugged. Remove the side panel of the case using a screwdriver, locate the drive bay or cage, and secure the drive using screws or tool-less trays. Connect the hard drive to the motherboard using a SATA cable and the power supply using a SATA power cable. Close up the computer case, plug it back in, and power on the PC. Confirm that the drive is recognized in the BIOS settings and format it if necessary.

