Table of Contents
Installing an SSD (Solid State Drive) in your PC can greatly improve its performance and speed. Whether you’re building a new PC or upgrading an existing one, this installation guide will provide you with step-by-step instructions on how to install both M.2 and 2.5-inch SATA SSDs in your desktop PC.
By following this SSD installation guide, you’ll be able to unleash the full potential of your PC, experiencing faster boot times, quicker application launches, and improved overall performance.
Let’s dive into the details of each installation process.
How to Install an M.2 SSD in a Desktop PC
If you’re looking for a compact and high-speed storage solution, installing an M.2 SSD is the way to go. Here are the steps to follow:
1. Find the M.2 slot on your motherboard: Refer to your motherboard manual to locate the M.2 slot, usually situated below the CPU or around the PCIe slots.
2. Identify the M.2 mounting system: Some M.2 slots have a pre-installed shield or a standoff. Remove the shield or loosen the standoff if needed.
3. Prep for installation: Ground yourself by touching a metal surface, then unscrew the standoff and keep it in a safe place. For systems with a shield, remove it while keeping the thermal pad and plastic intact.
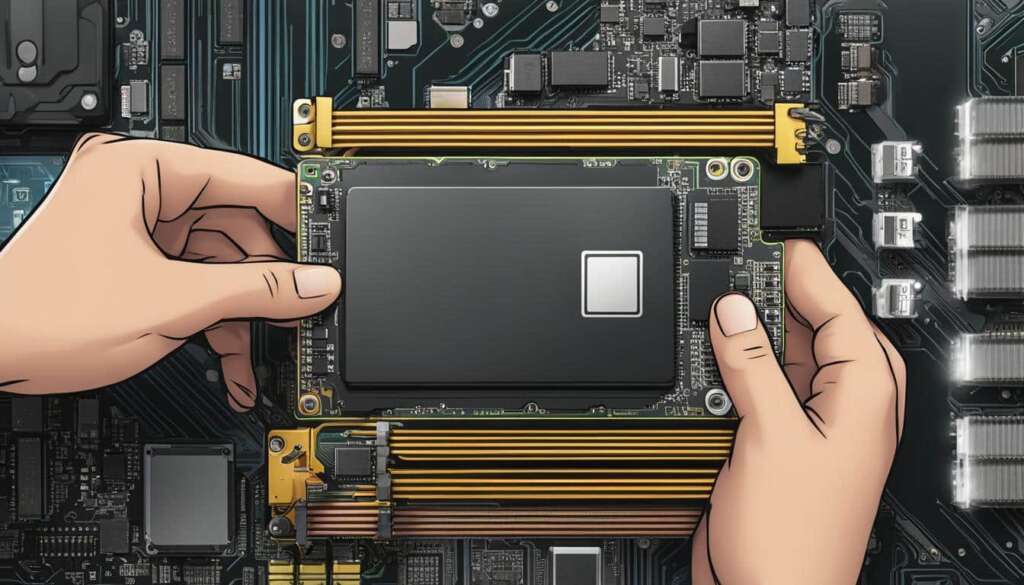
4. Install the M.2 SSD: Insert the M.2 SSD into the slot at a 15-degree angle, aligning the contacts and the slot notch. Press firmly until it’s fully inserted. If your system has a standoff-based system, press down on the drive, align the semicircular notch with the standoff, and insert the screw, tightening it.
5. Final steps: If your M.2 SSD has a heat sink, avoid placing the motherboard shield over it. Store the shield for future use.
How to Install a 2.5-inch SATA SSD in a Desktop PC
If you have a traditional desktop PC and want to upgrade to an SSD, a 2.5-inch SATA SSD is what you need. Here’s how to install it:
1. Determine the mounting method: Depending on your PC case or drive cage, you can install the 2.5-inch SATA SSD in a drive cage or attach it to the case. Follow the instructions provided for your specific installation method.
2. Gather supplies: You’ll need a 2.5-inch SATA SSD, a screwdriver, and your computer’s owner’s manual.
3. Shut down your system and discharge residual electricity by holding down the power button.
4. Open your desktop’s case: Refer to your owner’s manual for instructions on how to open the case.
5. Ground yourself by touching a metal surface, then locate the storage bay: Remove any existing drive if necessary and disconnect any cables and brackets attached to it.
6. Connect the SSD: Plug in the SATA power connector to the SSD and connect the SATA data cable to both the SSD and the motherboard. Consult your owner’s manual for the exact connection locations.
7. Reassemble your desktop and power it on: Ensure all cables are securely connected, then power on your computer.
8. Verify the SSD installation: Access the BIOS to confirm if the SSD is detected and functioning properly.
9. Transfer data or perform a clean install: Depending on your needs, you can transfer data from your old drive to the new SSD using data migration software or perform a clean install of your operating system.
Now that you know how to install both M.2 and 2.5-inch SATA SSDs, you can upgrade your PC and enjoy the benefits of faster storage performance.
How to Install an M.2 SSD in a Desktop PC
When it comes to upgrading the storage in your desktop PC, installing an M.2 SSD is a popular choice. M.2 SSDs offer faster speeds and a more compact form factor compared to traditional hard drives. If you’re looking to boost your PC’s performance, follow these step-by-step instructions for installing an M.2 SSD in your desktop PC.
- Locate the M.2 slot on your motherboard: The M.2 slot is typically located below the CPU or around the PCIe slots in the lower half of the motherboard. Refer to your motherboard manual to find the specific location.
- Identify the M.2 mounting system: The M.2 slot may have a pre-installed shield or a standoff with a screw. If necessary, remove the shield or loosen the standoff.
- Prepare for installation: Ground yourself by touching a metal surface to discharge any static electricity. Then, unscrew the standoff and set it aside. If your M.2 slot has a shield, remove the shield while leaving the thermal pad and plastic intact.
- Install the M.2 SSD: Insert the M.2 SSD into the slot at a 15-degree angle, aligning the contacts and the slot notch. Press firmly until the SSD is fully inserted. If your system has a standoff-based system, press down on the drive and align the semicircular notch with the standoff. Insert the screw and tighten it securely.
- Finalize the installation: If your M.2 SSD comes with a heat sink, avoid placing the motherboard shield over it to ensure optimal cooling. Store the shield for future use.
By following these simple steps, you can successfully install an M.2 SSD in your desktop PC, enjoying faster boot times and improved overall performance.
Tips for a Successful M.2 SSD Installation
Tip 1: Make sure your motherboard supports M.2 SSDs. Check the specifications or consult the manufacturer’s website for compatibility information.
Tip 2: Keep your motherboard’s BIOS and drivers up to date to ensure full compatibility and optimal performance.
Tip 3: If you encounter any issues during the installation, refer to your motherboard’s manual or visit the manufacturer’s support website for troubleshooting guidance.
Now that you know how to install an M.2 SSD in your desktop PC, you can take advantage of faster storage speeds and optimize your PC’s performance.
| Advantages of M.2 SSDs | Disadvantages of M.2 SSDs |
|---|---|
| • Faster read/write speeds | • Limited storage capacity compared to traditional hard drives |
| • Compact form factor | • Higher cost per GB than traditional hard drives |
| • No moving parts, making them more durable | • Compatibility limitations with older motherboards |
How to Install a 2.5-inch SATA SSD in a Desktop PC
When it comes to boosting your desktop PC’s performance, installing a 2.5-inch SATA SSD is a game-changer. Whether you’re upgrading or building a new system, follow these simple steps to install your SATA SSD and enjoy faster data transfers and improved overall responsiveness.
Before you begin, determine the mounting method for your 2.5-inch SATA SSD. Depending on your PC case or drive cage, it can be installed in a drive cage or attached directly to the case. Consult the instructions provided by the manufacturer for the specific installation method.
Gather the necessary supplies for the installation, including a 2.5-inch SATA SSD, a screwdriver, and your computer’s owner’s manual. Make sure your system is powered off, and discharge any residual electricity by holding down the power button.
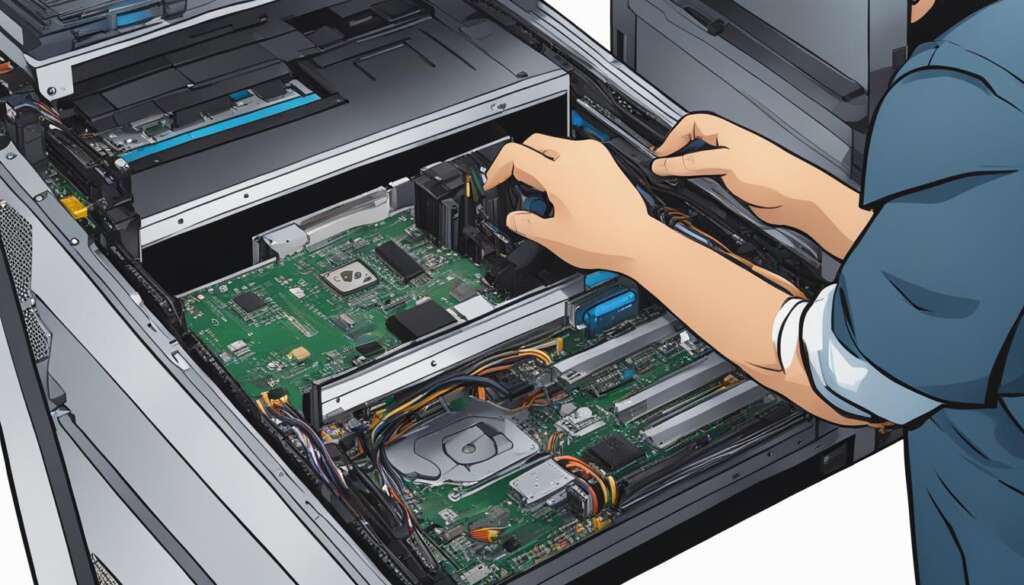
Next, refer to your computer’s owner’s manual to open the desktop’s case. Once inside, ground yourself by touching a metal surface, then locate the storage bay. If there is an existing drive, remove it if necessary, and disconnect any cables and brackets attached to it.
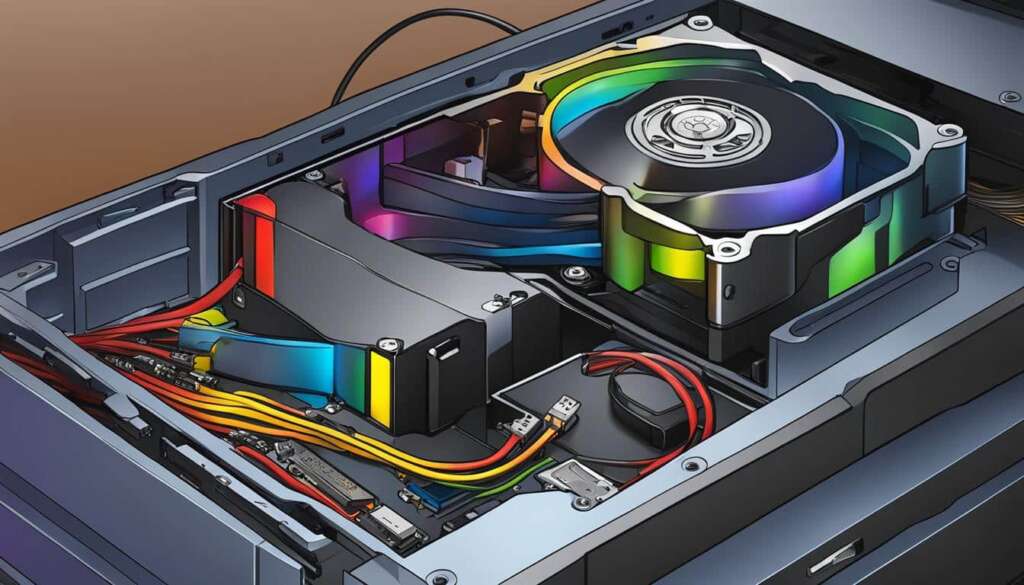
To connect the SSD, plug in the SATA power connector to the SSD and connect the SATA data cable to both the SSD and the motherboard. For the exact connection locations, consult your owner’s manual. After making the connections, reassemble your desktop, ensuring all cables are securely connected, and power it on.
Finally, verify the SSD installation by checking if the SSD is detected in the BIOS. Ensure that the SSD is functioning correctly and properly recognized. Depending on your needs, you can now transfer data from your old drive to the new SSD using data migration software or perform a clean install of your operating system.
FAQ
What is an M.2 slot and where is it located on my motherboard?
The M.2 slot is a small, high-speed expansion slot found on modern motherboards. Its location will vary, but it is typically located below the CPU or around the PCIe slots in the lower half of the motherboard. You can consult your motherboard manual for the exact location.
How do I install an M.2 SSD in my desktop PC?
To install an M.2 SSD, first, locate the M.2 slot on your motherboard. Then, identify the M.2 mounting system, whether it has a pre-installed shield or a standoff with a screw. Prep for installation by grounding yourself and removing the shield or loosening the standoff. Next, insert the M.2 SSD into the slot at a 15-degree angle, aligning the contacts and the slot notch. Press firmly until it’s fully inserted. Finally, if necessary, insert the screw and tighten it.
How can I install a 2.5-inch SATA SSD in my desktop PC?
To install a 2.5-inch SATA SSD, determine the mounting method recommended by your PC case or drive cage. Gather the necessary supplies, including a screwdriver and your computer’s owner’s manual. Shut down your system, discharge residual electricity, and open your desktop’s case using the instructions in the manual. Ground yourself and locate the storage bay. Remove any existing drive if necessary and disconnect cables and brackets. Plug in the SATA power connector to the SSD and connect the SATA data cable to both the SSD and the motherboard. Reassemble your desktop, ensuring all cables are securely connected, and power it on. Verify the SSD installation by checking if it is detected in the BIOS and functioning properly. You can then transfer data or perform a clean install of your operating system based on your needs.

